Page 57 of 462

When securing an add-on child restraint, refer to the
instructions that come with the restraint which may be on
the restraint itself or in a booklet, or both, and to this
manual. The child restraint instructions are important, so
if they are not available, obtain a replacement copy
from the manufacturer.
Keep in mind that an unsecured child restraint can
move around in a collision or sudden stop and injure
people in the vehicle. Be sure to properly secure
any child restraint in your vehicle — even when no child
is in it.
Securing the Child Within the Child
Restraint
There are several systems for securing the child within
the child restraint. One system, the three-point
harness, has straps that come down over each of the
infant’s shoulders and buckle together at the crotch. The
ve-point harness system has two shoulder straps,
two hip straps, and a crotch strap. A shield may take the
place of hip straps. A T-shaped shield has shoulder
straps that are attached to a at pad which rests
low against the child’s body. A shelf- or armrest-type
shield has straps that are attached to a wide, shelf-like
shield that swings up or to the side.
{CAUTION:
A child can be seriously injured or killed in a
crash if the child is not properly secured in the
child restraint. Make sure the child is properly
secured, following the instructions that came
with that restraint.
Because there are different systems, it is important to
refer to the instructions that come with the restraint.
A child can be endangered in a crash if the child is not
properly secured in the child restraint.
1-51
ProCarManuals.com
Page 58 of 462

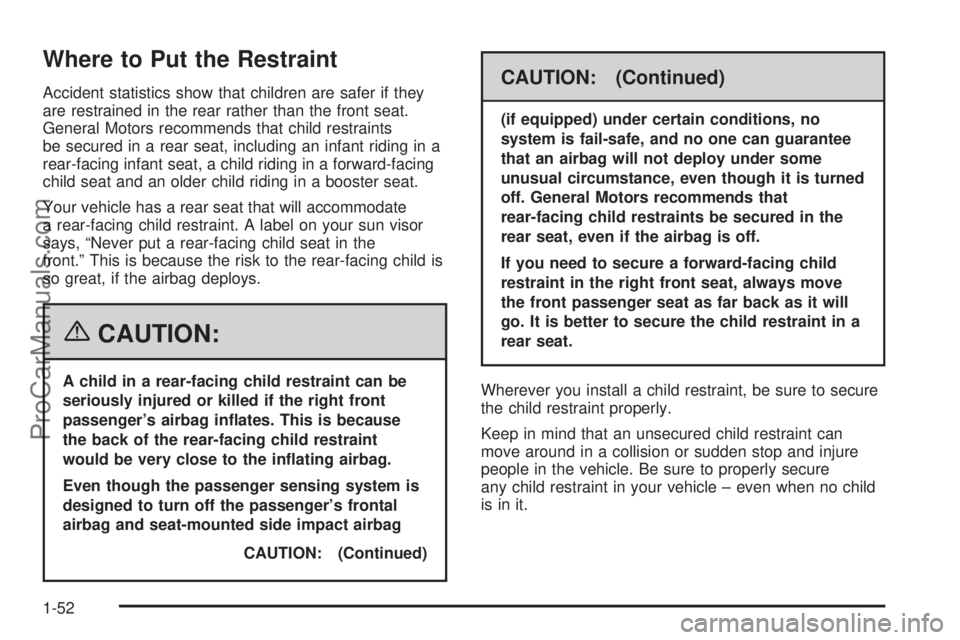
Where to Put the Restraint
Accident statistics show that children are safer if they
are restrained in the rear rather than the front seat.
General Motors recommends that child restraints
be secured in a rear seat, including an infant riding in a
rear-facing infant seat, a child riding in a forward-facing
child seat and an older child riding in a booster seat.
Your vehicle has a rear seat that will accommodate
a rear-facing child restraint. A label on your sun visor
says, “Never put a rear-facing child seat in the
front.” This is because the risk to the rear-facing child is
so great, if the airbag deploys.
{CAUTION:
A child in a rear-facing child restraint can be
seriously injured or killed if the right front
passenger’s airbag in ates. This is because
the back of the rear-facing child restraint
would be very close to the in ating airbag.
Even though the passenger sensing system is
designed to turn off the passenger’s frontal
airbag and seat-mounted side impact airbag
CAUTION: (Continued)
(if equipped) under certain conditions, no
system is fail-safe, and no one can guarantee
that an airbag will not deploy under some
unusual circumstance, even though it is turned
off. General Motors recommends that
rear-facing child restraints be secured in the
rear seat, even if the airbag is off.
If you need to secure a forward-facing child
restraint in the right front seat, always move
the front passenger seat as far back as it will
go. It is better to secure the child restraint in a
rear seat.
Wherever you install a child restraint, be sure to secure
the child restraint properly.
Keep in mind that an unsecured child restraint can
move around in a collision or sudden stop and injure
people in the vehicle. Be sure to properly secure
any child restraint in your vehicle – even when no child
is in it.
1-52
ProCarManuals.com
Page 59 of 462

Lower Anchors and Tethers for
Children (LATCH)
Your vehicle has the LATCH system. The LATCH
system holds a child restraint during driving or in a
crash. This system is designed to make installation of a
child restraint easier. The LATCH system uses
anchors in the vehicle and attachments on the child
restraint that are made for use with the LATCH system
Make sure that a LATCH-compatible child restraint
is properly installed using the anchors, or use the
vehicle’s safety belts to secure the restraint, following
the instructions that came with that restraint, and
also the instructions in this manual. When installing a
child restraint with a top tether, you must also use either
the lower anchors or the safety belts to properly
secure the child restraint. A child restraint must never
be installed using only the top tether and anchor.
In order to use the LATCH system in your vehicle, you
need a child restraint equipped with LATCH
attachments. The child restraint manufacturer will
provide you with instructions on how to use the child
restraint and its attachments. The following explains how
to attach a child restraint with these attachments in
your vehicle.Your vehicle has lower anchors and top tether anchors.
Your child restraint may have lower attachments and
a top tether.
Not all vehicle seating positions or child restraints have
lower anchors and attachments or top tether anchors
and attachments.
Lower Anchors
Lower anchors (A) are metal bars built into the vehicle.
There are two lower anchors for each LATCH seating
position that will accommodate a child restraint with
lower attachments (B).
1-53
ProCarManuals.com
Page 60 of 462

Top Tether Anchor
A top tether (A, C) anchors the top of the child restraint
to the vehicle. A top tether anchor is built into the
vehicle. The top tether attachment (B) on the child
restraint connects to the top tether anchor in the vehicle
in order to reduce the forward movement and rotation
of the child restraint during driving or in a crash.Your child restraint may have a single tether (A) or a
dual tether (C). Either will have a single attachment (B)
to secure the top tether to the anchor.
Some top tether-equipped child restraints are designed
for use with or without the top tether being attached.
Others require the top tether always to be attached. In
Canada, the law requires that forward-facing child
restraints have a top tether, and that the tether be
attached. In the United States, some child restraints also
have a top tether. Be sure to read and follow the
instructions for your child restraint.
If the child restraint does not have a top tether, one can
be obtained, in kit form, for many child restraints. Ask
the child restraint manufacturer whether or not a kit
is available.
1-54
ProCarManuals.com
Page 61 of 462
Lower Anchor and Top Tether Anchor
Locations
i(Top Tether Anchor):
Seating positions with top
tether anchors.
j(Lower Anchor):
Seating positions with
two lower anchors.
i(Top Tether Anchor):
Seating positions with top
tether anchors.To assist you in locating
the lower anchors, each
seating position with lower
anchors has two labels,
near the crease between
the seatback and the
seat cushion, showing
where the anchors
are located.
For the second row seating positions, the top tether
anchors are located on the seatback, near the base of
each seat. Be sure to use an anchor located on the
same side of the vehicle as the seating position where
the child restraint will be placed.
Second Row
Third Row
1-55
ProCarManuals.com
Page 62 of 462
For the center third row position, if equipped, the top
tether anchor is located on the seatback, near the center
of the third row seating position. This anchor can
accommodate only one top tether.Do not secure a child restraint in the right front
passenger’s position or in the third row outboard
positions, if equipped, if a national or local law requires
that the top tether be attached, or if the instructions
that come with the child restraint say that the top tether
must be attached. There is no place to attach the
top tether in this position.
Accident statistics show that children are safer if they
are restrained in the rear rather than the front seat. See
Where to Put the Restraint on page 1-52for additional
information. Second Row
Third Row
1-56
ProCarManuals.com
Page 63 of 462

Securing a Child Restraint Designed for
the LATCH System
{CAUTION:
If a LATCH-type child restraint is not attached
to anchors, the restraint will not be able to
protect the child correctly. In a crash, the child
could be seriously injured or killed. Make sure
that a LATCH-type child restraint is properly
installed using the anchors, or use the
vehicle’s safety belts to secure the restraint,
following the instructions that came with that
restraint, and also the instructions in this
manual.
{CAUTION:
Each top tether anchor and lower anchor in the
vehicle is designed to hold only one child
restraint. Attaching more than one child
restraint to a single anchor could cause the
anchor or attachment to come loose or even
break during a crash. A child or others could
be injured if this happens. To help prevent
injury to people and damage to your vehicle,
attach only one child restraint per anchor.
1. Attach and tighten the lower attachments to the
lower anchors. If the child restraint does not have
lower attachments or the desired seating position
does not have lower anchors, secure the child
restraint with the top tether and the safety belts.
Refer to your child restraint manufacturer
instructions and the instructions in this manual.
1.1. Find the lower anchors for the desired
seating position.
1.2. Put the child restraint on the seat.
1.3. Attach and tighten the lower attachments on
the child restraint to the lower anchors.
1-57
ProCarManuals.com
Page 64 of 462

2. If the child restraint manufacturer recommends that
the top tether be attached, attach and tighten the
top tether to the top tether anchor, if equipped.
Refer to the child restraint instructions and
the following steps:
2.1. Find the top tether anchor.
2.2. Route, attach, and tighten the top tether
according to your child restraint instructions
and the following instructions:
If the position you are
using does not have a
head restraint and you are
using a single tether,
route the tether over the
seatback.
If the position you are
using does not have a
head restraint and you are
using a dual tether,
route the tether over the
seatback.If the position you are
using has an adjustable
head restraint and you are
using a dual tether,
route the tether around the
head restraint.
If the position you are using
has an adjustable head
restraint and you are using
a single tether, route the
tether under the head
restraint and in between the
head restraint posts.
3. Push and pull the child restraint in different
directions to be sure it is secure.
1-58
ProCarManuals.com