2006 NISSAN XTERRA roof
[x] Cancel search: roofPage 10 of 304

1. Roof rack (P. 2-39)
2. Vehicle loading (P. 9-12)
3. Rear window defrost (P. 2-22)
4. Rear window washer (P.2-22)
5. Lift gate (P. 3-9)
6. Spare tire (P.6-2)
7. Replacing bulbs (P. 8-27)
8. Fuel-filler door (P.3-9)
9. Child safety rear door lock (P.3-5)
See the page number indicated in paren-
theses for operating details.
WII0057
EXTERIOR REAR
0-4Illustrated table of contents
ZREVIEW COPYÐ2006 Xterra(xtr)
Owners ManualÐUSA_English(nna)
07/29/05Ðroot
X
Page 62 of 304

WARNING
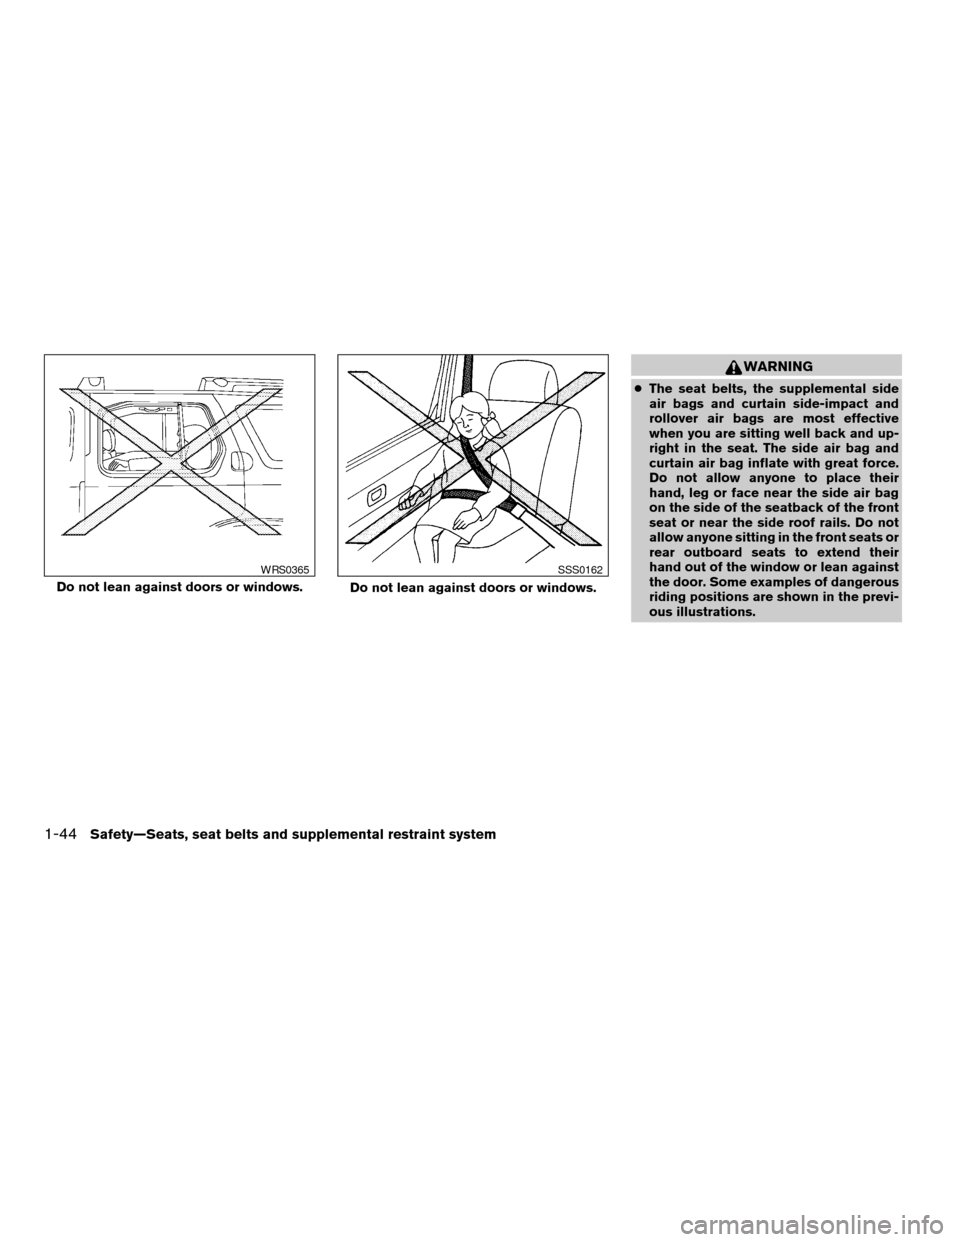
cThe seat belts, the supplemental side
air bags and curtain side-impact and
rollover air bags are most effective
when you are sitting well back and up-
right in the seat. The side air bag and
curtain air bag inflate with great force.
Do not allow anyone to place their
hand, leg or face near the side air bag
on the side of the seatback of the front
seat or near the side roof rails. Do not
allow anyone sitting in the front seats or
rear outboard seats to extend their
hand out of the window or lean against
the door. Some examples of dangerous
riding positions are shown in the previ-
ous illustrations.
Do not lean against doors or windows.
WRS0365
Do not lean against doors or windows.
SSS0162
1-44Safety—Seats, seat belts and supplemental restraint system
ZREVIEW COPYÐ2006 Xterra(xtr)
Owners ManualÐUSA_English(nna)
07/29/05Ðdebbie
X
Page 69 of 304

Supplemental side-impact air bag (if
so equipped) and curtain side-impact
and rollover air bags (if so equipped)
system
The supplemental side-impact air bags are lo-
cated in the outside of the seatback of the front
seats. The supplemental curtain side-impact and
rollover air bags are located in the side roof rails
in all 3 rows. These systems are designed to meet
voluntary guidelines to help reduce the risk of
injury to out-of-position occupants.However,
all of the information, cautions and warn-
ings in this manual still apply and must be
followed.The supplemental side air bags andcurtain side-impact and rollover air bags are de-
signed to inflate in higher severity side collisions,
although they may inflate if the forces in another
type of collision are similar to those of a higher
severity side impact. They are designed to inflate
on the side where the vehicle is impacted. They
may not inflate in certain side collisions.
Curtain side-impact and rollover air bags are also
designed to inflate in certain types of rollover
collisions or near rollovers.
Vehicle damage (or lack of it) is not always an
indication of proper supplemental side air bag
and curtain side-impact and rollover air bag op-
eration.
When the supplemental side air bag and curtain
air bags inflate, a fairly loud noise may be heard,
followed by release of smoke. This smoke is not
harmful and does not indicate a fire. Care should
be taken not to inhale it, as it may cause irritation
and choking. Those with a history of a breathing
condition should get fresh air promptly.
Supplemental side air bags, along with the use of
seat belts, help to cushion the impact force on
the chest of the front occupants. Curtain side-
impact and rollover air bags help to cushion the
impact force to the head of occupants in the front
and rear outboard seating positions in all rows.
They can help save lives and reduce serious
injuries. However, an inflating side air bag, orcurtain air bag may cause abrasions or other
injuries. Supplemental side air bags and curtain
side-impact and rollover air bags do not provide
restraint to the lower body.
The seat belts should be correctly worn and the
driver and passenger seated upright as far as
practical away from the supplemental side air
bag. Rear seat passengers should be seated as
far away as practical from the door finishers and
side roof rails. The side air bags and curtain air
bag inflate quickly in order to help protect the
occupants. Because of this, the force of the side
air bag and curtain air bag inflating can increase
the risk of injury if the occupant is too close to, or
is against, these air bag modules during inflation.
The side air bag will deflate quickly after the
collision is over.
The curtain side-impact and rollover air bag will
remain inflated for a short time.
The supplemental side air bags and curtain
side-impact and rollover air bags operate
only when the ignition switch is in the ON
or START positions.
After turning the ignition key to the ON
position, the supplemental air bag warning
light illuminates. The supplemental air bag
warning light will turn off after about 7
seconds if the system is operational.
LRS0592
Safety—Seats, seat belts and supplemental restraint system1-51
ZREVIEW COPYÐ2006 Xterra(xtr)
Owners ManualÐUSA_English(nna)
07/29/05Ðdebbie
X
Page 75 of 304

Cargo area storage............................2-36
Luggage hooks................................2-36
Cargo nets...................................2-38
Roof rack.....................................2-39
Windows........................................2-42Power windows (if so equipped)................2-42
Manual windows..............................2-44
Interior lights.....................................2-44
Map lights.......................................2-45
Cargo light......................................2-45
ZREVIEW COPYÐ2006 Xterra(xtr)
Owners ManualÐUSA_English(nna)
07/29/05Ðdebbie
X
Page 113 of 304

To install the removable left-hand luggage side
net
sA, attach the net to the retainers. To remove,
detach the net from the retainers.
The smaller left-hand luggage side net is not
removable.
ROOF RACK
Always evenly distribute the cargo on the roof
rack.The maximum total load including the
gear basket is 150 lb (68 kg) evenly distrib-
uted. The maximum total load for the gear
basket is 30 lb (13 kg) evenly distributed.Becareful that your vehicle does not exceed the
Gross Vehicle Weight Rating (GVWR) or the
Gross Axle Weight Ratings (GAWR front and
rear) . The GVWR and GAWR are located on the
F.M.V.S.S. label (located on the driver’s side door
jamb pillar) . For more information regarding
GVWR and GAWR, refer to “Vehicle loading
Left-hand luggage side nets
LIC0867
WIC0868
Instruments and controls2-39
ZREVIEW COPYÐ2006 Xterra(xtr)
Owners ManualÐUSA_English(nna)
08/01/05Ðdebbie
X
Page 114 of 304

information” in the “Technical and consumer in-
formation” section later in this manual.
The crossbars can be adjusted or removed. Use
the Torxdriver provided in the tool kit to loosen
both crossbar adjusting screws.
To adjust:
1. Loosen the adjusting screws with the
Torxdriver
s1by turning counterclockwise
sA.
2. When the clamp is loosened, move the
crossbar so the cargo can be positioned on
the crossbar
sB.
3. Tighten the crossbar adjusting screws with
the Torxdriver by turning clockwise.
4. Secure the cargo with rope.
5. Always check the tightness of the crossbar
adjusting screws.
To remove:
1. Loosen the adjusting screws with the
Torxdriver
s1by turning counterclockwise
sA.
2. Rotate the clamps
sC.
3. Remove the crossbar.
4. Reverse to install.5. Always check the tightness of the crossbar
adjusting screws.
WARNING
Properly secure all cargo with ropes or
straps to help prevent it from sliding or
shifting. In a sudden stop or collision, un-
secured cargo could cause personal
injury.
CAUTION
cUse care when placing or removing
items from the roof rack. If you cannot
comfortably lift the items onto the roof
rack from the ground, use a ladder or
stool.
cDo not place items on top of the gear
basket lid. Doing so could damage the
lid.
2-40Instruments and controls
ZREVIEW COPYÐ2006 Xterra(xtr)
Owners ManualÐUSA_English(nna)
08/01/05Ðdebbie
X
Page 145 of 304

the vehicle outside of any metal or large building
for satellite radio to receive all of the necessary
data.
No satellite radio reception is available and “NO
SAT” is displayed when the SAT band option is
selected unless optional satellite receiver and
antenna are installed and an XMTor SIRIUS™
satellite radio service subscription is active. Sat-
ellite radio can only be installed in vehicles that
were factory pre-wired for satellite radio. Satellite
radio is not available in Alaska, Hawaii and Guam.
Satellite radio performance may be affected if
cargo carried on the roof blocks the satellite radio
signal.
If possible, do not put cargo over the satellite
antenna.
AUDIO OPERATION PRECAUTIONS
Compact disc (CD) player
cOnly use high quality 4.7 inches (12 cm)
round discs that have the “COMPACTdisc DIGITAL AUDIO” logo on the disc
or packaging.
cDuring cold weather or rainy days, the
player may malfunction due to the hu-
midity. If this occurs, remove the CD
and dehumidify or ventilate the player
completely.
cThe player may skip while driving on
rough roads.
cThe CD player sometimes cannot func-
tion when the compartment tempera-
ture is extremely high or low.
Decrease/increase the temperature
before use.
cDo not expose the CD to direct sun-
light.
cCDs that are in poor condition or are
dirty, scratched or covered with finger-
prints may not work properly.
cThe following CDs may not work prop-
erly:
cCopy control compact discs (CCCD)
cRecordable compact discs (CD-R)
cRewritable compact discs (CD-RW)
LHA0099
Heater, air conditioner and audio systems4-11
ZREVIEW COPYÐ2006 Xterra(xtr)
Owners ManualÐUSA_English(nna)
08/01/05Ðdebbie
X
Page 168 of 304

DRIVING SAFETY PRECAUTIONS
Your NISSAN is designed for both normal and
off-road use. However, avoid driving in deep wa-
ter or mud as your NISSAN is mainly designed for
leisure use, unlike a conventional off-road ve-
hicle.
Remember that two-wheel drive models are less
capable than four-wheel drive models for rough
road driving and extrication when stuck in deep
snow or mud, or the like.
Please observe the following precautions:
WARNING
cDrive carefully when off the road and
avoid dangerous areas. Every person
who drives or rides in this vehicle
should be seated with their seat belt
fastened. This will keep you and your
passengers in position when driving
over rough terrain.
cDo not drive across steep slopes. In-
stead drive either straight up or straight
down the slopes. Off-road vehicles can
tip over sideways much more easily
than they can forward or backward.cMany hills are too steep for any vehicle.
If you drive up them, you may stall. If
you drive down them, you may not be
able to control your speed. If you drive
across them, you may roll over.
cDo not shift gears while driving on
downhill grades as this could cause
loss of control of the vehicle.
cStay alert when driving to the top of a
hill. At the top there could be a drop-off
or other hazard that could cause an
accident.
cIf your engine stalls or you cannot make
it to the top of a steep hill, never at-
tempt to turn around. Your vehicle
could tip or roll over. Always back
straight down in R (Reverse) gear. Never
back down in N (Neutral) or with the
clutch depressed (manual transmission
vehicles) , using only the brake, as this
could cause loss of control.
cHeavy braking going down a hill could
cause your brakes to overheat and fade,
resulting in loss of control and an acci-
dent. Apply brakes lightly and use a low
gear to control your speed. Use the Hill
Descent Control feature (if so
equipped) .cUnsecured cargo can be thrown around
when driving over rough terrain. Prop-
erly secure all cargo so it will not be
thrown forward and cause injury to you
or your passengers.
cTo avoid raising the center of gravity
excessively, do not exceed the rated
capactiy of the roof rack/gear bin (if so
equipped) and evenly distribute the
load. Secure heavy loads in the cargo
area as far forward and as low as pos-
sible. Do not equip the vehicle with tires
larger than specified in this manual.
This could cause your vehicle to roll
over.
cDo not grip the inside or spokes of the
steering wheel when driving off-road.
The steering wheel could move sud-
denly and injure your hands. Instead
drive with your fingers and thumbs on
the outside of the rim.
cBefore operating the vehicle, ensure
that the driver and all passengers have
their seat belts fastened.
cAlways drive with the floor mats in
place as the floor may become hot.
5-6Starting and driving
ZREVIEW COPYÐ2006 Xterra(xtr)
Owners ManualÐUSA_English(nna)
08/01/05Ðdebbie
X