2006 NISSAN QUEST window
[x] Cancel search: windowPage 93 of 352
Low windshield washer fluid
warning light
This light comes on when the windshield washer
fluid is at a low level. Add windshield washer fluid
as necessary. See “Window washer fluid” in the
“Maintenance and do-it-yourself” section of this
manual.
Seat belt warning light and
chime
The light and chime remind you to fasten your
seat belts. The light illuminates whenever the
ignition key is turned to the ON or START position
and remains illuminated until the driver’s seat belt
is fastened. At the same time, the chime sounds
for about 6 seconds unless the driver’s seat belt
is securely fastened.
The seat belt warning light may also illuminate if
the front passenger’s seat belt is not fastened
when the front passenger’s seat is occupied (if
so equipped) . For 5 seconds after the ignition
switch is in the ON position, the system does not
activate the warning light for the front passenger.
Refer to “Seat belts” in the “Safety—Seats, seat
belts and supplemental restraint system” section
for precautions on seat belt usage.
Supplemental air bag warning
light
When the ignition key is in the ON or START
position, the supplemental air bag warning light
illuminates for about 7 seconds and then turns
off. This means the system is operational.
If any of the following conditions occur, the
supplemental front air bag, supplemental side air
bag (if so equipped) , curtain side-impact air
bags, and pre-tensioner seat belt systems need
servicing and your vehicle must be taken to a
NISSAN dealer:
cThe supplemental air bag warning light re-
mains on after approximately 7 seconds.
cThe supplemental air bag warning light
flashes intermittently.
cThe supplemental air bag warning light does
not come on at all.
Unless checked and repaired, the supplemental
restraint system (air bag system) and/or the pre-
tensioner seat belts may not function properly.
For additional details see “Supplemental restraint
system” in the “Safety—Seats, seat belts and
supplemental restraint system” section of this
manual.
WARNING
If the supplemental air bag warning light
is on, it could mean that the supplemental
front air bag, supplemental side air bag (if
so equipped) , curtain side-impact air bag
systems and/or pre-tensioner seat belt
systems will not operate in an accident. To
help avoid injury to yourself or others,
have your vehicle checked by a NISSAN
dealer as soon as possible.
INDICATOR LIGHTS
Automatic transmission
position indicator light
When the ignition key is turned to the ON posi-
tion, the indicator in the tachometer shows the
automatic transmission selector lever position.
See “Driving the vehicle” in the “Starting and
driving” section of this manual.
Cruise main switch indicator
light
The light comes on when the cruise control main
switch is pushed. The light goes out when the
main switch is pushed again. When the cruise
main switch indicator light comes on, the cruise
control system is operational.
Instruments and controls2-11
ZREVIEW COPYÐ2006 Quest(van)
Owners ManualÐUSA_English(nna)
05/27/05Ðtbrooks
X
Page 96 of 352

AUDIBLE REMINDERS
Brake pad wear warning
The front disc brake pads have audible wear
warnings. When a front brake pad requires re-
placement, it makes a high pitched scraping
sound when the vehicle is in motion, whether or
not the brake pedal is depressed. Have the
brakes checked as soon as possible if the warn-
ing sound is heard.
Key reminder chime
A chime sounds if the driver’s door is opened
while the key is left in the ignition switch. Remove
the key and take it with you when leaving the
vehicle.
Light reminder chime
With the ignition switch in the OFF position, a
chime sounds when the driver’s door is opened if
the headlights or parking lights are on.
Turn the headlight control switch off before leav-
ing the vehicle.
Low fuel warning chime
A chime sounds briefly when the low fuel warning
light initially comes on. If the low fuel warning light
turns off during the driving trip and then turns on
again, the chime will not sound.Your vehicle has two types of security systems:
cVehicle security system
cNISSAN Vehicle Immobilizer System
VEHICLE SECURITY SYSTEM
The vehicle security system provides visual and
audible alarm signals if someone opens the doors
when the system is armed. It is not, however, a
motion detection type system that activates when
a vehicle is moved or when a vibration occurs.
The system helps deter vehicle theft but cannot
prevent it, nor can it prevent the theft of interior or
exterior vehicle components in all situations. Al-
ways secure your vehicle even if parking for abrief period. Never leave your keys in the ignition,
and always lock the vehicle when unattended. Be
aware of your surroundings, and park in secure,
well-lit areas whenever possible.
Many devices offering additional protection, such
as component locks, identification markers, and
tracking systems, are available at auto supply
stores and specialty shops. Your NISSAN dealer
may also offer such equipment. Check with your
insurance company to see if you may be eligible
for discounts for various theft protection features.
How to arm the vehicle security
system
1. Close all windows.(The system can be
armed even if the windows are open.)
2. Remove the key from the ignition switch.
3. Close all doors. Lock all doors. The doors
can be locked with the key, power door lock
switch or with the keyfob.
Keyfob operation:
cPush the
button on the keyfob.
All doors lock. The hazard lights flash
twice and the horn beeps once to indicate
all doors are locked.
cWhen the
button is pushed with
all doors locked, the hazard lights flash
WIC0834
SECURITY SYSTEMS
2-14Instruments and controls
ZREVIEW COPYÐ2006 Quest(van)
Owners ManualÐUSA_English(nna)
05/27/05Ðtbrooks
X
Page 99 of 352
NOTE:
You can turn on or turn off the driving
speed dependent intermittent wiper func-
tion. Refer to “Personalized settings
menu” (vehicles with monochrome screen)
or “Vehicle electronic systems” (vehicles
with color screen) in the “Display screen,
heater, air conditioner and audio systems”
section later in this manual.
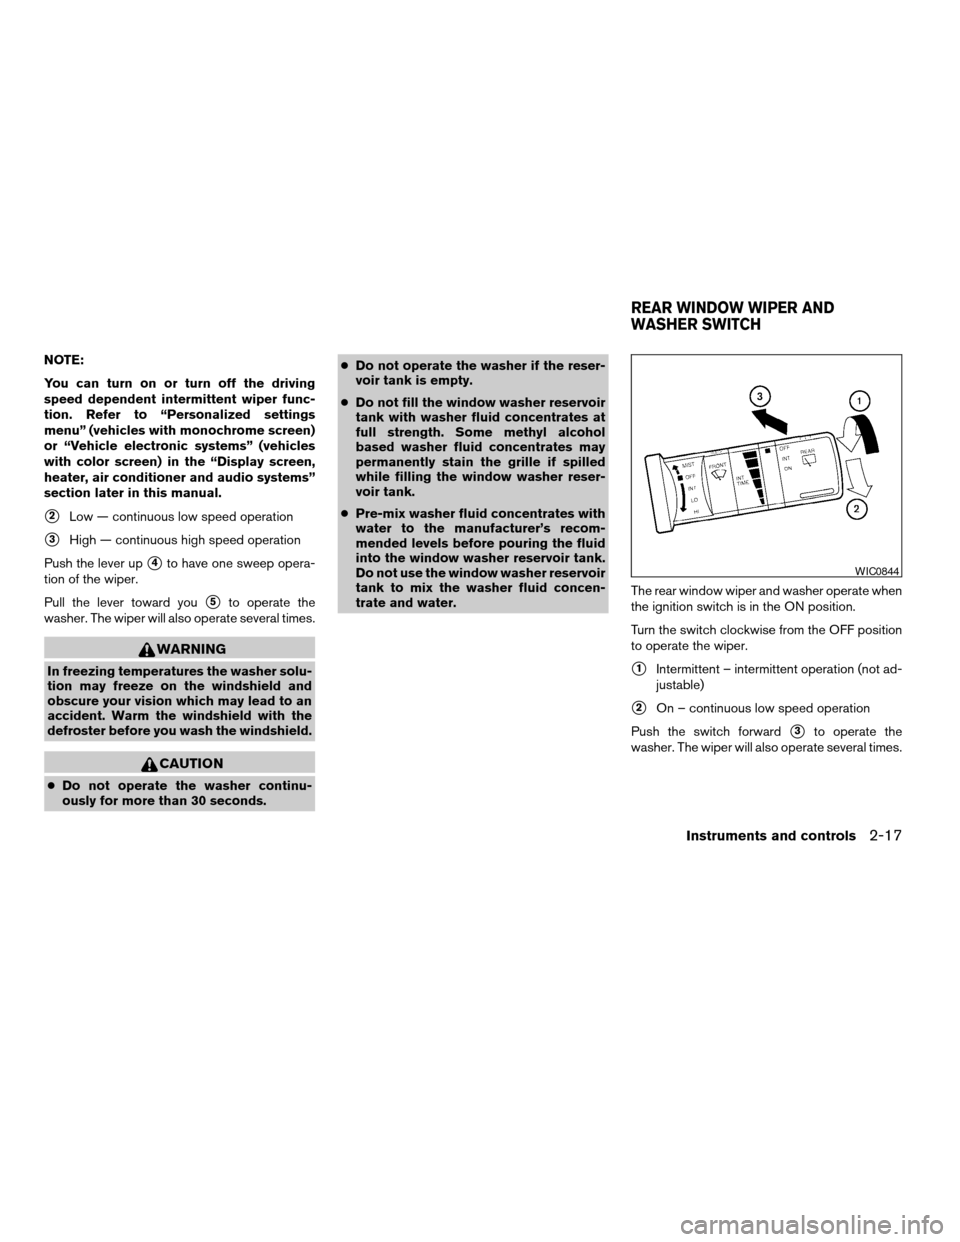
s2Low — continuous low speed operation
s3High — continuous high speed operation
Push the lever up
s4to have one sweep opera-
tion of the wiper.
Pull the lever toward you
s5to operate the
washer. The wiper will also operate several times.
WARNING
In freezing temperatures the washer solu-
tion may freeze on the windshield and
obscure your vision which may lead to an
accident. Warm the windshield with the
defroster before you wash the windshield.
CAUTION
cDo not operate the washer continu-
ously for more than 30 seconds.cDo not operate the washer if the reser-
voir tank is empty.
cDo not fill the window washer reservoir
tank with washer fluid concentrates at
full strength. Some methyl alcohol
based washer fluid concentrates may
permanently stain the grille if spilled
while filling the window washer reser-
voir tank.
cPre-mix washer fluid concentrates with
water to the manufacturer’s recom-
mended levels before pouring the fluid
into the window washer reservoir tank.
Do not use the window washer reservoir
tank to mix the washer fluid concen-
trate and water.The rear window wiper and washer operate when
the ignition switch is in the ON position.
Turn the switch clockwise from the OFF position
to operate the wiper.
s1Intermittent – intermittent operation (not ad-
justable)
s2On – continuous low speed operation
Push the switch forward
s3to operate the
washer. The wiper will also operate several times.
WIC0844
REAR WINDOW WIPER AND
WASHER SWITCH
Instruments and controls2-17
ZREVIEW COPYÐ2006 Quest(van)
Owners ManualÐUSA_English(nna)
05/27/05Ðtbrooks
X
Page 100 of 352
WARNING
In freezing temperatures the washer solu-
tion may freeze on the window and ob-
scure your vision. Warm the rear window
with the defroster before you wash the
rear window.
CAUTION
cDo not operate the washer continu-
ously for more than 30 seconds.
cDo not operate the washer if the reser-
voir tank is empty.
cDo not fill the window washer reservoir
tank with washer fluid concentrates at
full strength. Some methyl alcohol
based washer fluid concentrates may
permanently stain the grille if spilled
while filling the window washer reser-
voir tank.
cPre-mix washer fluid concentrates with
water to the manufacturer’s recom-
mended levels before pouring the fluid
into the window washer reservoir tank.
Do not use the window washer reservoir
tank to mix the washer fluid concen-
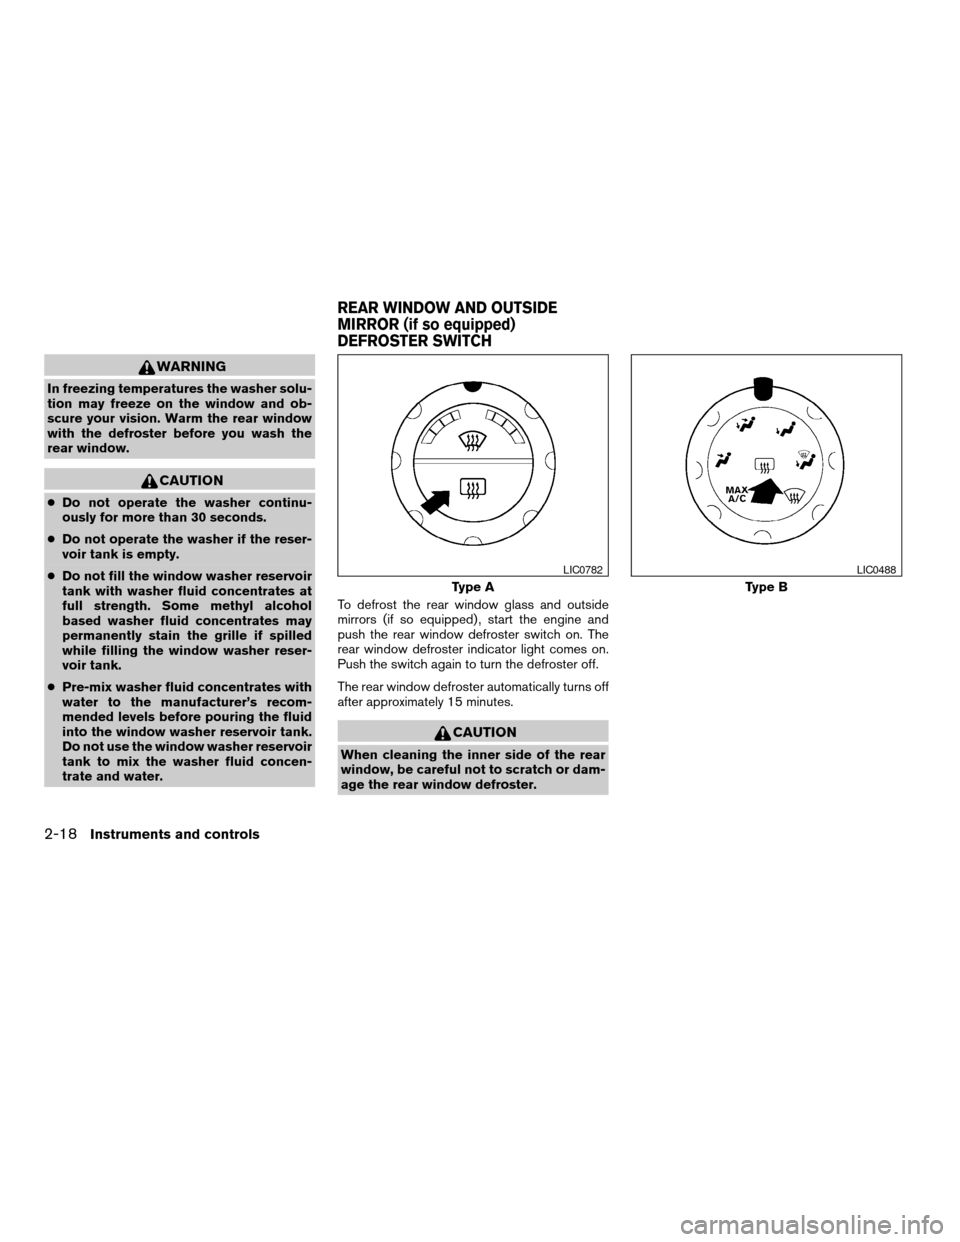
trate and water.To defrost the rear window glass and outside
mirrors (if so equipped) , start the engine and
push the rear window defroster switch on. The
rear window defroster indicator light comes on.
Push the switch again to turn the defroster off.
The rear window defroster automatically turns off
after approximately 15 minutes.
CAUTION
When cleaning the inner side of the rear
window, be careful not to scratch or dam-
age the rear window defroster.
Type A
LIC0782
Type B
LIC0488
REAR WINDOW AND OUTSIDE
MIRROR (if so equipped)
DEFROSTER SWITCH
2-18Instruments and controls
ZREVIEW COPYÐ2006 Quest(van)
Owners ManualÐUSA_English(nna)
05/27/05Ðtbrooks
X
Page 109 of 352
cAvoid using power outlets when the air
conditioner, headlights or rear window
defroster is on.
cBefore inserting or disconnecting a
plug, be sure the electrical accessory
being used is turned OFF.
cPush the plug in as far as it will go. If
good contact is not made, the plug may
overheat or the internal temperature
fuse may open.
cWhen not in use, be sure to close the
cap. Do not allow water to contact the
outlet.
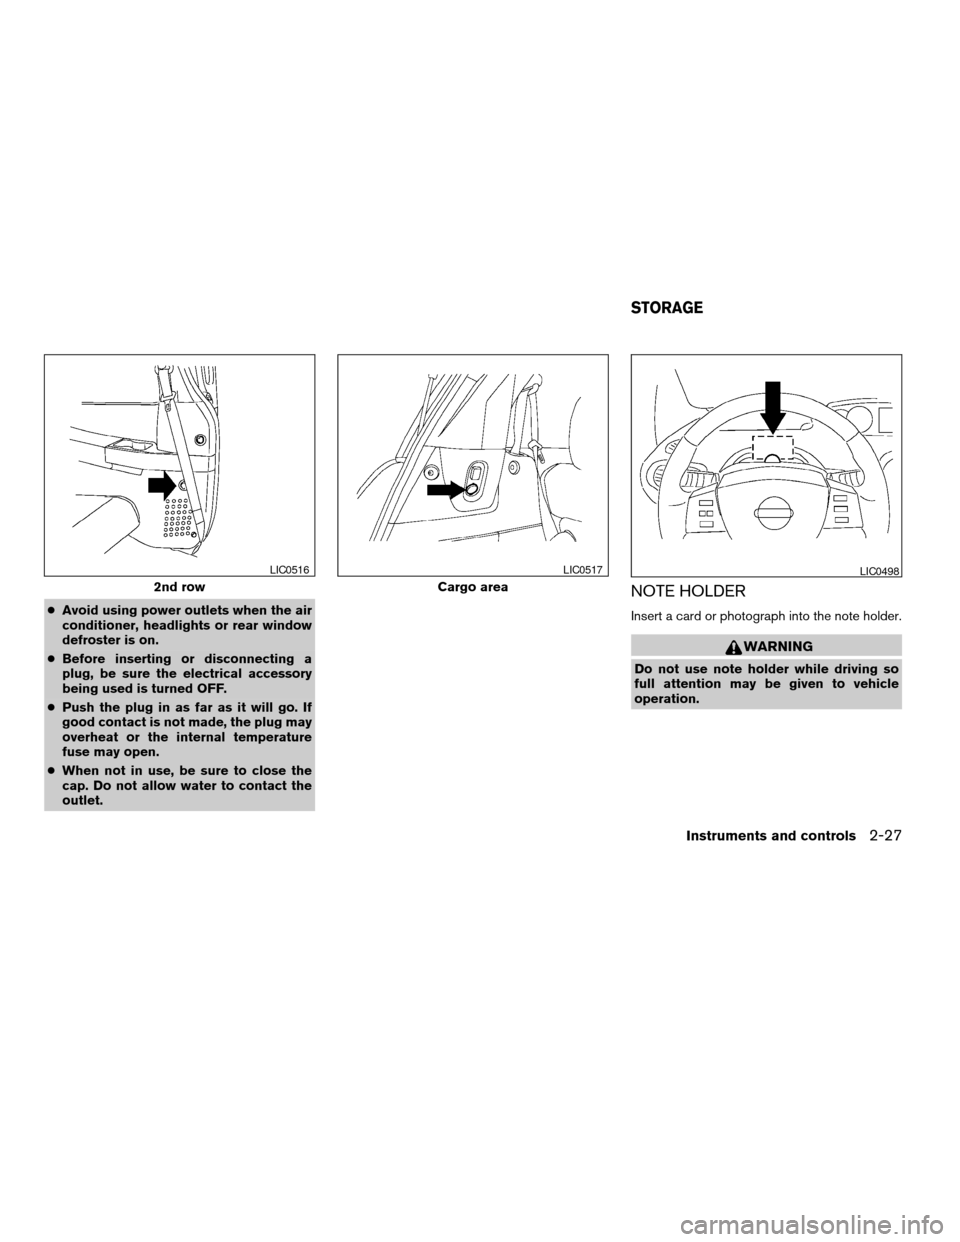
NOTE HOLDER
Insert a card or photograph into the note holder.
WARNING
Do not use note holder while driving so
full attention may be given to vehicle
operation.
2nd row
LIC0516
Cargo area
LIC0517LIC0498
STORAGE
Instruments and controls2-27
ZREVIEW COPYÐ2006 Quest(van)
Owners ManualÐUSA_English(nna)
05/27/05Ðtbrooks
X
Page 122 of 352
POWER WINDOWS
WARNING
cMake sure that all passengers have
their hands, etc. inside the vehicle while
it is in motion and before closing the
windows. Use the window lock switch
to prevent unexpected use of the power
windows.
cDo not leave children unattended inside
the vehicle. They could unknowingly ac-
tivate switches or controls and become
trapped in a window. Unattended chil-
dren could become involved in serious
accidents.
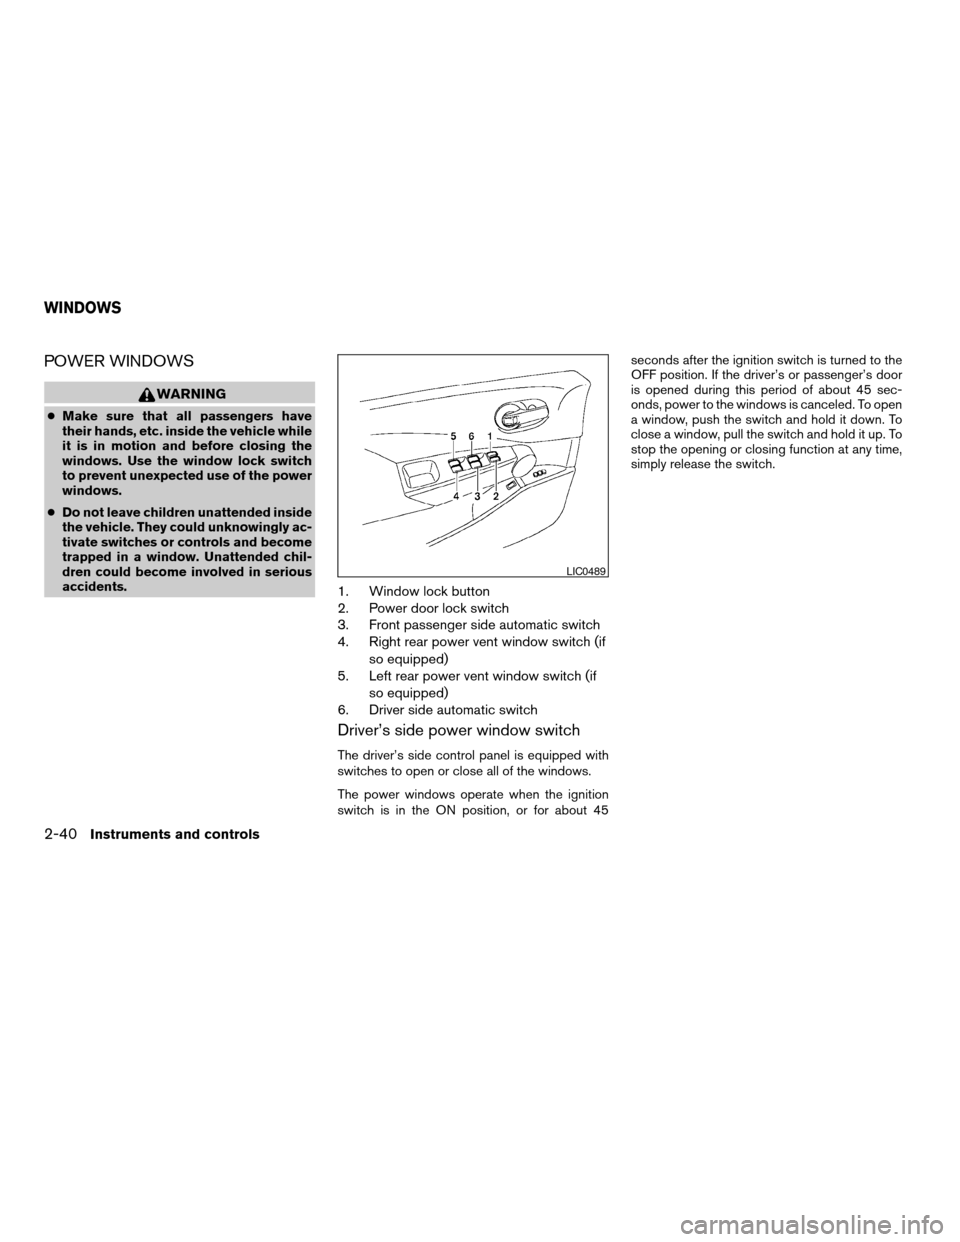
1. Window lock button
2. Power door lock switch
3. Front passenger side automatic switch
4. Right rear power vent window switch (if
so equipped)
5. Left rear power vent window switch (if
so equipped)
6. Driver side automatic switch
Driver’s side power window switch
The driver’s side control panel is equipped with
switches to open or close all of the windows.
The power windows operate when the ignition
switch is in the ON position, or for about 45seconds after the ignition switch is turned to the
OFF position. If the driver’s or passenger’s door
is opened during this period of about 45 sec-
onds, power to the windows is canceled. To open
a window, push the switch and hold it down. To
close a window, pull the switch and hold it up. To
stop the opening or closing function at any time,
simply release the switch.
LIC0489
WINDOWS
2-40Instruments and controls
ZREVIEW COPYÐ2006 Quest(van)
Owners ManualÐUSA_English(nna)
05/27/05Ðtbrooks
X
Page 123 of 352
Front passenger power window switch
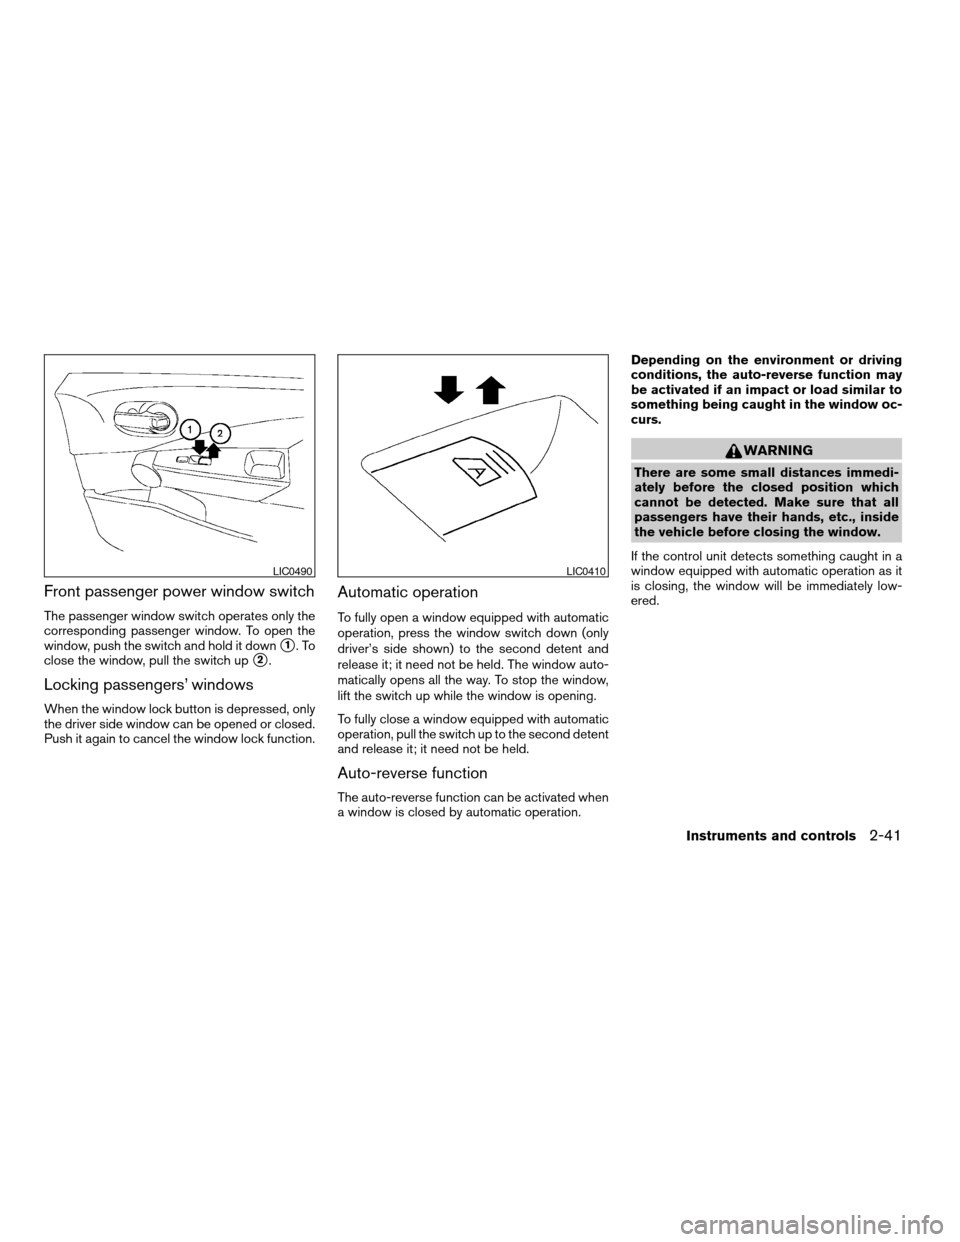
The passenger window switch operates only the
corresponding passenger window. To open the
window, push the switch and hold it down
s1.To
close the window, pull the switch up
s2.
Locking passengers’ windows
When the window lock button is depressed, only
the driver side window can be opened or closed.
Push it again to cancel the window lock function.
Automatic operation
To fully open a window equipped with automatic
operation, press the window switch down (only
driver’s side shown) to the second detent and
release it; it need not be held. The window auto-
matically opens all the way. To stop the window,
lift the switch up while the window is opening.
To fully close a window equipped with automatic
operation, pull the switch up to the second detent
and release it; it need not be held.
Auto-reverse function
The auto-reverse function can be activated when
a window is closed by automatic operation.Depending on the environment or driving
conditions, the auto-reverse function may
be activated if an impact or load similar to
something being caught in the window oc-
curs.
WARNING
There are some small distances immedi-
ately before the closed position which
cannot be detected. Make sure that all
passengers have their hands, etc., inside
the vehicle before closing the window.
If the control unit detects something caught in a
window equipped with automatic operation as it
is closing, the window will be immediately low-
ered.
LIC0490LIC0410
Instruments and controls2-41
ZREVIEW COPYÐ2006 Quest(van)
Owners ManualÐUSA_English(nna)
05/27/05Ðtbrooks
X
Page 124 of 352
POWER VENT WINDOWS (if so
equipped)
Use the vent window switches on the driver’s
side window controls to open and close the
power vent windows.
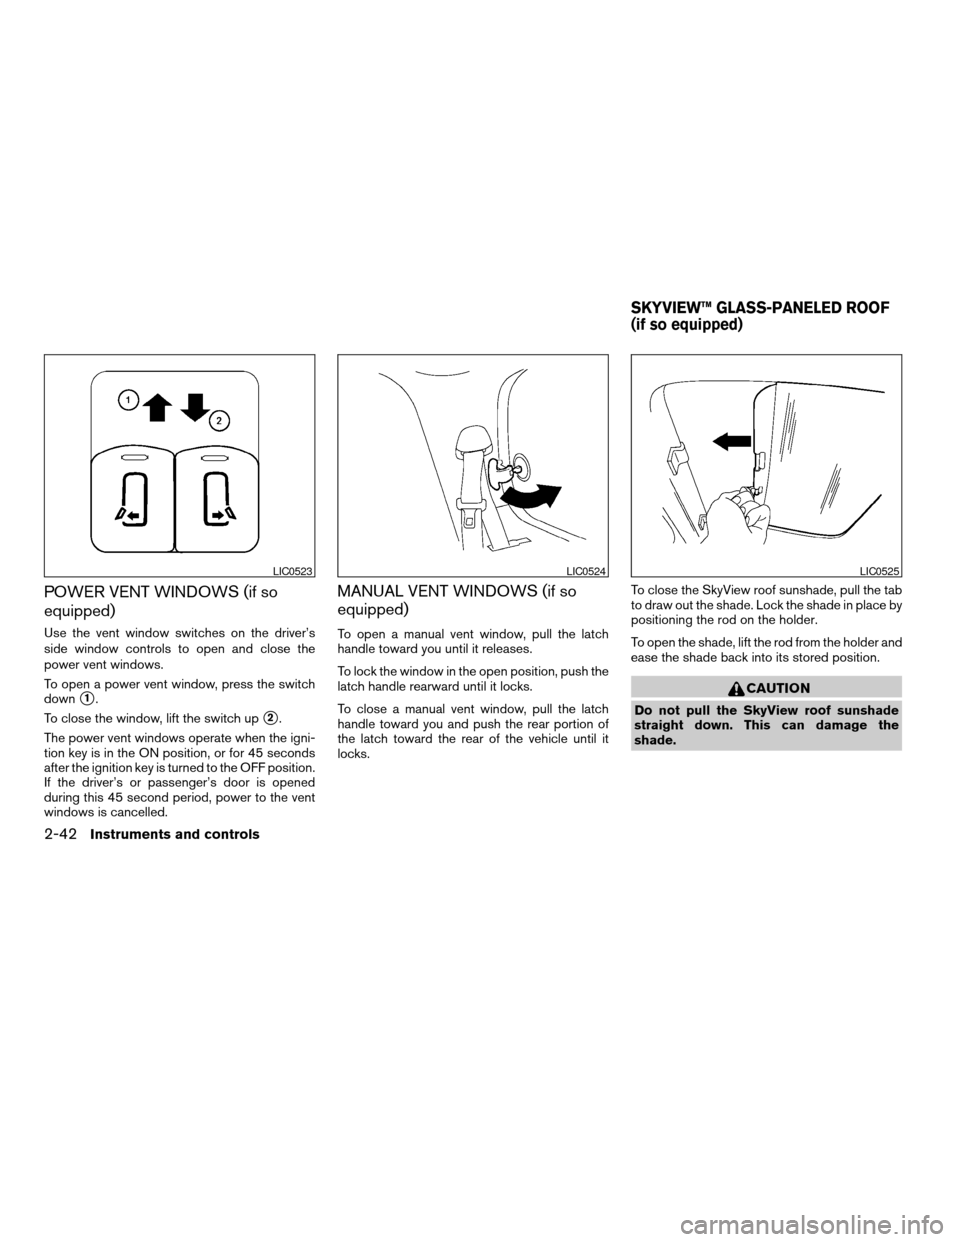
To open a power vent window, press the switch
down
s1.
To close the window, lift the switch up
s2.
The power vent windows operate when the igni-
tion key is in the ON position, or for 45 seconds
after the ignition key is turned to the OFF position.
If the driver’s or passenger’s door is opened
during this 45 second period, power to the vent
windows is cancelled.
MANUAL VENT WINDOWS (if so
equipped)
To open a manual vent window, pull the latch
handle toward you until it releases.
To lock the window in the open position, push the
latch handle rearward until it locks.
To close a manual vent window, pull the latch
handle toward you and push the rear portion of
the latch toward the rear of the vehicle until it
locks.To close the SkyView roof sunshade, pull the tab
to draw out the shade. Lock the shade in place by
positioning the rod on the holder.
To open the shade, lift the rod from the holder and
ease the shade back into its stored position.
CAUTION
Do not pull the SkyView roof sunshade
straight down. This can damage the
shade.
LIC0523LIC0524LIC0525
SKYVIEW™ GLASS-PANELED ROOF
(if so equipped)
2-42Instruments and controls
ZREVIEW COPYÐ2006 Quest(van)
Owners ManualÐUSA_English(nna)
05/27/05Ðtbrooks
X