2006 NISSAN QUEST wheel
[x] Cancel search: wheelPage 95 of 352

orFront passenger
air bag status light
The front passenger air bag status light (or) will be lit and the passenger front air
bag will be OFF depending on how the front
passenger seat is being used.
For front passenger air bag status light operation,
see “Front passenger air bag and status light” in
the “Safety — Seats, seat belts and supplemental
restraint system” section of this manual.
Security indicator light
This light blinks whenever the ignition switch is in
the LOCK, OFF or ACC position. This function
indicates the security system equipped on the
vehicle is operational.
For additional information, see “Security sys-
tems” later in this section.
Slip indicator light
This indicator light will blink when the traction
control system is limiting wheel spin. Slippery
road conditions may exist if the slip indicator
blinks on. If this happens, adjust your driving
accordingly.
The slip indicator light also comes on when you
turn the ignition key to the ON position. The lightwill turn off after about 2 seconds if the system is
operational. If the light does not come on or does
not go off, have the traction control system
checked by a NISSAN dealer.
Traction control system off
indicator light (if so equipped)
This indicator light comes on when the traction
control off switch is pushed to OFF. This indi-
cates the traction control system is not operating.
Push the traction control off switch again or re-
start the engine and the system will operate nor-
mally. See “Traction control system (TCS)” in the
“Starting and driving” section of this manual.
The traction control light also comes on when you
turn the ignition key to the ON position. The light
will turn off after about 2 seconds if the traction
control system (TCS) is operational. If the light
stays on or comes on along with the SLIP indica-
tor light while you are driving, have the traction
control system checked by a NISSAN dealer.
While the traction control system is operating,
you might feel slight vibration or hear the system
working when starting the vehicle or accelerat-
ing, but this is normal.
Turn signal/hazard indicator
lights
The appropriate light flashes when the turn signal
switch is activated.
Both lights flash when the hazard switch is turned
on.
Vehicle dynamic control off
indicator light (if so equipped)
This indicator light comes on when the vehicle
dynamic control off switch is pushed to OFF. This
indicates the vehicle dynamic control system is
not operating.
Push the vehicle dynamic control off switch again or
restart the engine and the system will operate nor-
mally. See “Vehicle dynamic control (VDC) system”
in the “Starting and driving” section of this manual.
The vehicle dynamic control light also comes on
when you turn the ignition key to the ON position.
The light will turn off after about 2 seconds if the
system is operational. If the light stays on or
comes on along with the SLIP indicator light
while you are driving, have the vehicle dynamic
control system checked by a NISSAN dealer.
While the vehicle dynamic control system is op-
erating, you might feel slight vibration or hear the
system working when starting the vehicle or ac-
celerating, but this is normal.
Instruments and controls2-13
ZREVIEW COPYÐ2006 Quest(van)
Owners ManualÐUSA_English(nna)
05/27/05Ðtbrooks
X
Page 106 of 352
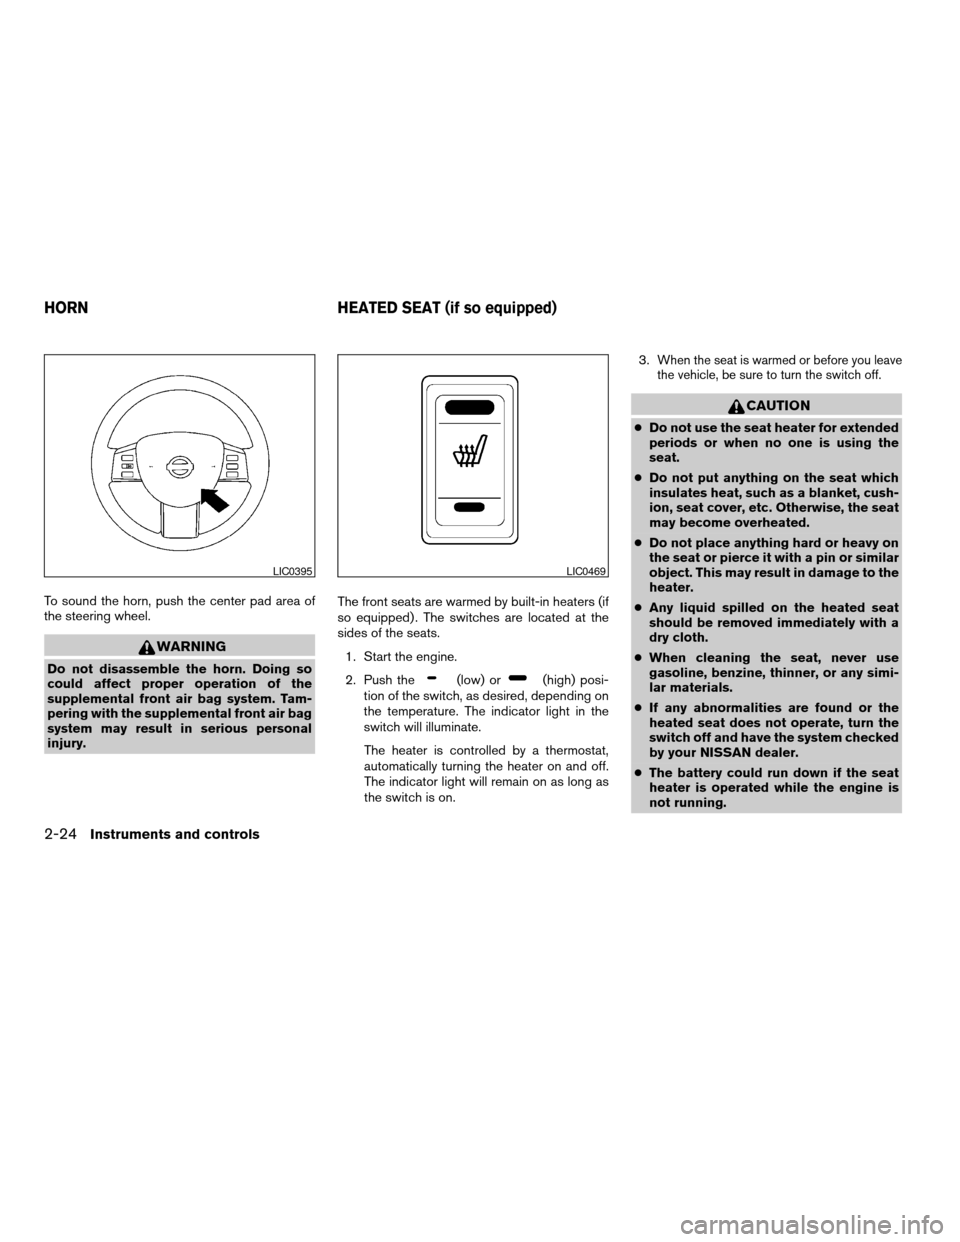
To sound the horn, push the center pad area of
the steering wheel.
WARNING
Do not disassemble the horn. Doing so
could affect proper operation of the
supplemental front air bag system. Tam-
pering with the supplemental front air bag
system may result in serious personal
injury.The front seats are warmed by built-in heaters (if
so equipped) . The switches are located at the
sides of the seats.
1. Start the engine.
2. Push the(low) or(high) posi-
tion of the switch, as desired, depending on
the temperature. The indicator light in the
switch will illuminate.
The heater is controlled by a thermostat,
automatically turning the heater on and off.
The indicator light will remain on as long as
the switch is on.3.
When the seat is warmed or before you leave
the vehicle, be sure to turn the switch off.
CAUTION
cDo not use the seat heater for extended
periods or when no one is using the
seat.
cDo not put anything on the seat which
insulates heat, such as a blanket, cush-
ion, seat cover, etc. Otherwise, the seat
may become overheated.
cDo not place anything hard or heavy on
the seat or pierce it with a pin or similar
object. This may result in damage to the
heater.
cAny liquid spilled on the heated seat
should be removed immediately with a
dry cloth.
cWhen cleaning the seat, never use
gasoline, benzine, thinner, or any simi-
lar materials.
cIf any abnormalities are found or the
heated seat does not operate, turn the
switch off and have the system checked
by your NISSAN dealer.
cThe battery could run down if the seat
heater is operated while the engine is
not running.
LIC0395LIC0469
HORN HEATED SEAT (if so equipped)
2-24Instruments and controls
ZREVIEW COPYÐ2006 Quest(van)
Owners ManualÐUSA_English(nna)
05/27/05Ðtbrooks
X
Page 107 of 352
The vehicle should be driven with the Traction Con-
trol System (TCS) on for most driving conditions.
If the vehicle is stuck in mud or snow, the TCS
reduces the engine output to reduce wheel spin.
The engine speed will be reduced even if the
accelerator is depressed to the floor. If maximum
engine power is needed to free a stuck vehicle,
turn the TCS off.
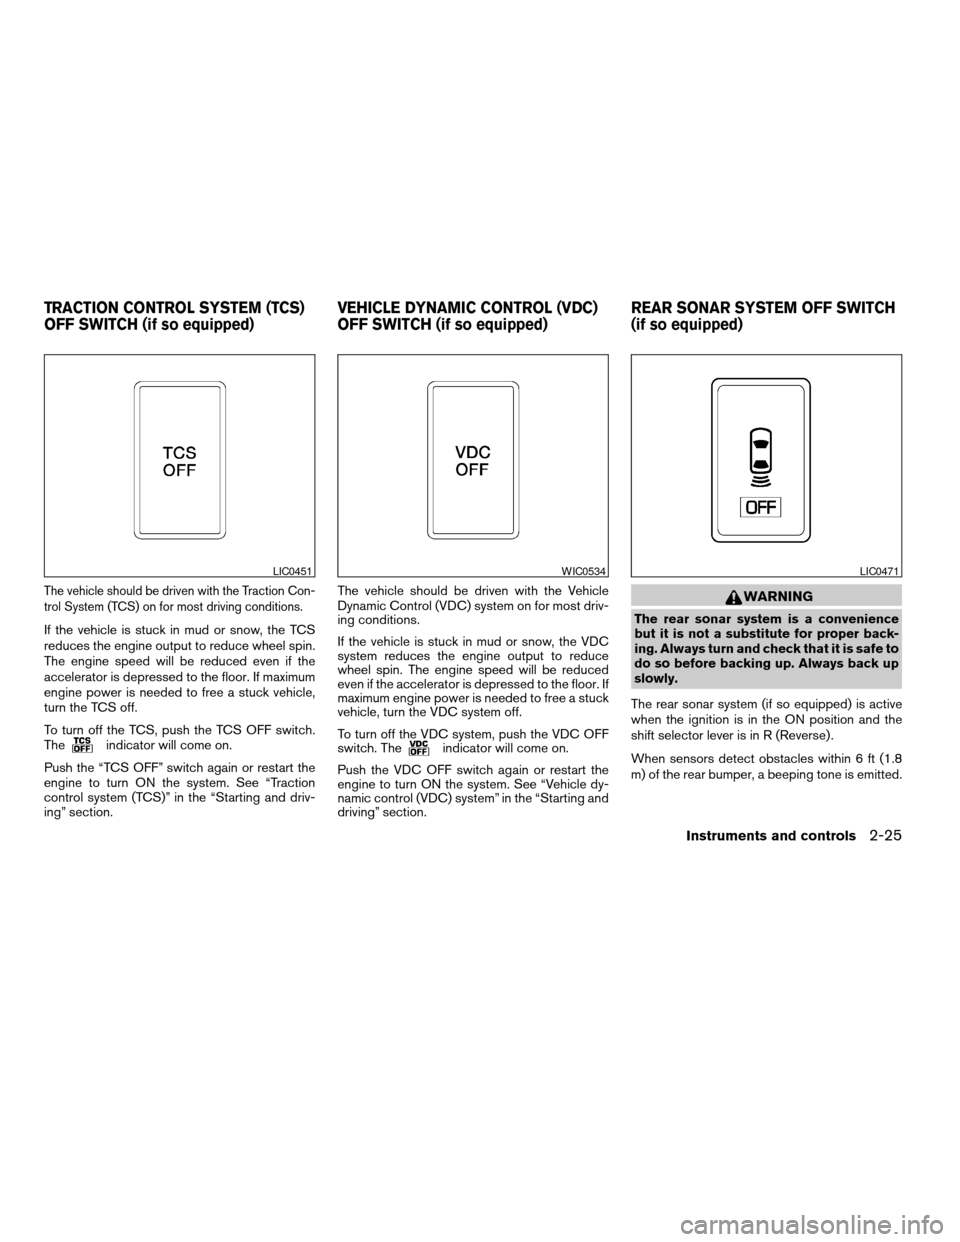
To turn off the TCS, push the TCS OFF switch.
The
indicator will come on.
Push the “TCS OFF” switch again or restart the
engine to turn ON the system. See “Traction
control system (TCS)” in the “Starting and driv-
ing” section.The vehicle should be driven with the Vehicle
Dynamic Control (VDC) system on for most driv-
ing conditions.
If the vehicle is stuck in mud or snow, the VDC
system reduces the engine output to reduce
wheel spin. The engine speed will be reduced
even if the accelerator is depressed to the floor. If
maximum engine power is needed to free a stuck
vehicle, turn the VDC system off.
To turn off the VDC system, push the VDC OFF
switch. Theindicator will come on.
Push the VDC OFF switch again or restart the
engine to turn ON the system. See “Vehicle dy-
namic control (VDC) system” in the “Starting and
driving” section.
WARNING
The rear sonar system is a convenience
but it is not a substitute for proper back-
ing. Always turn and check that it is safe to
do so before backing up. Always back up
slowly.
The rear sonar system (if so equipped) is active
when the ignition is in the ON position and the
shift selector lever is in R (Reverse) .
When sensors detect obstacles within 6 ft (1.8
m) of the rear bumper, a beeping tone is emitted.
LIC0451WIC0534LIC0471
TRACTION CONTROL SYSTEM (TCS)
OFF SWITCH (if so equipped)VEHICLE DYNAMIC CONTROL (VDC)
OFF SWITCH (if so equipped)REAR SONAR SYSTEM OFF SWITCH
(if so equipped)
Instruments and controls2-25
ZREVIEW COPYÐ2006 Quest(van)
Owners ManualÐUSA_English(nna)
05/27/05Ðtbrooks
X
Page 133 of 352

3 Pre-driving checks and adjustments
Keys .............................................3-2
Nissan vehicle immobilizer system keys...........3-2
Doors............................................3-3
Locking with key................................3-3
Locking with inside lock knob....................3-4
Locking with power door lock switch.............3-5
Operating the manual sliding door
(if so equipped)................................3-5
Using the main ON/OFF switch for the
power sliding door (if so equipped)...............3-6
Operating the power sliding door
(if so equipped)................................3-7
Child safety sliding door lock....................3-9
Remote keyless entry system.......................3-9
How to use remote keyless entry system.........3-10
Hood...........................................3-13
Lift gate.........................................3-14
Operating the manual lift gate...................3-14
Using the main ON/OFF switch for the
power lift gate (if so equipped)..................3-14Operating the power lift gate
(if so equipped)...............................3-15
Lift gate release...............................3-17
Fuel-filler door...................................3-18
Opener operation..............................3-18
Fuel filler cap..................................3-19
Steering wheel...................................3-20
Tilt operation..................................3-20
Pedal position adjustment (if so equipped)..........3-20
Sun visors.......................................3-21
Vanity mirrors.................................3-22
Mirrors..........................................3-22
Inside mirror (if so equipped)....................3-22
Automatic anti-glare rearview mirror
(if so equipped)...............................3-22
Outside mirrors...............................3-23
Automatic drive positioner (if so equipped)..........3-24
Memory storage function.......................3-25
Entry/exit function.............................3-26
System operation..............................3-27
ZREVIEW COPYÐ2006 Quest(van)
Owners ManualÐUSA_English(nna)
05/27/05Ðtbrooks
X
Page 152 of 352
cTighten until the fuel filler cap clicks.
Failure to tighten the fuel filler cap
properly may cause the
mal-
function indicator light (MIL) to illumi-
nate. If the
light illuminates be-
cause the fuel filler cap is loose or
missing, tighten or install the cap and
continue to drive the vehicle.
The
light should turn off after a
few driving trips. If the
light
does not turn off after a few driving
trips, have the vehicle inspected by a
NISSAN dealer.
cFor additional information, see the
“Malfunction indicator light (MIL)” in
the “Instruments and Controls” section
earlier in this manual.
TILT OPERATION
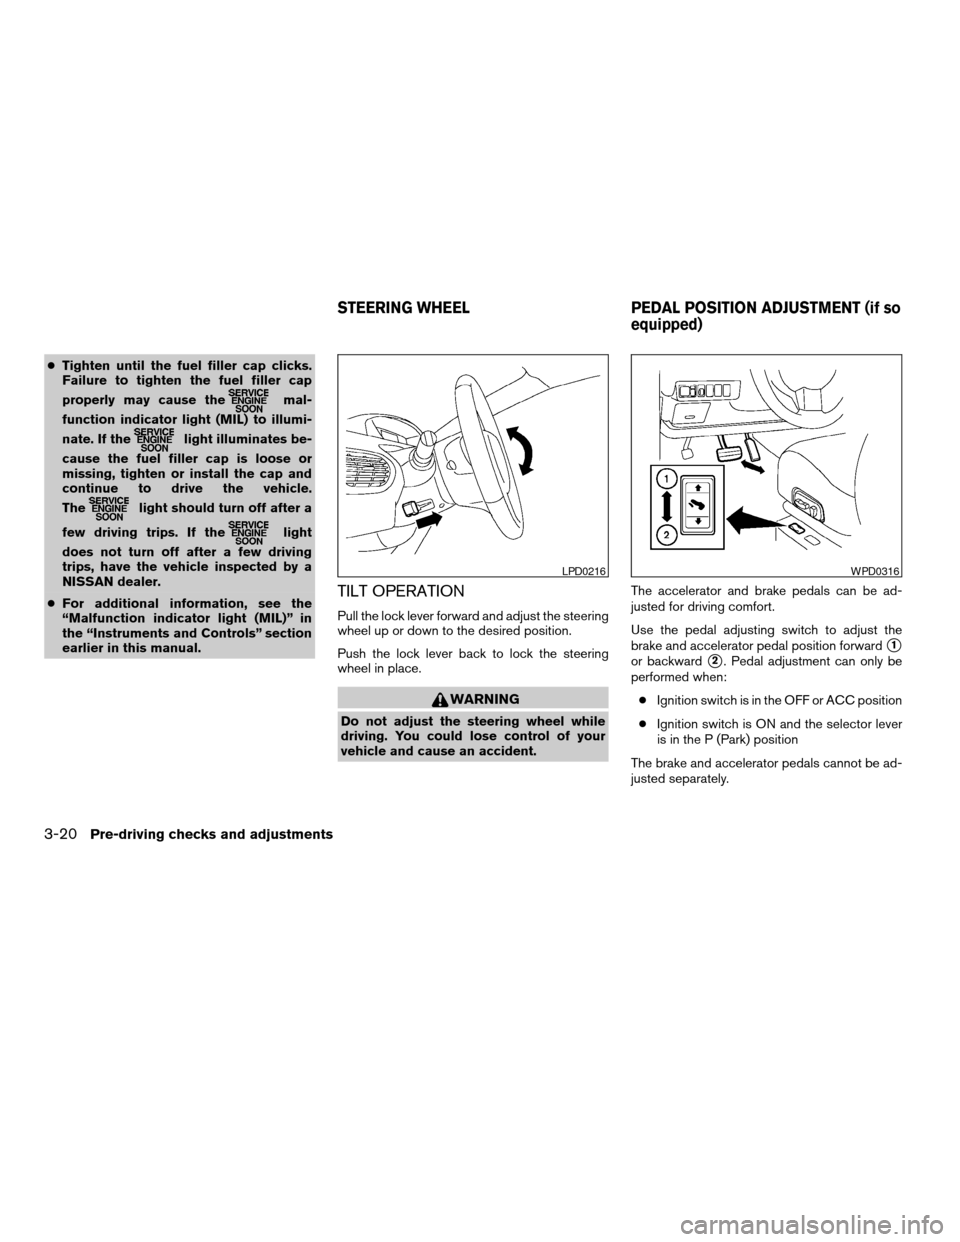
Pull the lock lever forward and adjust the steering
wheel up or down to the desired position.
Push the lock lever back to lock the steering
wheel in place.
WARNING
Do not adjust the steering wheel while
driving. You could lose control of your
vehicle and cause an accident.The accelerator and brake pedals can be ad-
justed for driving comfort.
Use the pedal adjusting switch to adjust the
brake and accelerator pedal position forward
s1
or backwards2. Pedal adjustment can only be
performed when:
cIgnition switch is in the OFF or ACC position
cIgnition switch is ON and the selector lever
is in the P (Park) position
The brake and accelerator pedals cannot be ad-
justed separately.
LPD0216WPD0316
STEERING WHEEL PEDAL POSITION ADJUSTMENT (if so
equipped)
3-20Pre-driving checks and adjustments
ZREVIEW COPYÐ2006 Quest(van)
Owners ManualÐUSA_English(nna)
05/27/05Ðtbrooks
X
Page 161 of 352

Rear seat air conditioner..........................4-40
Controls......................................4-40
Servicing air conditioner...........................4-40
Audio system....................................4-41
Radio........................................4-41
FM radio reception............................4-41
AM radio reception............................4-41
Satellite radio reception (if so equipped).........4-41
Audio operation precautions....................4-42
FM-AM-SAT radio with compact disc (CD)
player (Type A)/CD changer (Type B)............4-44
CD care and cleaning..........................4-51Steering wheel switch for audio control
(if so equipped)...............................4-51
Rear audio controls (if so equipped).............4-53
Antenna......................................4-54
DVD entertainment system (if so equipped)..........4-54
Digital video disc (DVD) player controls..........4-55
Remote control................................4-56
Flip-down screen..............................4-56
Playing a digital video disc (DVD)...............4-58
Care and maintenance.........................4-61
How to handle the DVD........................4-61
Car phone or CB radio............................4-64
ZREVIEW COPYÐ2006 Quest(van)
Owners ManualÐUSA_English(nna)
05/27/05Ðtbrooks
X
Page 166 of 352
In case of low tire pressure, a message (FLAT
TIRE or CHECK ALL TIRE) is displayed on the
screen:
FLAT TIRE — Check All Tires.
WARNING
When a spare tire is mounted or a wheel is
replaced, tire pressure will not be indi-
cated and the low tire pressure warning
system will not function. Contact your
NISSAN dealer as soon as possible for tire
replacement and/or system resetting.
HOW TO USE THE “SETTING”
BUTTON
Pushing the“SETTING”button will change the
settings menu as follows:
DISPLAY ON/OFF
LANGUAGE
BEEP SET
SERVICE ALERT
PERSONALIZED SETTINGS MENU
Display ON/OFF
To turn off the screen, select the OFF key of the
“Display ON/OFF” using the joystick.The screen will change to “CONFIRM DISPLAY
OFF YES or NO”.
If YES key is selected using the joystick, the
screen will turn off after a 2 beep sound and
approximately 1 second.
To turn on the screen, push the“SETTING”, trip
control, air conditioner (except rear window de-
fogger button) or audio button.
Language
The language can be changed to “English” or
“Français” using the joystick.
Beep set
If the beep set “OFF” key is selected using the
joystick, the beep sound will not operate (except
some caution beep sounds) .
Service alert
If the service alert “ON” key is selected, the
information will be displayed when the engine oil
and the tire rotation periods reach the preset
driving distance.
Personalized settings menu
You can set the following electronic systems
operating conditions using the joystick.Slide back DR (driver’s) seat on exit:
The driver’s seat automatically moves back and
returns to the original position for exceptional
ease of exit and entry.
Remote unlock door logic:
This option allows you to select which doors will
unlock first during an unlocking operation:
Only the driver’s doorÃ!All the doors
Horn chirp with remote:
This option allows you to select the horn chirp
mode that occurs when the LOCK or UNLOCK
button on the keyfob is pressed.
NOTE:
If you change the horn beep or the lamp
flash feature with the keyfob, the display
screen will not show the current mode. Use
the keyfob to return to the previous mode
and re-enable the display screen control.
Lamps flash with remote:
This option allows you to select the hazard indi-
cator flash mode that occurs when the LOCK or
UNLOCK button on the keyfob is pressed.
4-6Display screen, heater, air conditioner and audio systems
ZREVIEW COPYÐ2006 Quest(van)
Owners ManualÐUSA_English(nna)
05/27/05Ðtbrooks
X
Page 171 of 352
The “MAINTENANCE NOTICE” screen displays
each time the key is turned ON until one of the
following conditions are met:
c“RESET” is selected.
c“Display Maintenance and Notification” is
set OFF.
cthe maintenance interval is set again.
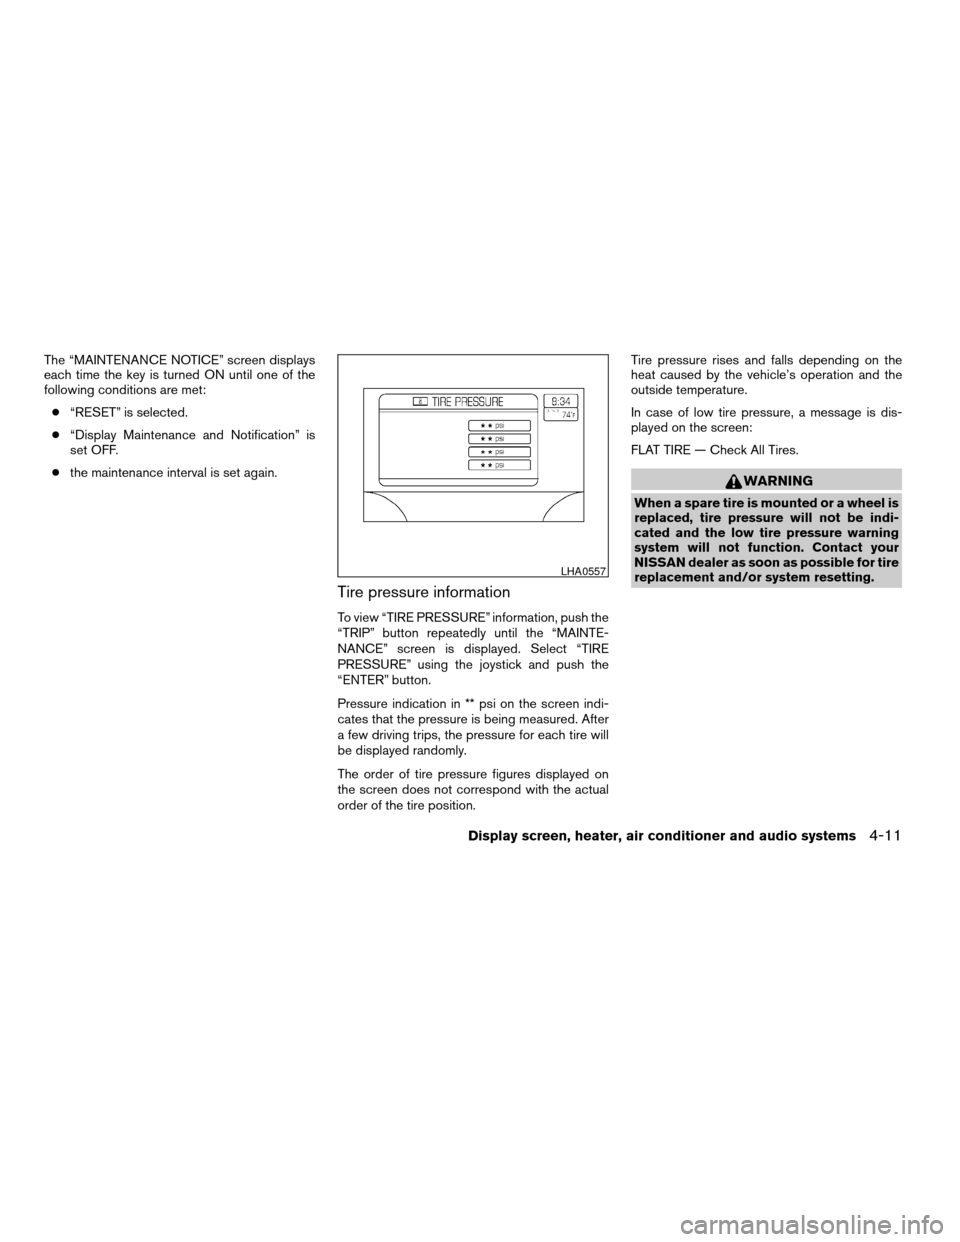
Tire pressure information
To view “TIRE PRESSURE” information, push the
“TRIP” button repeatedly until the “MAINTE-
NANCE” screen is displayed. Select “TIRE
PRESSURE” using the joystick and push the
“ENTER” button.
Pressure indication in ** psi on the screen indi-
cates that the pressure is being measured. After
a few driving trips, the pressure for each tire will
be displayed randomly.
The order of tire pressure figures displayed on
the screen does not correspond with the actual
order of the tire position.Tire pressure rises and falls depending on the
heat caused by the vehicle’s operation and the
outside temperature.
In case of low tire pressure, a message is dis-
played on the screen:
FLAT TIRE — Check All Tires.
WARNING
When a spare tire is mounted or a wheel is
replaced, tire pressure will not be indi-
cated and the low tire pressure warning
system will not function. Contact your
NISSAN dealer as soon as possible for tire
replacement and/or system resetting.
LHA0557
Display screen, heater, air conditioner and audio systems4-11
ZREVIEW COPYÐ2006 Quest(van)
Owners ManualÐUSA_English(nna)
05/27/05Ðtbrooks
X