2006 NISSAN QUEST check oil
[x] Cancel search: check oilPage 271 of 352

8 Maintenance and do-it-yourself
Maintenance requirements..........................8-2
General maintenance..............................8-2
Explanation of general maintenance items.........8-2
Maintenance precautions...........................8-5
Engine compartment check locations................8-6
Engine cooling system.............................8-7
Checking engine coolant level...................8-7
Changing engine coolant........................8-8
Engine oil.........................................8-8
Checking engine oil level........................8-8
Changing engine oil............................8-9
Changing engine oil filter.......................8-10
4-speed automatic transmission fluid...............8-11
Temperature conditions for checking.............8-11
5-speed automatic transmission fluid...............8-12
Power steering fluid...............................8-13
Brake fluid.......................................8-13
Brake fluid....................................8-13
Window washer fluid.............................8-14
Window washer fluid reservoir..................8-14
Battery..........................................8-14
Jump starting.................................8-16
Drive belts.......................................8-16
Spark plugs......................................8-17Replacing spark plugs.........................8-17
Air cleaner.......................................8-17
In-cabin microfilter.............................8-18
Windshield wiper blades..........................8-19
Cleaning.....................................8-19
Replacing....................................8-19
Parking brake and brake pedal.....................8-22
Checking parking brake........................8-22
Checking brake pedal..........................8-22
Brake booster.................................8-23
Fuses...........................................8-23
Engine compartment...........................8-23
Passenger compartment.......................8-24
Keyfob battery replacement........................8-25
Lights...........................................8-26
Headlights....................................8-26
Fog lights (if so equipped)......................8-26
Exterior and interior lights.......................8-28
Wheels and tires.................................8-32
Tire pressure..................................8-32
Tire labeling...................................8-35
Types of tires..................................8-39
Tire chains....................................8-41
Changing wheels and tires.....................8-41
ZREVIEW COPYÐ2006 Quest(van)
Owners ManualÐUSA_English(nna)
05/27/05Ðtbrooks
X
Page 274 of 352

Windshield defrosterCheck that the air
comes out of the defroster outlets properly and in
sufficient quantity when operating the heater or
air conditioner.
Under the hood and vehicle
The maintenance items listed here should be
checked periodically (for example, each time you
check the engine oil or refuel) .
4–speed automatic transmission fluid
level*Check the level after putting the selector
lever in P with the engine idling at operating
temperature.
Battery*Check the fluid level in each cell. It
should be between the MAX and MIN lines. Ve-
hicles operated in high temperatures or under
severe conditions require frequent checks of the
battery fluid level.
Brake fluid levels*Make sure that the brake
fluid level is between the MIN and MAX lines on
the reservoir.
Engine coolant level*Check the coolant level
when the engine is cold.
Engine drive belts*Make sure the drive belts
are not frayed, worn, cracked or oily.Engine oil level*Check the level after parking
the vehicle on a level surface with the engine off.
Wait more than 10 minutes for the oil to drain
back into the oil pan.
Exhaust systemMake sure there are no loose
supports, cracks or holes. If the sound of the
exhaust seems unusual or there is a smell of
exhaust fumes, immediately have the exhaust
system inspected by a NISSAN dealer. See the
carbon monoxide warning in the “Starting and
driving” section of this manual.
Fluid leaksCheck under the vehicle for fuel, oil,
water or other fluid leaks after the vehicle has
been parked for a while. Water dripping from the
air conditioner after use is normal. If you should
notice any leaks or if gasoline fumes are evident,
check for the cause and have it corrected imme-
diately.
Power steering fluid level* and linesCheck
the level when the fluid is cold, with the engine
off. Check the lines for proper attachment, leaks,
cracks, etc.
Radiator and hosesCheck the front of the
radiator and clean off any dirt, insects, leaves,
etc., that may have accumulated. Make sure the
hoses have no cracks, deformation, rot or loose
connections.UnderbodyThe underbody is frequently ex-
posed to corrosive substances such as those
used on icy roads or to control dust. It is very
important to remove these substances from the
underbody, otherwise rust may form on the floor
pan, frame, fuel lines and exhaust system. At the
end of winter, the underbody should be thor-
oughly flushed with plain water, in those areas
where mud and dirt may have accumulated. See
the “Appearance and care” section of this
manual.
Windshield washer fluid*Check that there is
adequate fluid in the reservoir.
8-4Maintenance and do-it-yourself
ZREVIEW COPYÐ2006 Quest(van)
Owners ManualÐUSA_English(nna)
05/27/05Ðtbrooks
X
Page 276 of 352

1. Power steering fluid reservoir
2. Engine oil filler cap
3. Brake fluid reservoir
4. Air cleaner
5. Battery
6. Fuse/fusible link box
7. Transmission dipstick
8. Engine oil dipstick
9. Radiator cap
10. Fuse block
11. Windshield washer fluid reservoir
12. Engine coolant reservoir
NOTE:
Engine cover removed for clarity.
LII0017
ENGINE COMPARTMENT CHECK
LOCATIONS
8-6Maintenance and do-it-yourself
ZREVIEW COPYÐ2006 Quest(van)
Owners ManualÐUSA_English(nna)
05/27/05Ðtbrooks
X
Page 278 of 352
CHANGING ENGINE COOLANT
A NISSAN dealer can change the engine coolant.
The service procedure can be found in the
NISSAN Service Manual.
Improper servicing can result in reduced
heater performance and engine overheat-
ing.
WARNING
cTo avoid the danger of being scalded,
never change the coolant when the en-
gine is hot.
cNever remove the radiator cap when the
engine is hot. Serious burns could be
caused by high pressure fluid escaping
from the radiator.
cAvoid direct skin contact with used
coolant. If skin contact is made, wash
thoroughly with soap or hand cleaner
as soon as possible.
cKeep coolant out of the reach of chil-
dren and pets.
Engine coolant must be disposed of properly.
Check your local regulations.
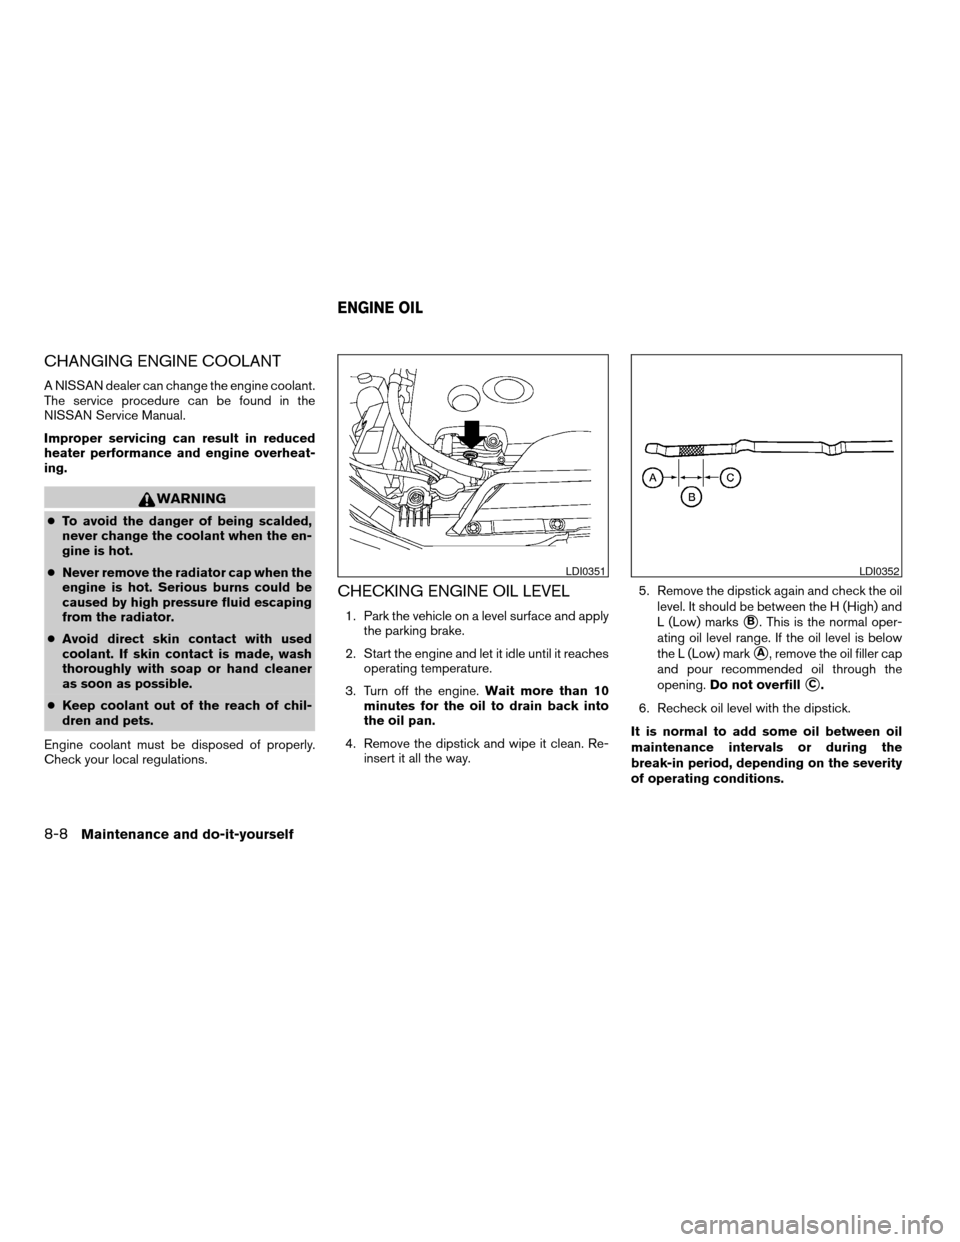
CHECKING ENGINE OIL LEVEL
1. Park the vehicle on a level surface and apply
the parking brake.
2. Start the engine and let it idle until it reaches
operating temperature.
3. Turn off the engine.Wait more than 10
minutes for the oil to drain back into
the oil pan.
4. Remove the dipstick and wipe it clean. Re-
insert it all the way.5. Remove the dipstick again and check the oil
level. It should be between the H (High) and
L (Low) markssB. This is the normal oper-
ating oil level range. If the oil level is below
the L (Low) mark
sA, remove the oil filler cap
and pour recommended oil through the
opening.Do not overfill
sC.
6. Recheck oil level with the dipstick.
It is normal to add some oil between oil
maintenance intervals or during the
break-in period, depending on the severity
of operating conditions.
LDI0351LDI0352
ENGINE OIL
8-8Maintenance and do-it-yourself
ZREVIEW COPYÐ2006 Quest(van)
Owners ManualÐUSA_English(nna)
05/27/05Ðtbrooks
X
Page 279 of 352
CAUTION
Oil level should be checked regularly. Op-
erating the engine with an insufficient
amount of oil can damage the engine, and
such damage is not covered by warranty.
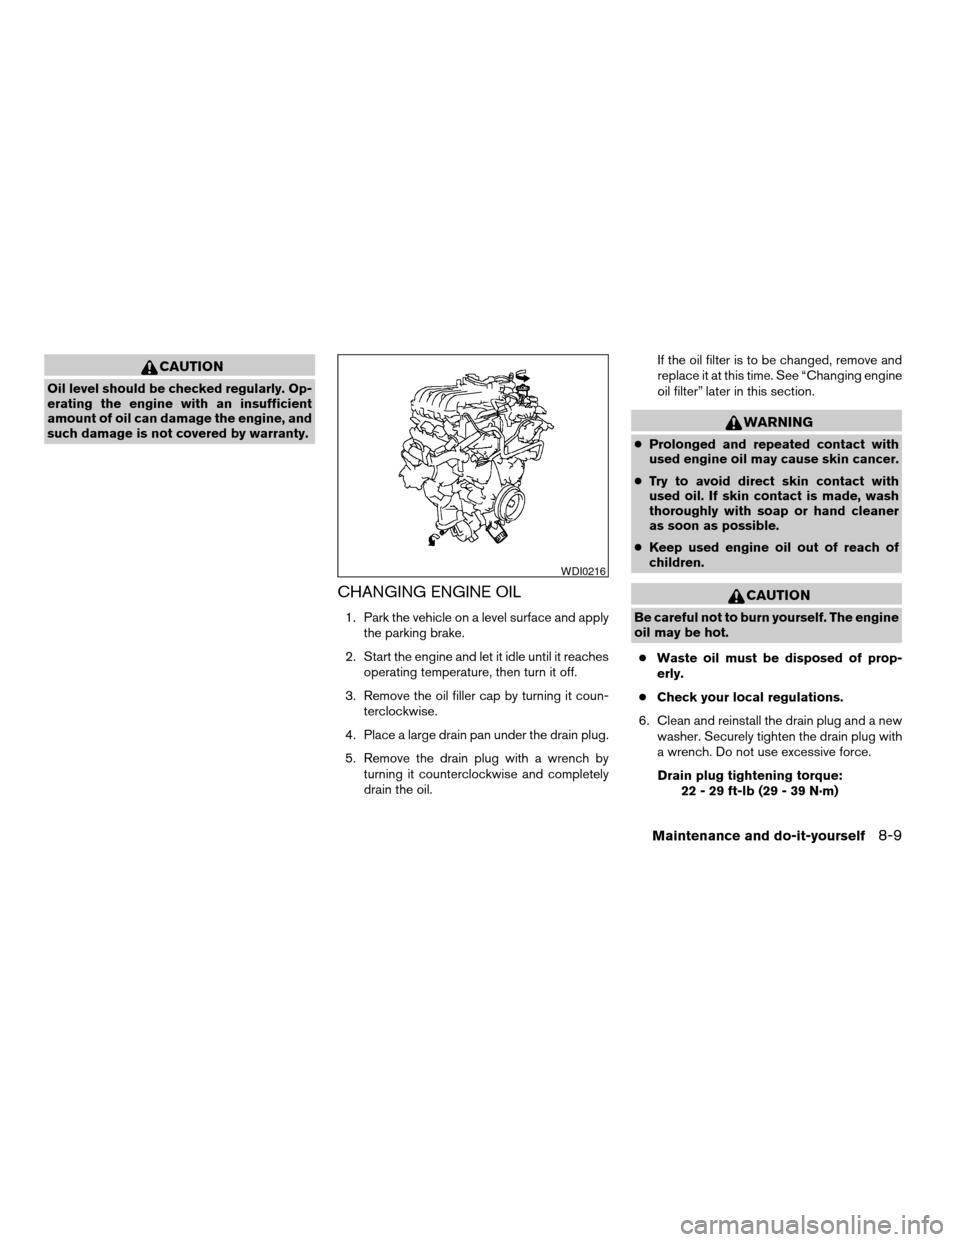
CHANGING ENGINE OIL
1. Park the vehicle on a level surface and apply
the parking brake.
2. Start the engine and let it idle until it reaches
operating temperature, then turn it off.
3. Remove the oil filler cap by turning it coun-
terclockwise.
4. Place a large drain pan under the drain plug.
5. Remove the drain plug with a wrench by
turning it counterclockwise and completely
drain the oil.If the oil filter is to be changed, remove and
replace it at this time. See “Changing engine
oil filter” later in this section.
WARNING
cProlonged and repeated contact with
used engine oil may cause skin cancer.
cTry to avoid direct skin contact with
used oil. If skin contact is made, wash
thoroughly with soap or hand cleaner
as soon as possible.
cKeep used engine oil out of reach of
children.
CAUTION
Be careful not to burn yourself. The engine
oil may be hot.
cWaste oil must be disposed of prop-
erly.
cCheck your local regulations.
6. Clean and reinstall the drain plug and a new
washer. Securely tighten the drain plug with
a wrench. Do not use excessive force.
Drain plug tightening torque:
22 - 29 ft-lb (29 - 39 N·m)
WDI0216
Maintenance and do-it-yourself8-9
ZREVIEW COPYÐ2006 Quest(van)
Owners ManualÐUSA_English(nna)
05/27/05Ðtbrooks
X
Page 280 of 352
7. Refill engine with recommended oil through
the oil filler opening, then install the oil filler
cap securely.
See “Capacities and recommended
fuel/lubricants” in the “Technical and con-
sumer information” section of this manual for
drain and refill capacity.
The drain and refill capacity depends on the
oil temperature and drain time. Use these
specifications for reference only. Always use
the dipstick to determine when the proper
amount of oil is in the engine.
8. Start the engine. Check for leakage around
the drain plug and oil filter. Correct as re-
quired.
9. Turn the engine off and wait more than 10
minutes. Check the oil level with the dipstick.
Add engine oil if necessary.
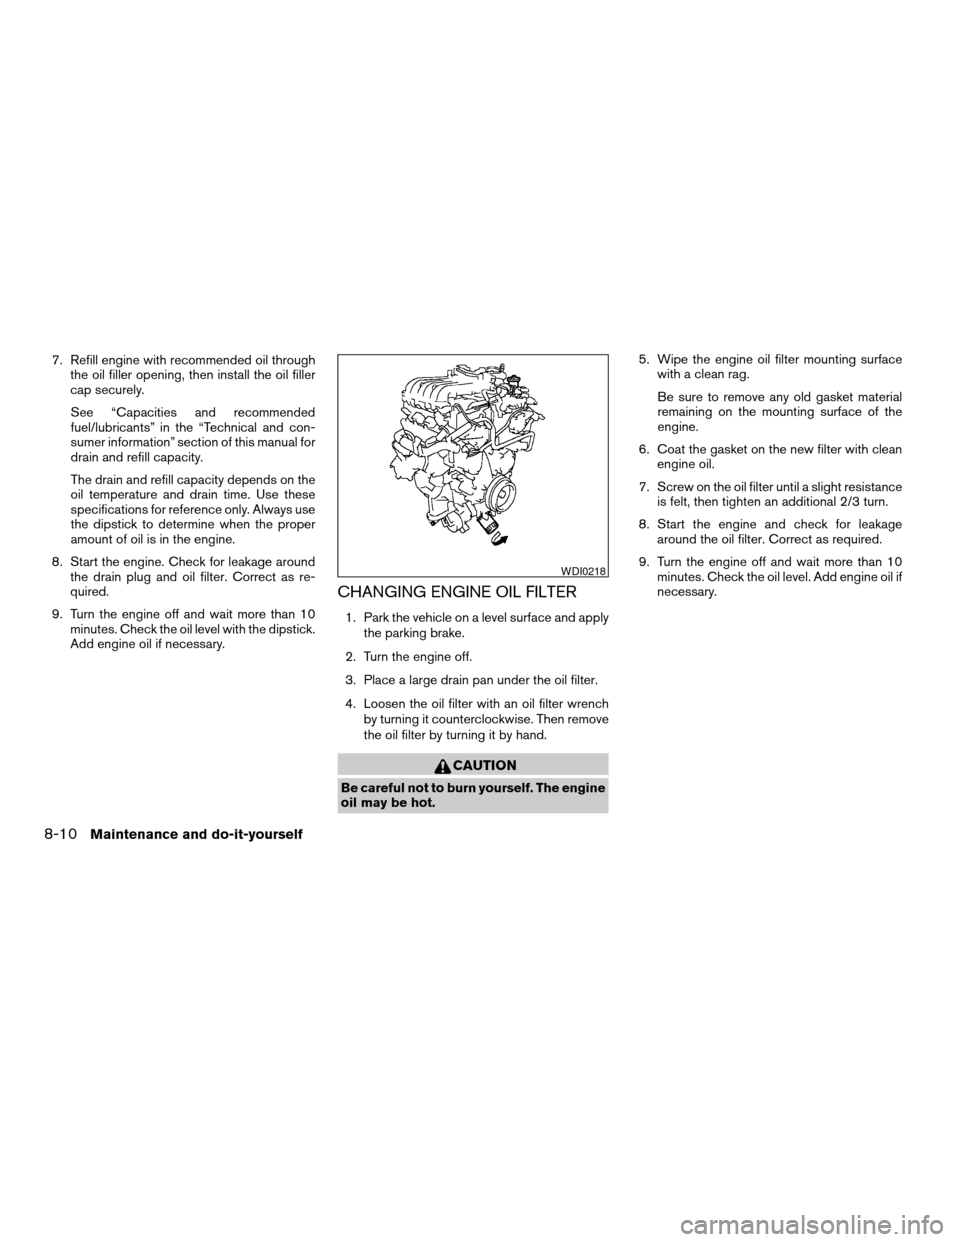
CHANGING ENGINE OIL FILTER
1. Park the vehicle on a level surface and apply
the parking brake.
2. Turn the engine off.
3. Place a large drain pan under the oil filter.
4. Loosen the oil filter with an oil filter wrench
by turning it counterclockwise. Then remove
the oil filter by turning it by hand.
CAUTION
Be careful not to burn yourself. The engine
oil may be hot.5. Wipe the engine oil filter mounting surface
with a clean rag.
Be sure to remove any old gasket material
remaining on the mounting surface of the
engine.
6. Coat the gasket on the new filter with clean
engine oil.
7. Screw on the oil filter until a slight resistance
is felt, then tighten an additional 2/3 turn.
8. Start the engine and check for leakage
around the oil filter. Correct as required.
9. Turn the engine off and wait more than 10
minutes. Check the oil level. Add engine oil if
necessary.
WDI0218
8-10Maintenance and do-it-yourself
ZREVIEW COPYÐ2006 Quest(van)
Owners ManualÐUSA_English(nna)
05/27/05Ðtbrooks
X
Page 333 of 352
also pass the other vehicle before you can
safely change lanes.
cTo maintain engine braking efficiency and
electrical charging performance, do not use
5th gear (manual transmission) or overdrive
(automatic transmission) .
cAvoid holding the brake pedal down too long
or too frequently. This could cause the
brakes to overheat, resulting in reduced
braking efficiency.
cIncrease your following distance to allow for
greater stopping distances while towing a
trailer. Anticipate stops and brake gradually.
cDo not use cruise control while towing a
trailer.
cCheck your hitch, trailer wiring harness con-
nections, and trailer wheel lug nuts after 50
miles (80 km) of travel and at every break.
cWhen stopped in traffic for long periods of
time in hot weather, put the vehicle in the P
(Park) position.
When towing a trailer, transmission
oil/fluid should be changed more fre-
quently. For additional information, see the
“Maintenance and do-it-yourself” section
earlier in this manual.FLAT TOWING
Towing your vehicle with all four wheels on the
ground is sometimes called flat towing. This
method is sometimes used when towing a vehicle
behind a recreational vehicle, such as a motor
home.
CAUTION
cFailure to follow these guidelines can
result in severe transmission damage.
cWhenever flat towing your vehicle, al-
ways tow forward, never backward.
cDO NOT tow any automatic transmis-
sion vehicle with all four wheels on the
ground (flat towing) . Doing so WILL
DAMAGE internal transmission parts
due to lack of transmission lubrication.
cFor emergency towing procedures refer
to “Towing recommended by NISSAN”
in the “In case of emergency” section of
this manual.
Automatic Transmission
To tow a vehicle equipped with an automatic
transmission, an appropriate vehicle dollyMUST
be placed under the towed vehicle’s drive
wheels.Alwaysfollow the dolly manufacturer’s
recommendations when using their product.DOT (Department of Transportation) Quality
Grades: All passenger car tires must conform to
federal safety requirements in addition to these
grades.
Quality grades can be found where applicable on
the tire sidewall between tread shoulder and
maximum section width. For example:
Treadwear 200 Traction AA Temperature A
Treadwear
Treadwear grade is a comparative rating based
on tire wear rate when tested under controlled
conditions on specified government test courses.
For example, a tire graded 150 would wear one
and a half (1-1/2) times as well on the govern-
ment course as a tire graded 100. However,
relative tire performance depends on actual driv-
ing conditions, and may vary significantly due to
variations in driving habits, service practices and
differences in road characteristics and climate.
Traction AA, A, B and C
The traction grades, from highest to lowest, are
AA, A, B, and C. Those grades represent the
tire’s ability to stop on wet pavement as mea-
sured under controlled conditions on specified
government test surfaces of asphalt and con-
crete. A tire marked C may have poor traction
performance.
UNIFORM TIRE QUALITY GRADING
Technical and consumer information9-19
ZREVIEW COPYÐ2006 Quest(van)
Owners ManualÐUSA_English(nna)
05/27/05Ðtbrooks
X
Page 339 of 352
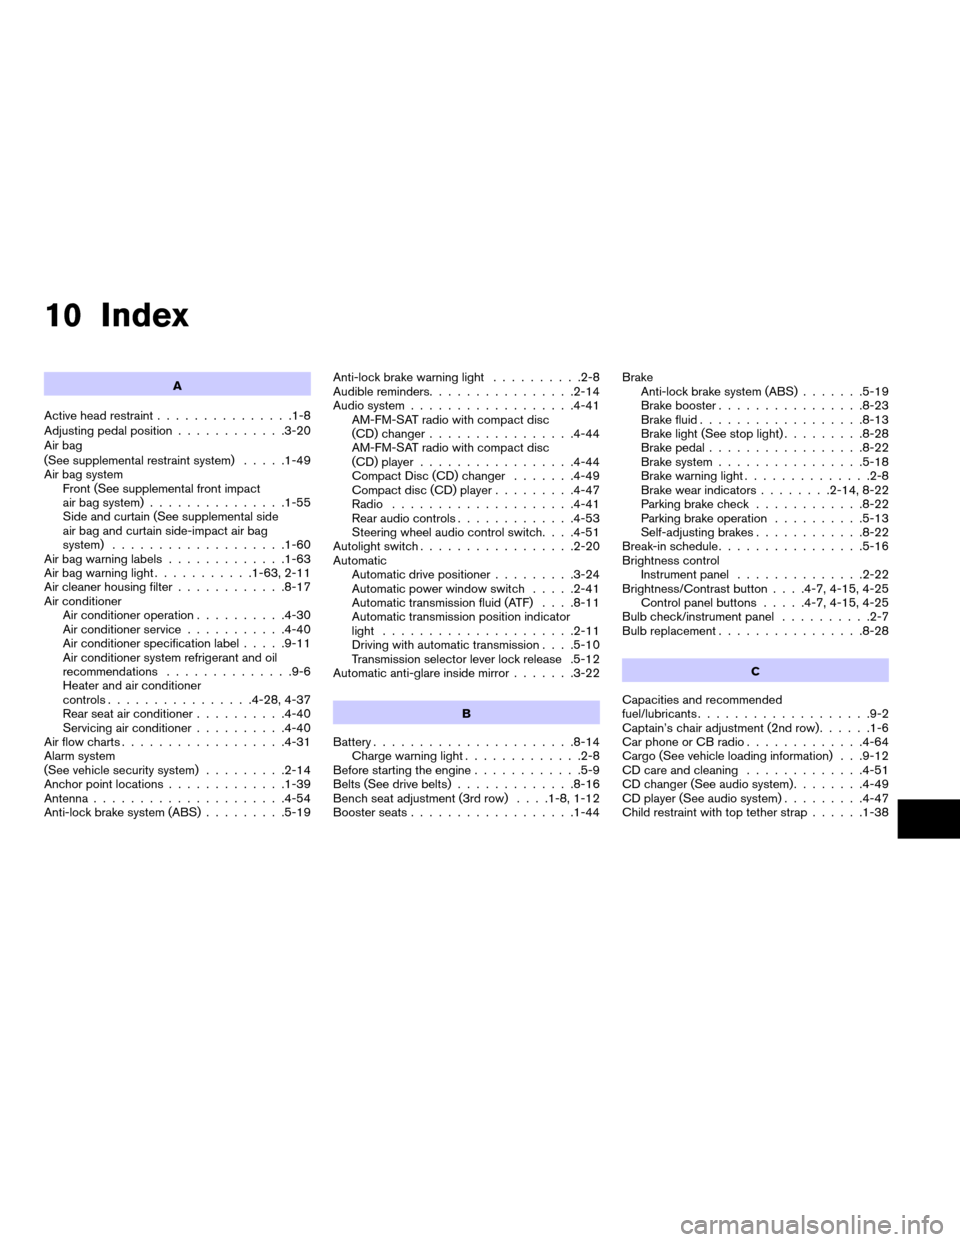
10 Index
A
Active head restraint...............1-8
Adjusting pedal position............3-20
Air bag
(See supplemental restraint system).....1-49
Air bag system
Front (See supplemental front impact
air bag system)...............1-55
Side and curtain (See supplemental side
air bag and curtain side-impact air bag
system)...................1-60
Air bag warning labels.............1-63
Air bag warning light...........1-63, 2-11
Air cleaner housing filter............8-17
Air conditioner
Air conditioner operation..........4-30
Air conditioner service...........4-40
Air conditioner specification label.....9-11
Air conditioner system refrigerant and oil
recommendations..............9-6
Heater and air conditioner
controls................4-28, 4-37
Rear seat air conditioner..........4-40
Servicing air conditioner..........4-40
Air flow charts..................4-31
Alarm system
(See vehicle security system).........2-14
Anchor point locations.............1-39
Antenna.....................4-54
Anti-lock brake system (ABS).........5-19Anti-lock brake warning light..........2-8
Audible reminders................2-14
Audio system..................4-41
AM-FM-SAT radio with compact disc
(CD) changer................4-44
AM-FM-SAT radio with compact disc
(CD) player.................4-44
Compact Disc (CD) changer.......4-49
Compact disc (CD) player.........4-47
Radio....................4-41
Rear audio controls.............4-53
Steering wheel audio control switch. . . .4-51
Autolight switch.................2-20
Automatic
Automatic drive positioner.........3-24
Automatic power window switch.....2-41
Automatic transmission fluid (ATF). . . .8-11
Automatic transmission position indicator
light.....................2-11
Driving with automatic transmission. . . .5-10
Transmission selector lever lock release .5-12
Automatic anti-glare inside mirror.......3-22
B
Battery......................8-14
Charge warning light.............2-8
Before starting the engine............5-9
Belts (See drive belts).............8-16
Bench seat adjustment (3rd row). . . .1-8, 1-12
Booster seats..................1-44Brake
Anti-lock brake system (ABS).......5-19
Brake booster................8-23
Brake fluid..................8-13
Brake light (See stop light).........8-28
Brake pedal.................8-22
Brake system................5-18
Brake warning light..............2-8
Brake wear indicators........2-14, 8-22
Parking brake check............8-22
Parking brake operation..........5-13
Self-adjusting brakes............8-22
Break-in schedule................5-16
Brightness control
Instrument panel..............2-22
Brightness/Contrast button. . . .4-7, 4-15, 4-25
Control panel buttons.....4-7, 4-15, 4-25
Bulb check/instrument panel..........2-7
Bulb replacement................8-28
C
Capacities and recommended
fuel/lubricants...................9-2
Captain’s chair adjustment (2nd row)......1-6
Car phone or CB radio.............4-64
Cargo (See vehicle loading information) . . .9-12
CD care and cleaning.............4-51
CD changer (See audio system)........4-49
CD player (See audio system).........4-47
Child restraint with top tether strap......1-38
ZREVIEW COPYÐ2006 Quest(van)
Owners ManualÐUSA_English(nna)
05/27/05Ðtbrooks
X