2006 NISSAN PATHFINDER Drive
[x] Cancel search: DrivePage 107 of 344
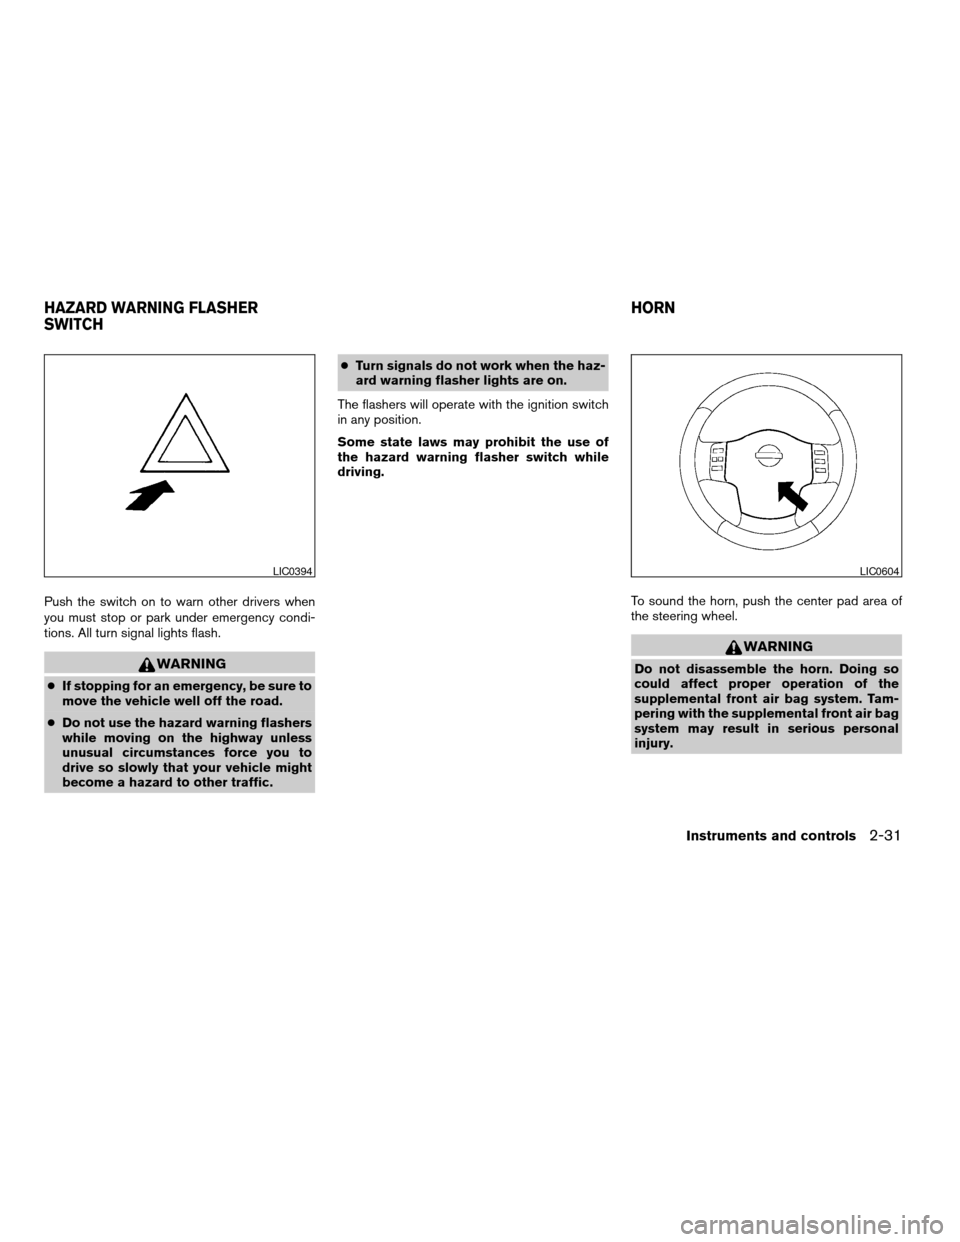
Push the switch on to warn other drivers when
you must stop or park under emergency condi-
tions. All turn signal lights flash.
WARNING
cIf stopping for an emergency, be sure to
move the vehicle well off the road.
cDo not use the hazard warning flashers
while moving on the highway unless
unusual circumstances force you to
drive so slowly that your vehicle might
become a hazard to other traffic.cTurn signals do not work when the haz-
ard warning flasher lights are on.
The flashers will operate with the ignition switch
in any position.
Some state laws may prohibit the use of
the hazard warning flasher switch while
driving.
To sound the horn, push the center pad area of
the steering wheel.
WARNING
Do not disassemble the horn. Doing so
could affect proper operation of the
supplemental front air bag system. Tam-
pering with the supplemental front air bag
system may result in serious personal
injury.
LIC0394LIC0604
HAZARD WARNING FLASHER
SWITCHHORN
Instruments and controls2-31
ZREVIEW COPYÐ2006 Pathfinder(pat)
Owners ManualÐUSA_English(nna)
07/29/05Ðcathy
X
Page 109 of 344
The vehicle should be driven with the Vehicle
Dynamic Control (VDC) system on for most driv-
ing conditions.
If the vehicle is stuck in mud or snow, the VDC
system reduces the engine output to reduce
wheel spin. The engine speed will be reduced
even if the accelerator is depressed to the floor. If
maximum engine power is needed to free a stuck
vehicle, turn the VDC system off.
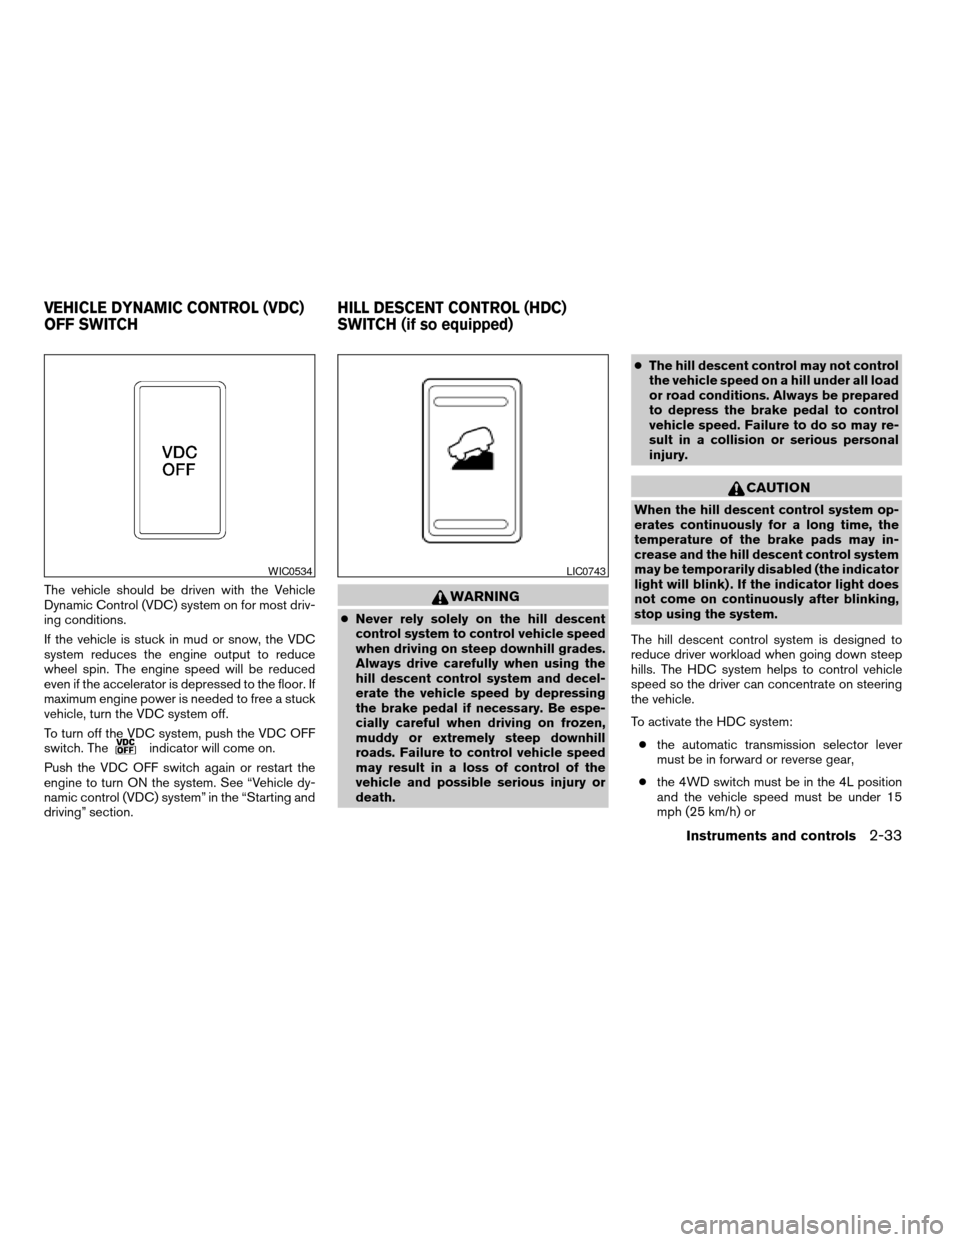
To turn off the VDC system, push the VDC OFF
switch. The
indicator will come on.
Push the VDC OFF switch again or restart the
engine to turn ON the system. See “Vehicle dy-
namic control (VDC) system” in the “Starting and
driving” section.
WARNING
cNever rely solely on the hill descent
control system to control vehicle speed
when driving on steep downhill grades.
Always drive carefully when using the
hill descent control system and decel-
erate the vehicle speed by depressing
the brake pedal if necessary. Be espe-
cially careful when driving on frozen,
muddy or extremely steep downhill
roads. Failure to control vehicle speed
may result in a loss of control of the
vehicle and possible serious injury or
death.cThe hill descent control may not control
the vehicle speed on a hill under all load
or road conditions. Always be prepared
to depress the brake pedal to control
vehicle speed. Failure to do so may re-
sult in a collision or serious personal
injury.
CAUTION
When the hill descent control system op-
erates continuously for a long time, the
temperature of the brake pads may in-
crease and the hill descent control system
may be temporarily disabled (the indicator
light will blink) . If the indicator light does
not come on continuously after blinking,
stop using the system.
The hill descent control system is designed to
reduce driver workload when going down steep
hills. The HDC system helps to control vehicle
speed so the driver can concentrate on steering
the vehicle.
To activate the HDC system:
cthe automatic transmission selector lever
must be in forward or reverse gear,
cthe 4WD switch must be in the 4L position
and the vehicle speed must be under 15
mph (25 km/h) or
WIC0534LIC0743
VEHICLE DYNAMIC CONTROL (VDC)
OFF SWITCHHILL DESCENT CONTROL (HDC)
SWITCH (if so equipped)
Instruments and controls2-33
ZREVIEW COPYÐ2006 Pathfinder(pat)
Owners ManualÐUSA_English(nna)
07/29/05Ðcathy
X
Page 115 of 344
cDo not leave sunglasses in the sun-
glasses holder while parking in direct
sunlight. The heat may damage the
sunglasses.
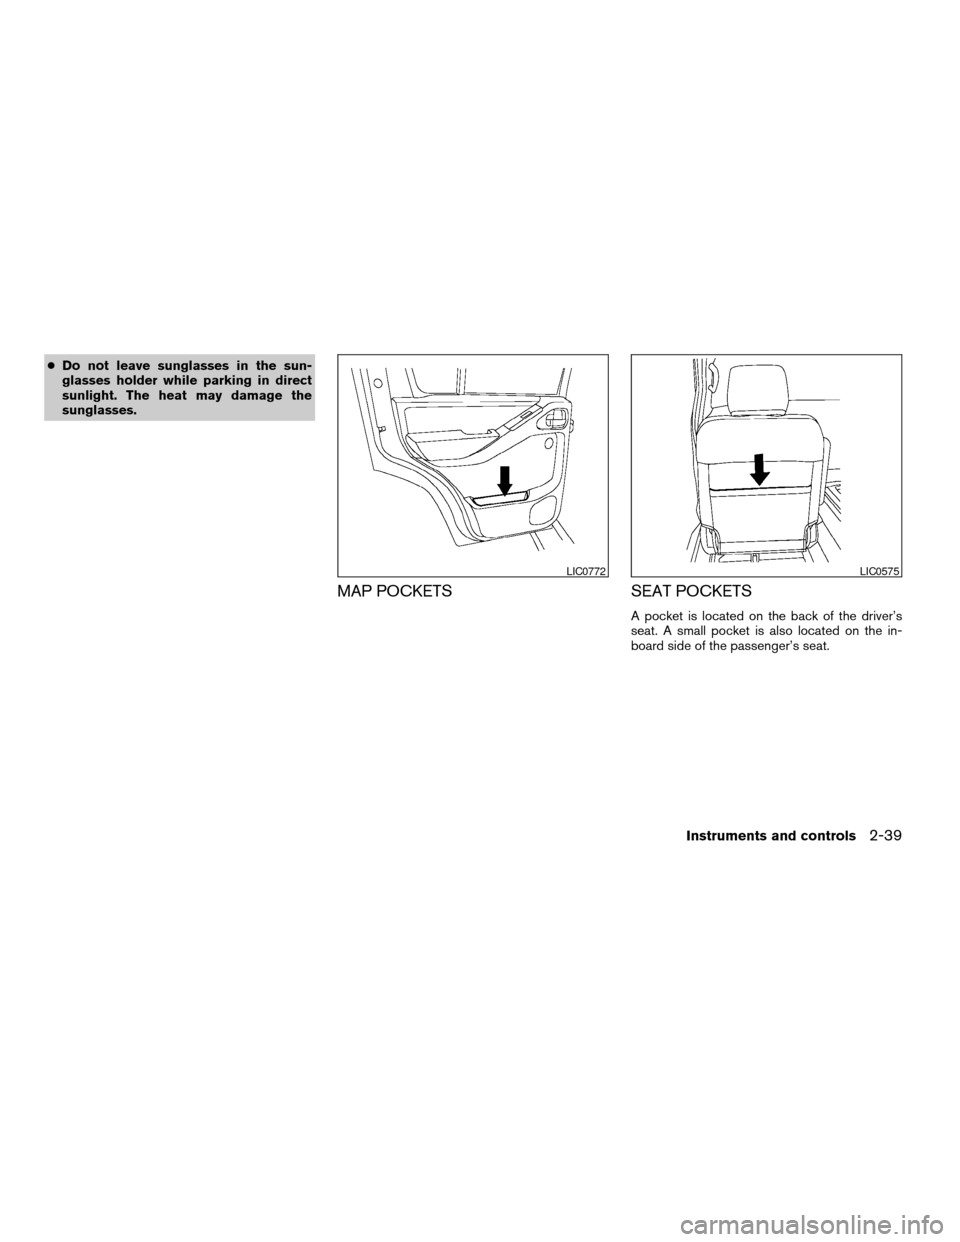
MAP POCKETS SEAT POCKETS
A pocket is located on the back of the driver’s
seat. A small pocket is also located on the in-
board side of the passenger’s seat.
LIC0772LIC0575
Instruments and controls2-39
ZREVIEW COPYÐ2006 Pathfinder(pat)
Owners ManualÐUSA_English(nna)
07/29/05Ðcathy
X
Page 122 of 344

ROOF RACK
Always distribute the luggage evenly on the roof
rack. Do not load more than 220 pounds (100
kg) . Be careful that your vehicle does not exceed
the Gross Vehicle Weight Rating (GVWR) or its
Gross Axle Weight Rating (GAWR front andrear) . The GVWR and GAWR are located on the
F.M.V.S.S. label (located on the driver’s door
pillar) . For more information regarding GVWR
and GAWR, refer to “Vehicle loading information”
in the “Technical and consumer information” sec-
tion later in this manual.The front and rear cross bars (if so equipped) can
be adjusted or removed.
To adjust:
1. Loosen the 2 TorxThead fasteners
sAon
both ends of the crossbar.
2. Remove the plugs at the desired position
(
sC).
3. Slide the crossbar
sBto the desired position
(
sC) so that the holes in the crossbar line up
with the holes in the sidebar.
4. Tighten the 2 TorxThead fasteners on both
ends of the crossbar.
5. Reinstall the plugs at the previous position
sA.
6. Position your luggage on the crossbars and
secure the luggage with rope.
7. Always check the tightness of the TorxT
head fasteners.
To remove:
1. Loosen the 2 TorxThead fasteners
sAon
both ends of the crossbar.
2. Remove the crossbar from the roof rack.
WIC0914
2-46Instruments and controls
ZREVIEW COPYÐ2006 Pathfinder(pat)
Owners ManualÐUSA_English(nna)
07/29/05Ðcathy
X
Page 123 of 344
WARNING
Properly secure all cargo with ropes or
straps to help prevent it from sliding or
shifting. In a sudden stop or collision, un-
secured cargo could cause personal
injury.
CAUTION
Use care when placing or removing items
from the roof rack. If you cannot comfort-
ably lift the items onto the roof rack from
the ground, use a ladder or stool.
POWER WINDOWS
WARNING
cMake sure that all passengers have
their hands, etc. inside the vehicle while
it is in motion and before closing the
windows. Use the window lock switch
to prevent unexpected use of the power
windows.
cDo not leave children unattended inside
the vehicle. They could unknowingly ac-
tivate switches or controls and become
trapped in a window. Unattended chil-
dren could become involved in serious
accidents.
The power windows operate when the ignition
switch is in the ON position, or for about 45
seconds after the ignition switch is turned to the
OFF position. If the driver’s or passenger’s door
is opened during this period of about 45 sec-
onds, power to the windows is canceled.
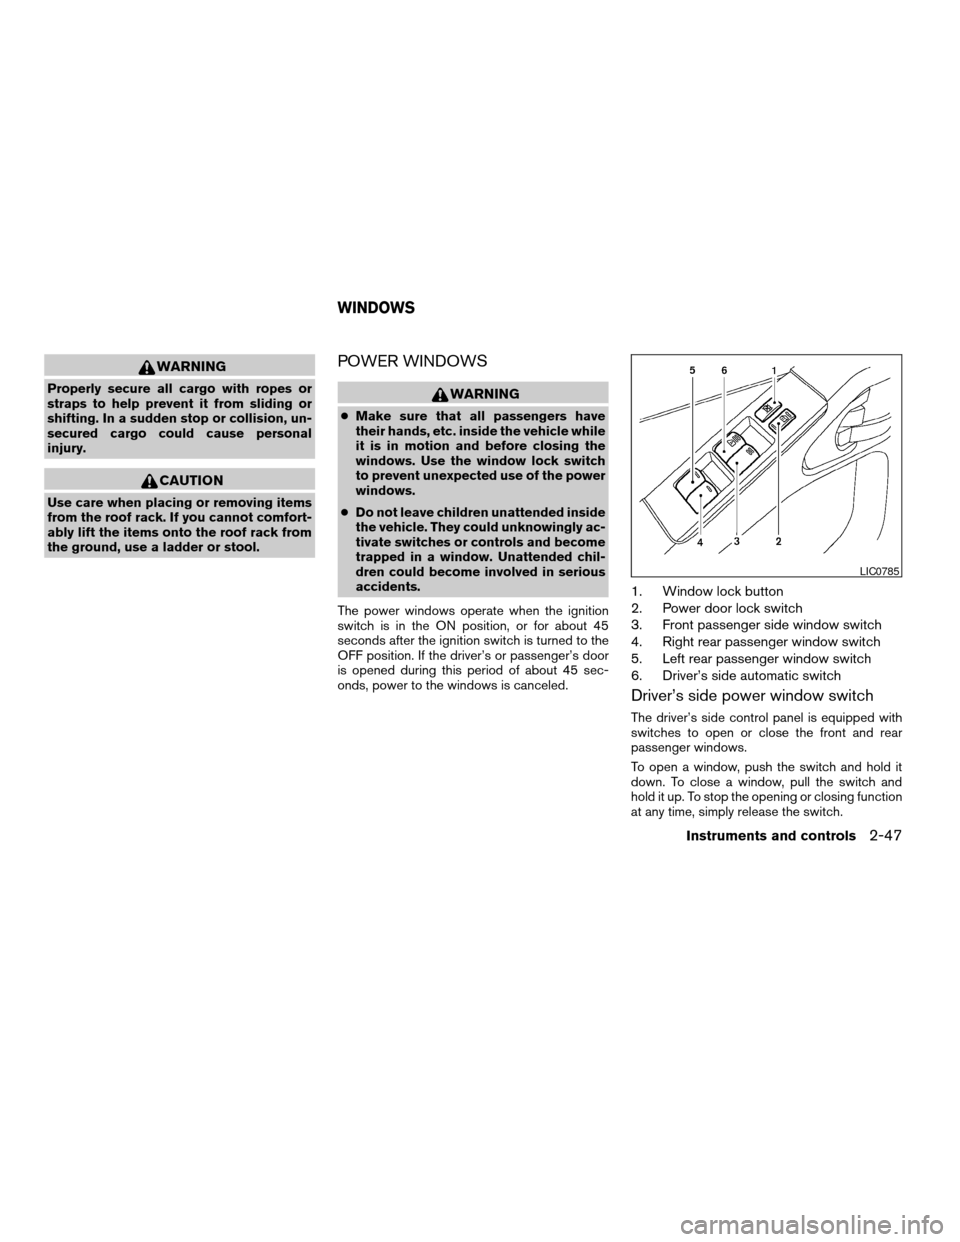
1. Window lock button
2. Power door lock switch
3. Front passenger side window switch
4. Right rear passenger window switch
5. Left rear passenger window switch
6. Driver’s side automatic switch
Driver’s side power window switch
The driver’s side control panel is equipped with
switches to open or close the front and rear
passenger windows.
To open a window, push the switch and hold it
down. To close a window, pull the switch and
hold it up. To stop the opening or closing function
at any time, simply release the switch.
LIC0785
WINDOWS
Instruments and controls2-47
ZREVIEW COPYÐ2006 Pathfinder(pat)
Owners ManualÐUSA_English(nna)
07/29/05Ðcathy
X
Page 124 of 344

Front passenger power window switch
The passenger window switch operates only the
corresponding passenger window. To open the
window, push the switch and hold it down
s1.To
close the window, pull the switch up
s2.
Rear power window switch
The rear passenger window switches open or
close only the corresponding passenger window.
To open the window, push the switch and hold it
down
s1. To close the window, pull the switch up
s2.
Locking passengers’ windows
When the window lock button is depressed, only
the driver side window can be opened or closed.
Push it again to cancel the window lock function.
Automatic operation
To fully open a window equipped with automatic
operation, press the window switch down to the
second detent and release it; it need not be held.
The window automatically opens all the way. To
stop the window, lift the switch up while the
window is opening.
To fully close a window equipped with automatic
operation, pull the switch up to the second detent
and release it; it need not be held.
Auto-reverse function
The auto-reverse function can be activated when
a window is closed by automatic operation.
LIC0786LIC0787LIC0410
2-48Instruments and controls
ZREVIEW COPYÐ2006 Pathfinder(pat)
Owners ManualÐUSA_English(nna)
07/29/05Ðcathy
X
Page 125 of 344
Depending on the environment or driving
conditions, the auto-reverse function may
be activated if an impact or load similar to
something being caught in the window oc-
curs.
WARNING
There are some small distances immedi-
ately before the closed position which
cannot be detected. Make sure that all
passengers have their hands, etc., inside
the vehicle before closing the window.
If the control unit detects something caught in a
window equipped with automatic operation as it
is closing, the window will be immediately low-
ered.
AUTOMATIC SUNROOF
The sunroof will only operate when the ignition
key is in the ON position. The automatic sunroof
is operational for about 45 seconds, even if the
ignition key is turned to the ACC or OFF position.
If the driver’s door or the front passenger’s door
is opened during this period of about 45 sec-
onds, power to the sunroof is canceled.
Sliding the sunroof
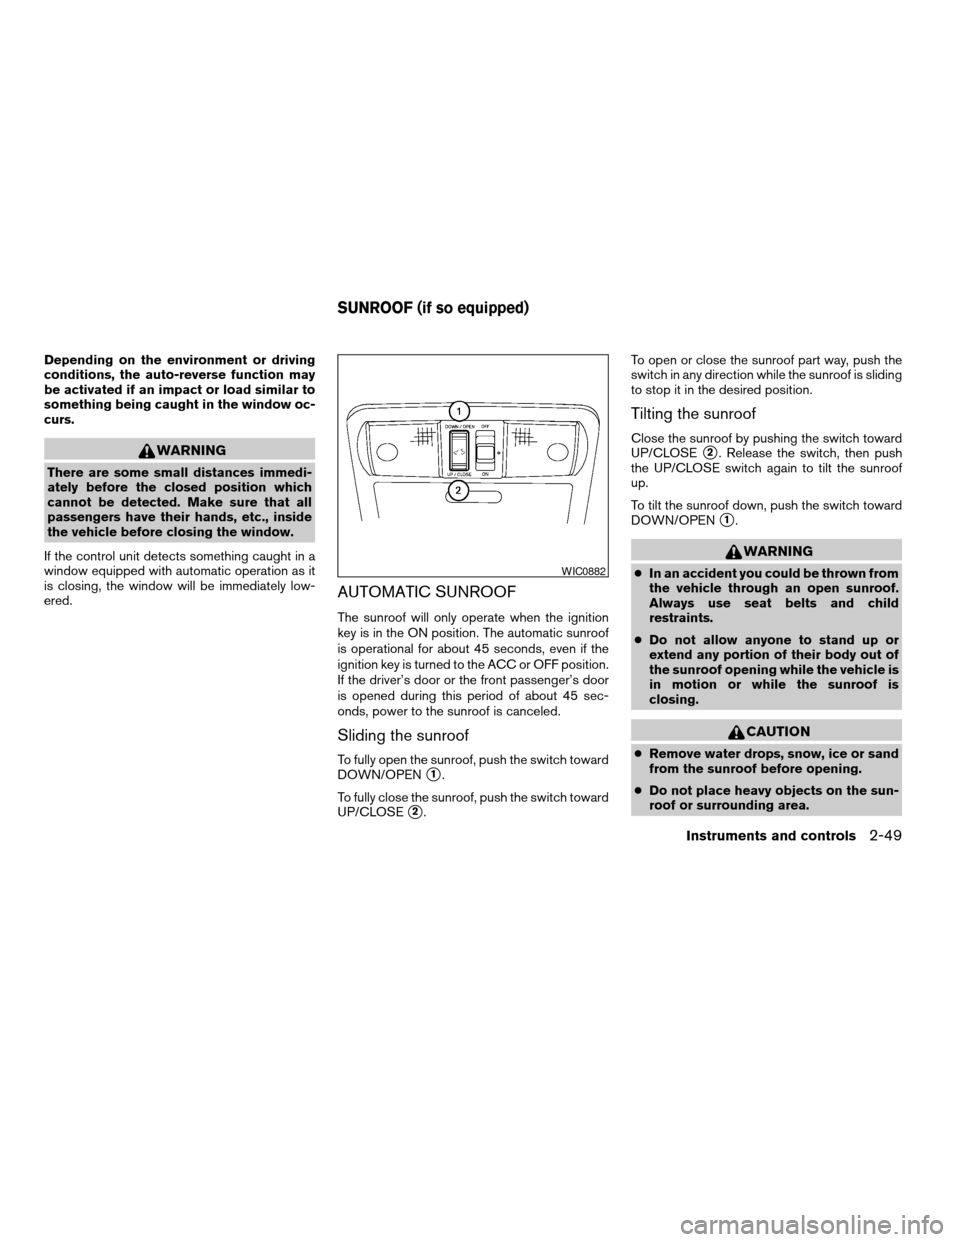
To fully open the sunroof, push the switch toward
DOWN/OPEN
s1.
To fully close the sunroof, push the switch toward
UP/CLOSE
s2.To open or close the sunroof part way, push the
switch in any direction while the sunroof is sliding
to stop it in the desired position.
Tilting the sunroof
Close the sunroof by pushing the switch toward
UP/CLOSE
s2. Release the switch, then push
the UP/CLOSE switch again to tilt the sunroof
up.
To tilt the sunroof down, push the switch toward
DOWN/OPEN
s1.
WARNING
cIn an accident you could be thrown from
the vehicle through an open sunroof.
Always use seat belts and child
restraints.
cDo not allow anyone to stand up or
extend any portion of their body out of
the sunroof opening while the vehicle is
in motion or while the sunroof is
closing.
CAUTION
cRemove water drops, snow, ice or sand
from the sunroof before opening.
cDo not place heavy objects on the sun-
roof or surrounding area.
WIC0882
SUNROOF (if so equipped)
Instruments and controls2-49
ZREVIEW COPYÐ2006 Pathfinder(pat)
Owners ManualÐUSA_English(nna)
07/29/05Ðcathy
X
Page 127 of 344
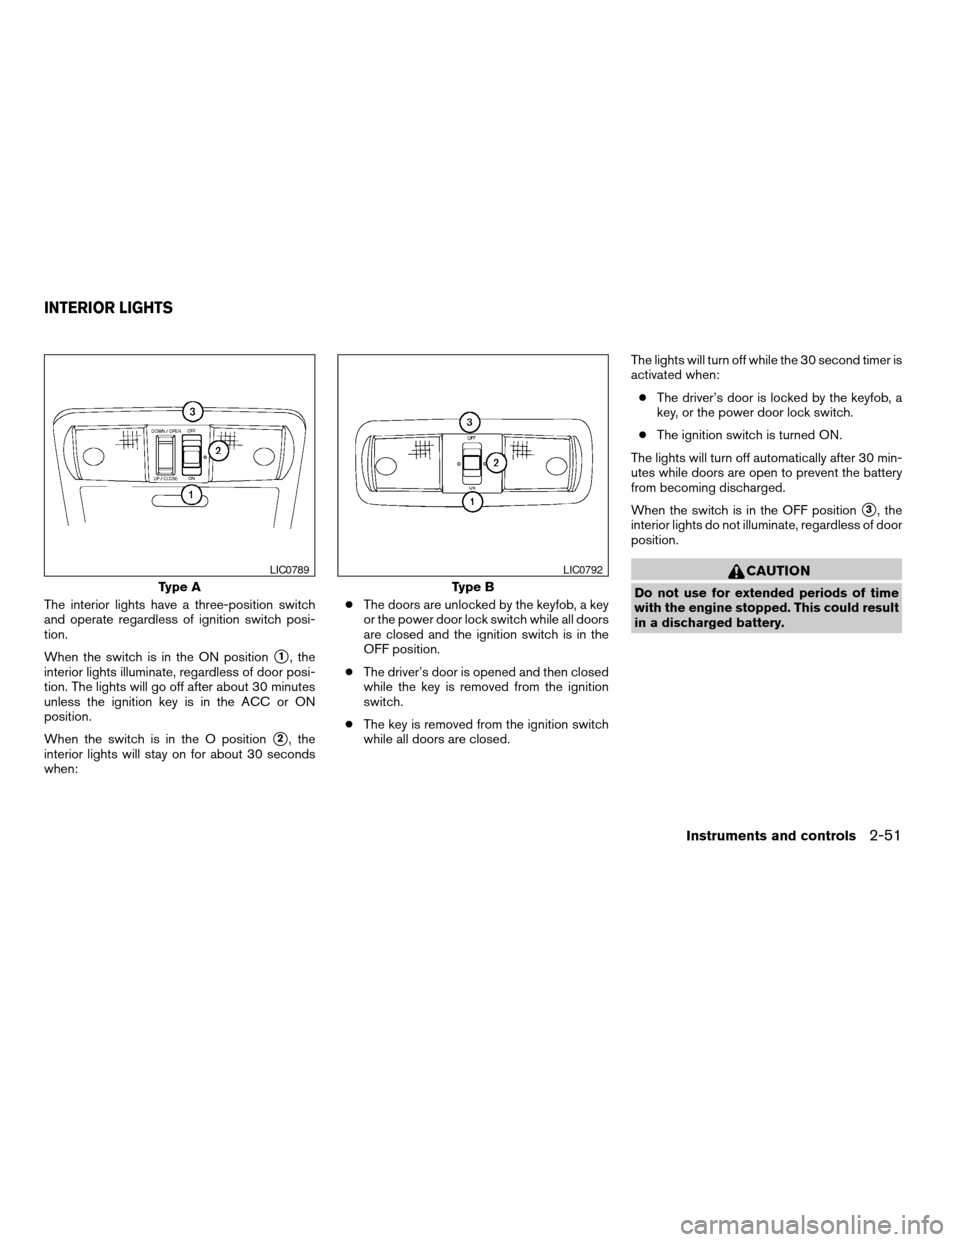
The interior lights have a three-position switch
and operate regardless of ignition switch posi-
tion.
When the switch is in the ON position
s1, the
interior lights illuminate, regardless of door posi-
tion. The lights will go off after about 30 minutes
unless the ignition key is in the ACC or ON
position.
When the switch is in the O position
s2, the
interior lights will stay on for about 30 seconds
when:cThe doors are unlocked by the keyfob, a key
or the power door lock switch while all doors
are closed and the ignition switch is in the
OFF position.
cThe driver’s door is opened and then closed
while the key is removed from the ignition
switch.
cThe key is removed from the ignition switch
while all doors are closed.The lights will turn off while the 30 second timer is
activated when:
cThe driver’s door is locked by the keyfob, a
key, or the power door lock switch.
cThe ignition switch is turned ON.
The lights will turn off automatically after 30 min-
utes while doors are open to prevent the battery
from becoming discharged.
When the switch is in the OFF position
s3, the
interior lights do not illuminate, regardless of door
position.
CAUTION
Do not use for extended periods of time
with the engine stopped. This could result
in a discharged battery.Type A
LIC0789
Type B
LIC0792
INTERIOR LIGHTS
Instruments and controls2-51
ZREVIEW COPYÐ2006 Pathfinder(pat)
Owners ManualÐUSA_English(nna)
07/29/05Ðcathy
X