Page 89 of 409

88 Safety and SecurityPerformance enhancement systemThe Airbrake switch is on the upper part of
the center console.Airbrake modes1Manual
2Automatic
3Test
4Airbrake switch�
Switch on the ignition (
�page 40).
The system runs a self-test to ensure
correct operation of the Airbrake.Test mode
The test mode allows you to check that the
Airbrake is functioning correctly.
This mode can only be activated when the
vehicle is at standstill.
�
Slide Airbrake switch4 to
position3.
The Airbrake swings upwards to an an-
gle of 62°.
�
Release the Airbrake switch.
The Airbrake returns to its initial posi-
tion.Manual mode
In this mode, the Airbrake is set to an angle
of 30°. The driver downforce mode en-
hances handling in all conditions.
�
Slide the Airbrake switch4 to
position1.
The Airbrake swings upwards to an an-
gle of 30° and stays in this position.iIn manual mode, the Airbrake automat-
ic function is activated in an emergency
braking situation, see “Automatic
mode” (
�page 89).
!Before deactivating manual mode,
check the Airbrake for any objects
which may have become lodged, e.g.
branches or leaves, and remove them.
Otherwise the Airbrake can no longer
function correctly.
Page 90 of 409
89 Safety and Security
Performance enhancement system
Automatic mode
This mode should be used for normal driv-
ing conditions.�
Slide the Airbrake switch4 to
position2.
With the ignition on, the Airbrake
swings upwards to an angle of 5° and
then returns to its initial position.
When the vehicle exceeds a speed of
60 mph (95 km/h), the Airbrake
swings up to an angle of 10°. Rapid braking
If you need to brake in an emergency from
a speed of more than 60 mph (95 km/h),
the Airbrake automatically swings upwards
to an angle of 62°.
This allows you to achieve the best possi-
ble braking performance in an emergency.
Warning!
G
Hard braking activates the Airbrake which
may block the view through the interior rear
view mirror. In this case, monitor the traffic
behind you through the exterior rear view
mirrors.
Page 94 of 409
93 Safety and Security
Anti-theft systems
�
Switch off the ignition and remove the
SmartKey.
�
Press button 1.
Indicator lamp2 in button1 comes
on briefly.
�
Exit and lock your vehicle with the
SmartKey.
The tow-away alarm remains disarmed
until you lock your vehicle again.Canceling the alarm
To cancel the alarm:
�
Press buttonŒ or‹ on the
SmartKey.
or
�
Insert the SmartKey in the starter
switch.
iYou cannot disarm the tow-away alarm
while the ignition is switched on.
Page 104 of 409

103 Controls in detail
Locking and unlocking
Automatic locking
The doors and the trunk lock automatically
when the vehicle is set into motion.
You can open a locked door from the in-
side. Open door only when conditions are
safe to do so.
You can deactivate the automatic locking
using the control system (
�page 137).
Locking and unlocking from the inside
You can lock or unlock the vehicle from in-
side using the central locking switches.
This can be useful, for example, if you want
to unlock the passenger door from the in-
side or want to lock the vehicle before
starting to drive.
The central locking switch does not lock or
unlock the fuel filler flap.
iThe emergency release button does
not open the trunk lid if the vehicle
battery is discharged or disconnected.
If the vehicle has previously been
locked from the outside with the
SmartKey, opening the trunk from the
inside using the emergency release
button will trigger the anti-theft alarm
system.
To cancel the alarm, do one of the
following:�
Press buttonŒ or‹ on the
SmartKey.
�
Insert the SmartKey in the starter
switch.
iThe doors unlock automatically after an
accident if the force of the impact ex-
ceeds a preset threshold.
The vehicle locks automatically when
the ignition is switched on and the
wheels are turning at vehicle speeds of
approximately 9 mph (15 km/h) or
more. You could therefore lock yourself
out when the vehicle�
is pushed
�
is on a test stand
Warning!
G
When leaving the vehicle, always remove the
SmartKey from the starter switch, take it
with you, and lock the vehicle. Do not leave
children unattended in the vehicle, or with
access to an unlocked vehicle. Unsuper-
vised use of vehicle equipment may cause
an accident and/or serious personal injury.
Page 111 of 409
110 Controls in detailLightingHazard warning flasher
The hazard warning flasher can be
switched on at all times, even with the
SmartKey removed from the starter
switch.
The hazard warning flasher switches on
automatically when an airbag deploys.
The hazard warning flasher switch is
located on the upper part of the center
console.
1Hazard warning flasher switchSwitching on hazard warning flasher
�
Press hazard warning flasher
switch1.
All turn signals are flashing.Switching off hazard warning flasher
�
Press hazard warning flasher switch1
again.
iWith the hazard warning flasher
activated and the combination switch
set for either left or right turn, only the
respective turn signals will operate
when the ignition is switched on.
iIf the hazard warning flasher has been
activated automatically, press hazard
warning flasher switch1 once to
switch it off.
Page 114 of 409
113 Controls in detail
Instrument cluster
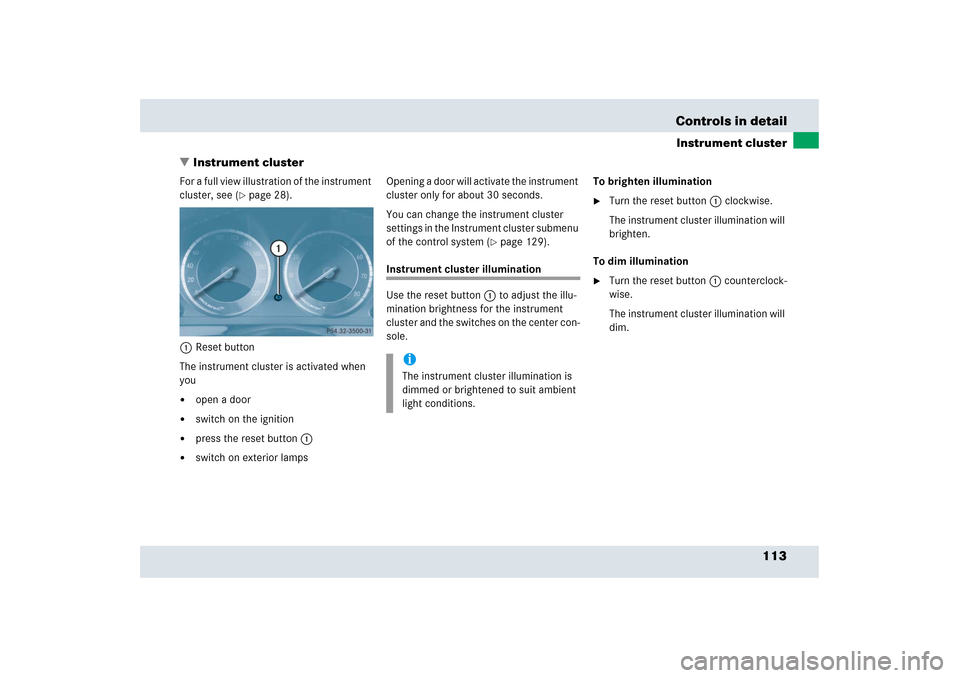
�Instrument cluster
For a full view illustration of the instrument
cluster, see (
�page 28).
1Reset button
The instrument cluster is activated when
you
�
open a door
�
switch on the ignition
�
press the reset button1
�
switch on exterior lampsOpening a door will activate the instrument
cluster only for about 30 seconds.
You can change the instrument cluster
settings in the Instrument cluster submenu
of the control system (
�page 129).
Instrument cluster illumination
Use the reset button1 to adjust the illu-
mination brightness for the instrument
cluster and the switches on the center con-
sole.To brighten illumination
�
Turn the reset button1 clockwise.
The instrument cluster illumination will
brighten.
To dim illumination
�
Turn the reset button1 counterclock-
wise.
The instrument cluster illumination will
dim.
iThe instrument cluster illumination is
dimmed or brightened to suit ambient
light conditions.
Page 180 of 409
 and adjusting the mirrors,
see (�page 44).
Headlamp cleaning system
The switch is lo")
179 Controls in detail
Good visibility
�Good visibility
For information on the windshield wipers,
see (
�page 54) and adjusting the mirrors,
see (�page 44).
Headlamp cleaning system
The switch is located on the left side of the
dashboard.
1To clean the headlamps�
Switch on the ignition (
�page 40).
�
Press switch 1.
The headlamps are cleaned with a
high-pressure water jet.For information on filling up the washer
reservoir, see “Windshield washer system
and headlamp cleaning system”
(
�page 252).
Rear view mirrors
For more information on setting the rear
view mirrors, see “Mirrors” (
�page 44).
Auto-dimming mirror
The reflection brightness of the interior
rear view mirror will respond automatically
to glare when
�
the ignition is switched on
and
�
incoming light from headlamps falls on
the sensor in the interior rear view
mirror.
The rear view mirror will not react if
�
reverse gearR is engaged
�
the interior lighting is turned on
Warning!
G
The auto-dimming function does not react if
incoming light is not aimed directly at sen-
sors in the interior rear view mirror.
Glare can endanger you and others.Warning!
G
In case of an accident, liquid electrolyte may
escape from the mirror housing if the mirror
glass breaks.
Electrolyte has an irritating effect. Do not
allow the liquid to come into contact with
eyes, skin, clothing, or respiratory system.
In case it does, immediately flush affected
area with water, and seek medical help if
necessary.
Page 191 of 409
190 Controls in detailAutomatic climate controlResidual heat and ventilation
With the engine switched off, it is possible
to continue to heat or ventilate the interior
for up to 30 minutes. This feature makes
use of the residual heat produced by the
engine.Activating
�
Turn the SmartKey in the starter switch
to position1 or0 o r r e m o v e i t f r o m t h e
starter switch.
�
Press button T (
�page 184).
The indicator lamp on button T
comes on.Deactivating
�
Press button T (
�page 184).
The indicator lamp on button T
goes out.
The residual heat is automatically turned
off:
�
when the ignition is switched on
�
after about 30 minutes
�
if the battery voltage drops
iHow long the system will provide heat-
ing depends on the coolant tempera-
ture and the temperature set by the
operator. The blower will run at speed
setting1 regardless of the air distribu-
tion control setting.