Page 124 of 481

123 Controls in detail
Control system
�Control system
The control system is activated as soon as
the SmartKey in the starter switch is
turned to position1. The control system
enables you to�
call up information about your vehicle
�
change vehicle settings
For example, you can use the control sys-
tem to find out when your vehicle is next
due for service, to set the language for
messages in the instrument cluster dis-
play, and much more.
The control system relays information to
the multifunction display.
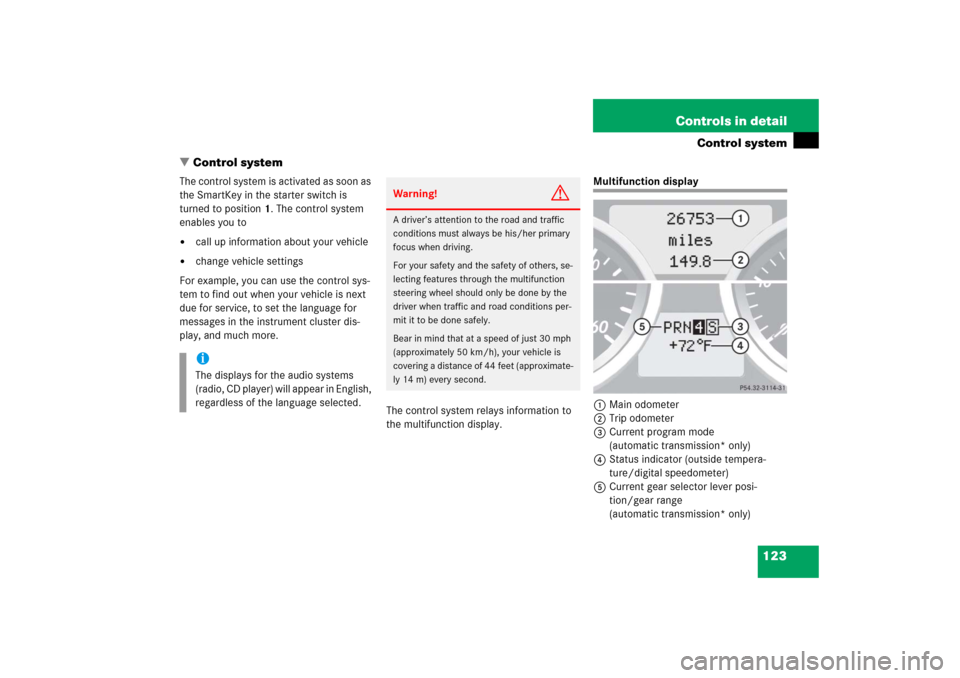
Multifunction display
1Main odometer
2Trip odometer
3Current program mode
(automatic transmission* only)
4Status indicator (outside tempera-
ture/digital speedometer)
5Current gear selector lever posi-
tion/gear range
(automatic transmission* only)
iThe displays for the audio systems
(radio, CD player) will appear in English,
regardless of the language selected.
Warning!
G
A driver’s attention to the road and traffic
conditions must always be his/her primary
focus when driving.
For your safety and the safety of others, se-
lecting features through the multifunction
steering wheel should only be done by the
driver when traffic and road conditions per-
mit it to be done safely.
Bear in mind that at a speed of just 30 mph
(approximately 50 km/h), your vehicle is
covering a distance of 44 feet (approximate-
ly 14 m) every second.
Page 135 of 481

134 Controls in detailControl systemSettings menu
In the
Settings...
menu are two func-
tions:
�
The function
To reset: Press reset
button for 3 seconds
for resetting all
settings to factory standard.
�
A collection of submenus for perform-
ing individual settings for your vehicle.
�
Press buttonèorÿ repeatedly
until the
Settings...
menu appears in
the multifunction display.The following settings and submenus are
available in the
Settings...
menu:Resetting all settings
You can reset all the functions of all sub-
menus to the factory settings.
�
Press the reset buttonJon the instru-
ment cluster (
�page 24) for approxi-
mately 3 seconds.
The request to press the reset
buttonJonce more to confirm ap-
pears in the multifunction display.
�
Press the reset buttonJagain.
The functions of all submenus will be
reset to the factory settings.
The message
Reset to factory
settings
appears in the multifunction
display.
Function
Page
Resetting all settings
134
Submenus in the Settings menu
135
Instrument cluster submenu
137
Time/date submenu
137
Lighting submenu
143
Vehicle submenu
147
Convenience submenu
147
Page 137 of 481
136 Controls in detailControl systemThe table below shows what settings can
be changed within the various submenus.Detailed instructions on making individual
settings can be found on the following
pages.Instrument cluster
Time/Date
Lighting
Vehicle
Convenience*
(�page 137)
(�page 139)
(�page 143)
(�page 147)
(�page 147)
Selecting digital speed-
ometer display mode
Time synchronization
with head unit*
Daytime running lamp
mode (USA only)
Setting automatic locking
Activating
easy-entry/exit feature*
Selecting language
Setting the time (hours)
Locator lighting
Setting parking position
for exterior rear view
mirror*
Selecting display (speed
display or outside
temperature) for status
indicator
Setting the time
(minutes)
Night security
illumination
Setting the date (month)
Interior lighting delayed
shut-off
Setting the date (day)Setting the date (year)
Page 138 of 481

137 Controls in detail
Control system
Instrument cluster submenu
Access the
Instr. cluster
submenu via
the
Settings...
menu. Use the
Instr.
cluster
submenu to change the instru-
ment cluster display settings. The follow-
ing functions are available:Selecting digital speedometer display
mode
�
Move the selection marker with
buttonæorç to the
Instr.
cluster
submenu.
�
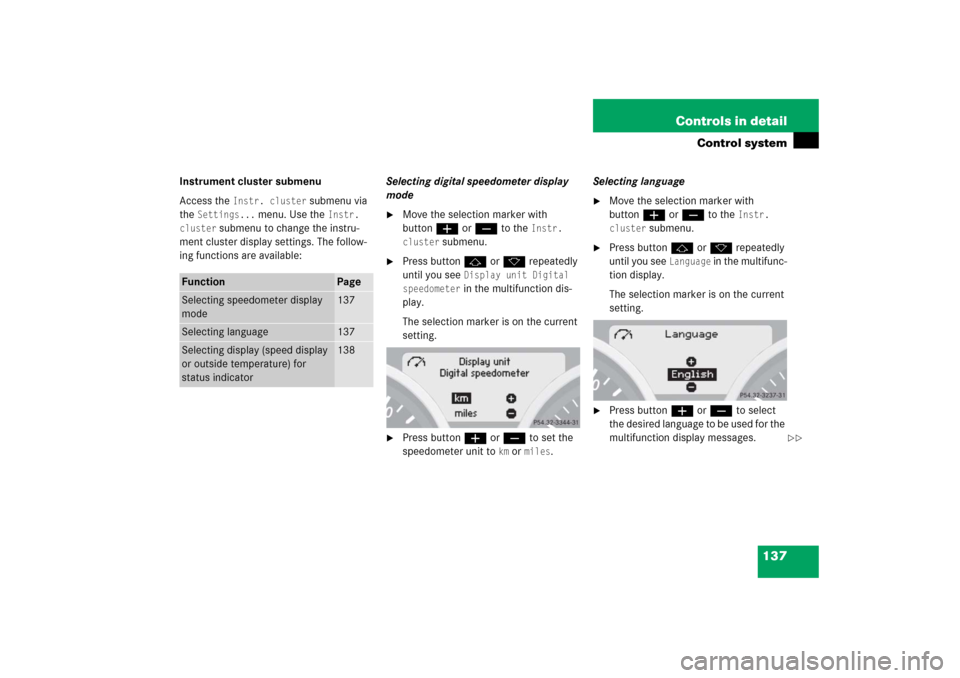
Press buttonjork repeatedly
until you see
Display unit Digital
speedometer in the multifunction dis-
play.
The selection marker is on the current
setting.
�
Press buttonæorç to set the
speedometer unit to
km or
miles
.Selecting language
�
Move the selection marker with
buttonæorç to the
Instr.
cluster
submenu.
�
Press buttonjork repeatedly
until you see
Language
in the multifunc-
tion display.
The selection marker is on the current
setting.
�
Press buttonæorç to select
the desired language to be used for the
multifunction display messages.
Function
Page
Selecting speedometer display
mode
137
Selecting language
137
Selecting display (speed display
or outside temperature) for
status indicator
138
��
Page 140 of 481

139 Controls in detail
Control system
Time/Date submenu
Access the
Time/Date
submenu via the
Settings...
menu. Use the
Time/Date
submenu to change the instrument cluster
display settings.
The following functions are available:Time and date synchronization with
head unit*
This function can only be seen on vehicles
with COMAND* and navigation module*.
�
Move the selection marker with
buttonæorç to the
Time/Date
submenu.
�
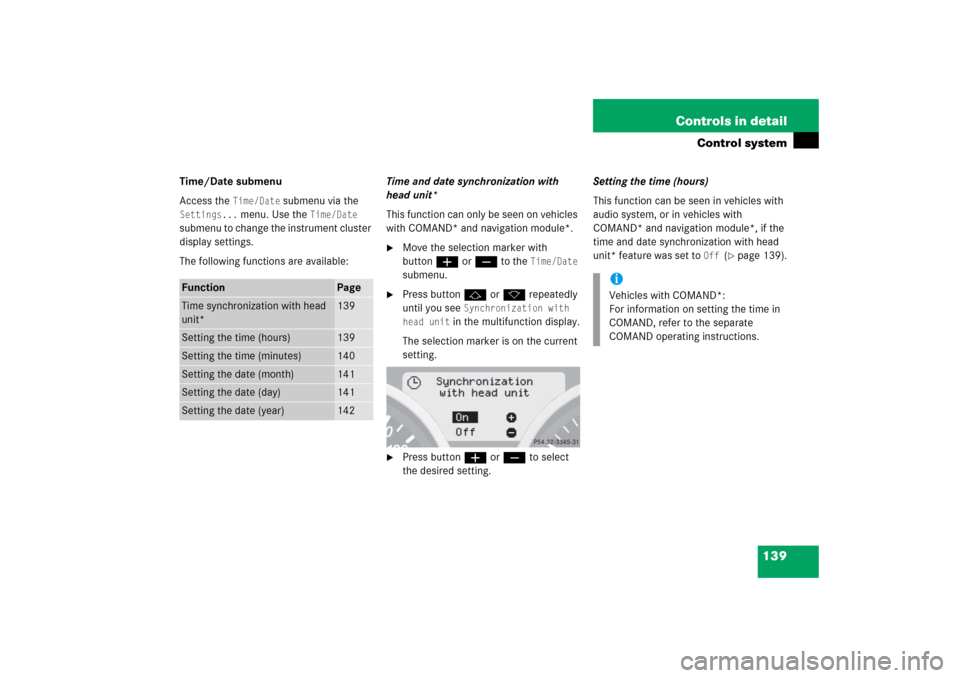
Press buttonjork repeatedly
until you see
Synchronization with
head unit
in the multifunction display.
The selection marker is on the current
setting.
�
Press buttonæorç to select
the desired setting.Setting the time (hours)
This function can be seen in vehicles with
audio system, or in vehicles with
COMAND* and navigation module*, if the
time and date synchronization with head
unit* feature was set to
Off
(�page 139).
Function
Page
Time synchronization with head
unit*
139
Setting the time (hours)
139
Setting the time (minutes)
140
Setting the date (month)
141
Setting the date (day)
141
Setting the date (year)
142
iVehicles with COMAND*:
For information on setting the time in
COMAND, refer to the separate
COMAND operating instructions.
Page 275 of 481

274 Controls in detailUseful features�
To activate, press the SOS button, the
Roadside Assistance button• or
the Information button¡, depend-
ing on the type of response required.System self-check
Initially, after switching on ignition, mal-
functions are detected and indicated (the
indicator lamps in the SOS button, the
Roadside Assistance button•, and the
Information button¡ stay on longer
than 10 seconds or do not come on). The
message
Malfunction. Drive to
workshop appears for approximately
10 seconds in the multifunction display.
iThe SOS button is located in the over-
head control panel.
The Roadside Assistance button•
and the Information button¡ are
located below the center armrest cov-
er.!The Tele Aid system utilizes the cellular
network for communication and the
GPS (Global Positioning System) satel-
lites for vehicle location. If either of
these signals are unavailable, the
Tele Aid system may not function and if
this occurs, assistance must be sum-
moned by other means.
iWhen a Tele Aid call has been initiated,
the audio system or COMAND* system
audio is muted and the selected mode
(radio, tape or CD) pauses. The optional
cellular phone* (if installed) and insert-
ed in cradle switches off. If you must
use this phone, we recommend that
you use it only with the vehicle at a
standstill in a safe location. Remove
the phone from the cradle and place
the call. The COMAND* navigation sys-
tem (if engaged) will continue to run.
The display in the instrument cluster is
available for use, and spoken com-
mands are only available by pressing
the RPT button on the COMAND* unit.
A pop-up window will appear in the
COMAND* display to indicate that a
Tele Aid call is in progress. After the
Tele Aid call has ended, the optional
cellular phone switches on again. A PIN
entry might be necessary.
Page 296 of 481

295 Operation
Driving instructions
After hard braking, it is advisable to drive
on for some time, rather than immediately
park, so that the air stream will cool down
the brakes faster.High-performance brake system
(SLK 55 AMG only)
The high-performance brake system is de-
signed to operate under the extremely high
operating demands required to accommo-
date the performance capabilities of the
vehicle. The brakes may produce a squeak-
ing-type noise depending on the
�
vehicle speed
�
brake force applied
�
ambient conditions, e.g. temperature
and humidity
As with any brake system, the wear of indi-
vidual brake system components such as
brake pads or discs strongly depends on
your driving style and the conditions under
which you operate the vehicle. Thus, a driv-
ing style calling for high demand braking
will cause your vehicle’s brakes to wear
more quickly.
Warning!
G
If other than recommended brake pads are
installed, or other than recommended brake
fluid is used, the braking properties of the
vehicle can be degraded to an extent that
safe braking is substantially impaired. This
could result in an accident.!When driving down long and steep
grades, relieve the load on the brakes
by shifting into a lower gear to use the
engine’s braking power. This helps pre-
vent overheating of the brakes and re-
duces brake pad wear.
Warning!
G
New vehicle brake pads and discs, and
replacement brake pads and discs may take
several hundred miles of driving until they
provide optimum braking efficiency. Until
that time, you may need to use increased
brake pedal pressure while braking. Please
be aware of this and adjust your driving and
braking accordingly during this break-in
period.
Excessive high demand braking will cause
correspondingly high brake wear. Please be
attentive to the brake warning lamp in the
instrument cluster and brake condition mes-
sages in the multifunction display. Especial-
ly for high performance driving, it is
important to maintain the brake system and
have it checked regularly.
Page 360 of 481

359 Operation
Vehicle care
Plastic and rubber parts�
Use a gentle dishwashing detergent or
mild detergent for delicate fabrics as a
washing solution.
Instrument cluster and cup holders
�
Use a gentle dishwashing detergent or
mild detergent for delicate fabrics as a
washing solution.
�
Wipe with a cloth moistened in a luke-
warm solution.Hard plastic trim items
�
Use Pour Mercedes-Benz approved
Interior Care, a soft, lint-free cloth and
apply with light pressure onto.
Steering wheel and gearshift/gear se-
lector lever
�
Wipe with a damp cloth and dry thor-
oughly or clean with Mercedes-Benz
approved Leather Care.
Carpets
�
Use Mercedes-Benz approved Carpet
and Fabric Care for cleaning the car-
pets.
!The vehicle should not be parked for an
extended period of time immediately
after it has been cleaned, especially not
after the wheel rims have been cleaned
with wheel rim cleaner. Wheel rim
cleaners can lead to increased corro-
sion of the brake discs and brake pads.
Therefore, the vehicle’s brake system
should always be warmed-up before it
is parked after cleaning. To do so,
please drive your vehicle for several
minutes to allow the brakes to dry.
When applying Mercedes-Benz ap-
proved Tire Care and Mercedes-Benz
approved Wheel Care products, take
care not to spray them on the brake
discs.
!Do not use oil or wax on these parts.!To prevent scratches, do not use scour-
ing agents.
!To prevent scratches, do not use scour-
ing agents.