Page 182 of 480
181 Controls in detail
Automatic climate control
Automatic climate control panel
Item
1
Center air vent, adjustable
2
Cockpit air vent, fixed
3
Side defroster vent
4
Side air vent, adjustable
5
Center air vent, adjustable
6
Thumbwheel for air volume control
for right side air vents
7
Thumbwheel for air volume control
for center air vents
8
Thumbwheel for air volume control
for left side air vents
9
Automatic climate control paneliFor draft-free ventilation, move the slid-
ers for center air vents 1 and 5 to
the middle position.
Item
1
Temperature control, left
2
Air distribution, left (automatic or
manual operation)
3
Front defroster
4
Air recirculation
5
Rear window defroster
6
Air distribution, right (automatic or
manual operation)
7
Temperature control, right
8
Automatic climate control on/off
(entire system)
9
Residual heat/ventilation
a
Air volume control (automatic, man-
ual)
b
AC cooling on/off
Page 186 of 480

185 Controls in detail
Automatic climate control
Adjusting air distribution
Use air distribution controls2 and6
(�page 181) to separately adjust the air
distribution on each side of the passenger
compartment. The following symbols are
found on the controls:
�
Press control button 2 or 6
(�page 181) until the control button
sticks up slightly and the U symbol
on the control button is out.
Automatic air distribution for the re-
spective side of the passenger com-
partment is switched off.
�
Turn control button to the desired sym-
bol.
The air distribution is adjusted accord-
ing to the chosen setting.
Opening the center air vents
�
Turn the thumbwheel 7 (
�page 180)
upward to the first stop.
Center air vents 1 and 5
(
�page 180) are open.
Opening the cockpit air vent and center
air vents
�
Turn the thumbwheel 7 (
�page 180)
upward all the way.
Cockpit air vent 2 and center air vents
1 and 5 (
�page 180) are open.Closing the cockpit air vent and center
air vents
�
Turn the thumbwheel 7 (
�page 180)
downward.
Cockpit air vent 2 and center air vents
1 and 5 (
�page 180) are closed.
Opening the side air vents
�
Turn the thumbwheel 6 and 8
(�page 180) upward.
The corresponding side air vent is
open.
Closing the side air vents
�
Turn the thumbwheel 6 and 8
(�page 180) upward.
The corresponding side air vent is
closed.
Symbol
Function
h
Directs air through the cen-
ter and side air vents
j
Directs air to the windows
V
Directs air into the entire
vehicle interior
k
Directs air to the footwells
iYou can also turn the air distribution
control to a position between two sym-
bols.
iThe air vents are continuously variable.
Page 192 of 480
191 Controls in detail
Automatic climate control
Deactivating�
Press button T (
�page 181).
The indicator lamp on the button goes
out.
The residual heat is automatically turned
off:
�
when the ignition is switched on
�
after about 30 minutes
�
if the battery voltage drops
�
when the coolant temperature is too
low
Ventilated storage compartments
The glove box and the armrest storage
compartment have their own air vents that
allow for cooling ventilation when the auto-
matic climate control system is activated.Glove box1Thumbwheel
2Air ventOpening the air vent
�
Turn thumbwheel1 upwards.
Closing the air vent
�
Turn thumbwheel1 downwards.
Storage compartment under the armrest1Thumbwheel
2Air vent
Opening the air vent�
Turn thumbwheel1 to the right.
Closing the air vent
�
Turn thumbwheel1 to the left.
iYou should keep these air vents closed
when outside temperatures are low.
Page 205 of 480

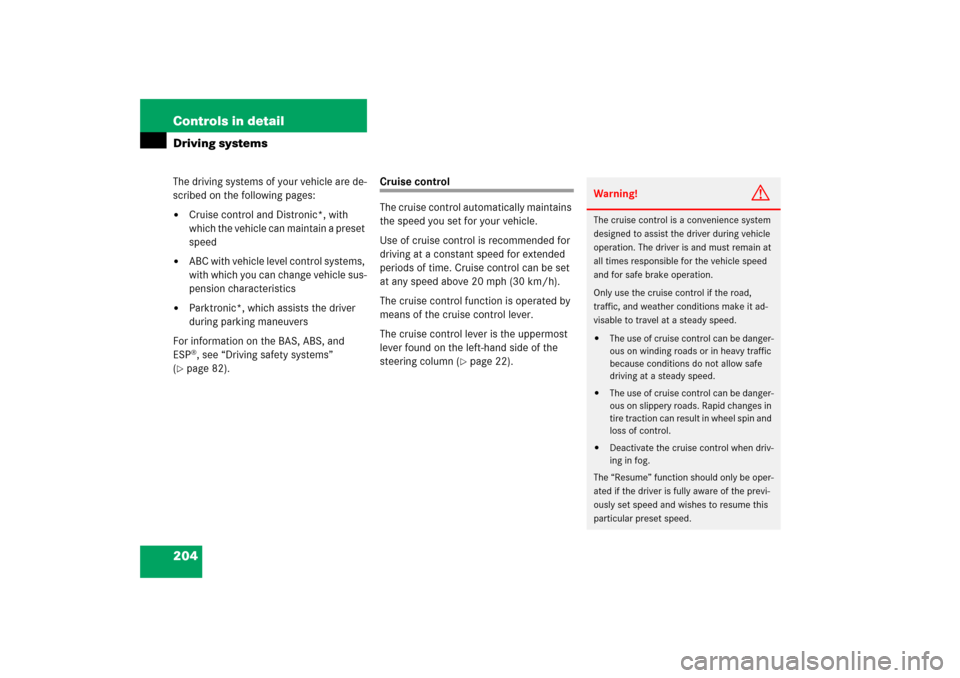
204 Controls in detailDriving systemsThe driving systems of your vehicle are de-
scribed on the following pages:�
Cruise control and Distronic*, with
which the vehicle can maintain a preset
speed
�
ABC with vehicle level control systems,
with which you can change vehicle sus-
pension characteristics
�
Parktronic*, which assists the driver
during parking maneuvers
For information on the BAS, ABS, and
ESP®, see “Driving safety systems”
(
�page 82).
Cruise control
The cruise control automatically maintains
the speed you set for your vehicle.
Use of cruise control is recommended for
driving at a constant speed for extended
periods of time. Cruise control can be set
at any speed above 20 mph (30 km/h).
The cruise control function is operated by
means of the cruise control lever.
The cruise control lever is the uppermost
lever found on the left-hand side of the
steering column (
�page 22).
Warning!
G
The cruise control is a convenience system
designed to assist the driver during vehicle
operation. The driver is and must remain at
all times responsible for the vehicle speed
and for safe brake operation.
Only use the cruise control if the road,
traffic, and weather conditions make it ad-
visable to travel at a steady speed.�
The use of cruise control can be danger-
ous on winding roads or in heavy traffic
because conditions do not allow safe
driving at a steady speed.
�
The use of cruise control can be danger-
ous on slippery roads. Rapid changes in
tire traction can result in wheel spin and
loss of control.
�
Deactivate the cruise control when driv-
ing in fog.
The “Resume” function should only be oper-
ated if the driver is fully aware of the previ-
ously set speed and wishes to resume this
particular preset speed.
Page 210 of 480

209 Controls in detail
Driving systems
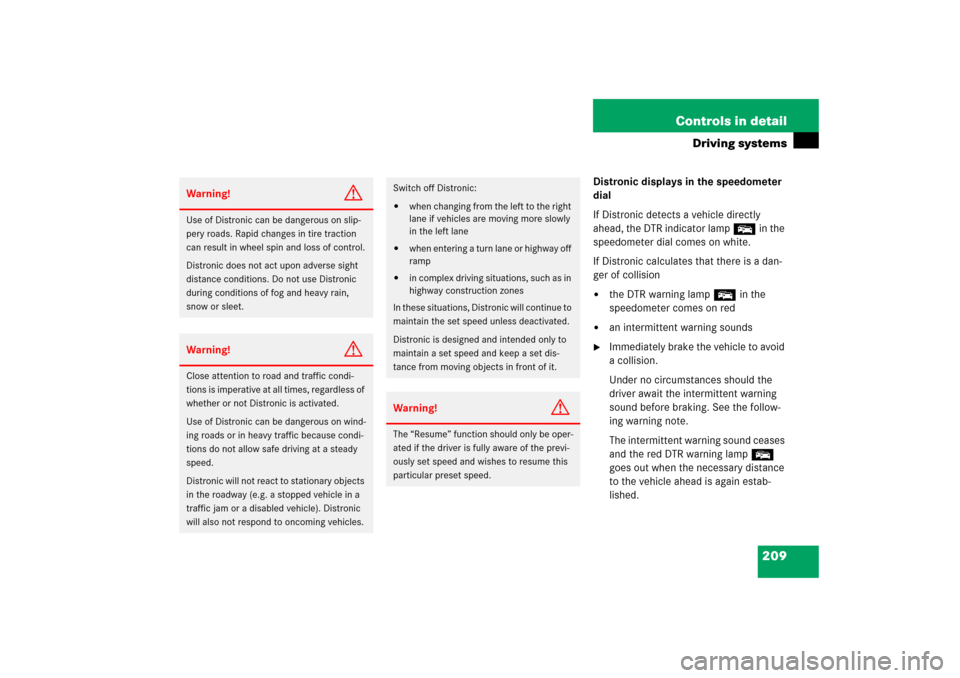
Distronic displays in the speedometer
dial
If Distronic detects a vehicle directly
ahead, the DTR indicator lamp E in the
speedometer dial comes on white.
If Distronic calculates that there is a dan-
ger of collision�
the DTR warning lamp E in the
speedometer comes on red
�
an intermittent warning sounds
�
Immediately brake the vehicle to avoid
a collision.
Under no circumstances should the
driver await the intermittent warning
sound before braking. See the follow-
ing warning note.
The intermittent warning sound ceases
and the red DTR warning lamp E
goes out when the necessary distance
to the vehicle ahead is again estab-
lished.
Warning!
G
Use of Distronic can be dangerous on slip-
pery roads. Rapid changes in tire traction
can result in wheel spin and loss of control.
Distronic does not act upon adverse sight
distance conditions. Do not use Distronic
during conditions of fog and heavy rain,
snow or sleet.Warning!
G
Close attention to road and traffic condi-
tions is imperative at all times, regardless of
whether or not Distronic is activated.
Use of Distronic can be dangerous on wind-
ing roads or in heavy traffic because condi-
tions do not allow safe driving at a steady
speed.
Distronic will not react to stationary objects
in the roadway (e.g. a stopped vehicle in a
traffic jam or a disabled vehicle). Distronic
will also not respond to oncoming vehicles.
Switch off Distronic:�
when changing from the left to the right
lane if vehicles are moving more slowly
in the left lane
�
when entering a turn lane or highway off
ramp
�
in complex driving situations, such as in
highway construction zones
In these situations, Distronic will continue to
maintain the set speed unless deactivated.
Distronic is designed and intended only to
maintain a set speed and keep a set dis-
tance from moving objects in front of it.
Warning!
G
The “Resume” function should only be oper-
ated if the driver is fully aware of the previ-
ously set speed and wishes to resume this
particular preset speed.
Page 216 of 480

215 Controls in detail
Driving systems
Setting the following distance in
Distronic
You can set the specified following dis-
tance for Distronic by varying the time set-
ting between 1.0 and 2.0 seconds. Using
this time setting and the current speed of
your vehicle, Distronic calculates and sets
the required following distance to the vehi-
cle ahead. The set distance will be shown
in the speedometer display field.
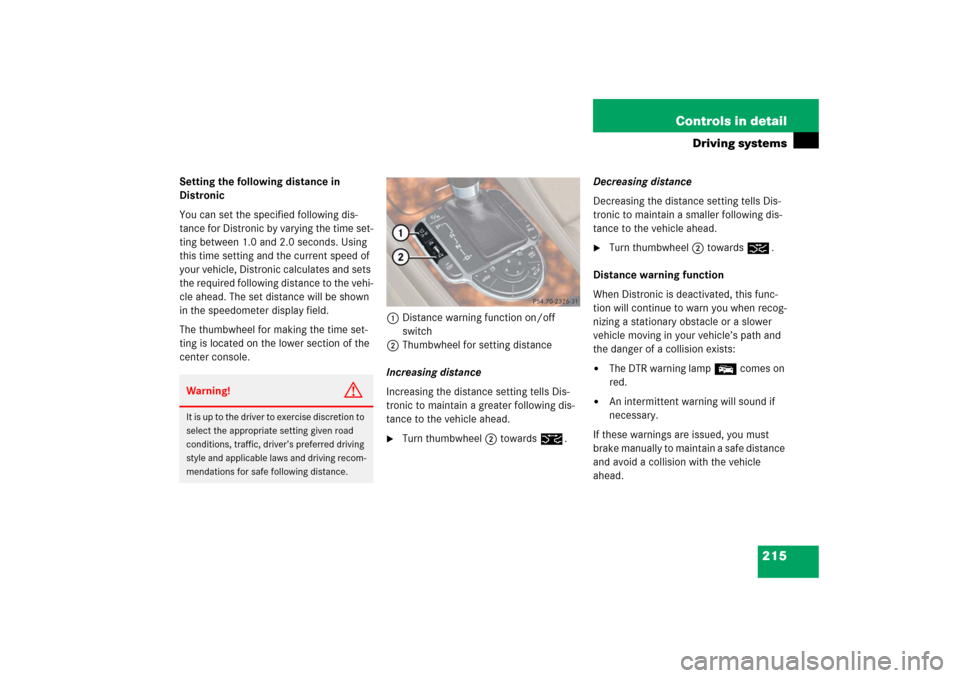
The thumbwheel for making the time set-
ting is located on the lower section of the
center console.1Distance warning function on/off
switch
2Thumbwheel for setting distance
Increasing distance
Increasing the distance setting tells Dis-
tronic to maintain a greater following dis-
tance to the vehicle ahead.
�
Turn thumbwheel2 towards ¯.Decreasing distance
Decreasing the distance setting tells Dis-
tronic to maintain a smaller following dis-
tance to the vehicle ahead.
�
Turn thumbwheel2 towards ®.
Distance warning function
When Distronic is deactivated, this func-
tion will continue to warn you when recog-
nizing a stationary obstacle or a slower
vehicle moving in your vehicle’s path and
the danger of a collision exists:
�
The DTR warning lamp E comes on
red.
�
An intermittent warning will sound if
necessary.
If these warnings are issued, you must
brake manually to maintain a safe distance
and avoid a collision with the vehicle
ahead.
Warning!
G
It is up to the driver to exercise discretion to
select the appropriate setting given road
conditions, traffic, driver’s preferred driving
style and applicable laws and driving recom-
mendations for safe following distance.
Page 221 of 480
220 Controls in detailDriving systemsVehicle level controlYour vehicle automatically adjusts its ride
height to:
�
increase vehicle safety
�
reduce fuel consumption
The vehicle chassis ride height is raised or
lowered according to the selected level
setting and to the vehicle speed:
�
With increasing speed, ride height is re-
duced by up to approximately 1 inch
(25 mm).
�
With decreasing speed, the ride height
is again raised to the selected vehicle
level.Select the level 1 and level 2 settings only
when required by current driving condi-
tions. Otherwise:
�
Fuel consumption may increase.
�
Handling may be impaired.
Warning!
G
To help avoid personal injury, keep hands
and feet away from wheel housing area, and
stay away from under the vehicle when low-
ering the vehicle chassis.
iThese height adjustments are so small
that you may not notice any change.
Page 236 of 480

235 Controls in detail
Useful features
Heated steering wheel*
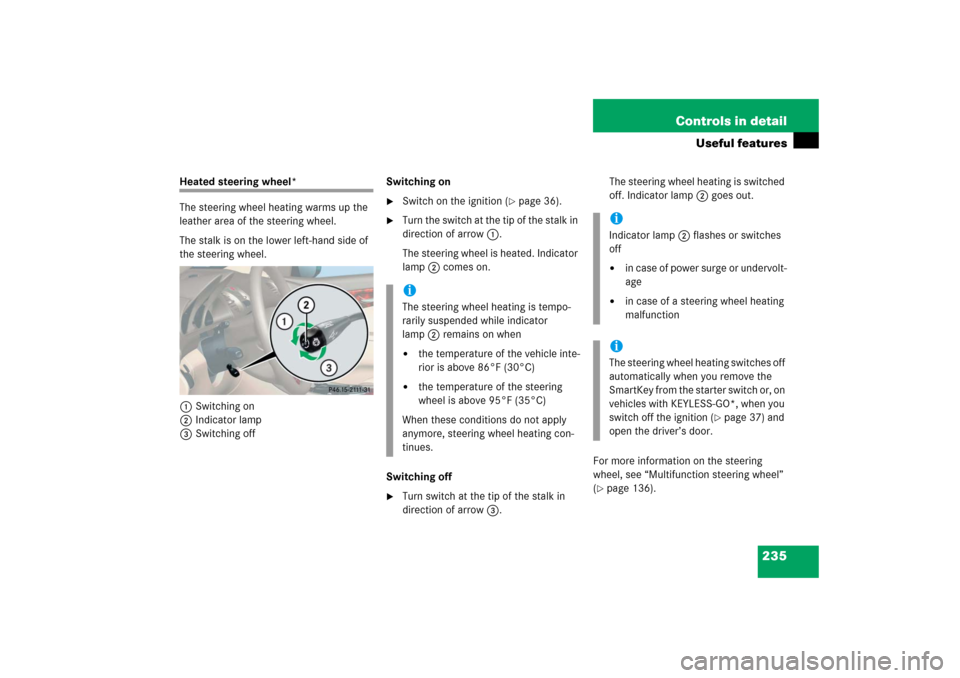
The steering wheel heating warms up the
leather area of the steering wheel.
The stalk is on the lower left-hand side of
the steering wheel.
1Switching on
2Indicator lamp
3Switching offSwitching on
�
Switch on the ignition (
�page 36).
�
Turn the switch at the tip of the stalk in
direction of arrow1.
The steering wheel is heated. Indicator
lamp2 comes on.
Switching off
�
Turn switch at the tip of the stalk in
direction of arrow3. The steering wheel heating is switched
off. Indicator lamp2 goes out.
For more information on the steering
wheel, see “Multifunction steering wheel”
(
�page 136).
iThe steering wheel heating is tempo-
rarily suspended while indicator
lamp2 remains on when�
the temperature of the vehicle inte-
rior is above 86°F (30°C)
�
the temperature of the steering
wheel is above 95°F (35°C)
When these conditions do not apply
anymore, steering wheel heating con-
tinues.
iIndicator lamp 2 flashes or switches
off�
in case of power surge or undervolt-
age
�
in case of a steering wheel heating
malfunction
iThe steering wheel heating switches off
automatically when you remove the
SmartKey from the starter switch or, on
vehicles with KEYLESS-GO*, when you
switch off the ignition (
�page 37) and
open the driver’s door.