Page 140 of 480
139 Controls in detail
Control system
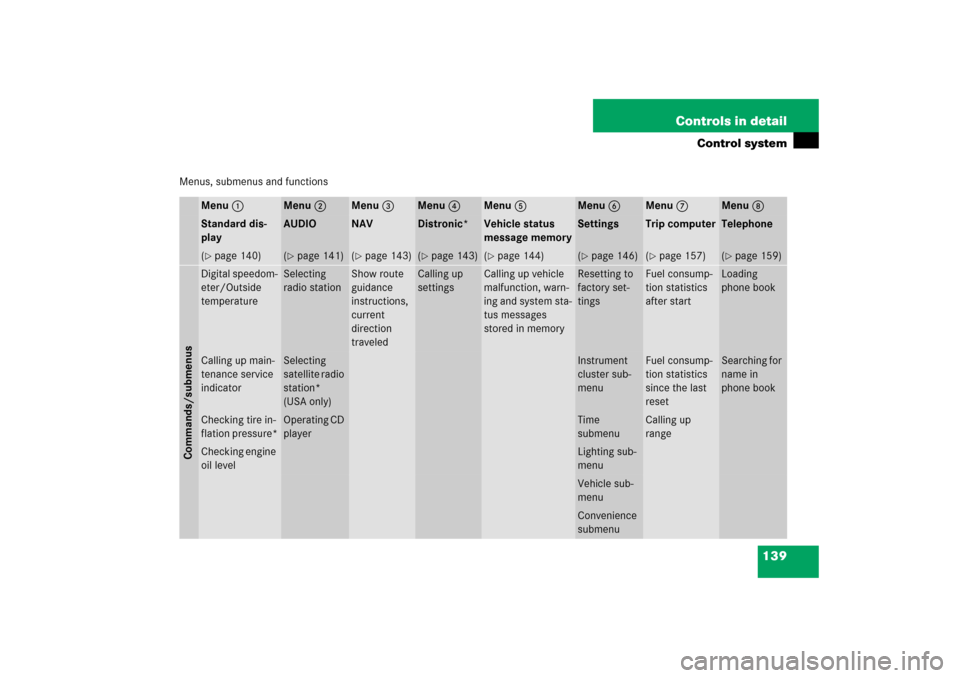
Menus, submenus and functions
Menu 1
Menu 2
Menu 3
Menu 4
Menu 5
Menu 6
Menu 7
Menu 8
Standard dis-
play
AUDIO
NAV
Distronic*
Vehicle status
message memory
Settings
Trip computer
Telephone
(�page 140)
(�page 141)
(�page 143)
(�page 143)
(�page 144)
(�page 146)
(�page 157)
(�page 159)
Commands/submenusDigital speedom-
eter/Outside
temperature
Selecting
radio station
Show route
guidance
instructions,
current
direction
traveled
Calling up
settings
Calling up vehicle
malfunction, warn-
ing and system sta-
tus messages
stored in memory
Resetting to
factory set-
tings
Fuel consump-
tion statistics
after start
Loading
phone book
Calling up main-
tenance service
indicator
Selecting
satellite radio
station*
(USA only)
Instrument
cluster sub-
menu
Fuel consump-
tion statistics
since the last
reset
Searching for
name in
phone book
Checking tire in-
flation pressure*
Operating CD
player
Time
submenu
Calling up
range
Checking engine
oil level
Lighting sub-
menuVehicle sub-
menuConvenience
submenu
Page 141 of 480
140 Controls in detailControl system
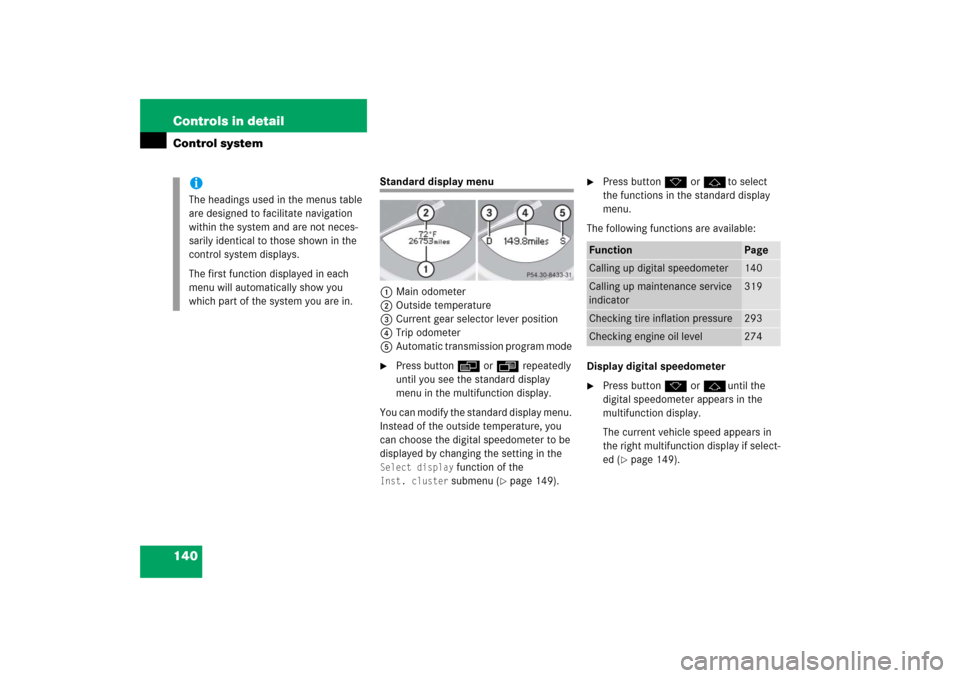
Standard display menu
1Main odometer
2Outside temperature
3Current gear selector lever position
4Trip odometer
5Automatic transmission program mode �
Press button è or ÿ repeatedly
until you see the standard display
menu in the multifunction display.
You can modify the standard display menu.
Instead of the outside temperature, you
can choose the digital speedometer to be
displayed by changing the setting in the
Select display
function of the
Inst. cluster
submenu (
�page 149).
�
Press button k or jto select
the functions in the standard display
menu.
The following functions are available:
Display digital speedometer
�
Press button k or juntil the
digital speedometer appears in the
multifunction display.
The current vehicle speed appears in
the right multifunction display if select-
ed (
�page 149).
iThe headings used in the menus table
are designed to facilitate navigation
within the system and are not neces-
sarily identical to those shown in the
control system displays.
The first function displayed in each
menu will automatically show you
which part of the system you are in.
Function
Page
Calling up digital speedometer
140
Calling up maintenance service
indicator
319
Checking tire inflation pressure
293
Checking engine oil level
274
Page 146 of 480
145 Controls in detail
Control system
Vehicle status messages have been
recorded
If conditions have occurred causing status
messages to be recorded, the number of
messages appears in the right multifunc-
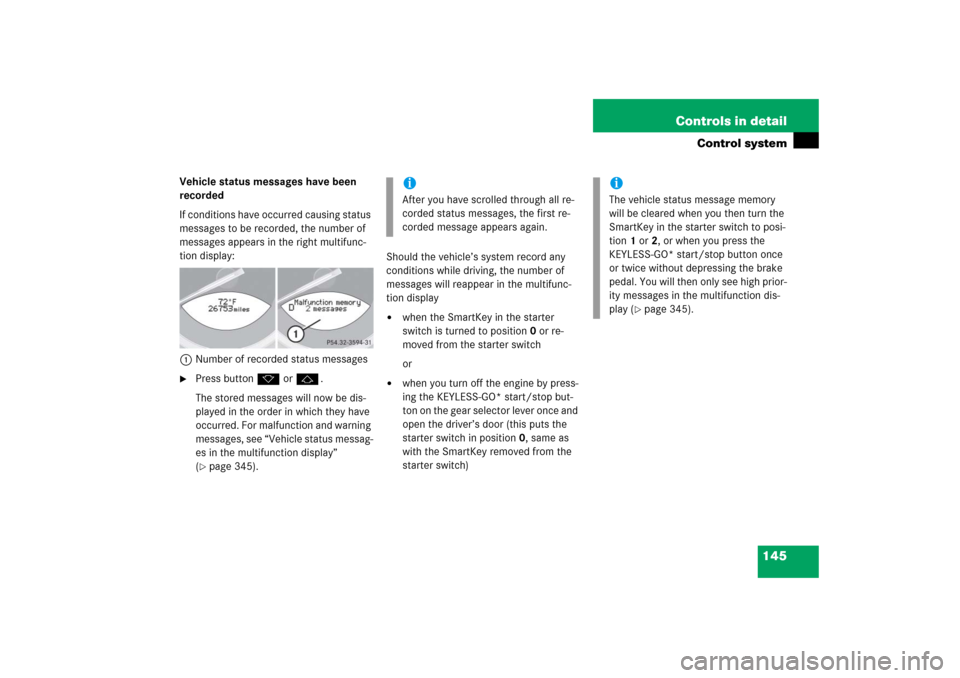
tion display:
1Number of recorded status messages�
Press button k or j.
The stored messages will now be dis-
played in the order in which they have
occurred. For malfunction and warning
messages, see “Vehicle status messag-
es in the multifunction display”
(�page 345).Should the vehicle’s system record any
conditions while driving, the number of
messages will reappear in the multifunc-
tion display
�
when the SmartKey in the starter
switch is turned to position0 or re-
moved from the starter switch
or
�
when you turn off the engine by press-
ing the KEYLESS-GO* start/stop but-
ton on the gear selector lever once and
open the driver’s door (this puts the
starter switch in position 0, same as
with the SmartKey removed from the
starter switch)iAfter you have scrolled through all re-
corded status messages, the first re-
corded message appears again.
iThe vehicle status message memory
will be cleared when you then turn the
SmartKey in the starter switch to posi-
tion 1 or 2, or when you press the
KEYLESS-GO* start/stop button once
or twice without depressing the brake
pedal. You will then only see high prior-
ity messages in the multifunction dis-
play (
�page 345).
Page 153 of 480
152 Controls in detailControl systemLighting submenu
Access the
Lighting
submenu via the
Settings
menu. Use the
Lighting
sub-
menu to change the lamp and lighting set-
tings on your vehicle. The following
functions are available:Setting daytime running lamp mode
(USA only)
�
Move the selection marker with button
æ or ç to the
Lighting
sub-
menu.
�
Press button j or k repeatedly
until you see
Light circuit Headlamp
mode
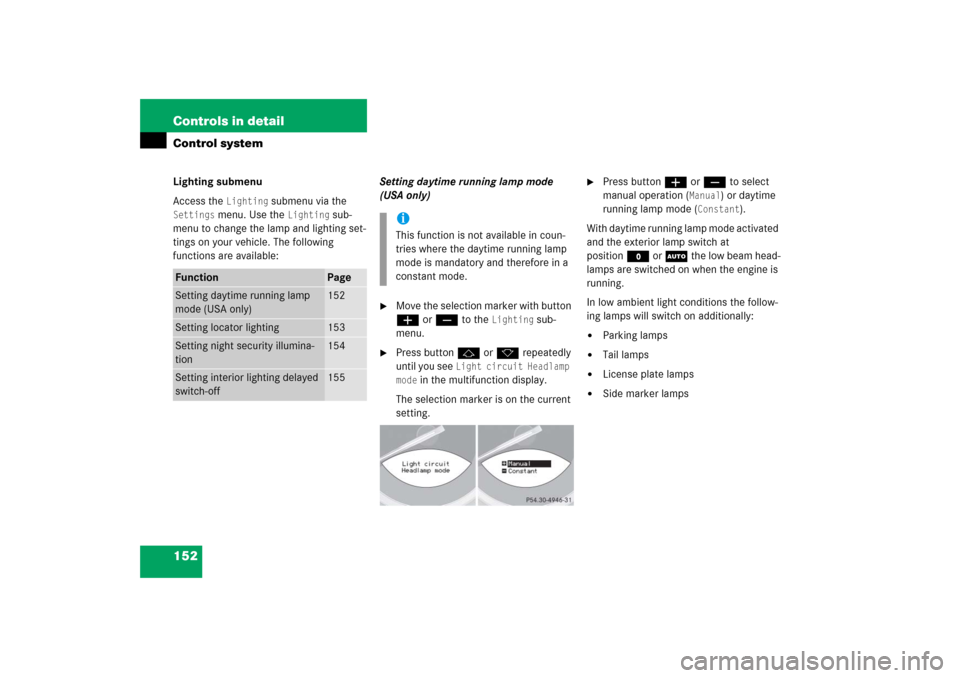
in the multifunction display.
The selection marker is on the current
setting.
�
Press button æ or ç to select
manual operation (
Manual
) or daytime
running lamp mode (
Constant
).
With daytime running lamp mode activated
and the exterior lamp switch at
positionM or U the low beam head-
lamps are switched on when the engine is
running.
In low ambient light conditions the follow-
ing lamps will switch on additionally:
�
Parking lamps
�
Tail lamps
�
License plate lamps
�
Side marker lamps
Function
Page
Setting daytime running lamp
mode (USA only)
152
Setting locator lighting
153
Setting night security illumina-
tion
154
Setting interior lighting delayed
switch-off
155
iThis function is not available in coun-
tries where the daytime running lamp
mode is mandatory and therefore in a
constant mode.
Page 155 of 480
154 Controls in detailControl systemSetting night security illumination
(Exterior lamps delayed switch-off)
Use this function to set whether you would
like the exterior lamps to illuminate during
darkness after exiting the vehicle and clos-
ing the doors.
With the delayed switch-off feature activat-
ed and the exterior lamp switch in position
U before the engine is turned off, the
following lamps will switch on when the en-
gine is turned off and remain lit for approx-
imately 15 seconds: �
Parking lamps
�
Tail lamps
�
License plate lamps
�
Side marker lamps
�
Front fog lampsIf after turning off the engine you do not
open a door or do not close an opened
door, the lamps will switch off automatical-
ly after 60 seconds.
�
Move the selection marker with button
æ or ç to the
Lighting
sub-
menu.
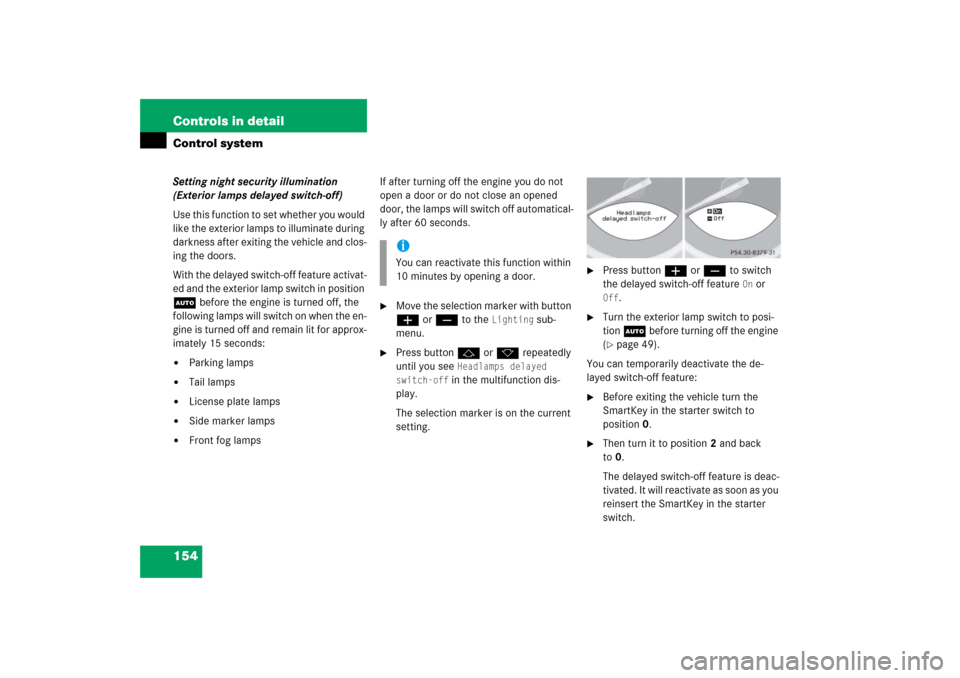
�
Press button j or k repeatedly
until you see
Headlamps delayed
switch-off in the multifunction dis-
play.
The selection marker is on the current
setting.
�
Press button æ or ç to switch
the delayed switch-off feature
On or
Off
.
�
Turn the exterior lamp switch to posi-
tion U before turning off the engine
(�page 49).
You can temporarily deactivate the de-
layed switch-off feature:
�
Before exiting the vehicle turn the
SmartKey in the starter switch to
position0.
�
Then turn it to position2 and back
to0.
The delayed switch-off feature is deac-
tivated. It will reactivate as soon as you
reinsert the SmartKey in the starter
switch.
iYou can reactivate this function within
10 minutes by opening a door.
Page 160 of 480
159 Controls in detail
Control system
TEL menu*
You can use the functions in the
TEL
menu
to operate your telephone, provided it is
connected to a hands-free system and
switched on.
�
Switch on the telephone and COMAND.
�
Press button ÿ or è on the
steering wheel repeatedly until you see
the
TEL
menu in the left multifunction
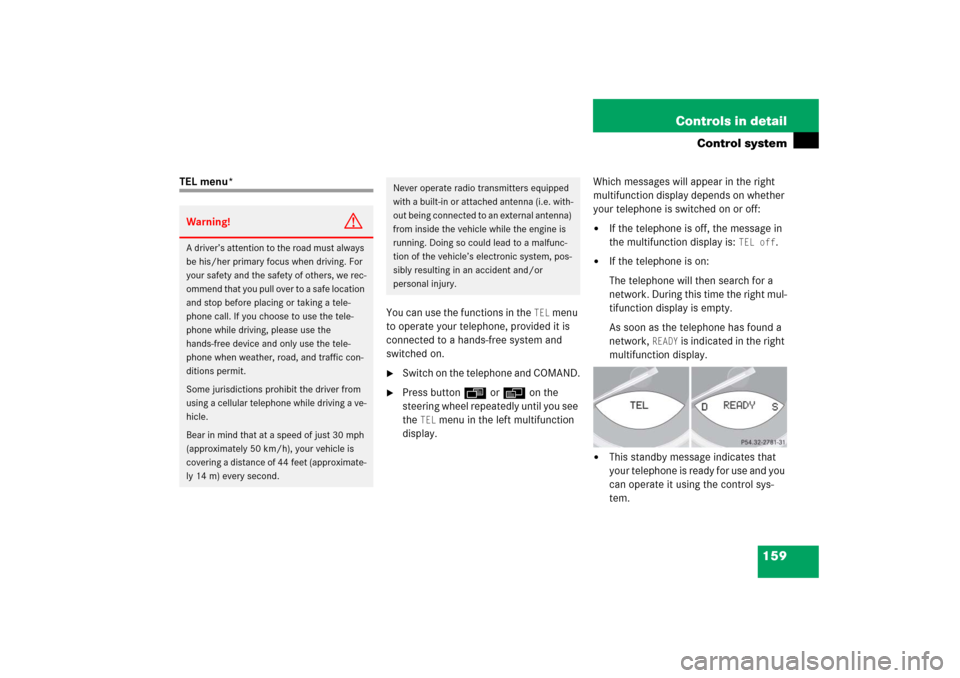
display.Which messages will appear in the right
multifunction display depends on whether
your telephone is switched on or off:
�
If the telephone is off, the message in
the multifunction display is:
TEL off
.
�
If the telephone is on:
The telephone will then search for a
network. During this time the right mul-
tifunction display is empty.
As soon as the telephone has found a
network,
READY
is indicated in the right
multifunction display.
�
This standby message indicates that
your telephone is ready for use and you
can operate it using the control sys-
tem.
Warning!
G
A driver’s attention to the road must always
be his/her primary focus when driving. For
your safety and the safety of others, we rec-
ommend that you pull over to a safe location
and stop before placing or taking a tele-
phone call. If you choose to use the tele-
phone while driving, please use the
hands-free device and only use the tele-
phone when weather, road, and traffic con-
ditions permit.
Some jurisdictions prohibit the driver from
using a cellular telephone while driving a ve-
hicle.
Bear in mind that at a speed of just 30 mph
(approximately 50 km/h), your vehicle is
covering a distance of 44 feet (approximate-
ly 14 m) every second.
Never operate radio transmitters equipped
with a built-in or attached antenna (i.e. with-
out being connected to an external antenna)
from inside the vehicle while the engine is
running. Doing so could lead to a malfunc-
tion of the vehicle’s electronic system, pos-
sibly resulting in an accident and/or
personal injury.
Page 164 of 480
163 Controls in detail
Automatic transmission
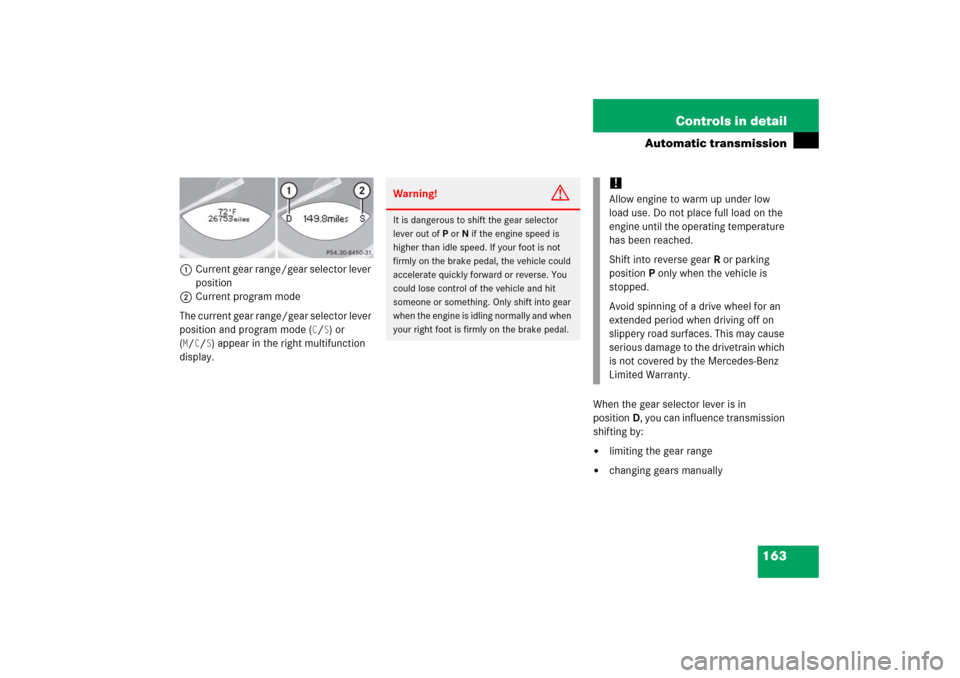
1Current gear range/gear selector lever
position
2Current program mode
The current gear range/gear selector lever
position and program mode (
C/S) or
(
M/C/S) appear in the right multifunction
display.
When the gear selector lever is in
positionD, you can influence transmission
shifting by:
�
limiting the gear range
�
changing gears manually
Warning!
G
It is dangerous to shift the gear selector
lever out ofP orN if the engine speed is
higher than idle speed. If your foot is not
firmly on the brake pedal, the vehicle could
accelerate quickly forward or reverse. You
could lose control of the vehicle and hit
someone or something. Only shift into gear
when the engine is idling normally and when
your right foot is firmly on the brake pedal.
!Allow engine to warm up under low
load use. Do not place full load on the
engine until the operating temperature
has been reached.
Shift into reverse gearR or parking
positionP only when the vehicle is
stopped.
Avoid spinning of a drive wheel for an
extended period when driving off on
slippery road surfaces. This may cause
serious damage to the drivetrain which
is not covered by the Mercedes-Benz
Limited Warranty.
Page 165 of 480
164 Controls in detailAutomatic transmissionGear selector lever position
Effect
ì
Park position
Gear selector lever position
when the vehicle is parked. Place
gear selector lever in positionP
only when vehicle is stopped.
The park position is not intended
to serve as a brake when the
vehicle is parked. Rather, the
driver should always set the
parking brake in addition to
placing the gear selector lever in
positionP to secure the vehicle.
EffectThe SmartKey can only be
removed from the starter switch
with the gear selector lever in
positionP. With the SmartKey
removed, the gear selector lever
is locked in positionP.
í
Reverse gear
Place gear selector lever in
positionR only when vehicle is
stopped.
Effect
ë
Neutral
No power is transmitted from the
engine to the drive axle. When
the brakes are released, the
vehicle can be moved freely
(pushed or towed).
To avoid damage to the trans-
mission, never engageN while
driving.
If the ESP
® is deactivated or
malfunctioning:
Move gear selector lever toN
only if the vehicle is in danger of
skidding, e.g. on icy roads.
ê
Drive
The transmission shifts
automatically. All forward gears
are available.