Page 145 of 481
144 Controls in detailControl systemMultifunction steering wheel
The displays in the multifunction display
and the settings in the control system are
controlled using the buttons on the multi-
function steering wheel.
1
Multifunction display in the speed-
ometerOperating the control system
2
Selecting the submenu or setting the
volumeæ
up/to increase
ç
down/to decrease
3
Telephone*s
to take a call
t
to end a call
4
Menu systemsè
for next menu
ÿ
for previous menu
5
Moving within a menuj
for next display
k
for previous display
Page 146 of 481
145 Controls in detail
Control system
Pressing any of the buttons on the multi-
function steering wheel will alter what is
shown in the multifunction display.
The information available in the multifunc-
tion display is arranged in menus, each
containing a number of functions or sub-
menus.
The individual functions are then found
within the relevant menu (radio or CD op-
erations under
AUDIO
, for example). These
functions serve to call up relevant informa-
tion or to customize the settings for your
vehicle.It is helpful to think of the menus, and the
functions within each menu, as being ar-
ranged in a circular pattern.
�
If you press buttonè orÿ
repeatedly, you will pass through each
menu one after the other.
�
If you press buttonk orj
repeatedly, you will pass through each
function display, one after the other, in
the current menu.In the
SETTINGS
menu, instead of functions
you will find a number of submenus for
calling up and changing settings. For in-
structions on using these submenus, see
“Settings menu” (�page 160).
The number of menus available in the sys-
tem depends on which optional equipment
is installed in your vehicle.
The menus are described on the following
pages.
Page 155 of 481
154 Controls in detailControl systemThe following functions are available:
Answering a call
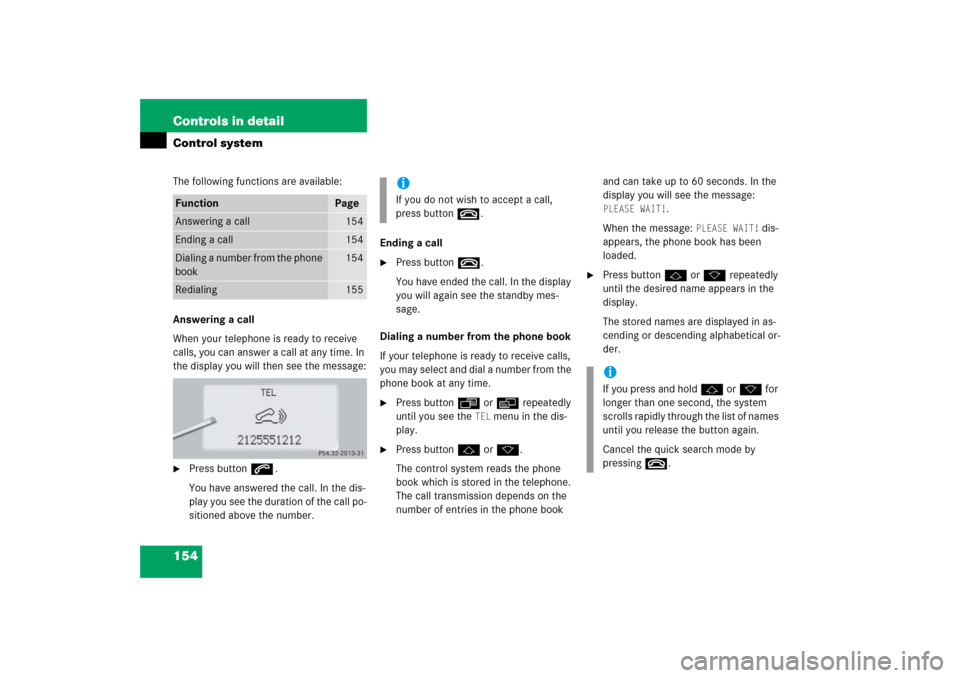
When your telephone is ready to receive
calls, you can answer a call at any time. In
the display you will then see the message:�
Press buttons.
You have answered the call. In the dis-
play you see the duration of the call po-
sitioned above the number.Ending a call
�
Press buttont.
You have ended the call. In the display
you will again see the standby mes-
sage.
Dialing a number from the phone book
If your telephone is ready to receive calls,
you may select and dial a number from the
phone book at any time.
�
Press buttonÿ orè repeatedly
until you see the
TEL
menu in the dis-
play.
�
Press buttonj ork.
The control system reads the phone
book which is stored in the telephone.
The call transmission depends on the
number of entries in the phone book and can take up to 60 seconds. In the
display you will see the message:
PLEASE WAIT!
.
When the message:
PLEASE WAIT!
dis-
appears, the phone book has been
loaded.
�
Press buttonj ork repeatedly
until the desired name appears in the
display.
The stored names are displayed in as-
cending or descending alphabetical or-
der.
Function
Page
Answering a call
154
Ending a call
154
Dialing a number from the phone
book
154
Redialing
155
iIf you do not wish to accept a call,
press buttont.
iIf you press and holdj ork for
longer than one second, the system
scrolls rapidly through the list of names
until you release the button again.
Cancel the quick search mode by
pressingt.
Page 156 of 481
155 Controls in detail
Control system
�
Press buttons.
The system dials the selected phone
number.�
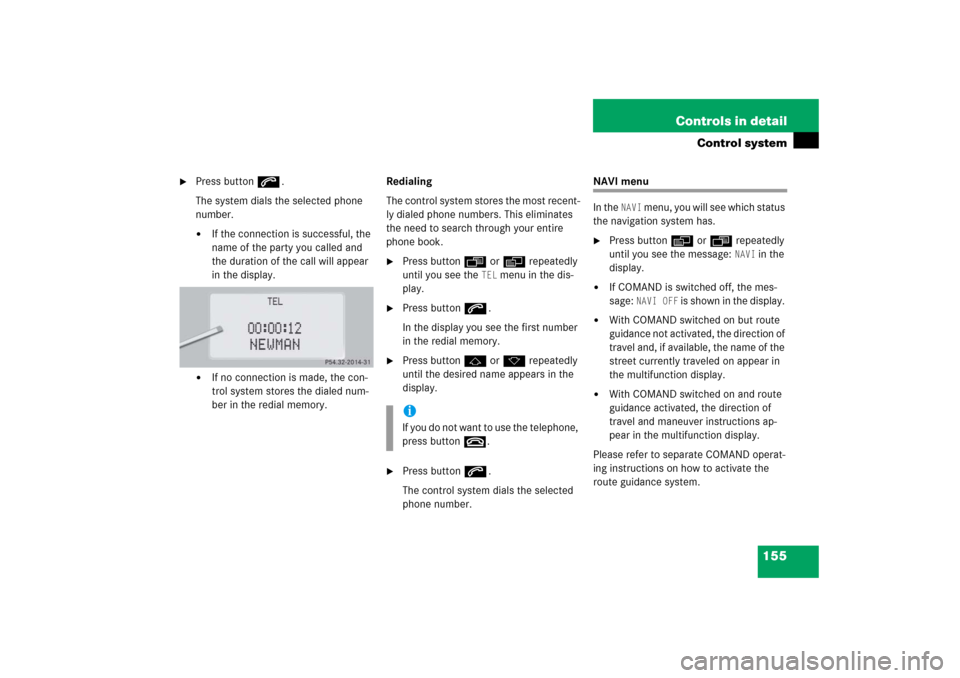
If the connection is successful, the
name of the party you called and
the duration of the call will appear
in the display.
�
If no connection is made, the con-
trol system stores the dialed num-
ber in the redial memory.Redialing
The control system stores the most recent-
ly dialed phone numbers. This eliminates
the need to search through your entire
phone book.
�
Press buttonÿ orè repeatedly
until you see the
TEL
menu in the dis-
play.
�
Press buttons.
In the display you see the first number
in the redial memory.
�
Press buttonj ork repeatedly
until the desired name appears in the
display.
�
Press buttons.
The control system dials the selected
phone number.
NAVI menu
In the
NAVI
menu, you will see which status
the navigation system has.
�
Press buttonè orÿ repeatedly
until you see the message:
NAVI
in the
display.
�
If COMAND is switched off, the mes-
sage:
NAVI OFF
is shown in the display.
�
With COMAND switched on but route
guidance not activated, the direction of
travel and, if available, the name of the
street currently traveled on appear in
the multifunction display.
�
With COMAND switched on and route
guidance activated, the direction of
travel and maneuver instructions ap-
pear in the multifunction display.
Please refer to separate COMAND operat-
ing instructions on how to activate the
route guidance system.
iIf you do not want to use the telephone,
press buttont.
Page 171 of 481
170 Controls in detailControl systemActivating easy-entry/exit feature
Use this function to activate and deacti-
vate the easy-entry/exit feature
(�page 114).
�
Move the selection marker with
theæ orç button to
the
CONVENIENCE
submenu.
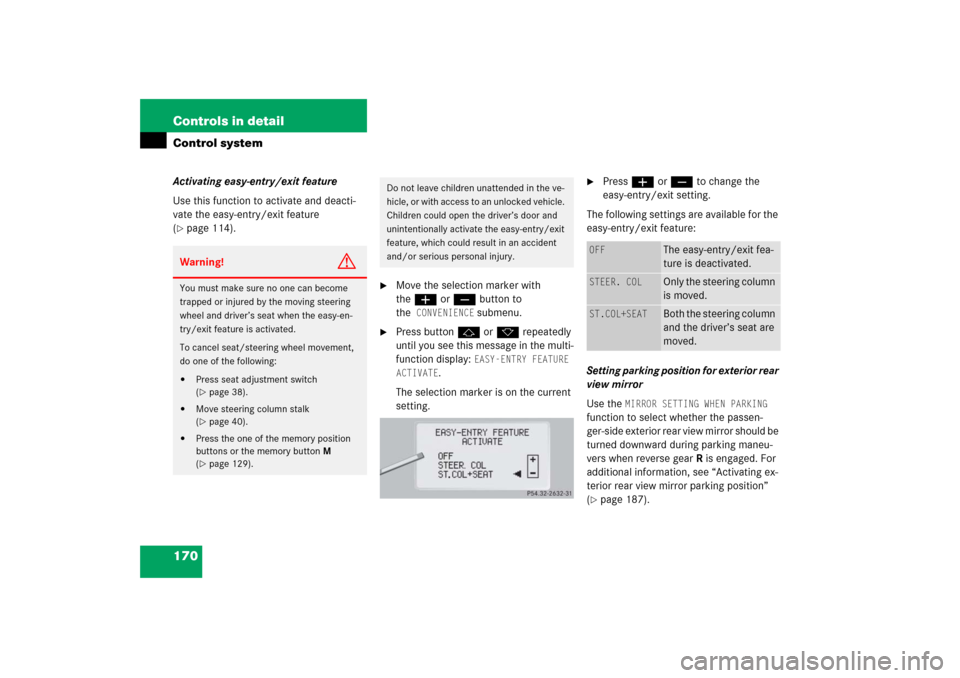
�
Press buttonj ork repeatedly
until you see this message in the multi-
function display:
EASY-ENTRY FEATURE
ACTIVATE
.
The selection marker is on the current
setting.
�
Pressæ orç to change the
easy-entry/exit setting.
The following settings are available for the
easy-entry/exit feature:
Setting parking position for exterior rear
view mirror
Use the
MIRROR SETTING WHEN PARKING
function to select whether the passen-
ger-side exterior rear view mirror should be
turned downward during parking maneu-
vers when reverse gearR is engaged. For
additional information, see “Activating ex-
terior rear view mirror parking position”
(
�page 187).
Warning!
G
You must make sure no one can become
trapped or injured by the moving steering
wheel and driver’s seat when the easy-en-
try/exit feature is activated.
To cancel seat/steering wheel movement,
do one of the following:�
Press seat adjustment switch
(�page 38).
�
Move steering column stalk
(�page 40).
�
Press the one of the memory position
buttons or the memory button M
(�page 129).
Do not leave children unattended in the ve-
hicle, or with access to an unlocked vehicle.
Children could open the driver’s door and
unintentionally activate the easy-entry/exit
feature, which could result in an accident
and/or serious personal injury.
OFF
The easy-entry/exit fea-
ture is deactivated.
STEER. COL
Only the steering column
is moved.
ST.COL+SEAT
Both the steering column
and the driver’s seat are
moved.
Page 182 of 481
181 Controls in detail
Automatic transmission
Steering wheel gearshift control
one-touch gearshifting S 55 AMG and S65AMG
The steering wheel gearshift control pro-
vides an alternative method for changing
the gears manually and limiting or extend-
ing the gear range for automatic shifting
with the gear selector lever in positionD
and driving in the automatic program
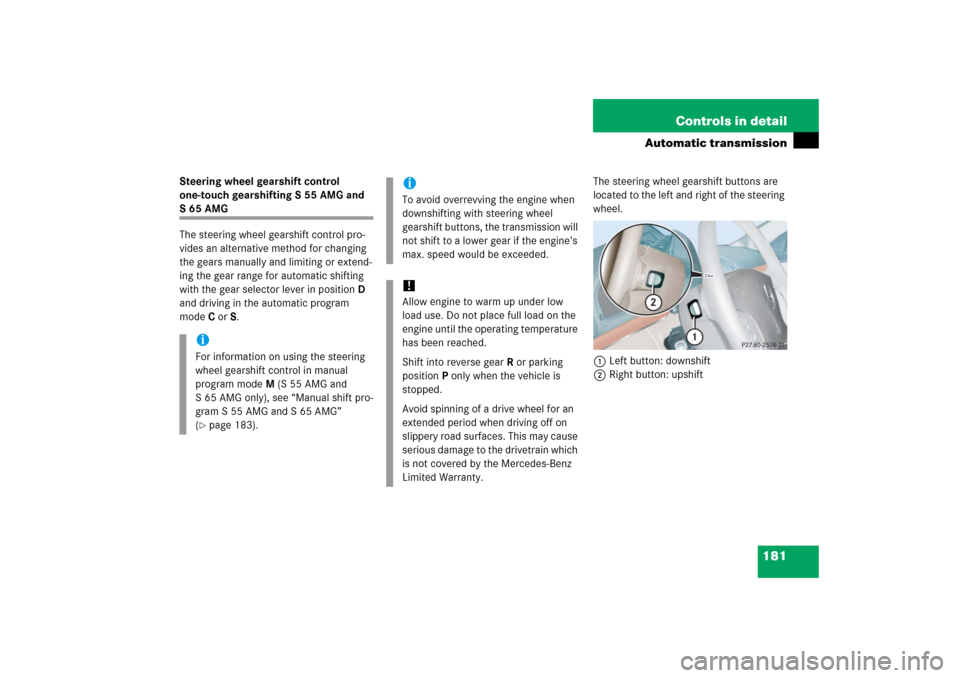
modeC orS.The steering wheel gearshift buttons are
located to the left and right of the steering
wheel.
1Left button: downshift
2Right button: upshift
iFor information on using the steering
wheel gearshift control in manual
program modeM (S 55 AMG and
S 65 AMG only), see “Manual shift pro-
gram S 55 AMG and S 65 AMG”
(�page 183).
iTo avoid overrevving the engine when
downshifting with steering wheel
gearshift buttons, the transmission will
not shift to a lower gear if the engine’s
max. speed would be exceeded.!Allow engine to warm up under low
load use. Do not place full load on the
engine until the operating temperature
has been reached.
Shift into reverse gearR or parking
positionP only when the vehicle is
stopped.
Avoid spinning of a drive wheel for an
extended period when driving off on
slippery road surfaces. This may cause
serious damage to the drivetrain which
is not covered by the Mercedes-Benz
Limited Warranty.
Page 183 of 481
182 Controls in detailAutomatic transmissionThe following instructions describe opera-
tion of the steering wheel gearshift control
when driving in the automatic program
modeC orS.
For instructions on operating the steering
wheel gearshift control and gear selector
lever in the manual program modeM, see
“Manual shift program S 55 AMG and
S65AMG” (
�page 183).Downshifting
�
Briefly press button1 on the left side
of the steering wheel.
The transmission will shift to the next
lower gear as permitted by the shift
program. This action simultaneously limits
the gear range of the transmission
(
�page 178) when you are driving in the
automatic program mode (CorS).
Upshifting
�
Briefly press button2 on the right
side of the steering wheel.The transmission will shift to the next
higher gear as permitted by the shift
program. This action simultaneously
extends the gear range of the transmission
when you are driving in the automatic
program mode (CorS).
Canceling gear range limit
�
Press and hold button2 on the right
side of the steering wheel until
D
reappears in the tachometer display.
The transmission will shift from the current
gear range directly to gear rangeD.
Shifting into optimal gear range
�
Press and hold button1 on the left
side of the steering wheel.
The transmission will automatically select
the gear range suited for optimal
acceleration and deceleration. This will
involve shifting down one or more gears.
iYou cannot shift with the steering
wheel gearshift buttons when the gear
selector lever is in positionP,N orR.
The last selected program
mode (CorS) is switched on when the
engine is restarted in the automatic
program mode.
Warning!
G
On slippery road surfaces, never downshift
in order to obtain braking action. This could
result in drive wheel slip and reduced
vehicle control. Your vehicle’s ABS will not
prevent this type of loss of control.
Page 190 of 481
189 Controls in detail
Good visibility
Folding exterior rear view mirrors in
and out manually
The exterior rear view mirrors can vibrate if
they are not folded out completely.
The buttons are located on the driver’s
door.
1Folds the exterior mirrors out
2Folds the exterior mirrors in�
Switch on the ignition (
�page 34).Folding in
�
Press button2 briefly.
Both mirrors fold in.Folding out
�
Press button1 briefly.
Both mirrors fold out.!If an exterior rear view mirror housing
is forcibly pushed forward (hit from the
rear), reposition it manually by applying
firm pressure until it snaps back into
place.
If an exterior rear view mirror housing
is forcibly pushed rearward (hit from
the front), press button2 to fold mir-
rors in, then press button1 to fold
mirrors out. Do not force mirrors by
hand as this may damage the adjust-
ment mechanism.