Page 163 of 481
162 Controls in detailControl systemThe table below shows what settings can
be changed within the various menus. De-
tailed instructions on making individual
settings can be found on the following pag-
es.INSTRUMENT CLUSTER
LIGHTING
VEHICLE
CONVENIENCE
Select temperature display
mode
Set daytime running lamp mode
(USA only)
Set automatic locking
Set key-dependency
Select multifunction display
mode
Set locator lighting
Limiting opening height of trunk
lid*
Activate easy-entry/exit feature
Select language
Exterior lamps delayed shut-off
Set parking position for exterior
rear view mirror
Select tire inflation pressure
unit
Interior lighting delayed shut-off
Set fold-in function for exterior
rear view mirrorsAdjusting the drive-dynamic
seat
Page 165 of 481
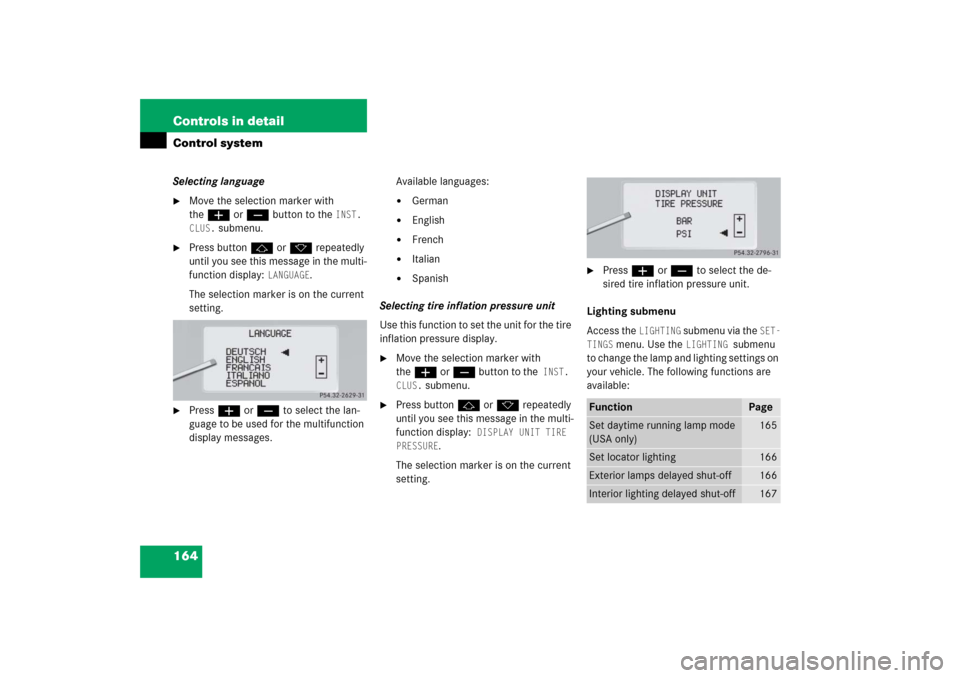
164 Controls in detailControl systemSelecting language�
Move the selection marker with
theæ orç button to the
INST.
CLUS.
submenu.
�
Press buttonj ork repeatedly
until you see this message in the multi-
function display:
LANGUAGE
.
The selection marker is on the current
setting.
�
Pressæ orç to select the lan-
guage to be used for the multifunction
display messages.Available languages:
�
German
�
English
�
French
�
Italian
�
Spanish
Selecting tire inflation pressure unit
Use this function to set the unit for the tire
inflation pressure display.
�
Move the selection marker with
theæ orç button to the
INST.
CLUS.
submenu.
�
Press buttonj ork repeatedly
until you see this message in the multi-
function display:
DISPLAY UNIT TIRE
PRESSURE
.
The selection marker is on the current
setting.
�
Press æ or ç to select the de-
sired tire inflation pressure unit.
Lighting submenu
Access the
LIGHTING
submenu via the
SET-
TINGS
menu. Use the
LIGHTING
submenu
to change the lamp and lighting settings on
your vehicle. The following functions are
available:
Function
Page
Set daytime running lamp mode
(USA only)
165
Set locator lighting
166
Exterior lamps delayed shut-off
166
Interior lighting delayed shut-off
167
Page 166 of 481
165 Controls in detail
Control system
Setting daytime running lamp mode
(USA only)�
Move the selection marker with
theæ orç button to the
LIGHT-
ING
submenu.
�
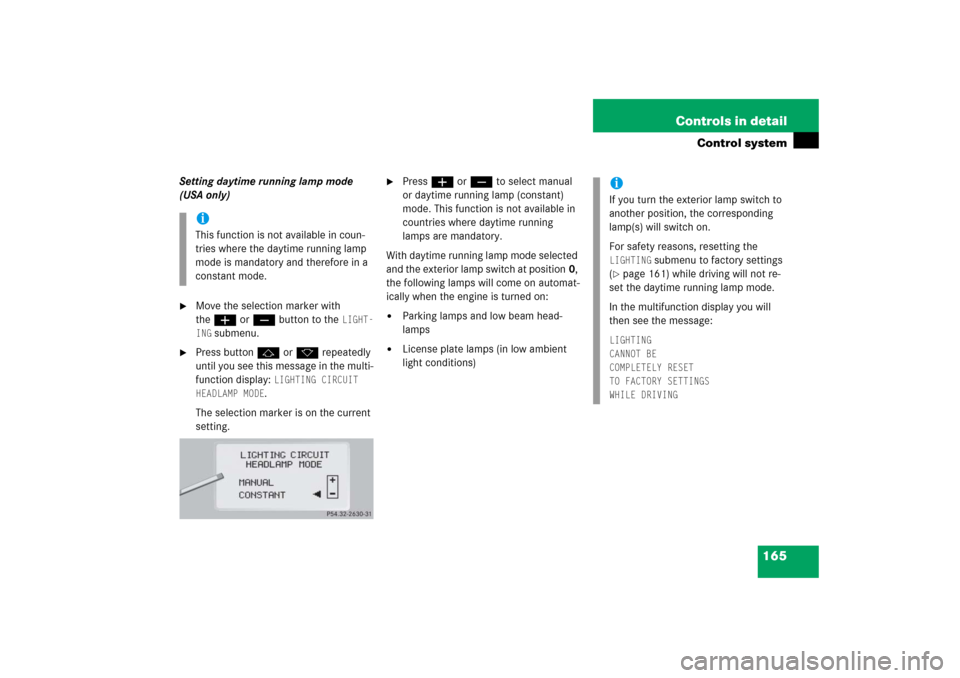
Press buttonj ork repeatedly
until you see this message in the multi-
function display:
LIGHTING CIRCUIT
HEADLAMP MODE.
The selection marker is on the current
setting.
�
Pressæ orç to select manual
or daytime running lamp (constant)
mode. This function is not available in
countries where daytime running
lamps are mandatory.
With daytime running lamp mode selected
and the exterior lamp switch at position0,
the following lamps will come on automat-
ically when the engine is turned on:
�
Parking lamps and low beam head-
lamps
�
License plate lamps (in low ambient
light conditions)
iThis function is not available in coun-
tries where the daytime running lamp
mode is mandatory and therefore in a
constant mode.
iIf you turn the exterior lamp switch to
another position, the corresponding
lamp(s) will switch on.
For safety reasons, resetting the LIGHTING
submenu to factory settings
(
�page 161) while driving will not re-
set the daytime running lamp mode.
In the multifunction display you will
then see the message:
LIGHTING
CANNOT BE
COMPLETELY RESET
TO FACTORY SETTINGS
WHILE DRIVING
Page 167 of 481
166 Controls in detailControl systemSetting locator lighting
With the locator lighting feature activated
and the exterior lamp switch in position
U, the following lamps will switch on
during darkness when the vehicle is un-
locked with the SmartKey:�
Parking lamps
�
Tail lamps
�
License plate lamps
�
Front fog lamps
To activate locator lighting:
�
Make sure the function
LOCATOR
LIGHTING
is set.
�
Turn the exterior lamp switch to
positionU when exiting the vehicle.
If you do not open a door after unlocking
the vehicle with the SmartKey, the lamps
will switch off automatically after approxi-
mately 40 seconds.
�
Move the selection marker with
theæ orç button to the
LIGHT-
ING
submenu.
�
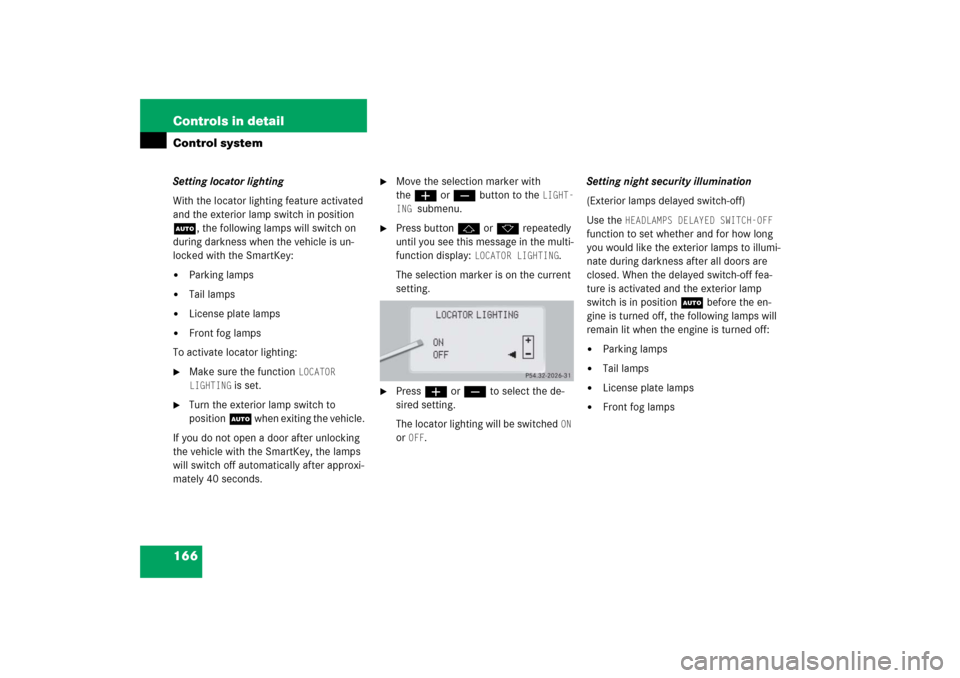
Press buttonj ork repeatedly
until you see this message in the multi-
function display:
LOCATOR LIGHTING
.
The selection marker is on the current
setting.
�
Pressæ orç to select the de-
sired setting.
The locator lighting will be switched
ON
or
OFF
.Setting night security illumination
(Exterior lamps delayed switch-off)
Use the
HEADLAMPS DELAYED SWITCH-OFF
function to set whether and for how long
you would like the exterior lamps to illumi-
nate during darkness after all doors are
closed. When the delayed switch-off fea-
ture is activated and the exterior lamp
switch is in position U before the en-
gine is turned off, the following lamps will
remain lit when the engine is turned off:
�
Parking lamps
�
Tail lamps
�
License plate lamps
�
Front fog lamps
Page 168 of 481
167 Controls in detail
Control system
To activate night security illumination:�
Select delayed switch-off period (see
below).
�
Turn the exterior lamp switch to
positionU before turning off the en-
gine.
To select delayed switch-off period:
�
Move the selection marker with
theæ orç button to the
LIGHT-
ING
submenu.
�
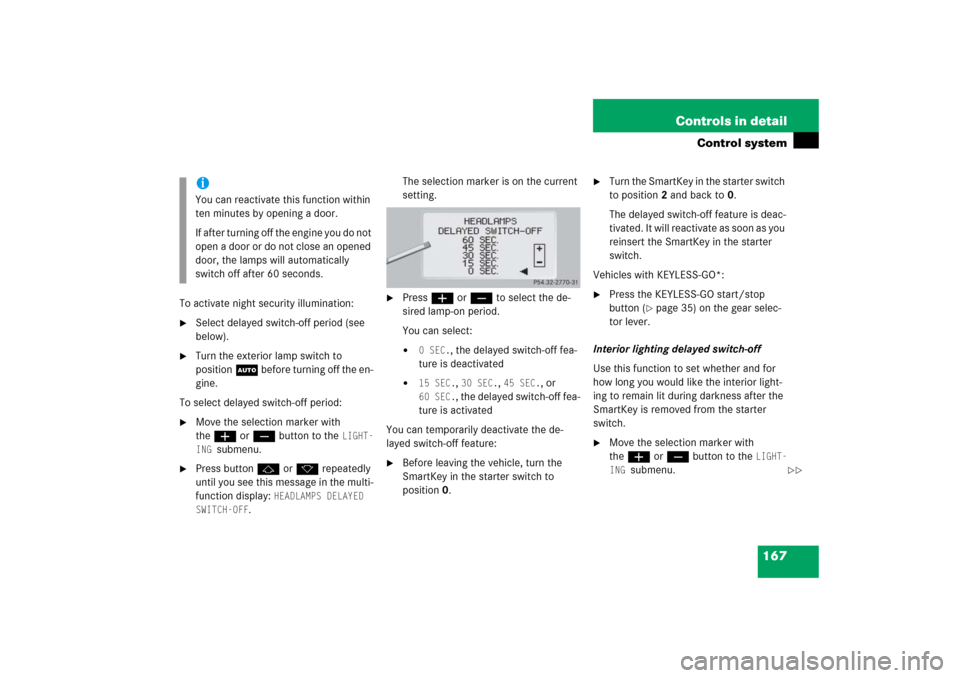
Press buttonj ork repeatedly
until you see this message in the multi-
function display:
HEADLAMPS DELAYED
SWITCH-OFF
.The selection marker is on the current
setting.
�
Pressæ orç to select the de-
sired lamp-on period.
You can select:�
0 SEC.
, the delayed switch-off fea-
ture is deactivated
�
15 SEC.
, 30 SEC.
, 45 SEC.
, or
60 SEC.
, the delayed switch-off fea-
ture is activated
You can temporarily deactivate the de-
layed switch-off feature:
�
Before leaving the vehicle, turn the
SmartKey in the starter switch to
position0.
�
Turn the SmartKey in the starter switch
to position2 and back to0.
The delayed switch-off feature is deac-
tivated. It will reactivate as soon as you
reinsert the SmartKey in the starter
switch.
Vehicles with KEYLESS-GO*:
�
Press the KEYLESS-GO start/stop
button (
�page 35) on the gear selec-
tor lever.
Interior lighting delayed switch-off
Use this function to set whether and for
how long you would like the interior light-
ing to remain lit during darkness after the
SmartKey is removed from the starter
switch.
�
Move the selection marker with
theæ orç button to the
LIGHT-
ING
submenu.
iYou can reactivate this function within
ten minutes by opening a door.
If after turning off the engine you do not
open a door or do not close an opened
door, the lamps will automatically
switch off after 60 seconds.
��
Page 169 of 481
168 Controls in detailControl system�
Press buttonj ork repeatedly
until you see this message in the multi-
function display:
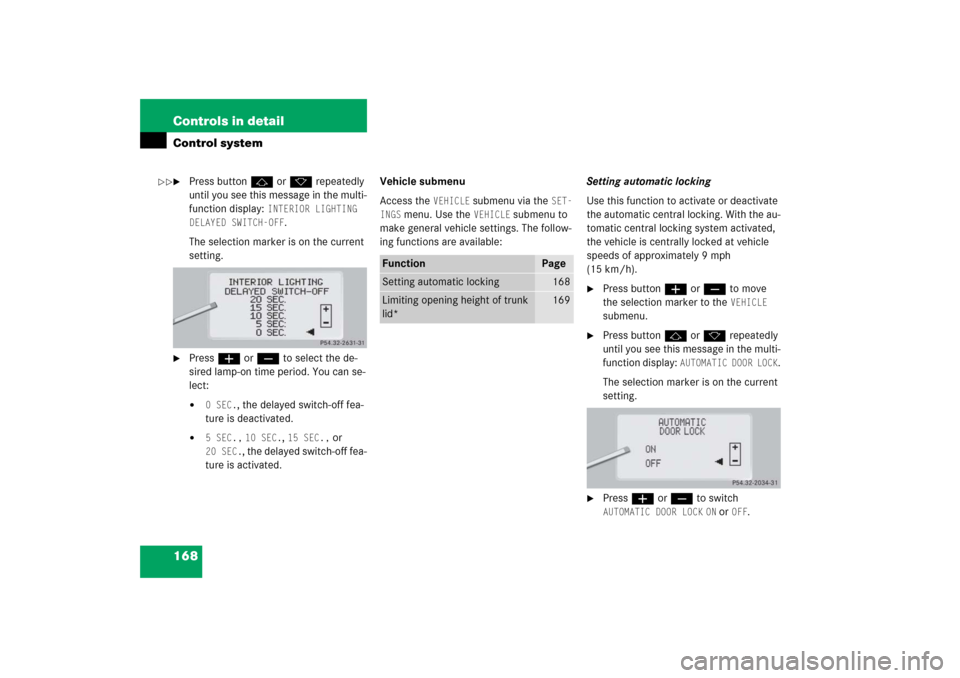
INTERIOR LIGHTING
DELAYED SWITCH-OFF
.
The selection marker is on the current
setting.
�
Pressæ orç to select the de-
sired lamp-on time period. You can se-
lect:�
0 SEC.
, the delayed switch-off fea-
ture is deactivated.
�
5 SEC.,
10 SEC.
, 15 SEC.,
or
20 SEC.
, the delayed switch-off fea-
ture is activated.Vehicle submenu
Access the
VEHICLE
submenu via the
SET-
INGS
menu. Use the
VEHICLE
submenu to
make general vehicle settings. The follow-
ing functions are available:Setting automatic locking
Use this function to activate or deactivate
the automatic central locking. With the au-
tomatic central locking system activated,
the vehicle is centrally locked at vehicle
speeds of approximately 9 mph
(15 km/h).
�
Press buttonæ orç to move
the selection marker to the
VEHICLE
submenu.
�
Press buttonj ork repeatedly
until you see this message in the multi-
function display:
AUTOMATIC DOOR LOCK
.
The selection marker is on the current
setting.
�
Pressæ orç to switch AUTOMATIC DOOR LOCK
ON or
OFF
.
Function
Page
Setting automatic locking
168
Limiting opening height of trunk
lid*
169
��
Page 187 of 481

186 Controls in detailGood visibilityFor information on the windshield wipers,
see “Windshield wipers” (
�page 52).Headlamp cleaning system*
(Standardon S500, S600, S55AMG
and S 65 AMG)
The switch is located on the left side of the
dashboard.
1Headlamp washer switch�
Switch on the ignition (
�page 34).
�
Press switch1.
The headlamps are cleaned with a
high-pressure water jet.For information on filling up the washer
reservoir, see “Windshield washer system
and headlamp cleaning system*”
(
�page 296).
Rear view mirrors
For information on setting the rear view
mirrors, see “Mirrors” (
�page 41).
Auto-dimming rear view mirror
The reflection brightness of the exterior
rear view mirror on the driver’s side and
the interior rear view mirror will respond
automatically to glare when
�
the ignition is switched on
and
�
incoming light from headlamps falls on
the sensor in the interior rear view
mirror
The interior rear view mirror will not react if
�
reverse gear is engaged
�
the interior lighting is turned on
Page 287 of 481

286 OperationAt the gas stationWindshield washer system and head-
lamp cleaning system*
For more information on refilling the wash-
er reservoir, see “Windshield washer sys-
tem and headlamp cleaning system*”
(�page 296).
Coolant
For more information on coolant, see
“Coolant level” (
�page 294) and see “Fu-
els, coolants, lubricants, etc.”
(
�page 434).Brake fluid
For information on brake fluid, see “Brake
fluid” (
�page 437)Engine oil level
For more information on engine oil, see
“Engine oil” (
�page 288).
Vehicle lighting
Check function and cleanliness. For more
information on replacing light bulbs, see
“Replacing bulbs” (
�page 394).
For more information, see “Switching on
headlamps” (
�page 50).
Tire inflation pressure
For information on tire inflation pressure,
see “Checking tire inflation pressure”
(
�page 308).
!If you find that the brake fluid in the
brake fluid reservoir has fallen to the
minimum mark or below, have the
brake system checked for brake pad
thickness and leaks immediately.
Notify an authorized Mercedes-Benz
Center immediately. Do not add brake
fluid as this will not solve the problem.
For more information, see “Practical
hints” (
�page 341).