Page 158 of 539

157 Controls in detail
Control system
AUDIO menu
The functions in the
AUDIO
menu operate
the audio equipment which you currently
have turned on.
If no audio equipment is currently turned
on, the message
AUDIO OFF
is shown in the
display.
The following functions are available:Select radio station
�
Turn on the Modular COMAND System
and select radio. Refer to separate
Modular COMAND System operating
instructions.
�
Press buttonè orÿ repeatedly
until you see the currently tuned sta-
tion in the multifunction display.
1Waveband setting
2Station frequency
�
Press buttonk orj repeatedly
until the desired station is found.Select satellite radio station* (USA
only)
The satellite radio is treated as a radio ap-
plication.
�
Select satellite radio with the corre-
sponding key on the Modular COMAND
System.
1SAT mode and preset number
2Channel name or number
Function
Page
Select radio station
157
Select satellite radio station*
(USA only)
157
Operate CD player
158
iYou can only store new stations using
the corresponding feature on the radio,
see separate Modular COMAND
System operating instructions.
You can also operate the radio in the
usual manner.
��
Page 159 of 539
158 Controls in detailControl system�
Press buttonk orj repeatedly
until the desired channel is found.Operate the CD player
�
Turn on the Modular COMAND System
and press AUDIO on the COMAND
headunit until you see the CD soft keys
for CD operation. Refer to separate
Modular COMAND System operating
instructions.
�
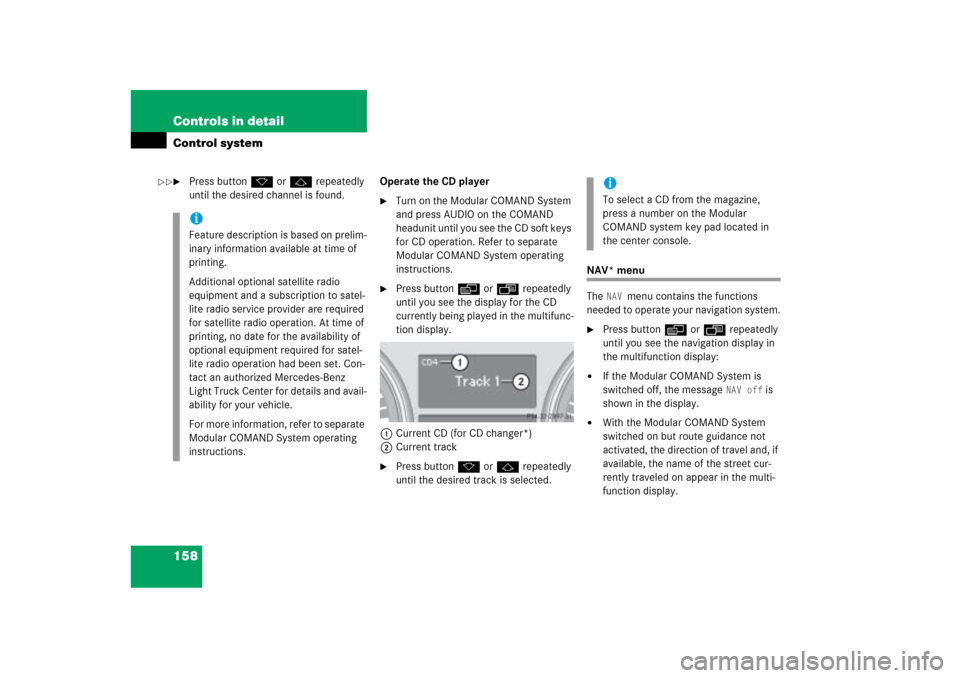
Press buttonè orÿ repeatedly
until you see the display for the CD
currently being played in the multifunc-
tion display.
1Current CD (for CD changer*)
2Current track
�
Press buttonk orj repeatedly
until the desired track is selected.
NAV* menu
The
NAV
menu contains the functions
needed to operate your navigation system.
�
Press buttonè orÿ repeatedly
until you see the navigation display in
the multifunction display:
�
If the Modular COMAND System is
switched off, the message
NAV off
is
shown in the display.
�
With the Modular COMAND System
switched on but route guidance not
activated, the direction of travel and, if
available, the name of the street cur-
rently traveled on appear in the multi-
function display.
iFeature description is based on prelim-
inary information available at time of
printing.
Additional optional satellite radio
equipment and a subscription to satel-
lite radio service provider are required
for satellite radio operation. At time of
printing, no date for the availability of
optional equipment required for satel-
lite radio operation had been set. Con-
tact an authorized Mercedes-Benz
Light Truck Center for details and avail-
ability for your vehicle.
For more information, refer to separate
Modular COMAND System operating
instructions.
iTo select a CD from the magazine,
press a number on the Modular
COMAND system key pad located in
the center console.
��
Page 160 of 539
159 Controls in detail
Control system
�
With the Modular COMAND system
switched on and route guidance acti-
vated, the direction of travel and
maneuver instructions appear in the
multifunction display.
Please refer to the COMAND manual for in-
structions on how to activate the route
guidance system.
Off-road menu
Use the
Off-road
menu to display the
settings for Air suspension* and compass.
�
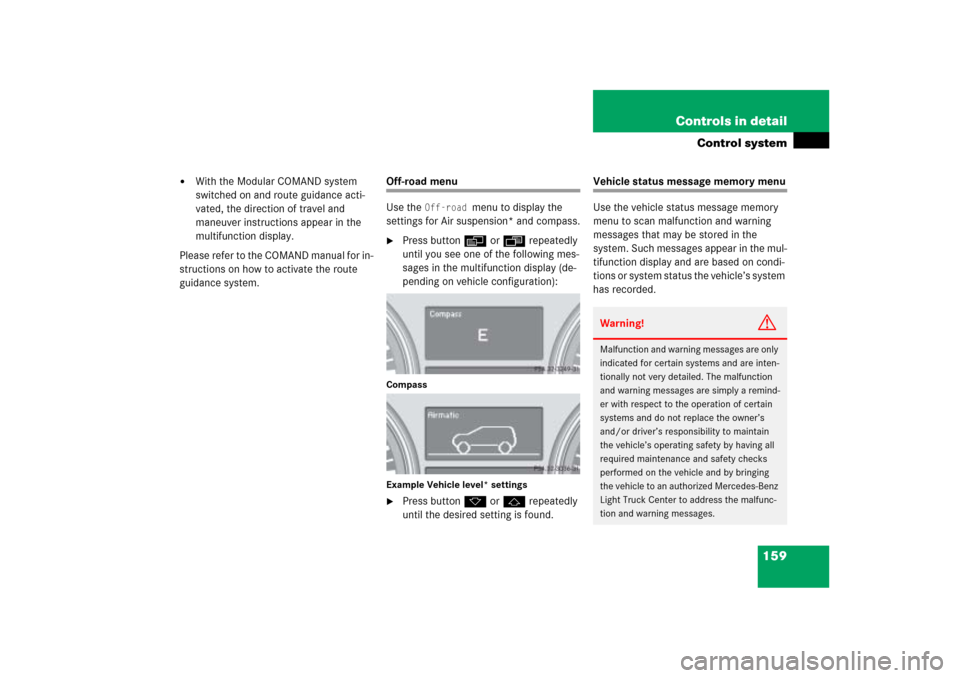
Press buttonè orÿ repeatedly
until you see one of the following mes-
sages in the multifunction display (de-
pending on vehicle configuration):
Compass
Example Vehicle level* settings�
Press buttonk orj repeatedly
until the desired setting is found.
Vehicle status message memory menu
Use the vehicle status message memory
menu to scan malfunction and warning
messages that may be stored in the
system. Such messages appear in the mul-
tifunction display and are based on condi-
tions or system status the vehicle’s system
has recorded.Warning!
G
Malfunction and warning messages are only
indicated for certain systems and are inten-
tionally not very detailed. The malfunction
and warning messages are simply a remind-
er with respect to the operation of certain
systems and do not replace the owner’s
and/or driver’s responsibility to maintain
the vehicle’s operating safety by having all
required maintenance and safety checks
performed on the vehicle and by bringing
the vehicle to an authorized Mercedes-Benz
Light Truck Center to address the malfunc-
tion and warning messages.
Page 161 of 539

160 Controls in detailControl system�
Press buttonè orÿ repeatedly
until the vehicle status message mem-
ory appears in the multifunction dis-
play.
No vehicle status messages
If no conditions have occurred, the mes-
sage - depending on vehicle production
date - in the display is:
No Malfunction
or
No Message
Vehicle status messages have been
recorded
If conditions have occurred causing status
messages to be recorded, the number of
messages appears in the multifunction
display:�
Press buttonk orj.
The stored messages will now be
displayed in order in which they have
occurred. For malfunctions and warn-
ing messages, see “Vehicle status mes-
sages in the multifunction display”
(�page 395).Should the vehicle’s system record any
conditions while driving, the number of
messages will reappear in the multifunc-
tion display when the SmartKey in the
starter switch is turned to position0 or
removed from the starter switch.
iDepending on vehicle production date,
No message instead of No malfunction
will appear in the multifunction display.
iDepending on vehicle production date, 2 messages
instead
2 Malfunctions
of
will appear in the multifunction display.
iThe vehicle status message memory
will be cleared when you turn the
SmartKey in the starter switch to
position1 or2. You will then only see
high priority messages in the multifunc-
tion display (
�page 395).
Page 165 of 539
164 Controls in detailControl systemInstrument cluster submenu
Access the
Instr. cluster
submenu us-
ing the jbutton via the Settings
menu. Use the
Instr. cluster
submenu
to change the instrument cluster display
settings. The following functions are avail-
able:Selecting speedometer display mode
�
Move the selection marker to the Instr. cluster
submenu using
theæ orç button.
�
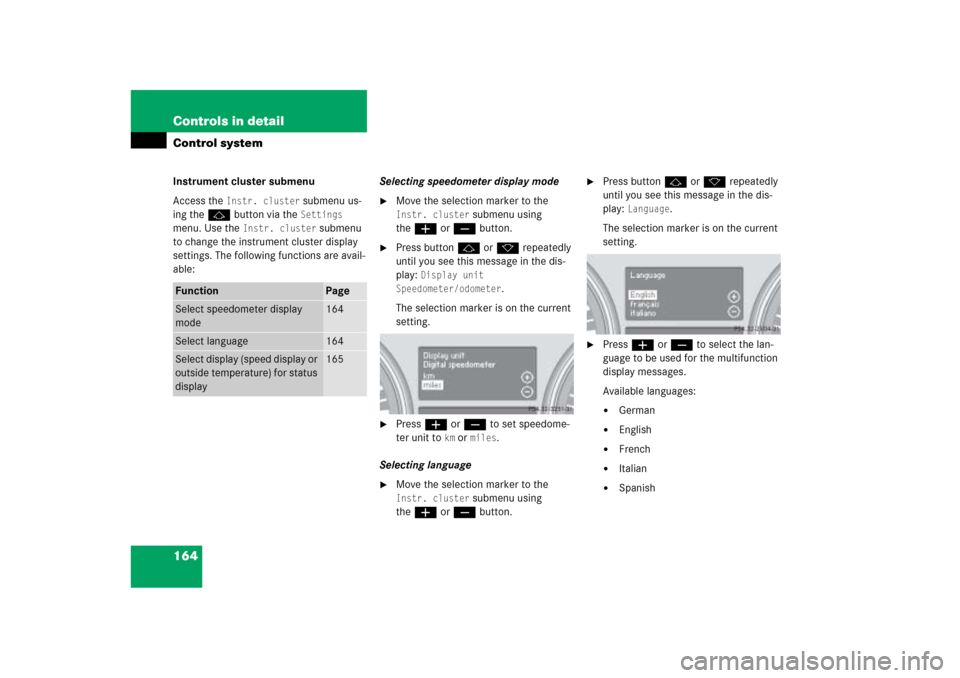
Press buttonj ork repeatedly
until you see this message in the dis-
play:
Display unit
Speedometer/odometer
.
The selection marker is on the current
setting.
�
Press æ or ç to set speedome-
ter unit to
km or
miles
.
Selecting language
�
Move the selection marker to the Instr. cluster
submenu using
theæ orç button.
�
Press buttonj ork repeatedly
until you see this message in the dis-
play:
Language
.
The selection marker is on the current
setting.
�
Pressæ orç to select the lan-
guage to be used for the multifunction
display messages.
Available languages:�
German
�
English
�
French
�
Italian
�
Spanish
Function
Page
Select speedometer display
mode
164
Select language
164
Select display (speed display or
outside temperature) for status
display
165
Page 166 of 539
165 Controls in detail
Control system
Selecting display (speed display or out-
side temperature) for status display�
Move the selection marker with
theæ orç button to the
Instr.
cluster
submenu.
�
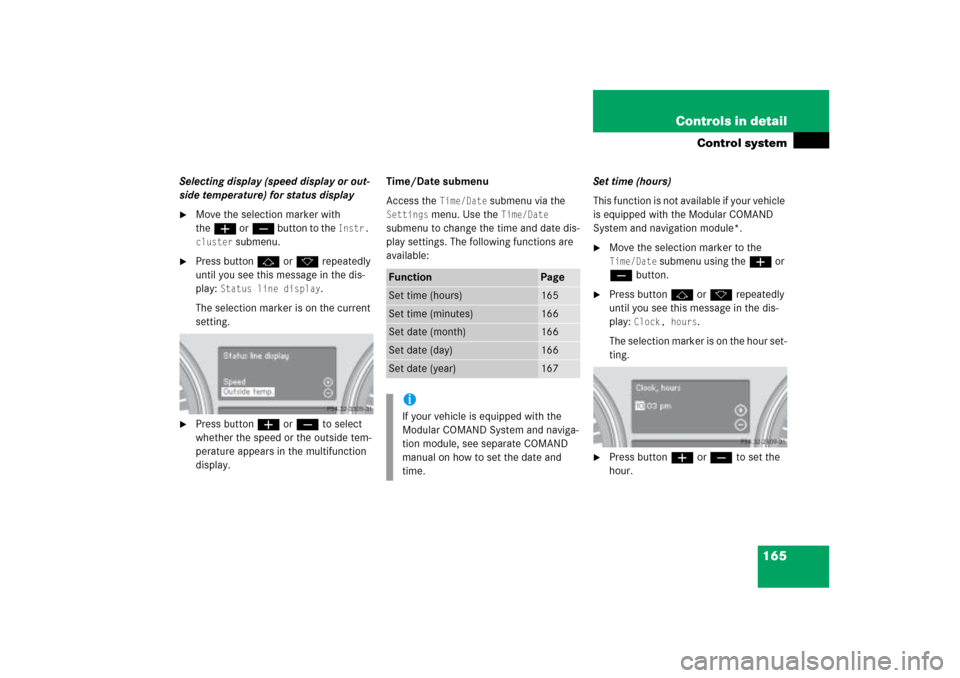
Press buttonj ork repeatedly
until you see this message in the dis-
play:
Status line display
.
The selection marker is on the current
setting.
�
Press buttonæ orç to select
whether the speed or the outside tem-
perature appears in the multifunction
display.Time/Date submenu
Access the
Time/Date
submenu via the
Settings
menu. Use the
Time/Date
submenu to change the time and date dis-
play settings. The following functions are
available:Set time (hours)
This function is not available if your vehicle
is equipped with the Modular COMAND
System and navigation module*.
�
Move the selection marker to the Time/Date
submenu using theæ or
çbutton.
�
Press buttonj ork repeatedly
until you see this message in the dis-
play:
Clock, hours
.
The selection marker is on the hour set-
ting.
�
Press buttonæ orç to set the
hour.
Function
Page
Set time (hours)
165
Set time (minutes)
166
Set date (month)
166
Set date (day)
166
Set date (year)
167
iIf your vehicle is equipped with the
Modular COMAND System and naviga-
tion module, see separate COMAND
manual on how to set the date and
time.
Page 173 of 539
172 Controls in detailControl system�
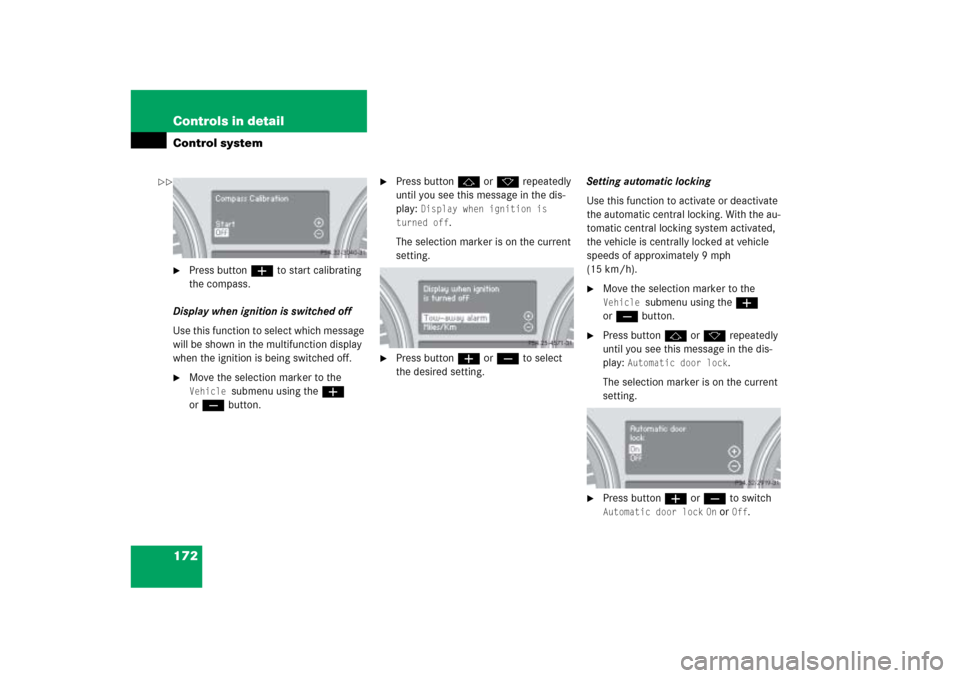
Press buttonæ to start calibrating
the compass.
Display when ignition is switched off
Use this function to select which message
will be shown in the multifunction display
when the ignition is being switched off.
�
Move the selection marker to the Vehicle
submenu using theæ
orç button.
�
Press buttonj ork repeatedly
until you see this message in the dis-
play:
Display when ignition is
turned off
.
The selection marker is on the current
setting.
�
Press buttonæ orç to select
the desired setting.Setting automatic locking
Use this function to activate or deactivate
the automatic central locking. With the au-
tomatic central locking system activated,
the vehicle is centrally locked at vehicle
speeds of approximately 9 mph
(15 km/h).
�
Move the selection marker to the Vehicle
submenu using theæ
orç button.
�
Press buttonj ork repeatedly
until you see this message in the dis-
play:
Automatic door lock
.
The selection marker is on the current
setting.
�
Press buttonæ orç to switch Automatic door lock
On or
Off
.
��
Page 177 of 539
176 Controls in detailControl system�
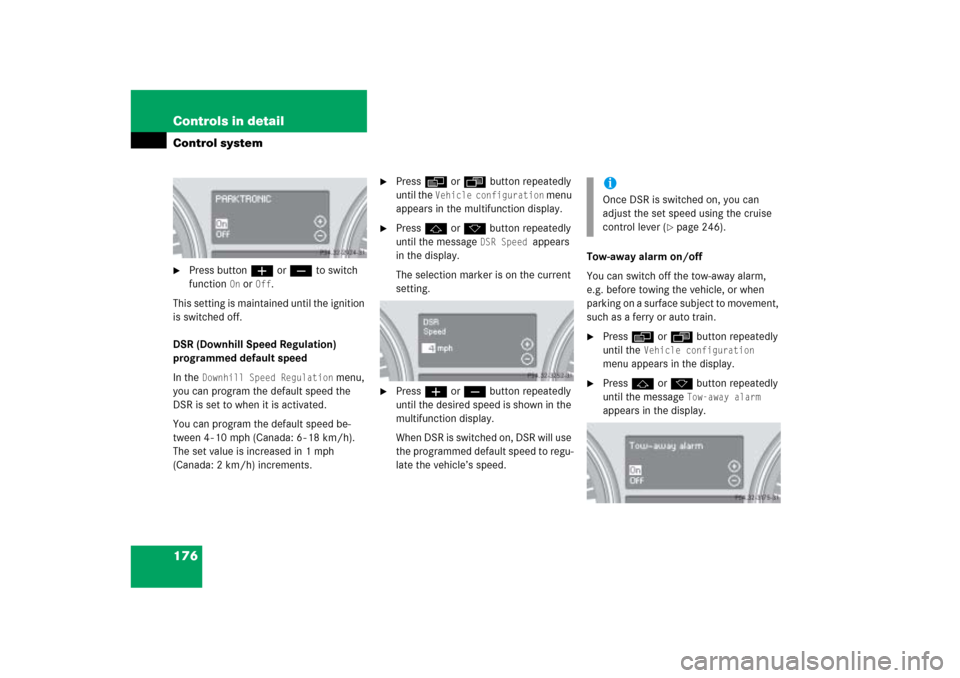
Press buttonæ orç to switch
function
On or
Off
.
This setting is maintained until the ignition
is switched off.
DSR (Downhill Speed Regulation)
programmed default speed
In the
Downhill Speed Regulation
menu,
you can program the default speed the
DSR is set to when it is activated.
You can program the default speed be-
tween 4 - 10 mph (Canada: 6 - 18 km/h).
The set value is increased in 1 mph
(Canada: 2 km/h) increments.
�
Pressè orÿ button repeatedly
until the
Vehicle configuration
menu
appears in the multifunction display.
�
Pressj ork button repeatedly
until the message
DSR Speed
appears
in the display.
The selection marker is on the current
setting.
�
Pressæ orç button repeatedly
until the desired speed is shown in the
multifunction display.
When DSR is switched on, DSR will use
the programmed default speed to regu-
late the vehicle’s speed.Tow-away alarm on/off
You can switch off the tow-away alarm,
e.g. before towing the vehicle, or when
parking on a surface subject to movement,
such as a ferry or auto train.
�
Pressè orÿ button repeatedly
until the
Vehicle configuration
menu appears in the display.
�
Pressj ork button repeatedly
until the message
Tow-away alarm
appears in the display.
iOnce DSR is switched on, you can
adjust the set speed using the cruise
control lever (
�page 246).