Page 26 of 417
25 At a glance
Instrument cluster
ItemPage
1Reset button for:
�Resetting trip odometer121
�Resetting individual or
all settings132,
133,
146,
282
�Instrument cluster
illumination120
2LLeft turn signal
indicator lamp24
3?Engine malfunction
indicator lamp
(USA only)294
±Engine malfunction
indicator lamp
(Canada only)294
vElectronic Stability
Program (ESP)
warning lamp84,
295
AHigh beam
headlamp indicator
lamp52,
114
ItemPage
4KRight turn signal
indicator lamp 24
5Fuel gauge with:
Fuel reserve warning lamp24
1Supplemental
Restraint System
(SRS) indicator lamp66,
296
296
6Multifunction display
with:123
Trip odometer24
Main odometer24
Transfer case program
mode157
Gear selector lever position149
Outside temperature
indicator122
Clock (see COMAND
operating instructions)123
ItemPage
7Speedometer
8Tachometer with:
;Brake warning lamp
(USA only)50,
292
3Brake warning lamp
(Canada only)50,
292
-Antilock Brake
System (ABS)
indicator lamp80,
290
Page 121 of 417
120 Controls in detail
Instrument cluster
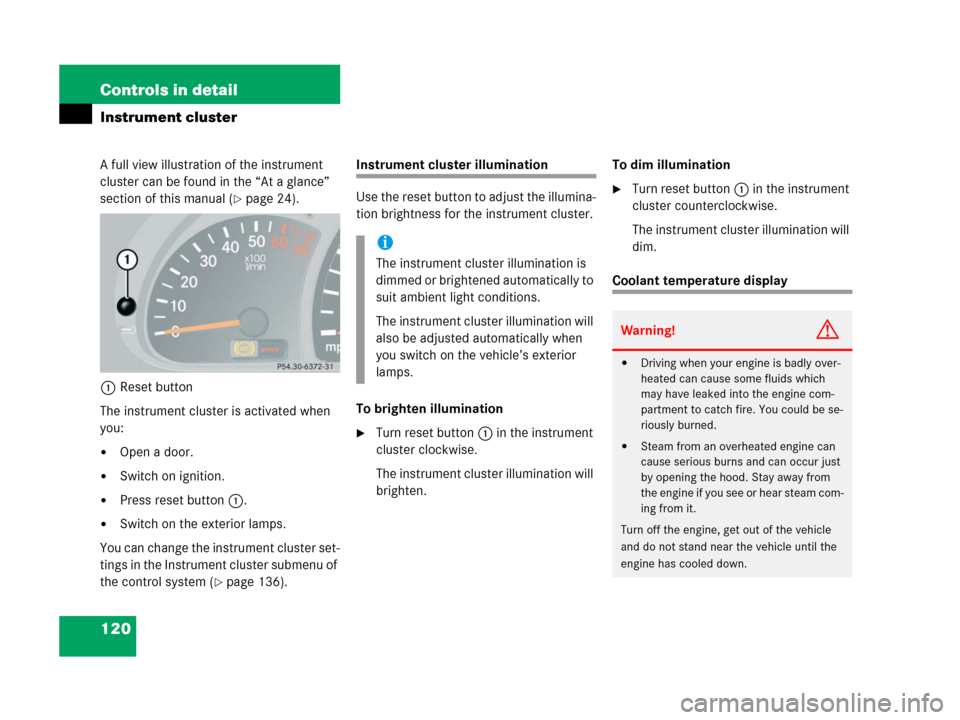
A full view illustration of the instrument
cluster can be found in the “At a glance”
section of this manual (
�page 24).
1Reset button
The instrument cluster is activated when
you:
�Open a door.
�Switch on ignition.
�Press reset button1.
�Switch on the exterior lamps.
You can change the instrument cluster set-
tings in the Instrument cluster submenu of
the control system (
�page 136).
Instrument cluster illumination
Use the reset button to adjust the illumina-
tion brightness for the instrument cluster.
To brighten illumination
�Turn reset button1 in the instrument
cluster clockwise.
The instrument cluster illumination will
brighten.To dim illumination
�Turn reset button1 in the instrument
cluster counterclockwise.
The instrument cluster illumination will
dim.
Coolant temperature display
i
The instrument cluster illumination is
dimmed or brightened automatically to
suit ambient light conditions.
The instrument cluster illumination will
also be adjusted automatically when
you switch on the vehicle’s exterior
lamps.
Warning!G
�Driving when your engine is badly over-
heated can cause some fluids which
may have leaked into the engine com-
partment to catch fire. You could be se-
riously burned.
�Steam from an overheated engine can
cause serious burns and can occur just
by opening the hood. Stay away from
the engine if you see or hear steam com-
ing from it.
Turn off the engine, get out of the vehicle
and do not stand near the vehicle until the
engine has cooled down.
Page 122 of 417
121 Controls in detail
Instrument cluster
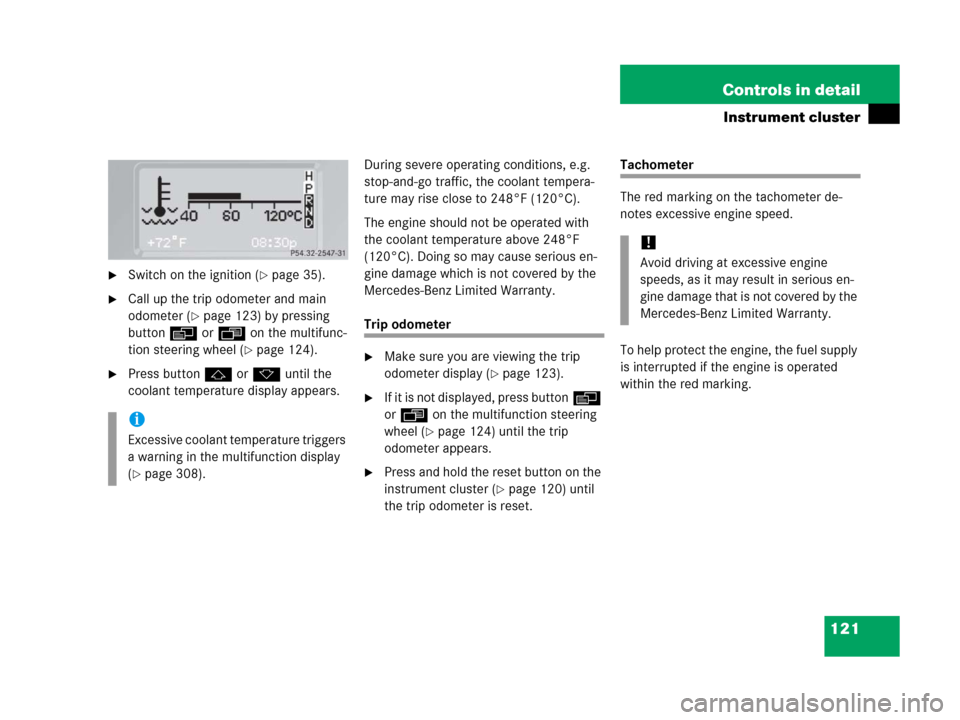
�Switch on the ignition (�page 35).
�Call up the trip odometer and main
odometer (
�page 123) by pressing
buttonè orÿ on the multifunc-
tion steering wheel (
�page 124).
�Press buttonj ork until the
coolant temperature display appears.During severe operating conditions, e.g.
stop-and-go traffic, the coolant tempera-
ture may rise close to 248°F (120°C).
The engine should not be operated with
the coolant temperature above 248°F
(120°C). Doing so may cause serious en-
gine damage which is not covered by the
Mercedes-Benz Limited Warranty.
Trip odometer
�Make sure you are viewing the trip
odometer display (
�page 123).
�If it is not displayed, press buttonè
orÿ on the multifunction steering
wheel (
�page 124) until the trip
odometer appears.
�Press and hold the reset button on the
instrument cluster (
�page 120) until
the trip odometer is reset.
Tachometer
The red marking on the tachometer de-
notes excessive engine speed.
To help protect the engine, the fuel supply
is interrupted if the engine is operated
within the red marking.
i
Excessive coolant temperature triggers
a warning in the multifunction display
(
�page 308).
!
Avoid driving at excessive engine
speeds, as it may result in serious en-
gine damage that is not covered by the
Mercedes-Benz Limited Warranty.
Page 128 of 417
127 Controls in detail
Control system
Menus, submenus and functions
Menu1Menu2Menu3Menu4Menu5Menu6Menu7
Standard
displayAUDIONAVIVehicle status
message
memorySettingsTrip computerTEL
(�page 128)(�page 128)(�page 130)(�page 131)(�page 132)(�page 145)(�page 146)
Commands/submenu
Coolant
temperature
displaySelect radio
stationShow route guid-
ance instruc-
tions, current
direction trav-
eledCall up vehicle
malfunction,
warning and
system status
messages stored
in memoryReset to factory
settingsFuel
consumption
statistics after
startLoad phone book
Digital
speedometerSelect satellite
radio station*
(USA only)Instrument
cluster submenuFuel
consumption
statistics since
the last resetSearch for name
in phone book
Call up mainte-
nance service
indicatorOperate CD
playerLighting
submenuCall up range
Check engine oil
levelVehicle submenu
Convenience
submenu
Page 130 of 417
129 Controls in detail
Control system
Select radio station
�Turn on COMAND and select radio. Re-
fer to separate COMAND operating in-
structions.
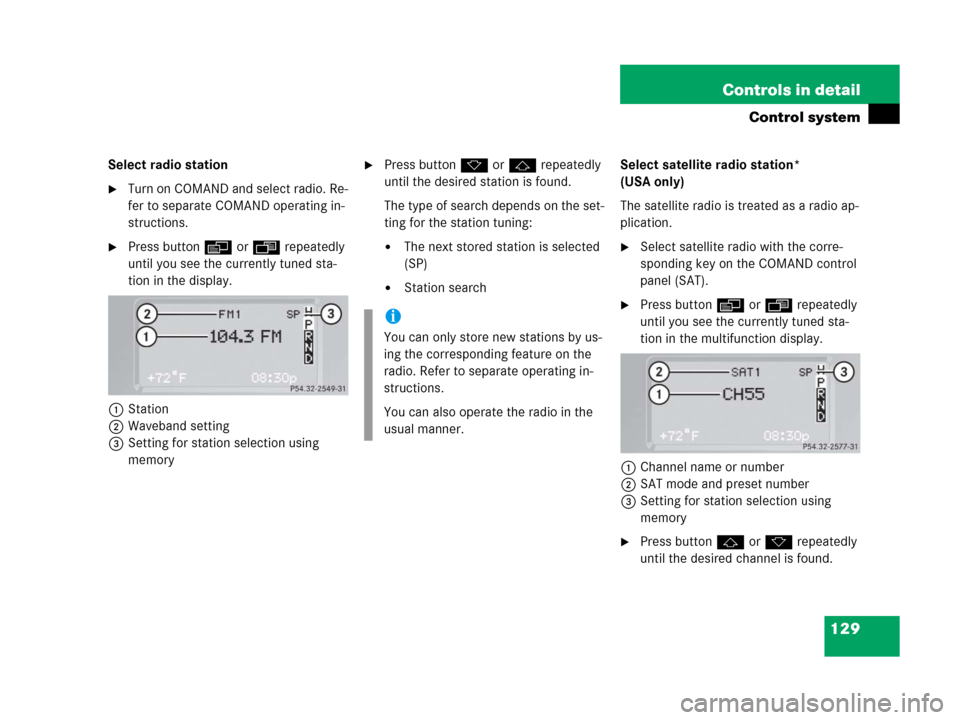
�Press buttonè orÿ repeatedly
until you see the currently tuned sta-
tion in the display.
1Station
2Waveband setting
3Setting for station selection using
memory
�Press buttonk orj repeatedly
until the desired station is found.
The type of search depends on the set-
ting for the station tuning:
�The next stored station is selected
(SP)
�Station searchSelect satellite radio station*
(USA only)
The satellite radio is treated as a radio ap-
plication.
�Select satellite radio with the corre-
sponding key on the COMAND control
panel (SAT).
�Press buttonèorÿ repeatedly
until you see the currently tuned sta-
tion in the multifunction display.
1Channel name or number
2SAT mode and preset number
3Setting for station selection using
memory
�Press buttonjork repeatedly
until the desired channel is found.
i
You can only store new stations by us-
ing the corresponding feature on the
radio. Refer to separate operating in-
structions.
You can also operate the radio in the
usual manner.
Page 133 of 417
132 Controls in detail
Control system
Settings menu
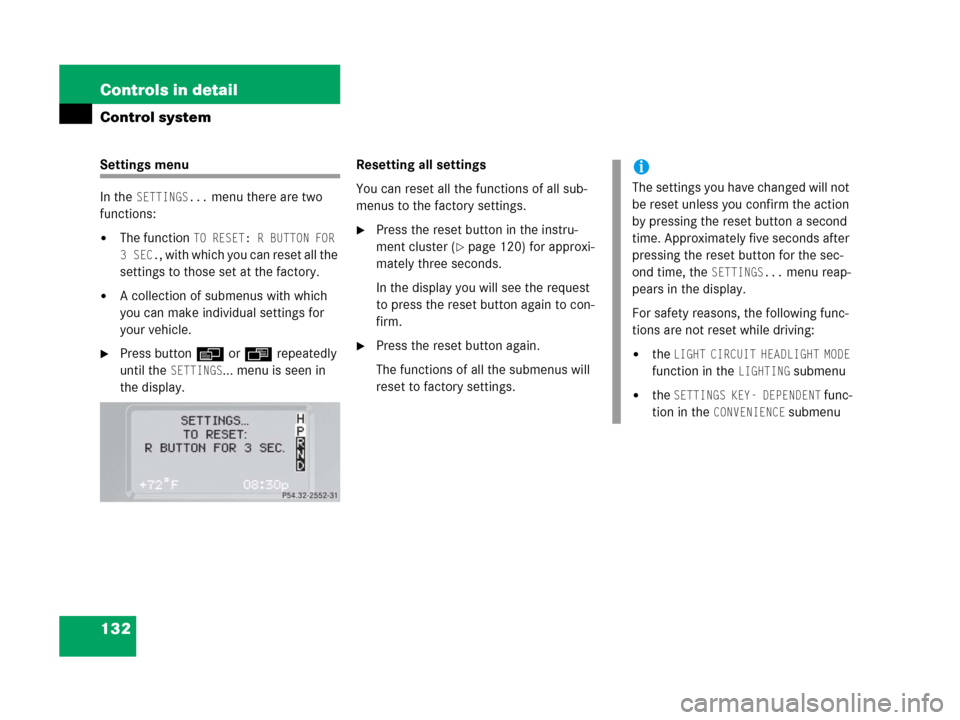
In the
SETTINGS... menu there are two
functions:
�The function TO RESET: R BUTTON FOR
3SEC.
, with which you can reset all the
settings to those set at the factory.
�A collection of submenus with which
you can make individual settings for
your vehicle.
�Press buttonè orÿ repeatedly
until the
SETTINGS... menu is seen in
the display.Resetting all settings
You can reset all the functions of all sub-
menus to the factory settings.
�Press the reset button in the instru-
ment cluster (
�page 120) for approxi-
mately three seconds.
In the display you will see the request
to press the reset button again to con-
firm.
�Press the reset button again.
The functions of all the submenus will
reset to factory settings.
i
The settings you have changed will not
be reset unless you confirm the action
by pressing the reset button a second
time. Approximately five seconds after
pressing the reset button for the sec-
ond time, the
SETTINGS... menu reap-
pears in the display.
For safety reasons, the following func-
tions are not reset while driving:
�the LIGHT CIRCUIT HEADLIGHT MODE
function in the
LIGHTING submenu
�the SETTINGS KEY- DEPENDENT func-
tion in the
CONVENIENCE submenu
Page 134 of 417
133 Controls in detail
Control system
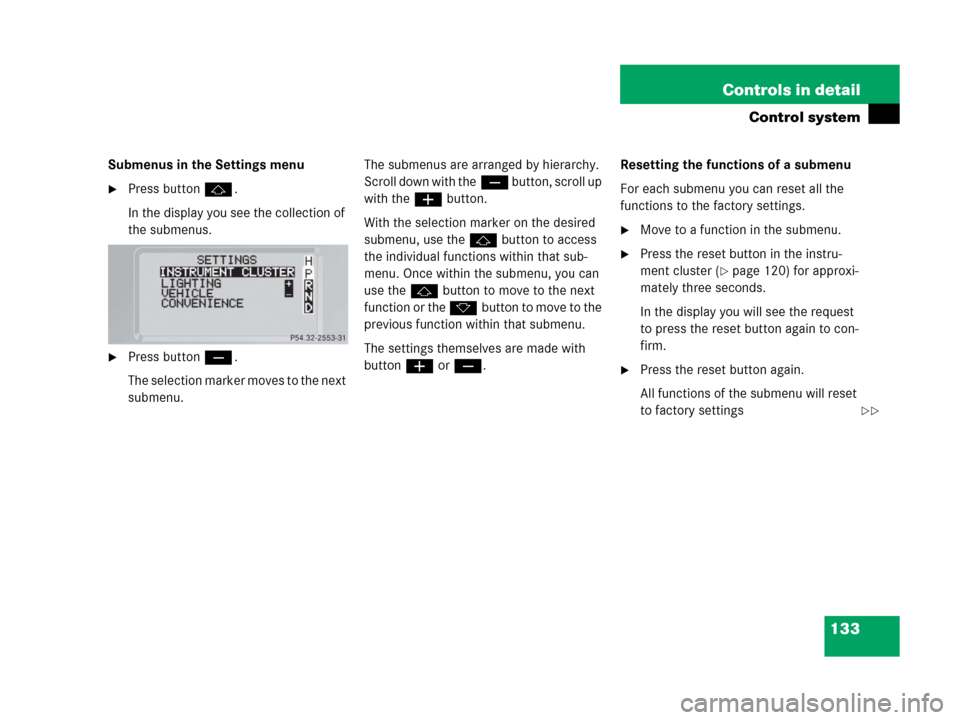
Submenus in the Settings menu
�Press buttonj.
In the display you see the collection of
the submenus.
�Press buttonç.
The selection marker moves to the next
submenu.The submenus are arranged by hierarchy.
Scroll down with theç button, scroll up
with theæ button.
With the selection marker on the desired
submenu, use the jbutton to access
the individual functions within that sub-
menu. Once within the submenu, you can
use the jbutton to move to the next
function or the kbutton to move to the
previous function within that submenu.
The settings themselves are made with
buttonæ orç.Resetting the functions of a submenu
For each submenu you can reset all the
functions to the factory settings.
�Move to a function in the submenu.
�Press the reset button in the instru-
ment cluster (
�page 120) for approxi-
mately three seconds.
In the display you will see the request
to press the reset button again to con-
firm.
�Press the reset button again.
All functions of the submenu will reset
to factory settings
��
Page 135 of 417
134 Controls in detail
Control system
i
The settings you have changed will not
be reset unless you confirm the action
by pressing the reset button a second
time. Approximately five seconds after
pressing the reset button for the sec-
ond time, the
SETTINGS... menu reap-
pears in the display.
��