Page 135 of 417
134 Controls in detail
Control system
i
The settings you have changed will not
be reset unless you confirm the action
by pressing the reset button a second
time. Approximately five seconds after
pressing the reset button for the sec-
ond time, the
SETTINGS... menu reap-
pears in the display.
��
Page 140 of 417
139 Controls in detail
Control system
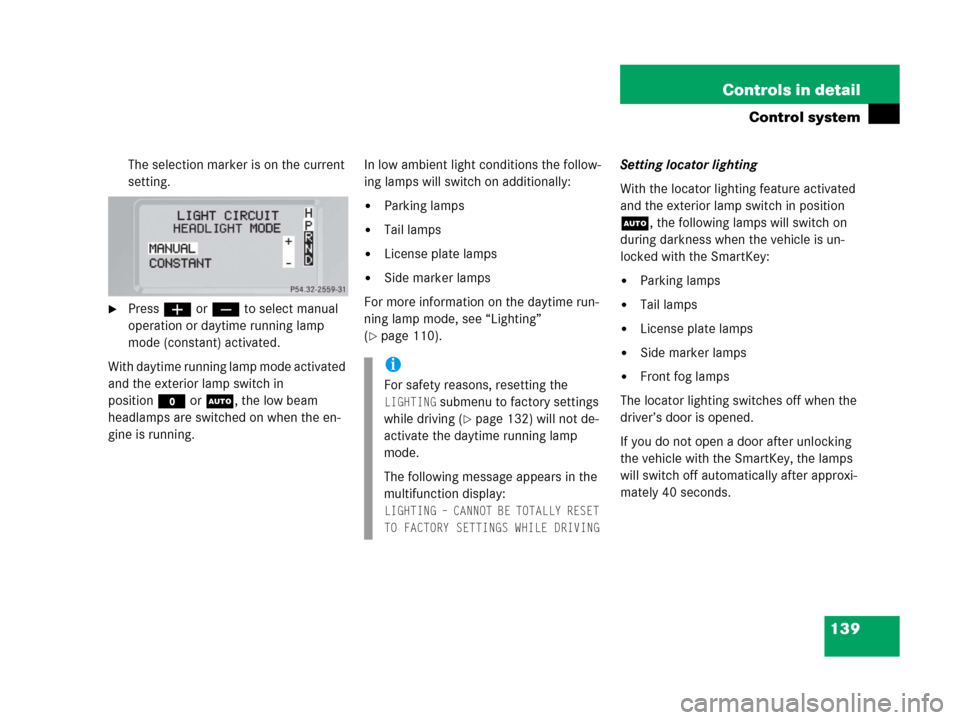
The selection marker is on the current
setting.
�Pressæ orç to select manual
operation or daytime running lamp
mode (constant) activated.
With daytime running lamp mode activated
and the exterior lamp switch in
positionMorU, the low beam
headlamps are switched on when the en-
gine is running.In low ambient light conditions the follow-
ing lamps will switch on additionally:
�Parking lamps
�Tail lamps
�License plate lamps
�Side marker lamps
For more information on the daytime run-
ning lamp mode, see “Lighting”
(
�page 110).Setting locator lighting
With the locator lighting feature activated
and the exterior lamp switch in position
U, the following lamps will switch on
during darkness when the vehicle is un-
locked with the SmartKey:
�Parking lamps
�Tail lamps
�License plate lamps
�Side marker lamps
�Front fog lamps
The locator lighting switches off when the
driver’s door is opened.
If you do not open a door after unlocking
the vehicle with the SmartKey, the lamps
will switch off automatically after approxi-
mately 40 seconds.i
For safety reasons, resetting the
LIGHTING submenu to factory settings
while driving (
�page 132) will not de-
activate the daytime running lamp
mode.
The following message appears in the
multifunction display:
LIGHTING – CANNOT BE TOTALLY RESET
TO FACTORY SETTINGS WHILE DRIVING
Page 145 of 417
144 Controls in detail
Control system
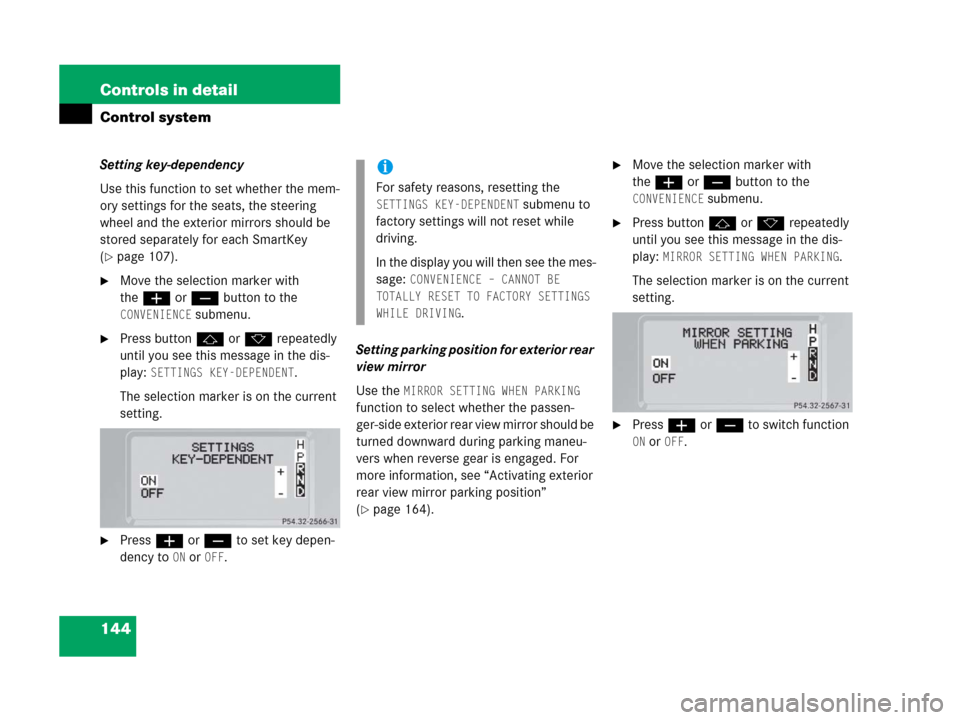
Setting key-dependency
Use this function to set whether the mem-
ory settings for the seats, the steering
wheel and the exterior mirrors should be
stored separately for each SmartKey
(
�page 107).
�Move the selection marker with
theæ orç button to the
CONVENIENCE submenu.
�Press buttonj ork repeatedly
until you see this message in the dis-
play:
SETTINGS KEY-DEPENDENT.
The selection marker is on the current
setting.
�Pressæ orç to set key depen-
dency to
ON or OFF. Setting parking position for exterior rear
view mirror
Use the
MIRROR SETTING WHEN PARKING
function to select whether the passen-
ger-side exterior rear view mirror should be
turned downward during parking maneu-
vers when reverse gear is engaged. For
more information, see “Activating exterior
rear view mirror parking position”
(
�page 164).
�Move the selection marker with
theæ orç button to the
CONVENIENCE submenu.
�Press buttonj ork repeatedly
until you see this message in the dis-
play:
MIRROR SETTING WHEN PARKING.
The selection marker is on the current
setting.
�Pressæ orç to switch function
ON or OFF.
i
For safety reasons, resetting the
SETTINGS KEY-DEPENDENT submenu to
factory settings will not reset while
driving.
In the display you will then see the mes-
sage:
CONVENIENCE – CANNOT BE
TOTALLY RESET TO FACTORY SETTINGS
WHILE DRIVING
.
Page 146 of 417
145 Controls in detail
Control system
Trip computer menu
Use the trip computer menu to call up
statistical data on your vehicle. The follow-
ing information is available:Fuel consumption statistics after start
�Press buttonÿ orè repeatedly
until you see the first function of the
Trip computer menu.
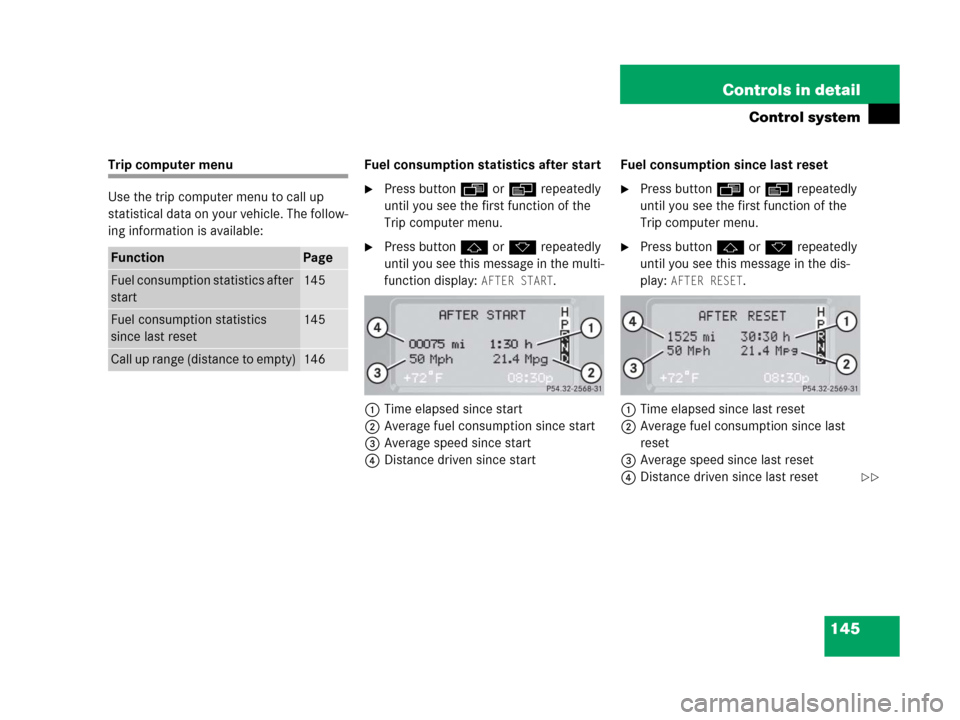
�Press buttonj ork repeatedly
until you see this message in the multi-
function display:
AFTER START.
1Time elapsed since start
2Average fuel consumption since start
3Average speed since start
4Distance driven since startFuel consumption since last reset
�Press buttonÿ orè repeatedly
until you see the first function of the
Trip computer menu.
�Press buttonj ork repeatedly
until you see this message in the dis-
play:
AFTER RESET.
1Time elapsed since last reset
2Average fuel consumption since last
reset
3Average speed since last reset
4Distance driven since last reset
FunctionPage
Fuel consumption statistics after
start145
Fuel consumption statistics
since last reset145
Call up range (distance to empty)146
��
Page 147 of 417
146 Controls in detail
Control system
Resetting fuel consumption statistics
�Press buttonÿ orè repeatedly
until you see the first function of the
Trip computer menu.
�Press buttonj ork repeatedly
until you see the reading that you want
to reset in the display.
�Press and hold the reset button in the
instrument cluster (
�page 120) until
the value is reset to
0.Calling up range (distance to empty)
�Press buttonÿ orè repeatedly
until you see the first function of the
Trip computer menu.
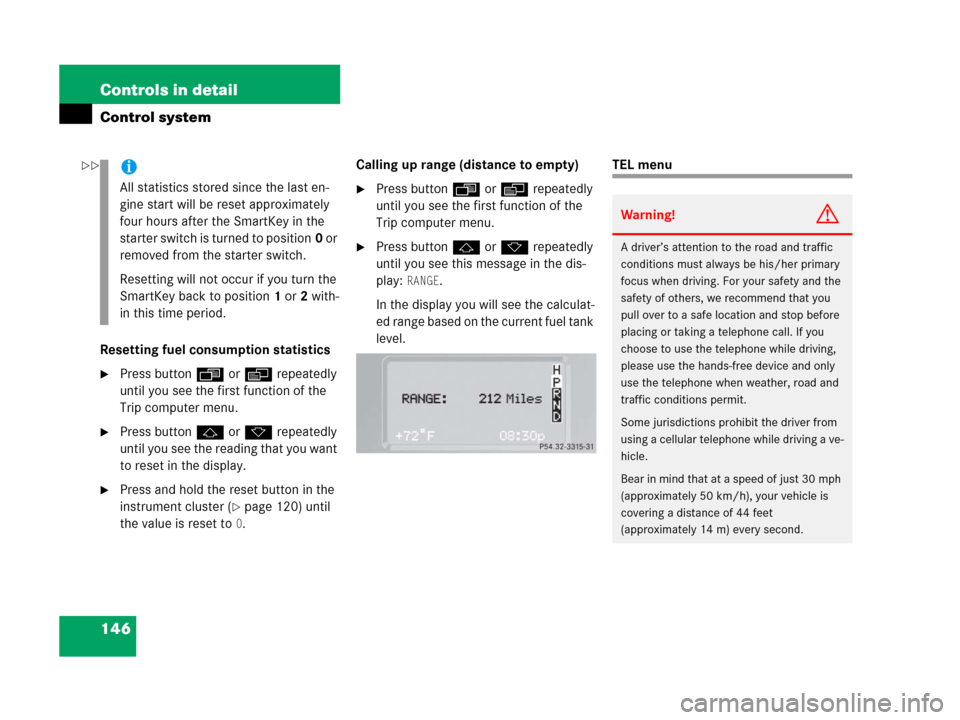
�Press buttonj ork repeatedly
until you see this message in the dis-
play:
RANGE.
In the display you will see the calculat-
ed range based on the current fuel tank
level.
TEL menui
All statistics stored since the last en-
gine start will be reset approximately
four hours after the SmartKey in the
starter switch is turned to position0 or
removed from the starter switch.
Resetting will not occur if you turn the
SmartKey back to position1or2 with-
in this time period.
Warning!G
A driver’s attention to the road and traffic
conditions must always be his/her primary
focus when driving. For your safety and the
safety of others, we recommend that you
pull over to a safe location and stop before
placing or taking a telephone call. If you
choose to use the telephone while driving,
please use the hands-free device and only
use the telephone when weather, road and
traffic conditions permit.
Some jurisdictions prohibit the driver from
using a cellular telephone while driving a ve-
hicle.
Bear in mind that at a speed of just 30 mph
(approximately 50 km/h), your vehicle is
covering a distance of 44 feet
(approximately 14 m) every second.
��
Page 182 of 417
181 Controls in detail
Driving systems
�Driving systems
The driving systems of your vehicle are de-
scribed on the following pages:
�Cruise control, with which the vehicle
can maintain a preset speed.
�Rear Parking Assist*, which assists
your parking maneuvers.
For information on the BAS, ABS, ESP,
4-ETS, and EBB driving systems, see “Driv-
ing and safety systems” (
�page 80).
Cruise control
Cruise control automatically maintains the
speed you set for your vehicle.
Use of cruise control is recommended for
driving at a constant speed for extended
periods of time. You can set or resume
cruise control at any speed over 20 mph
(30 km/h).
The cruise control function is operated by
means of the cruise control lever.
The cruise control lever is the uppermost
lever found on the left-hand side of the
steering column (
�page 23).
i
The cruise control should not be acti-
vated during-off road driving.
Warning!G
Cruise control is a convenience system de-
signed to assist the driver during vehicle op-
eration. The driver is and must always
remain responsible for the vehicle speed
and for safe brake operation.
Only use cruise control if the road, traffic
and weather conditions make it advisable to
travel at a steady speed.
�The use of cruise control can be danger-
ous on winding roads or in heavy traffic
because conditions do not allow safe
driving at a steady speed.
�The use of cruise control can be danger-
ous on slippery roads. Rapid changes in
tire traction can result in wheel spin and
loss of control.
�Deactivate cruise control when driving
in fog.
The “Resume” function should only be oper-
ated if the driver is fully aware of the previ-
ously set speed and wishes to resume this
particular preset speed.
Page 184 of 417
183 Controls in detail
Driving systems
Setting a higher speed
�Lift cruise control lever to position1
and hold it up until the desired speed is
reached.
�Release cruise control lever.
The new speed is set.
Setting a lower speed
�Depress cruise control lever to
position2 and hold it down until the
desired speed is reached.
�Release cruise control lever.
The new speed is set.Fine adjustment in 1 mph
(Canada: 1 km/h) increments
Faster
�Briefly tip cruise control lever in
direction of arrow1.
Slower
�Briefly tip cruise control lever in
direction of arrow2.Setting to last stored speed
(“Resume” function)
�Briefly push cruise control lever to
position4.
Cruise control resumes the last set
speed.
�Remove your foot from the accelerator
pedal.
i
Depressing the accelerator pedal does
not deactivate cruise control. After
brief acceleration (e.g. for passing),
cruise control will resume the last
speed set.
i
When you use the cruise control lever
to decelerate, the transmission will au-
tomatically downshift if the engine’s
braking power does not brake the vehi-
cle sufficiently.
Warning!G
The speed stored in memory should only be
set again if prevailing road conditions per-
mit. Possible acceleration or deceleration
differences arising from returning to preset
speed could endanger yourself and others.
Page 210 of 417
209 Controls in detail
Useful features
Remote door unlock
In case you have locked your vehicle unin-
tentionally (e.g. SmartKey inside vehicle),
and the reserve key is not handy:
�Contact the Mercedes-Benz Response
Center at 1-800-756-9018 (in the USA)
or 1-888-923-8367 (in Canada).
You will be asked to provide your pass-
word which you provided when you
completed the subscriber agreement.
�Then return to your vehicle and press
the tailgate lock for minimum of
20 seconds until the SOS button is
flashing.
The message
EMERGENCY CALL –
CALL CONNECTED
appears in the multi-
function display.
As an alternative, you may unlock the vehi-
cle via Internet using the ID and password
sent to you shortly after the completion of
your acquaintance call.
!
If the indicator lamp continues to flash
or the system does not reset, contact
the Response Center at
1-800-756-9018 (in the USA) or
1-888-923-8367 (in Canada), or
Mercedes-Benz Customer Assistance
at 1-800-FOR-MERCedes
(1-800-367-6372) in the USA or
Customer Service at 1-800-387-0100
in Canada.
i
When a Tele Aid call has been initiated,
the COMAND system audio is muted
and the selected mode (radio or CD)
pauses. The optional cellular phone (if
installed) switches off. If you must use
this phone, the vehicle must be parked.
Disconnect the coiled cord and place
the call. The navigation system (if en-
gaged) will continue to run. The display
in the instrument cluster is available for
use and spoken commands are only
available by pressing the RPT button on
the COMAND unit. A pop-up window
will appear in the COMAND display to
indicate that a Tele Aid call is in
progress.