Page 145 of 521

144 Controls in detailLightingManual headlamp mode
The low beam headlamps and the parking
lamps can be switched on and off with the
exterior lamp switch.
Automatic headlamp mode
The following lamps switch on and off
automatically depending on the brightness
of the ambient light:�
Low beam headlamps
�
Tail and parking lamps
�
License plate lamps
�
Side marker lamps
�
Turn exterior lamp switch to
positionU.
With the SmartKey in starter switch
position1 or the KEYLESS-GO*
start/stop button pressed once, only
the parking lamps will switch on and off
automatically.When the engine is running, the low
beam headlamps, the tail and parking
lamps, the licence plate lamps and the
side marker lamps will switch on and
off automatically.
Daytime running lamp mode
�
Turn the exterior lamp switch to
positionM orU.
When the engine is running, the low
beam headlamps are automatically
switched on.
In low ambient light conditions, the fol-
lowing lamps will switch on additional-
ly:�
Tail and parking lamps
�
License plate lamps
�
Side marker lamps
For nighttime driving you should turn the
exterior lamp switch to positionB to
permit activation of the high beam head-
lamps.
Warning!
G
If the exterior lamp switch is set toU,�
the headlamps may switch off unexpect-
edly when the system senses bright am-
bient light, for example light from
oncoming traffic.
�
the headlamps will not be automatically
switched on under foggy conditions.
To minimize risk to you and to others, acti-
vate headlamps by turning exterior lamp
switch toB when driving or when traffic
and / or ambient lighting conditions require
you to do so.
In low ambient lighting conditions, only
switch from positionU toB with the
vehicle at a standstill in a safe location.
Switching fromU toB will briefly
switch off the headlamps. Doing so while
driving in low ambient lighting conditions
may result in an accident.
The automatic headlamp feature is only an
aid to the driver. The driver is responsible for
the operation of the vehicle’s lights at all
times.
Page 146 of 521

145 Controls in detail
Lighting
Canada only
The daytime running lamp mode is manda-
tory and therefore in a constant mode.
When the engine is running, and you shift
from a driving position to positionN orP,
the low beam headlamps will switch off
with a three-minute delay.
When the engine is running, and you�
turn the exterior lamp switch to
positionC, the parking lamps
switch on additionally.
�
turn the exterior lamp switch to
positionB, the manual headlamp
mode has priority over the daytime run-
ning lamp mode.
The corresponding exterior lamps
switch on (
�page 54).USA only
By default, the daytime running lamp mode
is deactivated. Activate the daytime run-
ning lamp mode using the control system,
see “Setting daytime running lamp mode
(USA only)” (
�page 172).
When the engine is running, and you turn
the exterior lamp switch to
positionCorB, the manual head-
lamp mode has priority over the daytime
running lamp mode.
The corresponding exterior lamps switch
on (
�page 54).
Locator lighting and night security illu-
mination
Locator lighting and night security illumi-
nation are described in the “Control sys-
tem” section, see (
�page 173) and
(
�page 174).
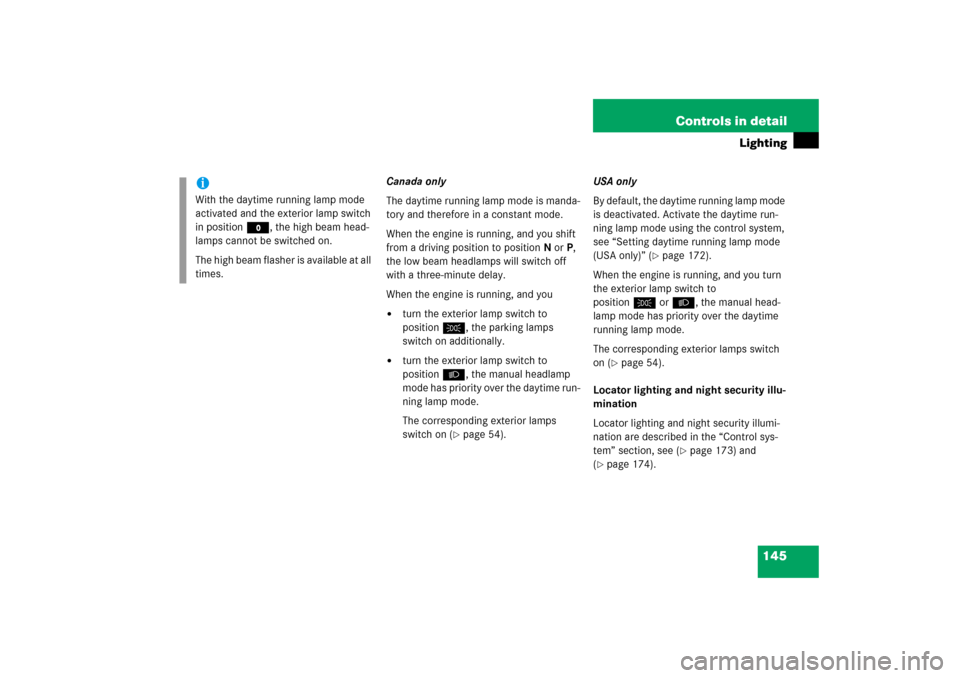
iWith the daytime running lamp mode
activated and the exterior lamp switch
in positionM, the high beam head-
lamps cannot be switched on.
The high beam flasher is available at all
times.
Page 148 of 521

147 Controls in detail
Lighting
Combination switch
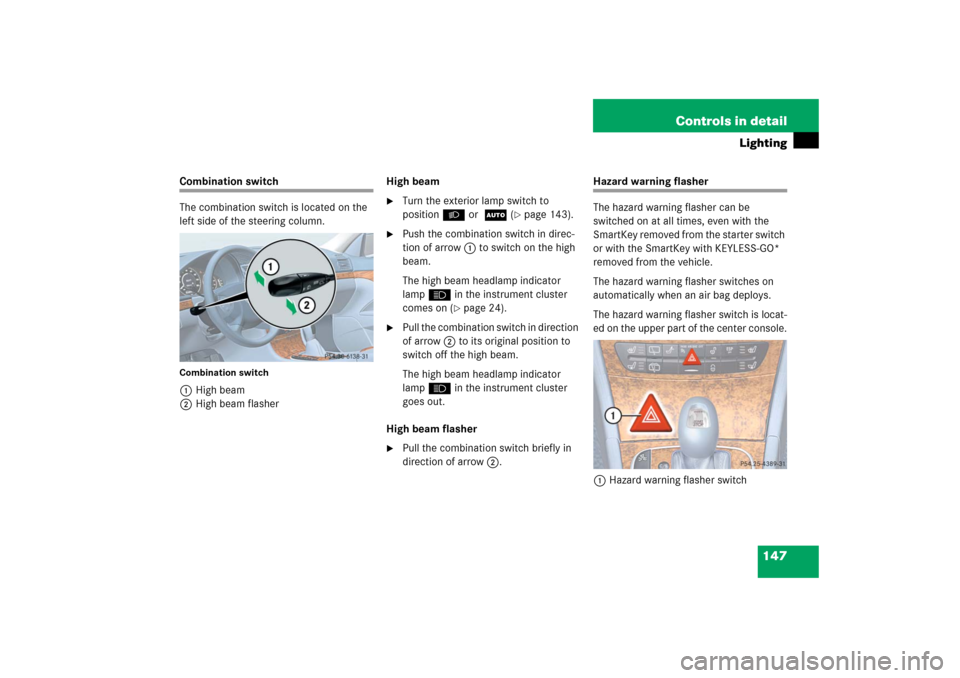
The combination switch is located on the
left side of the steering column.Combination switch1High beam
2High beam flasherHigh beam
�
Turn the exterior lamp switch to
positionB or U (
�page 143).
�
Push the combination switch in direc-
tion of arrow1 to switch on the high
beam.
The high beam headlamp indicator
lampA in the instrument cluster
comes on (
�page 24).
�
Pull the combination switch in direction
of arrow2 to its original position to
switch off the high beam.
The high beam headlamp indicator
lampA in the instrument cluster
goes out.
High beam flasher
�
Pull the combination switch briefly in
direction of arrow2.
Hazard warning flasher
The hazard warning flasher can be
switched on at all times, even with the
SmartKey removed from the starter switch
or with the SmartKey with KEYLESS-GO*
removed from the vehicle.
The hazard warning flasher switches on
automatically when an air bag deploys.
The hazard warning flasher switch is locat-
ed on the upper part of the center console.
1Hazard warning flasher switch
Page 385 of 521
384 Practical hintsWhat to do if …On the pages that follow, you will find a
compilation of the most important warning
and malfunction messages that may
appear in the multifunction display.
For your convenience the messages are di-
vided into two sections:�
Text messages (
�page 385)
�
Symbol messages (
�page 395)
iSwitching on the ignition causes all in-
strument cluster lamps (except low
beam headlamp indicator lamp, high
beam headlamp indicator lamp, and
turn signal indicator lamps unless acti-
vated) as well as the multifunction dis-
play to come on. Make sure the lamps
and multifunction display are in work-
ing order before starting your journey.
Page 411 of 521

410 Practical hintsWhat to do if …Display symbol
Display messages
Possible cause/consequence
Possible solution
.
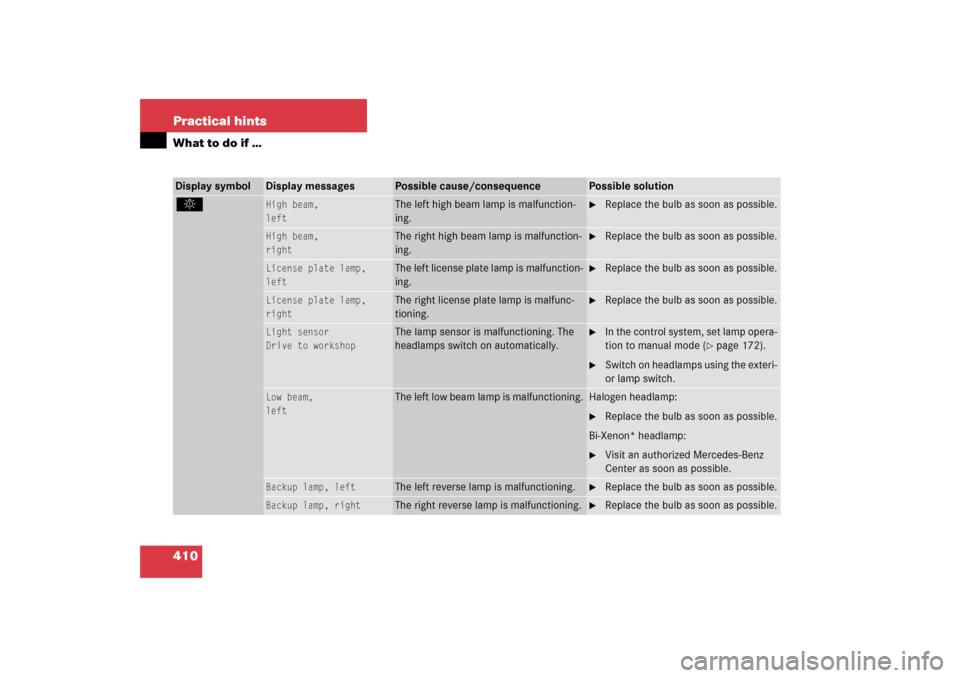
High beam,
left
The left high beam lamp is malfunction-
ing.
�
Replace the bulb as soon as possible.
High beam,
right
The right high beam lamp is malfunction-
ing.
�
Replace the bulb as soon as possible.
License plate lamp,
left
The left license plate lamp is malfunction-
ing.
�
Replace the bulb as soon as possible.
License plate lamp,
right
The right license plate lamp is malfunc-
tioning.
�
Replace the bulb as soon as possible.
Light sensor
Drive to workshop
The lamp sensor is malfunctioning. The
headlamps switch on automatically.
�
In the control system, set lamp opera-
tion to manual mode (
�page 172).
�
Switch on headlamps using the exteri-
or lamp switch.
Low beam,
left
The left low beam lamp is malfunctioning.
Halogen headlamp:�
Replace the bulb as soon as possible.
Bi-Xenon* headlamp:
�
Visit an authorized Mercedes-Benz
Center as soon as possible.
Backup lamp, left
The left reverse lamp is malfunctioning.
�
Replace the bulb as soon as possible.
Backup lamp, right
The right reverse lamp is malfunctioning.
�
Replace the bulb as soon as possible.
Page 433 of 521
432 Practical hintsReplacing bulbs
Front lamps Rear lamps
Lamp
Type
1
Additional turn signal
lamp
LED
2
Turn signal lamp
1156 NA
3
Side marker lamp
W 5 W
4
Halogen headlamp:
Low beam
Bi-Xenon* headlamp:
Low and high beam
1
1Vehicles with Bi-Xenon* headlamps: Low beam
and high beam use the same D2S-35W lamp. Do
not replace the Bi-Xenon bulbs yourself. Contact
your authorized Mercedes-Benz Center.
H7 (55 W)
D2S-35 W
5
Halogen headlamp:
High beam/high beam
flasher
Bi-Xenon* headlamp:
High beam flasher
H7 (55 W)
H7 (55 W)
Parking and standing
lamp
W 5 W
6
Front fog lamp
H1 (55 W)
Lamp
Type
7
High mounted brake
lamp
LED
8
Brake, tail, parking,
standing, backup lamp
and turn signal lamp.
Rear fog lamp (only
driver’s side)
HiP
LED*
9
License plate lamps
C 5 W
Page 435 of 521

434 Practical hintsReplacing bulbsReplacing bulbs for front lamps
1Housing cover for low beam halogen or
Bi-Xenon* headlamp2Bulb socket for high beam head-
lamp/high beam flasher bulb
3Bulb socket for parking and standing
lamp bulb
4Bulb socket for low beam headlamp
bulb (halogen headlamps only)
5Bulb socket for turn signal lamp bulb
Before you start to replace a bulb for a
front lamp, do the following first:
�
Turn the exterior lamp switch to
positionM (
�page 143).
�
Open the hood (
�page 315).Low beam bulb (halogen headlamps
only)
�
Turn housing cover1 counterclock-
wise and remove it.
�
Turn bulb socket4 with the bulb
counterclockwise and remove it.
�
Pull the bulb out of bulb socket4.
�
Press the new bulb gently into bulb
socket4.
�
Place bulb socket5 back into the
lamp and turn it clockwise until it en-
gages.
�
Align housing cover1 and turn it
clockwise until it engages.
Warning!
G
Do not remove the cover1 for the
Bi-Xenon* headlamp. Because of high
voltage in Bi-Xenon* lamps, it is dangerous
to replace the bulb or repair the lamp and its
components. We recommend that you have
such work done by a qualified technician.
Page 436 of 521

435 Practical hints
Replacing bulbs
High beam bulb/high beam flasher
bulb (halogen headlamps)/high beam
flasher bulb (Bi-Xenon* headlamps)�
Turn bulb socket2 with the bulb
counterclockwise and remove it.
�
Pull the bulb out of bulb socket2.
�
Press the new bulb gently into bulb
socket2.
�
Place bulb socket2 back into the
lamp and turn it clockwise until it en-
gages.Front turn signal lamp bulb
�
Turn bulb socket5 with the bulb
counterclockwise and remove it.
�
Press gently onto the bulb and turn
counterclockwise out of bulb
socket5.
�
Press the new bulb gently into bulb
socket5 and turn clockwise until it
engages.
�
Place bulb socket5 back into the
lamp and turn it clockwise until it en-
gages.
Parking and standing lamp bulb
�
Turn bulb socket3 with the bulb
counterclockwise and remove it.
�
Pull the bulb out of bulb socket3.
�
Press the new bulb gently into bulb
socket3.
�
Place bulb socket3 back into the
lamp and turn clockwise until it engag-
es.Additional turn signal lamp bulbs
The additional turn signal lamps in the
exterior rear view mirrors have LEDs.
If a malfunction occurs or LEDs fail to func-
tion, the entire turn signal unit must be re-
placed. Have the turn signal unit replaced
by an authorized Mercedes-Benz Center.
Front side marker lamp bulbs
Since replacing the side marker lamp bulbs
is a technically highly demanding process,
we recommend you have the side marker
lamp bulbs replaced by an authorized
Mercedes-Benz Center.