Page 95 of 489

94 Safety and SecurityAnti-theft systemsArming the alarm system
The indicator lamp is in the center console.
1Indicator lamp (vehicles with tow-away
alarm)1Indicator lamp (vehicles without
tow-away alarm)
�
Lock the vehicle with the SmartKey or
KEYLESS-GO*.
The turn signal lamps flash three times,
and an acoustic signal sounds three
times (if equipped and feature activat-
ed), to indicate that the alarm system is
armed.
Indicator lamp1 begins to flash after
approximately 30 seconds after arming
the alarm system.
iIf the alarm stays on for more than
30 seconds, a call to the Response
Center is initiated automatically by the
Tele Aid system (
�page 279) provided
Tele Aid service was subscribed to and
properly activated, and that necessary
cellular service and GPS coverage are
available.
iIf the turn signal lamps do not flash
three times, and the acoustic signal do
not sounds three times (if equipped
and feature activated), one of the fol-
lowing elements may not be properly
closed:�
a door
�
the trunk
Close the respective element and lock
the vehicle again.
Page 96 of 489
95 Safety and Security
Anti-theft systems
Disarming the alarm system�
Unlock your vehicle with the SmartKey
or KEYLESS-GO*.
The turn signal lamps flash once, and
an acoustic signal sounds once (if
equipped and feature activated), to
indicate that the alarm system is
disarmed.Canceling the alarm
With the SmartKey
�
Press the Œ or ‹button on the
SmartKey.
or
�
Insert the SmartKey in the starter
switch.
With KEYLESS-GO*
�
Pull an outside door handle.
The SmartKey with KEYLESS-GO must
be within 3 ft (1 m) of the vehicle.
or
�
Press the KEYLESS-GO* start/stop
button (
�page 35).
The SmartKey with KEYLESS-GO must
be inside the vehicle.
Tow-away alarm*
Depending on vehicle production date,
your vehicle may not be equipped with the
tow-away alarm.
Once the tow-away alarm is armed, a visual
and audible alarm will be triggered when
someone attempts to raise the vehicle.
iThe alarm system will rearm automati-
cally after approximately 40 seconds if
neither a door nor the trunk lid was
opened.
iThe tow-away protection alarm is trig-
gered, for example, if the vehicle is lift-
ed on one side
If the alarm stays on for more than
30 seconds, a call to the Response
Center is initiated automatically by the
Tele Aid system (
�page 279) provided
Tele Aid service was subscribed to and
properly activated, and that necessary
cellular service and GPS coverage are
available.
Page 97 of 489
96 Safety and SecurityAnti-theft systemsArming tow-away alarm�
Lock the vehicle with the SmartKey or
KEYLESS-GO*.
The tow-away alarm is automatically
armed after about 30 seconds.Disarming tow-away alarm
To prevent triggering the tow-away alarm,
switch off the tow-away alarm feature
before towing the vehicle, or when parking
on a surface subject to movement, such as
a ferry or auto train.
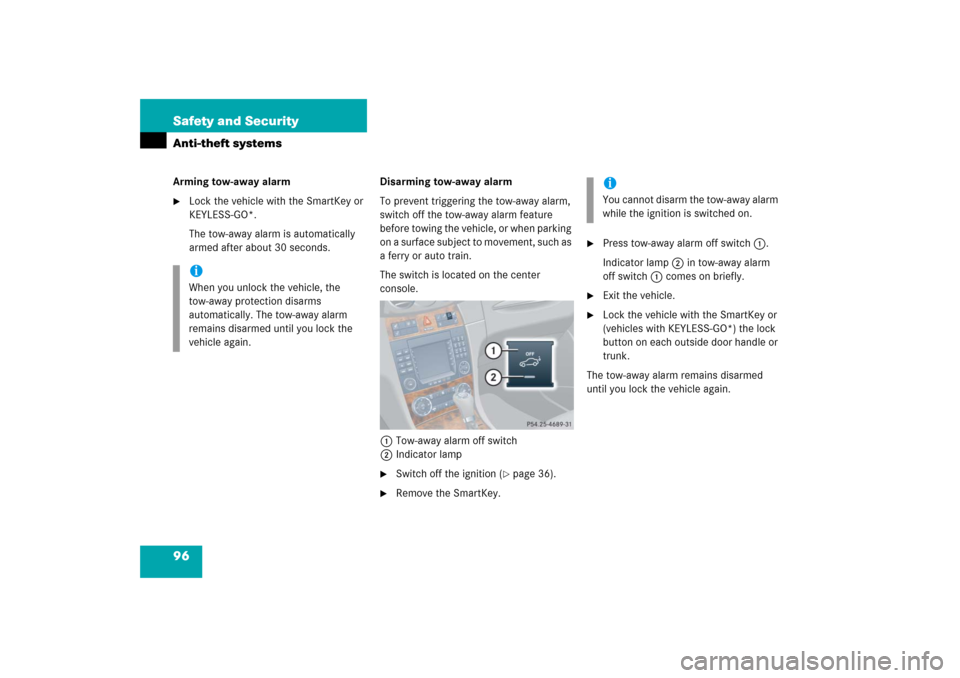
The switch is located on the center
console.
1Tow-away alarm off switch
2Indicator lamp
�
Switch off the ignition (
�page 36).
�
Remove the SmartKey.
�
Press tow-away alarm off switch1.
Indicator lamp2 in tow-away alarm
off switch1 comes on briefly.
�
Exit the vehicle.
�
Lock the vehicle with the SmartKey or
(vehicles with KEYLESS-GO*) the lock
button on each outside door handle or
trunk.
The tow-away alarm remains disarmed
until you lock the vehicle again.
iWhen you unlock the vehicle, the
tow-away protection disarms
automatically. The tow-away alarm
remains disarmed until you lock the
vehicle again.
iYou cannot disarm the tow-away alarm
while the ignition is switched on.
Page 121 of 489

120 Controls in detailLocking and unlocking�
Close the trunk (
�page 113).
�
Pull the mechanical key out of the
SmartKey (
�page 404).
�
Insert the mechanical key in the trunk
lid lock.
�
Turn the mechanical key clockwise to
position2 and remove the mechani-
cal key in that position to lock the
trunk.
The trunk remains locked even when the
vehicle is centrally unlocked.
�
Insert the mechanical key in the trunk
lid lock.
�
Turn the mechanical key counterclock-
wise to neutral position1 and remove
the mechanical key in that position to
unlock the trunk.
You can now open the trunk
(�page 111).
Automatic central locking
The doors and the trunk automatically lock
when the ignition is switched on and the
wheels are turning at vehicle speeds of
approximately 9 mph (15 km/h) or more.
You can open a locked door from the
inside. Open doors only when conditions
are safe to do so.
You can deactivate the automatic locking
mode using the control system, see “Set-
ting automatic locking” (
�page 163).
iYou can only cancel the separate trunk
locking mode by means of the
mechanical key.
iThe doors unlock automatically after an
accident if the force of the impact
exceeds a preset threshold.
To prevent the vehicle door locks from
locking, deactivate the automatic
central locking when the vehicle�
is pushed or towed
�
is on a test stand
��
Page 173 of 489
172 Controls in detailAutomatic transmissionGear selector lever position
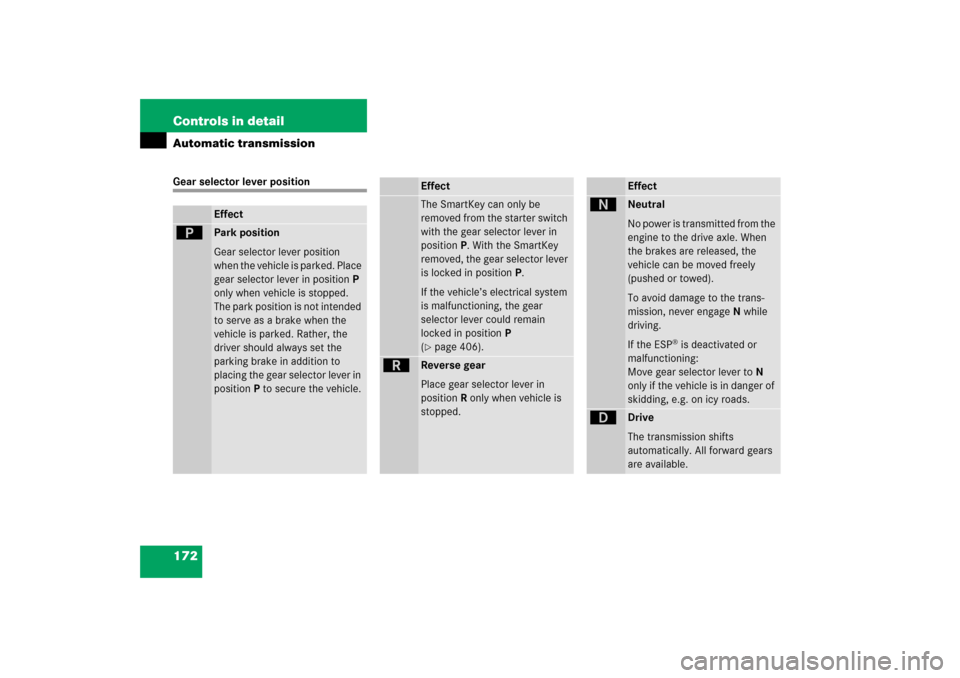
Effect
ì
Park position
Gear selector lever position
when the vehicle is parked. Place
gear selector lever in positionP
only when vehicle is stopped.
The park position is not intended
to serve as a brake when the
vehicle is parked. Rather, the
driver should always set the
parking brake in addition to
placing the gear selector lever in
positionP to secure the vehicle.
EffectThe SmartKey can only be
removed from the starter switch
with the gear selector lever in
positionP. With the SmartKey
removed, the gear selector lever
is locked in positionP.
If the vehicle’s electrical system
is malfunctioning, the gear
selector lever could remain
locked in positionP
(�page 406).
í
Reverse gear
Place gear selector lever in
positionR only when vehicle is
stopped.
Effect
ë
Neutral
No power is transmitted from the
engine to the drive axle. When
the brakes are released, the
vehicle can be moved freely
(pushed or towed).
To avoid damage to the trans-
mission, never engageN while
driving.
If the ESP
® is deactivated or
malfunctioning:
Move gear selector lever toN
only if the vehicle is in danger of
skidding, e.g. on icy roads.
ê
Drive
The transmission shifts
automatically. All forward gears
are available.
Page 174 of 489
173 Controls in detail
Automatic transmission
!
Coasting the vehicle, or driving for any
other reason with gear selector lever
inN can result in transmission damage
that is not covered by the
Mercedes-Benz Limited Warranty.
Warning!
G
Getting out of your vehicle with the gear
selector lever not fully engaged in positionP
is dangerous. Also, positionP alone is not
intended to or capable of preventing your
vehicle from moving, possibly hitting people
or objects.
Always set the parking brake in addition to
shifting to positionP (
�page 57).
When parked on an incline, turn the front
wheels towards the road curb.
Do not park this vehicle in areas where
combustible materials such as grass, hay or
leaves can come into contact with the hot
exhaust system, as these materials could be
ignited and cause a vehicle fire.
Warning!
G
When leaving the vehicle, always remove the
SmartKey or SmartKey with KEYLESS-GO*
from the starter switch, take it with you, and
lock the vehicle. Do not leave children unat-
tended in the vehicle, or with access to an
unlocked vehicle. Children could move the
gear selector lever from positionP, which
could result in an accident and/or serious
personal injury.
Page 181 of 489
180 Controls in detailGood visibilityFor information on the windshield wipers,
see “Windshield wipers” (
�page 53).
Headlamp cleaning system*
The button is located on the left side of the
dashboard.
1Headlamp washer button�
Switch on the ignition (
�page 36).
�
Press button1.
The headlamps are cleaned with a
high-pressure water jet.For information on filling up the washer
reservoir, see “Windshield washer system
and headlamp cleaning system*”
(
�page 459).
Rear view mirrors
For more information on setting the rear
view mirrors, see “Mirrors” (
�page 43).
Interior rear view mirror, antiglare
position
1Lever
�
Tilt the mirror to the antiglare position
by moving lever1 towards the wind-
shield.
The interior rear view mirror is dimmed.
iThe headlamps will automatically be
cleaned when you have�
switched on the headlamps
and
�
operated the windshield wipers
with windshield washer fluid fifteen
times
When you switch off ignition, the
counter resets.
Page 269 of 489
268 Controls in detailLoadingThe handling characteristics of a fully load-
ed vehicle depend greatly on the load dis-
tribution. It is therefore recommended to
load the vehicle according to the illustra-
tions shown, with the heaviest items being
placed towards the front of the vehicle.
Always place items being carried against
front or rear seat backrests, and fasten
them as securely as possible.
The heaviest portion of the cargo should al-
ways be kept as low as possible since it in-
fluences the handling characteristics of
the vehicle.
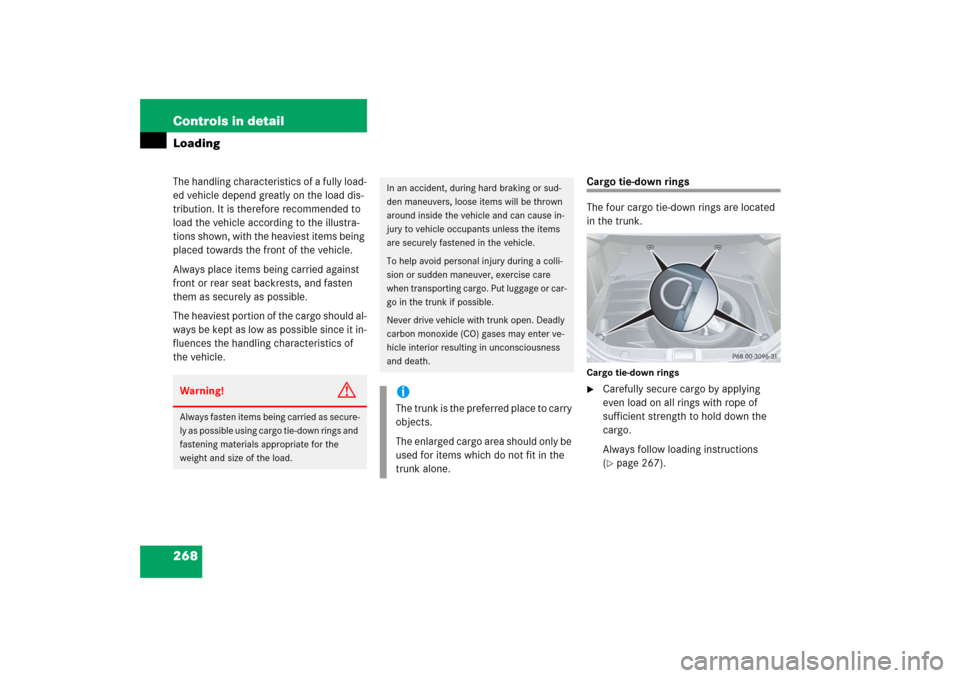
Cargo tie-down rings
The four cargo tie-down rings are located
in the trunk.Cargo tie-down rings�
Carefully secure cargo by applying
even load on all rings with rope of
sufficient strength to hold down the
cargo.
Always follow loading instructions
(�page 267).
Warning!
G
Always fasten items being carried as secure-
ly as possible using cargo tie-down rings and
fastening materials appropriate for the
weight and size of the load.
In an accident, during hard braking or sud-
den maneuvers, loose items will be thrown
around inside the vehicle and can cause in-
jury to vehicle occupants unless the items
are securely fastened in the vehicle.
To help avoid personal injury during a colli-
sion or sudden maneuver, exercise care
when transporting cargo. Put luggage or car-
go in the trunk if possible.
Never drive vehicle with trunk open. Deadly
carbon monoxide (CO) gases may enter ve-
hicle interior resulting in unconsciousness
and death.iThe trunk is the preferred place to carry
objects.
The enlarged cargo area should only be
used for items which do not fit in the
trunk alone.