Page 64 of 442
SWITCHES
l
Seat heater
To turn on the seat heater, push the knob to pop it out and
then turn the knob clockwise. The indicator light (yellow)
comes on.
The ignition switch must be in the “ON” position to activate seat
heaters.
Three setting levels are available.
To disable this function, turn the knob to the center position.
The indicator light goes off.
Push the knob into the recessed position when not in use.
CAUTION
Occupants must use caution when operating the seat
heater because they may experience minor burns even
at low temperatures. Use extra caution for;
� Babies, small children, elderly persons, sick persons
or persons with physical disabilities
� Persons who have sensitive skin
� Persons who are exhausted
� Persons who have taken alcohol or drugs which
induce sleep (sleeping drug, cold remedy, etc.).
To prevent the seat from overheating, do not use the
seat heater with a blanket, cushion, or other insulating
objects which cover the seat.
Page 65 of 442

SWITCHES
li
NOTICE
�Do not put unevenly weighted objects on the seat and
do not stick sharp objects (needles, nails, etc.) into
the seat.
� When cleaning the seats, do not use organic
substances (paint thinner, benzine, alcohol,
gasoline, etc.). They may damage the seat
ventilation/heating system or seat surface.
� Before cleaning the seats, fully wring out the towel
that will be used. W ater entering the seats may cause
the seat ventilation/heating system to malfunction.
� To prevent the battery from being discharged, turn
the switches off when the engine is not running.
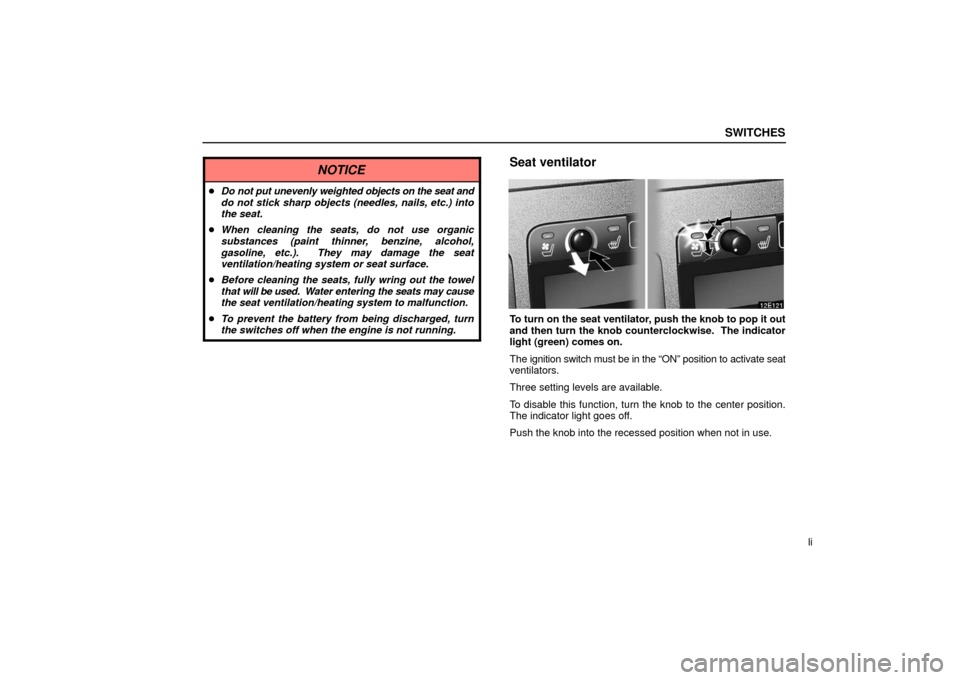
Seat ventilator
To turn on the seat ventilator, push the knob to pop it out
and then turn the knob counterclockwise. The indicator
light (green) comes on.
The ignition switch must be in the “ON” position to activate seat
ventilators.
Three setting levels are available.
To disable this function, turn the knob to the center position.
The indicator light goes off.
Push the knob into the recessed position when not in use.
Page 90 of 442

Finish
INTERIOR EQUIPMENT
lxxvi
CLOCK
The digital clock indicates the time with the ignition key at
the “ACC” or “ON” position. To reset the hour, press the
“H” button. To reset the minutes, press the “M” button.
To adjust the time to the nearest hour, press the “:00”
button.
For example, if the “:00” button is pressed when the time is
between 9:30 — 9:59 or between 10:01 — 10:29, the time will
change to 10:00.
With the tail lights on, the brightness of the time indication will
be reduced.
If the electrical power source has been disconnected from the
clock, the time display will automatically be set to 1:00 (one
o’clock).
CIGARETTE LIGHTER AND ASHTRAY
�Cigarette lighter and ashtray
To use the cigarette lighter and ashtray, first push against
the ashtray cover. Then when the ashtray opens out,
press in the cigarette lighter. After it finishes heating up,
it automatically pops out ready for use.
Do not hold the cigarette lighter pressed in.
If the engine is not running, the ignition key must be in the
“ACC” position to use the lighter.
When finished with your cigarette, thoroughly extinguish it in
the ashtray to prevent other cigarette butts from catching fire.
After using the ashtray, close the lid completely.
To remove the ashtray, just pull it up.
Page 112 of 442
EXTERIOR EQUIPMENT
xcviii
2. To remove the fuel tank cap, turn the cap
counterclockwise by 90 degrees (to the pressure point
1), and then turn it an additional 30 degrees (to point
2). Pause slightly before removing it.
It is not unusual to hear a slight swoosh when the cap is
opened.
3. The removed cap can be stored on the back side of the
fuel filler door.
Position the cap so that the hooks point to the left and right, and
set it in the receptacle on the back side of the door.
Page 250 of 442

AUDIO
ccxxxvi(d) Presetting a channel
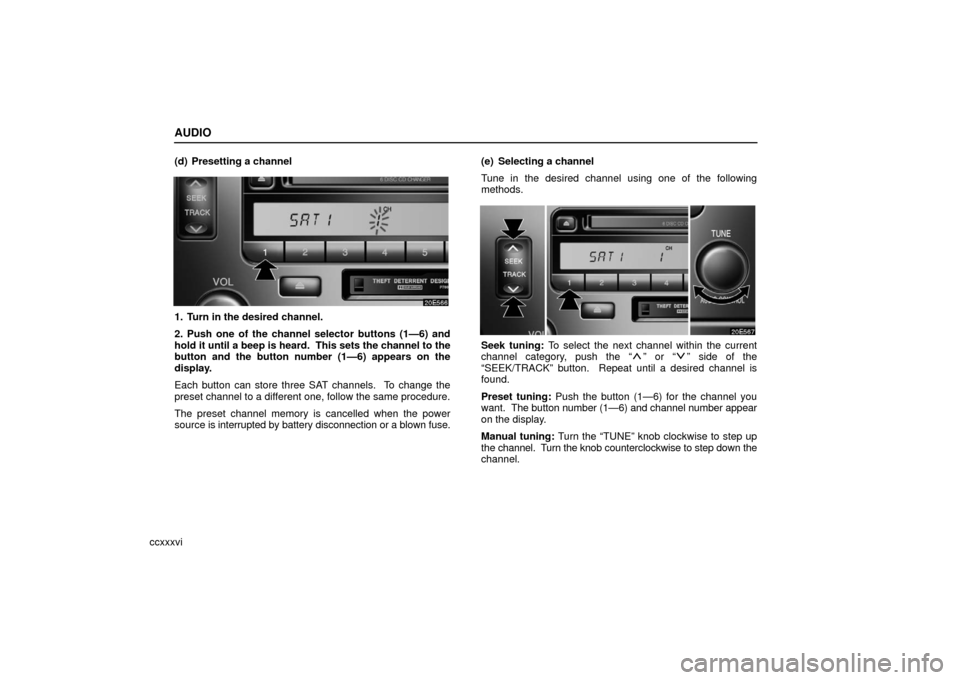
1. Turn in the desired channel.
2. Push one of the channel selector buttons (1—6) and
hold it until a beep is heard. This sets the channel to the
button and the button number (1—6) appears on the
display.
Each button can store three SAT channels. To change the
preset channel to a different one, follow the same procedure.
The preset channel memory is cancelled when the power
source is interrupted by battery disconnection or a blown fuse.
(e) Selecting a channel
Tune in the desired channel using one of the following
methods.
Seek tuning: To select the next channel within the current
channel category, push the “” or “” side of the
“SEEK/TRACK” button. Repeat until a desired channel is
found.
Preset tuning: Push the button (1—6) for the channel you
want. The button number (1—6) and channel number appear
on the display.
Manual tuning: Turn the “TUNE” knob clockwise to step up
the channel. Turn the knob counterclockwise to step down the
channel.