2006 KIA AMANTI washer fluid
[x] Cancel search: washer fluidPage 163 of 322
441
1
2
3
4
5
6
7
8
910
Driving your vehicle
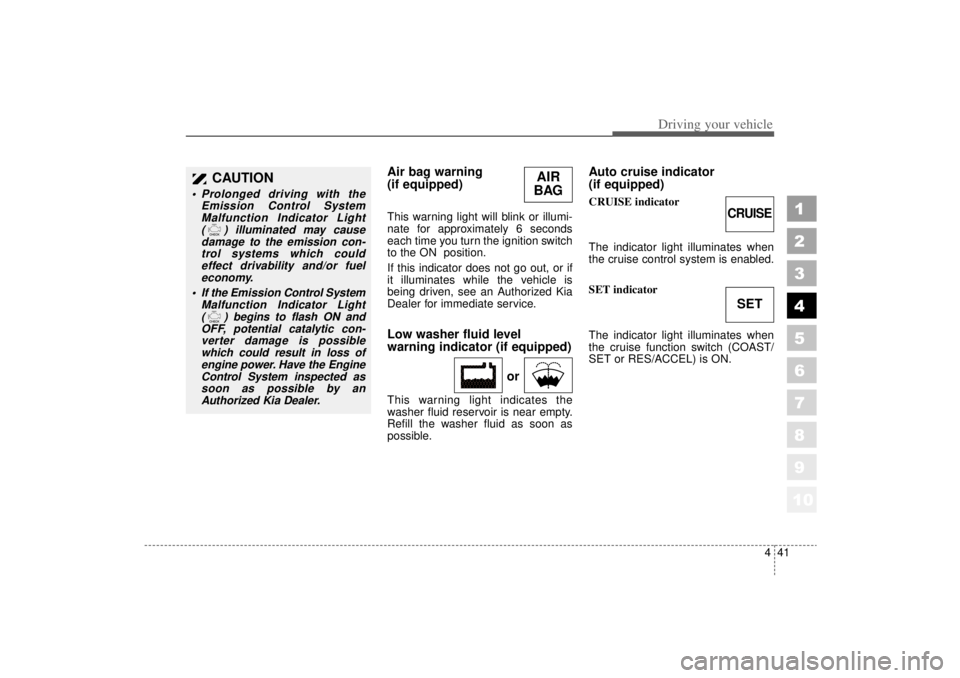
Air bag warning
(if equipped) This warning light will blink or illumi-
nate for approximately 6 seconds
each time you turn the ignition switch
to the ON position.
If this indicator does not go out, or if
it illuminates while the vehicle is
being driven, see an Authorized Kia
Dealer for immediate service.Low washer fluid level
warning indicator (if equipped) This warning light indicates the
washer fluid reservoir is near empty.
Refill the washer fluid as soon as
possible.
Auto cruise indicator
(if equipped)CRUISE indicator
The indicator light illuminates when
the cruise control system is enabled.
SET indicator
The indicator light illuminates when
the cruise function switch (COAST/
SET or RES/ACCEL) is ON.
CAUTION
Prolonged driving with the
Emission Control SystemMalfunction Indicator Light ( ) illuminated may causedamage to the emission con-trol systems which couldeffect drivability and/or fueleconomy.
If the
Emission
Control System
Malfunction Indicator Light ( ) begins to flash ON andOFF, potential catalytic con-verter damage is possiblewhich could result in loss ofengine power. Have the EngineControl System inspected assoon as possible by anAuthorized Kia Dealer.
CRUISESET
AIR
BAG
or
Page 173 of 322
451
1
2
3
4
5
6
7
8
910
Driving your vehicle
WARNING
Do not use the washer in freez-
ing temperatures without 1st
warming the windshield with the
defrosters; the washer solution
could freeze on contact with the
windshield and obscure your
vision.
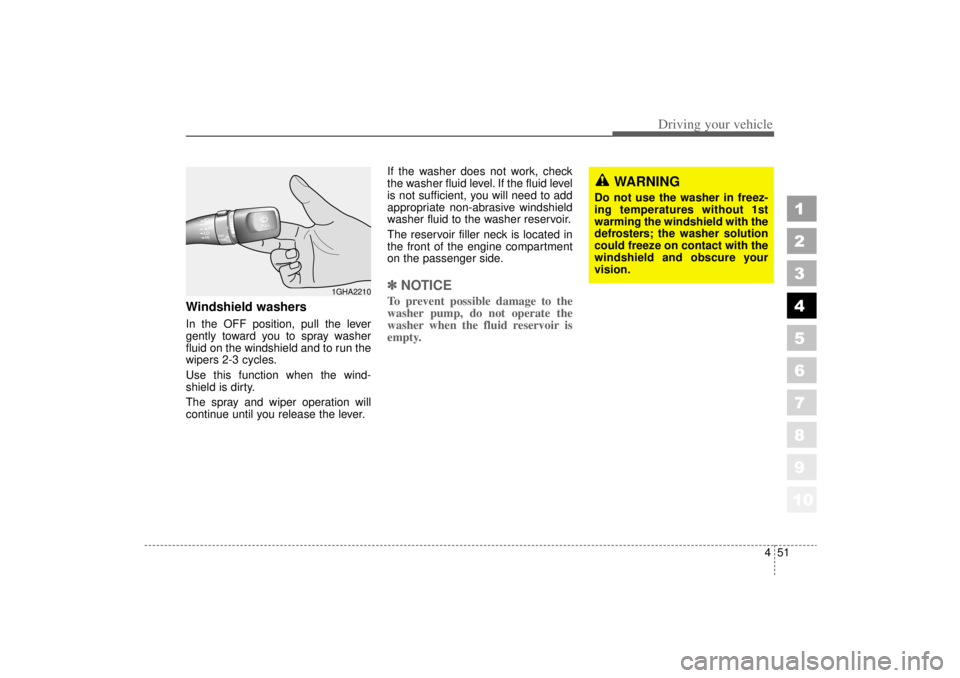
Windshield washers In the OFF position, pull the lever
gently toward you to spray washer
fluid on the windshield and to run the
wipers 2-3 cycles.
Use this function when the wind-
shield is dirty.
The spray and wiper operation will
continue until you release the lever.If the washer does not work, check
the washer fluid level. If the fluid level
is not sufficient, you will need to add
appropriate non-abrasive windshield
washer fluid to the washer reservoir.
The reservoir filler neck is located in
the front of the engine compartment
on the passenger side.
✽ ✽
NOTICETo prevent possible damage to the
washer pump, do not operate the
washer when the fluid reservoir is
empty.
1GHA2210
Page 197 of 322
55
Driving tips
BEFORE DRIVING Before entering vehicle: Be sure that all windows, outsidemirror(s), and outside lights are
clean.
Check the condition of the tires.
Check under the vehicle for any sign of leaks.
Be sure there are no obstacles behind you if you intend to back up.Necessary inspections Fluid levels, such as engine oil,
engine coolant, brake fluid, and
washer fluid should be checked on a
regular basis, with the exact interval
depending on the fluid. Further
details are provided in Section 7,
Maintenance.
Before starting Close and lock all doors.
Position the seat so that all con-trols are easily reached.
Adjust the inside and outside rearview mirrors.
Be sure that all lights work.
Check all gauges.
Check the operation of warning lights when the ignition switch is
turned to the ON position.
Release the parking brake and make sure the brake warning light
goes out.
For safe operation, be sure you are
familiar with your vehicle and its
equipment.
1
2
3
4
5
6
7
8
910
WARNING
- Driving under
the influence of alcohol or
drugs
Drinking and driving is danger-
ous. Drunk driving is the num-
ber one contributor to the high-
way death toll each year. Even a
small amount of alcohol will
affect your reflexes, perceptions
and judgement.
You are much more likely to
have a serious accident if you
drink and drive.
If you are drinking or taking
drugs, don’t drive. Do not ride
with a driver who has been
drinking or taking drugs.
Choose a designated driver or
call a cab.
Driving while under the influ-
ence of drugs is as dangerous
or more dangerous than driving
drunk.
Page 201 of 322
59
Driving tips
Driving too fast through large pud-dles can affect your brakes. If you
must go through puddles, try to
drive through them slowly.
If you believe you may have gotten your brakes wet, apply them lightly
while driving until normal braking
operation returns.
Winter driving We recommend that you carryemergency equipment, including
tire chains, a window scraper,
windshield de-icer, a bag of sand
or salt, flares, a small shovel and
jumper cables.
Make sure you have sufficient eth- ylene-glycol coolant in the radiator.
Check the battery condition and cables. Cold temperatures reduce
the capacity of any battery, so it
must be in excellent condition to
provide enough winter starting
power.
Make sure the engine oil viscosity is suitable for cold weather.
Check the ignition system for loose connections and damage. Use antifreeze-formulated wind-
shield washer fluid. (Do not use
engine coolant antifreeze.)
Do not use the parking brake if it might freeze. When parking, shift
to P (Park) with an automatic
transaxle and block the rear
wheels.
1
2
3
4
5
6
7
8
910
Page 255 of 322
711
Maintenance
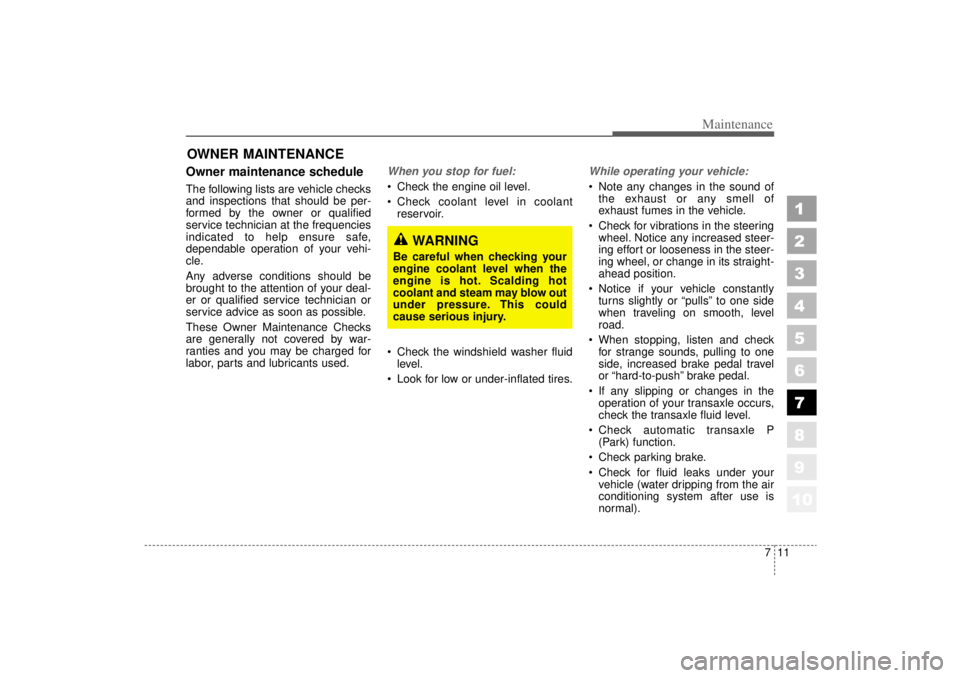
OWNER MAINTENANCE Owner maintenance schedule The following lists are vehicle checks
and inspections that should be per-
formed by the owner or qualified
service technician at the frequencies
indicated to help ensure safe,
dependable operation of your vehi-
cle.
Any adverse conditions should be
brought to the attention of your deal-
er or qualified service technician or
service advice as soon as possible.
These Owner Maintenance Checks
are generally not covered by war-
ranties and you may be charged for
labor, parts and lubricants used.
When you stop for fuel: Check the engine oil level.
Check coolant level in coolantreservoir.
Check the windshield washer fluid level.
Look for low or under-inflated tires.
While operating your vehicle: Note any changes in the sound of the exhaust or any smell of
exhaust fumes in the vehicle.
Check for vibrations in the steering wheel. Notice any increased steer-
ing effort or looseness in the steer-
ing wheel, or change in its straight-
ahead position.
Notice if your vehicle constantly turns slightly or “pulls” to one side
when traveling on smooth, level
road.
When stopping, listen and check for strange sounds, pulling to one
side, increased brake pedal travel
or “hard-to-push” brake pedal.
If any slipping or changes in the operation of your transaxle occurs,
check the transaxle fluid level.
Check automatic transaxle P (Park) function.
Check parking brake.
Check for fluid leaks under your vehicle (water dripping from the air
conditioning system after use is
normal).
1
2
3
4
5
6
7
8
910
WARNING
Be careful when checking your
engine coolant level when the
engine is hot. Scalding hot
coolant and steam may blow out
under pressure. This could
cause serious injury.
Page 256 of 322
Maintenance12
7At least monthly: Check coolant level in the coolant
recovery reservoir.
Check the operation of all exterior lights, including the stoplights, turn
signals and hazard warning flash-
ers.
Check the inflation pressures of all tires including the spare.
At least twice a year
(i.e., every Spring and Fall) : Check radiator, heater and air con- ditioning hoses for leaks or da-
mage.
Check windshield washer spray and wiper operation. Clean wiper
blades with clean cloth dampened
with washer fluid.
Check headlight alignment.
Check muffler, exhaust pipes, shields and clamps.
Check the lap/shoulder belts for wear and function.
Check for worn tires and loose wheel lug nuts.
At least once a year : Clean body and door drain holes.
Lubricate door hinges and checks,and hood hinges.
Lubricate door and hood locks and latches.
Lubricate door rubber weather- strips.
Check the air conditioning system before the warm weather season.
Check the power steering fluid level.
Inspect and lubricate automatic transaxle linkage and controls.
Clean battery and terminals.
Check the brake fluid level.
1
2
3
4
5
6
7
8
910
Page 258 of 322
Maintenance14
7
1
2
3
4
5
6
7
8
910
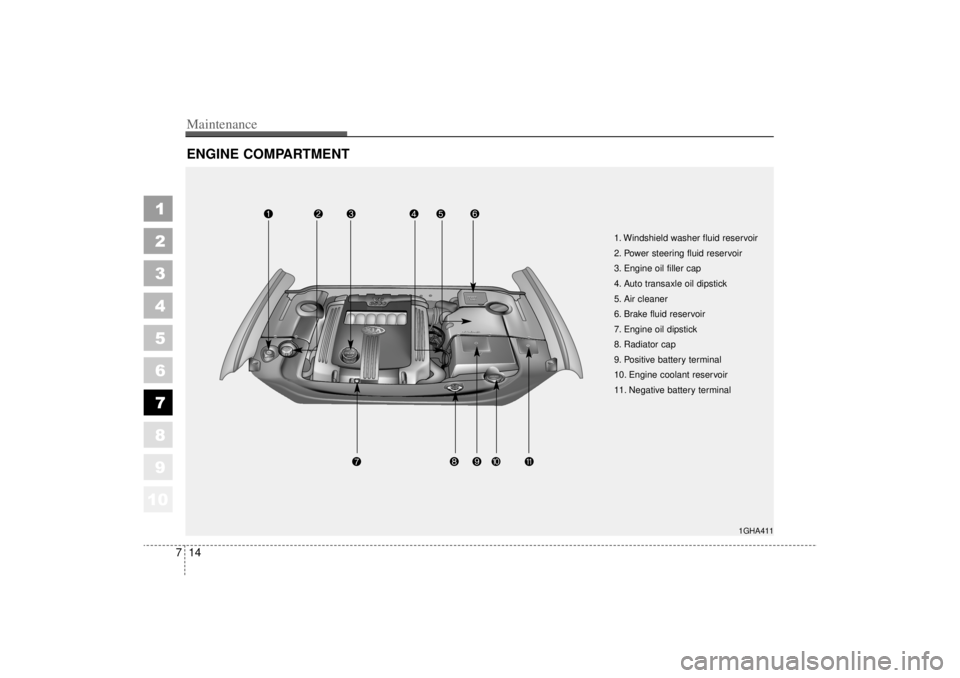
ENGINE COMPARTMENT
1GHA411
1. Windshield washer fluid reservoir
2. Power steering fluid reservoir
3. Engine oil filler cap
4. Auto transaxle oil dipstick
5. Air cleaner
6. Brake fluid reservoir
7. Engine oil dipstick
8. Radiator cap
9. Positive battery terminal
10. Engine coolant reservoir
11. Negative battery terminal
Page 271 of 322

727
Maintenance
1
2
3
4
5
6
7
8
910
Changing the automatic
transaxle fluid 1. Raise and suitably support thevehicle. 2. Remove the drain plug located at
the bottom of the transaxle pan.
3. After the oil has drained complete- ly, install a new washer on the
plug, reinstall the drain plug, and
tighten to 21~24 lbin (290~340
kgcm, 29~33 Nm).
4. Lower the vehicle.
5. Remove the automatic transaxle dipstick located near the center of
the engine compartment bulkhead
and, using a funnel, add approxi-
mately 2 US quarts (2 liters) of
automatic transaxle fluid.
Use only the specified automatictransaxle fluid. (Refer to"Recommended Lubricants" later inthis section.)
✽ ✽ NOTICEDo NOT overfill the automatic
transaxle reservoir. Doing so can
cause a seal “blow out”, loss of fluid,
and damage to the transaxle. If you
overfill the reservoir, you must drain
the excess prior to driving the vehi-
cle. The transaxle will hold 2.5 US
qt. (2.5 liters) when completely
empty. However, it is likely that
there will be fluid left in the
transaxle after draining, especially if
the front of the vehicle was raised to
remove the drain plug. 6. Check the fluid level. If necessary,
add a small amount of fluid and
check the level again. Continue
this process until the level reads
within “HOT” range.
7. Replace the dipstick and properly dispose of the used transaxle fluid.
WARNING
- Lifting your
vehicle
If you raise your vehicle, always
ensure that it is supported at all
four jacking or lift points for the
vehicle. Only if this level of sup-
port is provided can you ensure
that the vehicle will remain sta-
ble and not fall off the jack
stands or other supports. If you
do not provide such support,
the vehicle may fall off the jack
stands, or other supports, caus-
ing serious injury or death.