Page 9 of 322
10
23
1
2
3
4
5
6
7
8
9
Your vehicle at a glance
1. Rear door child safety lock
2. Fuel filler lid
3. Rear window
4. Trunk release lever and key lock
5. Spare tire
6. Outside rearview mirror
7. Tail lights
8. High mounted stop light
9. Door handle (driver)
10. Door handle (passenger)
11. Emergency trunk release lever
2GHN0002
Page 10 of 322
10
Your vehicle at a glance42
1
2
3
4
5
6
7
8
9
INTERIOR OVERVIEW
1. Door lock/unlock button
2. Power window switches
3. Outside rearview mirror control switch
4. Seat adjust knob
5. Hood release lever
6. Parking brake pedal
7. Parking brake release lever
8. Instrument panel illumination
9. Steering wheel
10. Instrument cluster
11. Inside rearview mirror
12. Trunk release lever
13. Fuel filler lid release button
14. Seat
15. Master power door lock control
16. Master power window control lock
17. Brake pedal
18. Accelerator pedal
19. Vent controls
20. Steering wheel tilt
2GHN0005
Page 100 of 322
389
1
2
3
4
5
6
7
8
910
Knowing your vehicle
1. Stop the engine.
2. To open the fuel filler lid, push therelease button located on the dri-
ver ’s lower door. 3. Pull the fuel filler lid out to open.
4. To remove the cap, turn the fuel
tank cap counter-clockwise.
5. Refuel as needed.
6. To install the cap, turn it clockwise until it “clicks”. This indicates that
the cap is securely tightened.
7. Close the fuel filler lid and push it lightly and make sure that it is
securely closed.FUEL FILLER LID
1GHA2021
MMSA3049
WARNING
To avoid injury from sharp
objects, it is recommended that
protective gloves be worn when
opening the fuel filler door man-
ually.
WARNING
- Refueling
If pressurized fuel sprays out, it
can cause serious injuries.
Always remove the fuel cap
carefully and slowly. If the cap is
venting fuel or if you hear a
hissing sound, wait until the
condition stops before com-
pletely removing the cap.
Page 281 of 322

737
Maintenance
1
2
3
4
5
6
7
8
910
TIRES AND WHEELS Tires care For proper maintenance, safety, and
maximum fuel economy, you must
always maintain recommended tire
inflation pressures and stay within
the load limits and weight distribution
recommended for your vehicle.Inflation pressures All tire pressures (including the
spare) should be checked every day
when the tires are cold.“Cold Tires”
means the vehicle has not been driv-
en for at least three hours or driven
less than one mile (1.6 km).
Recommended pressures must be
maintained for the best ride, top vehi-
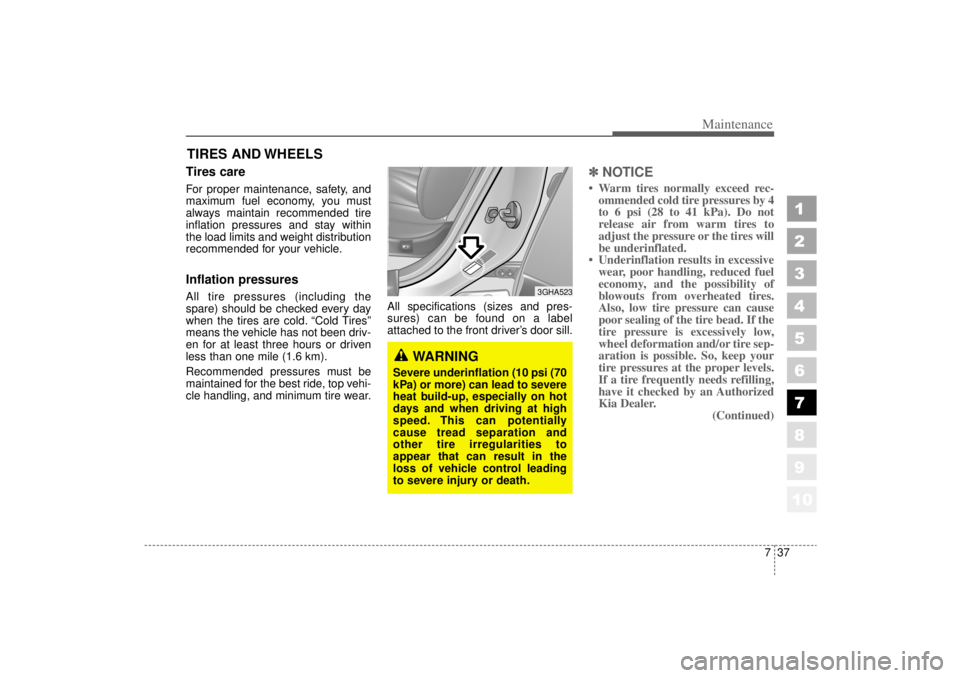
cle handling, and minimum tire wear. All specifications (sizes and pres-
sures) can be found on a label
attached to the front driver’
s door sill.
✽ ✽
NOTICE• Warm tires normally exceed rec-
ommended cold tire pressures by 4
to 6 psi (28 to 41 kPa). Do not
release air from warm tires to
adjust the pressure or the tires will
be underinflated.
• Underinflation results in excessive wear, poor handling, reduced fuel
economy, and the possibility of
blowouts from overheated tires.
Also, low tire pressure can cause
poor sealing of the tire bead. If the
tire pressure is excessively low,
wheel deformation and/or tire sep-
aration is possible. So, keep your
tire pressures at the proper levels.
If a tire frequently needs refilling,
have it checked by an Authorized
Kia Dealer. (Continued)
3GHA523
WARNING
Severe underinflation (10 psi (70
kPa) or more) can lead to severe
heat build-up, especially on hot
days and when driving at high
speed. This can potentially
cause tread separation and
other tire irregularities to
appear that can result in the
loss of vehicle control leading
to severe injury or death.