Page 2510 of 3383

COMBINATION SWITCHLT-103
C
DE
F
G H
I
J
L
M A
B
LT
Revision: November 2009 2006 QX56
Combination Switch InspectionEKS00BAA
1. SYSTEM CHECK
1. Referring to table below, check which system the malfunctioning switch belongs.
>> GO TO 2.
2. SYSTEM CHECK
With CONSULT-II
CAUTION:
If CONSULT-II is used with no connection of CONSULT-II CONVERTER, malfunctions might be
detected in self-diagnosis depending on control unit which carries out CAN communication.
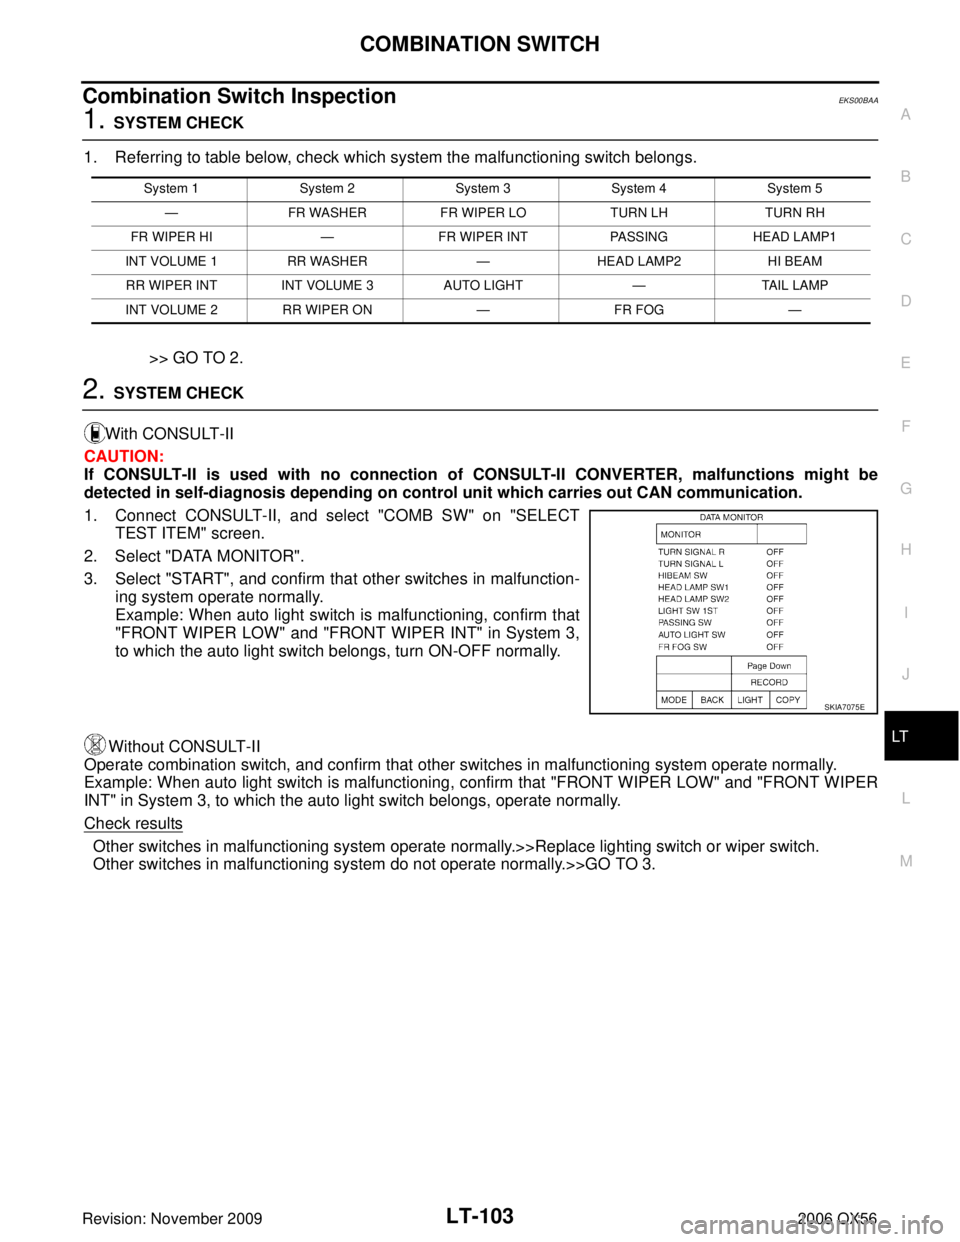
1. Connect CONSULT-II, and select "COMB SW" on "SELECT TEST ITEM" screen.
2. Select "DATA MONITOR".
3. Select "START", and confirm that other switches in malfunction- ing system operate normally.
Example: When auto light switch is malfunctioning, confirm that
"FRONT WIPER LOW" and "FRONT WIPER INT" in System 3,
to which the auto light switch belongs, turn ON-OFF normally.
Without CONSULT-II
Operate combination switch, and confirm that other switches in malfunctioning system operate normally.
Example: When auto light switch is malfunctioning, confirm that "FRONT WIPER LOW" and "FRONT WIPER
INT" in System 3, to which the auto light switch belongs, operate normally.
Check results
Other switches in malfunctioning system operate normally.>>Replace lighting switch or wiper switch.
Other switches in malfunctioning system do not operate normally.>>GO TO 3.
System 1 System 2 System 3System 4System 5
— FR WASHER FR WIPER LO TURN LHTURN RH
FR WIPER HI —FR WIPER INT PASSINGHEAD LAMP1
INT VOLUME 1 RR WASHER —HEAD LAMP2 HI BEAM
RR WIPER INT INT VOLUME 3 AUTO LIGHT—TAIL LAMP
INT VOLUME 2 RR WIPER ON —FR FOG —
SKIA7075E
Page 2664 of 3383

IPDM E/R (INTELLIGENT POWER DISTRIBUTION MODULE ENGINE ROOM)PG-23
C
DE
F
G H
I
J
L
M A
B
PG
Revision: November 2009 2006 QX56
All Signals, Main Signals, Selection From Menu
NOTE:
�Perform monitoring of IPDM E/R data with the ignition switch ON. When the ignition switch is in ACC posi-
tion, display may not be correct.
�(*1) This item is displayed, but does not function.
ACTIVE TEST
Operation Procedure
1. Touch “ACTIVE TEST” on “SELECT DIAG-MODE ” screen.
2. Touch item to be tested, and check operation.
3. Touch “START”.
4. Touch "STOP" while testing to stop the operation.
Item name CONSULT-II
screen display Display or unit Monitor item selection
Description
ALL
SIGNALS MAIN
SIGNALS SELECTION
FROM MENU
Motor fan request MOTOR FAN
REQ
1/2/3/4
X X X Signal status input from ECM
Compressor
request AC COMP REQ ON/OFF
X XX Signal status input from ECM
Parking, license,
and tail lamp
request TAIL & CLR REQ ON/OFF
X XX Signal status input from BCM
Headlamp low
beam request HL LO REQ ON/OFF
X XX Signal status input from BCM
Headlamp high
beam request HL HI REQ ON/OFF
X XX Signal status input from BCM
Front fog request FR FOG REQ ON/OFF X XX Signal status input from BCM
Front wiper
request FR WIP REQSTOP/1LOW/
LOW/HI
X X
X Signal status input from BCM
Wiper auto stop WIP AUTO
STOPACT P/STOP P X X
X Output status of IPDM E/R
Wiper protection WIP PROT OFF/Block X XX Control status of IPDM E/R
Starter request ST RLY REQ ON/OFF XX
Status of input signal
NOTE
Ignition relay
status IGN RLY ON/OFF
X XXIgnition relay status monitored
with IPDM E/R
Rear defogger
request RR DEF REQ ON/OFF
X XX Signal status input from BCM
Oil pressure
switch OIL P SW (*1) OPEN/CLOSE X
XSignal status input from IPDM
E/R
Hood switch HOOD SW OFF XSignal status input from IPDM
E/R
Theft warning
horn request THFT HRN REQ ON/OFF
XX Signal status input from BCM
Horn chirp HORN CHIRP ON/OFF XX Output status of IPDM E/R
Daytime running
lamp request DTRL REQ ON/OFF
XX Signal status input from BCM
Test nameCONSULT-II screen display Description
Rear defogger output REAR DEFOGGER With a certain ON-OFF operation, the rear defogger relay can be oper-
ated.
Front wiper (HI, LO) output FRONT WIPER With a certain operation (OFF, HI ON, LO ON), the front wiper relay
(Lo, Hi) can be operated.
Cooling fan output MOTOR FAN With a certain operation (1, 2, 3, 4), the cooling fan can be operated.
Page 2924 of 3383

CHARGING SYSTEMSC-19
C
DE
F
G H
I
J
L
M A
B
SC
Revision: November 2009 2006 QX56
Trouble Diagnoses with Battery/Starting/Charging System TesterEKS00B7J
NOTE:
To ensure a complete and thorough diagnosis, the battery, starter and generator test segments must be done
as a set from start to finish.
1. Turn off all loads on the vehicle electrical system.
2. Perform battery and starting system test with Battery/Starting/
Charging system tester.
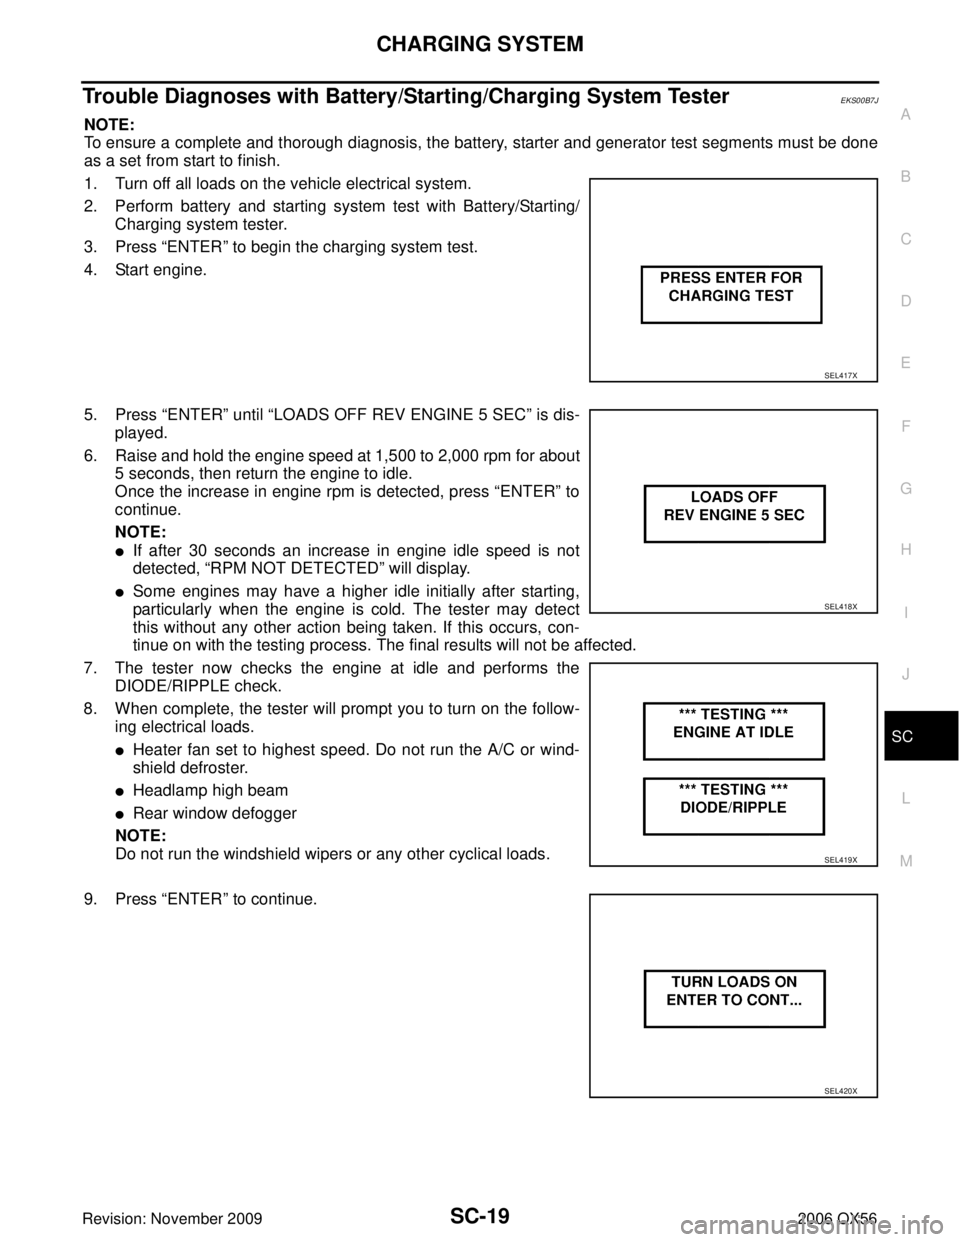
3. Press “ENTER” to begin the charging system test.
4. Start engine.
5. Press “ENTER” until “LOADS OFF REV ENGINE 5 SEC ” is dis-
played.
6. Raise and hold the engine speed at 1,500 to 2,000 rpm for about 5 seconds, then return the engine to idle.
Once the increase in engine rpm is detected, press “ENTER” to
continue.
NOTE:
�If after 30 seconds an increase in engine idle speed is not
detected, “RPM NOT DETECTED” will display.
�Some engines may have a higher idle initially after starting,
particularly when the engine is cold. The tester may detect
this without any other action being taken. If this occurs, con-
tinue on with the testing process. The final results will not be affected.
7. The tester now checks the engine at idle and performs the DIODE/RIPPLE check.
8. When complete, the tester will prompt you to turn on the follow- ing electrical loads.
�Heater fan set to highest speed. Do not run the A/C or wind-
shield defroster.
�Headlamp high beam
�Rear window defogger
NOTE:
Do not run the windshield wipers or any other cyclical loads.
9. Press “ENTER” to continue.
SEL417X
SEL418X
SEL419X
SEL420X