Page 4829 of 5621

PG-2Revision: 2006 January2006 M35/M45 BODY NO. 2 HARNESS ...................................... 88
TAIL HARNESS ................................................... 89
ROOM LAMP HARNESS .................................... 90
FRONT DOOR HARNESS .................................. 91
REAR DOOR HARNESS .................................... 92
Wiring Diagram Codes (Cell Codes) ....................... 93
ELECTRICAL UNITS LOCATION ............................. 96
Electrical Units Location ......................................
... 96
ENGINE COMPARTMENT .................................. 96
PASSENGER COMPARTMENT .......................... 98
LUGGAGE COMPARTMENT ............................101
HARNESS CONNECTOR .......................................102
Description ............................................................102
HARNESS CONNECTOR (TAB-LOCKING
TYPE) ................................................................102
HARNESS CONNECTOR (SLIDE-LOCKING TYPE) ................................................................103
ELECTRICAL UNITS ..............................................104
Terminal Arrangement ...........................................104
SMJ (SUPER MULTIPLE JUNCTION) ....................106
Terminal Arrangement ...........................................106
STANDARDIZED RELAY ........................................109
Description ............................................................109
NORMAL OPEN, NORMAL CLOSED AND
MIXED TYPE RELAYS ......................................109
TYPE OF STANDARDIZED RELAYS ................109
FUSE BLOCK - JUNCTION BOX (J/B) .................. 111
Terminal Arrangement ........................................... 111
FUSE, FUSIBLE LINK AND RELAY BOX ..............112
Terminal Arrangement ...........................................112
Page 5369 of 5621

SRS-8
TROUBLE DIAGNOSIS
Revision: 2006 January2006 M35/M45
TROUBLE DIAGNOSISPFP:00004
Trouble Diagnosis IntroductionNHS00090
CAUTION:
Do not use electrical test equipment on any circuit related to the SRS unless instructed in this Ser-
vice Manual. SRS wiring harnesses can be identified by yellow and/or orange harnesses or har-
ness connectors.
Do not repair, splice or modify the SRS wiring harness. If the harness is damaged, replace it with a
new one.
Keep ground portion clean.
DIAGNOSIS FUNCTION
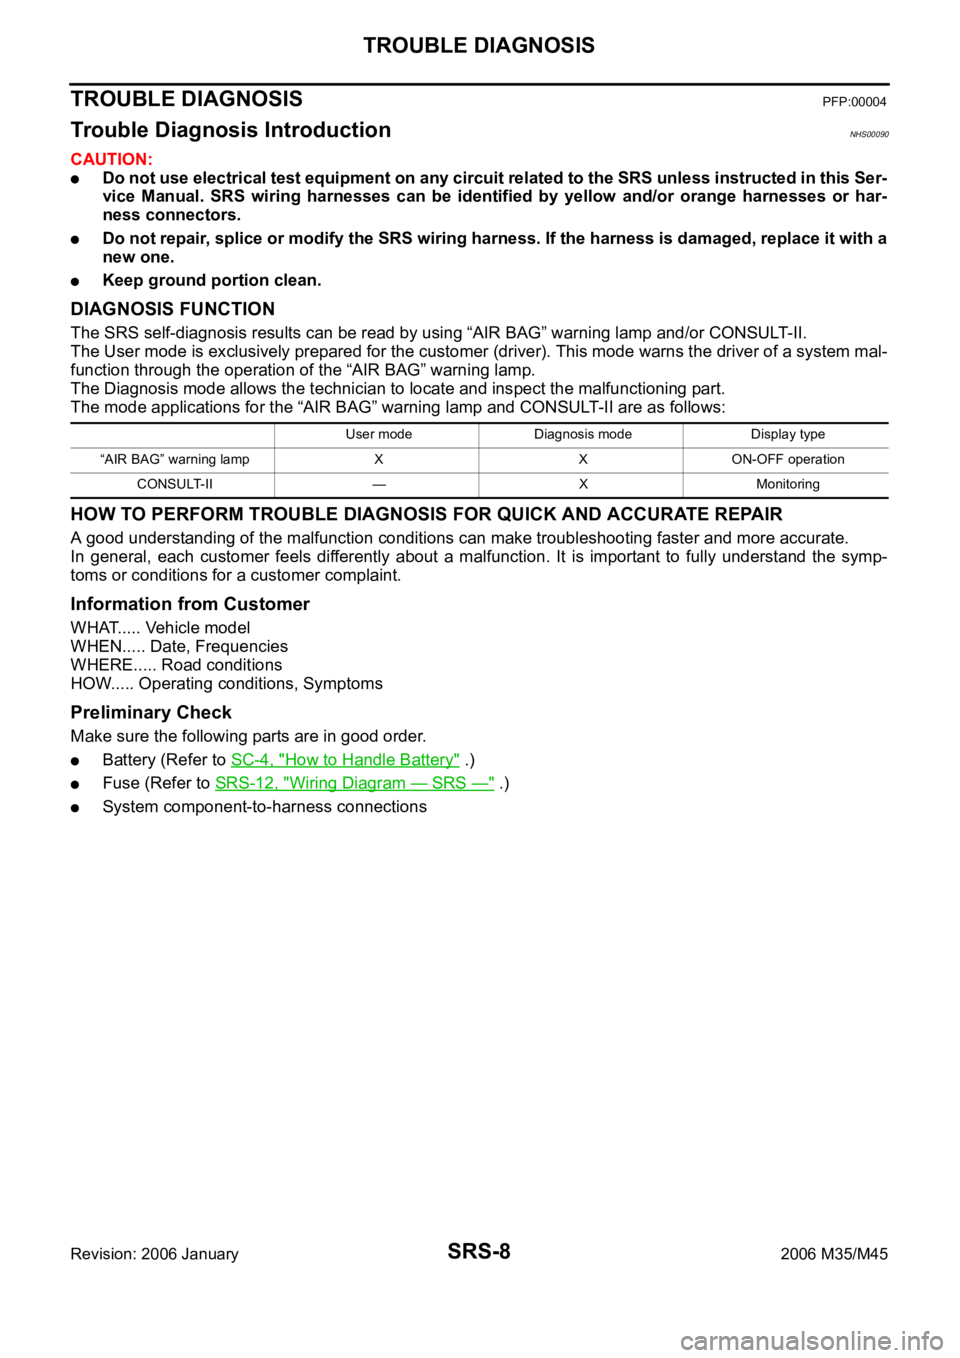
The SRS self-diagnosis results can be read by using “AIR BAG” warning lamp and/or CONSULT-II.
The User mode is exclusively prepared for the customer (driver). This mode warns the driver of a system mal-
function through the operation of the “AIR BAG” warning lamp.
The Diagnosis mode allows the technician to locate and inspect the malfunctioning part.
The mode applications for the “AIR BAG” warning lamp and CONSULT-II are as follows:
HOW TO PERFORM TROUBLE DIAGNOSIS FOR QUICK AND ACCURATE REPAIR
A good understanding of the malfunction conditions can make troubleshooting faster and more accurate.
In general, each customer feels differently about a malfunction. It is important to fully understand the symp-
toms or conditions for a customer complaint.
Information from Customer
WHAT..... Vehicle model
WHEN..... Date, Frequencies
WHERE..... Road conditions
HOW..... Operating conditions, Symptoms
Preliminary Check
Make sure the following parts are in good order.
Battery (Refer to SC-4, "How to Handle Battery" .)
Fuse (Refer to SRS-12, "Wiring Diagram — SRS —" .)
System component-to-harness connections
User mode Diagnosis mode Display type
“AIR BAG” warning lamp X X ON-OFF operation
CONSULT-II — X Monitoring
Page 5589 of 5621

WW-22
FRONT WIPER AND WASHER SYSTEM
Revision: 2006 January2006 M35/M45
Preliminary CheckNKS003WK
CHECK POWER SUPPLY AND GROUND CIRCUIT
1. CHECK FUSE
Check for blown fuses.
Refer to WW-13, "
Wiring Diagram — WIPER —" .
OK or NG
OK >> GO TO 2.
NG >> If fuse or fusible link is blown, be sure to eliminate cause of malfunction before installing new fuse
or fusible link. Refer to PG-3, "
POWER SUPPLY ROUTING CIRCUIT" .
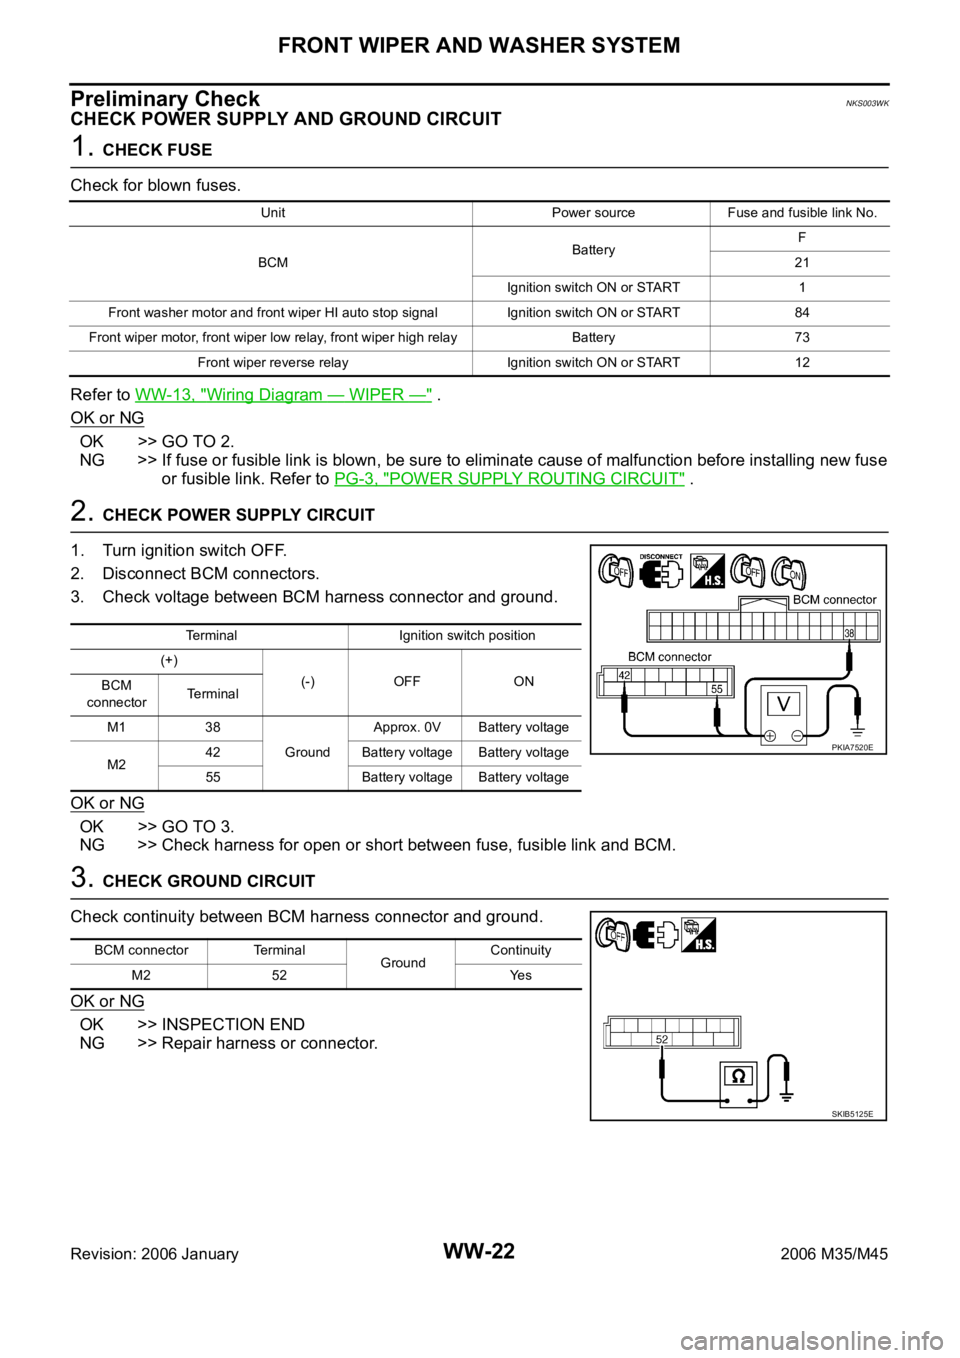
2. CHECK POWER SUPPLY CIRCUIT
1. Turn ignition switch OFF.
2. Disconnect BCM connectors.
3. Check voltage between BCM harness connector and ground.
OK or NG
OK >> GO TO 3.
NG >> Check harness for open or short between fuse, fusible link and BCM.
3. CHECK GROUND CIRCUIT
Check continuity between BCM harness connector and ground.
OK or NG
OK >> INSPECTION END
NG >> Repair harness or connector.
Unit Power source Fuse and fusible link No.
BCMBatteryF
21
Ignition switch ON or START 1
Front washer motor and front wiper HI auto stop signal Ignition switch ON or START 84
Front wiper motor, front wiper low relay, front wiper high relayBattery 73
Front wiper reverse relay Ignition switch ON or START 12
Terminal Ignition switch position
(+)
(-) OFF ON
BCM
connectorTerminal
M1 38
GroundApprox. 0V Battery voltage
M242 Battery voltage Battery voltage
55 Battery voltage Battery voltage
PKIA7520E
BCM connector Terminal
GroundContinuity
M2 52 Yes
SKIB5125E