2006 Hyundai Terracan check engine light
[x] Cancel search: check engine lightPage 228 of 539

Engine Compartment .................................................... 6-2
General Checks ........................................................... 6-5
Checking the Engine Oil .............................................. 6-6 Changing the Engine Oil and Filter ............................. 6-10
Checking and Changing the Engine Coolant ..............6-11
Changing the Air Cleaner Filte r ...................................6-14
Checking the Transmission Oil (Manual)................... 6-17
Checking the Transmission Fluid (Automatic)............6-18
Checking the Brakes .................................................. 6-21
Checking the Clutch Fluid ........................................... 6-22
Air Conditioning Care .................................................. 6-23
Changing the Climate Control Air Filter .. ....................6-24
Checking Drive Belts .................................................. 6-27
Checking and Replacing Fuses ..................................6-28
Checking The Battery ................................................. 6-31
Checking The Electric Cooling Fans ..........................6-33
Power Steering Fluid Level ......................................... 6-33
Fuel Filter ..................................................................... 6-34
Replacement of Headlight Bulbs ................................. 6-38
Headlight Aiming Adjustment ...................................... 6-39
Bulb Wattages ............................................................. 6-42
Fuse Panel D escription ............................................... 6-43
DO-IT-YOURSELF MAINTENANCE
6
6
Page 232 of 539

6
DO-IT-YOURSELF MAINTENANCE
5GENERAL CHECKS
G020A01HP-GAT
Engine Compartment
The following should be checked regu- larly:
o Engine oil level and condition
o Transmission fluid level and condi- tion
o Brake fluid level
o Clutch fluid level
o Engine coolant level
o Windshield washer fluid level
o Accessory drive belt condition
o Engine coolant hose condition
o Fluid leaks
(on or below components)
o Power steering fluid level
o Battery condition
o Air filter condition G020B01A-AAT
Vehicle Exterior
The following should be checked
monthly:
o Overall appearance and condition
o Wheel condition and wheel nut torque
o Exhaust system condition
o Light condition and operation
o Windshield glass condition
o Wiper blade condition
o Paint condition and body corrosion
o Fluid leaks
o Door and hood lock condition
o Tire pressure and condition
(including spare tire) o Defroster, heating system operation
(and air conditioning, if installed)
o Steering operation and condition
o Mirror condition and operation
o Turn signal operation
o Accelerator pedal operation
o Brake operation, including parking brake
o Manual transmission operation, in- cluding clutch operation
o Automatic transmission operation, including "Park" mechanism opera- tion
o Seat control condition and opera- tion
o Seat belt condition and operation
o Sun visor operation If you notice anything that does not operate correctly or appears to befunctioning incorrectly, inspect it care- fully and seek assistance from your Hyundai dealer if service is needed.
G020C01HP-GAT
Vehicle Interior
The following should be checked each
time when the vehicle is driven:
o Lights operation
o Windshield wiper operation
o Horn operation
Page 253 of 539
6 DO-IT-YOURSELF MAINTENANCE
26
5. Replace the two filters.
6. Installation is the reverse order of
disassembly. HHP2156
CHECKING THE FREE- PLAY
G150A01A-GAT
Steering Wheel
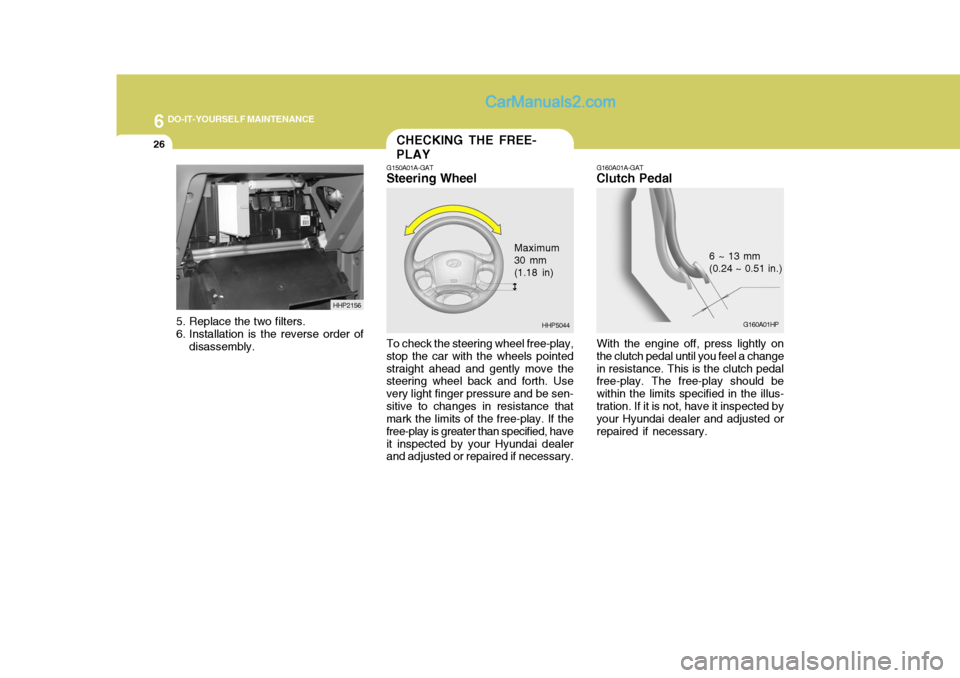
To check the steering wheel free-play,
stop the car with the wheels pointed straight ahead and gently move the steering wheel back and forth. Use very light finger pressure and be sen-sitive to changes in resistance that mark the limits of the free-play. If the free-play is greater than specified, haveit inspected by your Hyundai dealer and adjusted or repaired if necessary. G160A01A-GAT
Clutch Pedal
With the engine off, press lightly on the clutch pedal until you feel a changein resistance. This is the clutch pedal free-play. The free-play should be within the limits specified in the illus-tration. If it is not, have it inspected by your Hyundai dealer and adjusted or repaired if necessary.
Maximum 30 mm (1.18 in)
6 ~ 13 mm(0.24 ~ 0.51 in.)
HHP5044 G160A01HP
Page 256 of 539
6
DO-IT-YOURSELF MAINTENANCE
29
G200B02HP-GAT
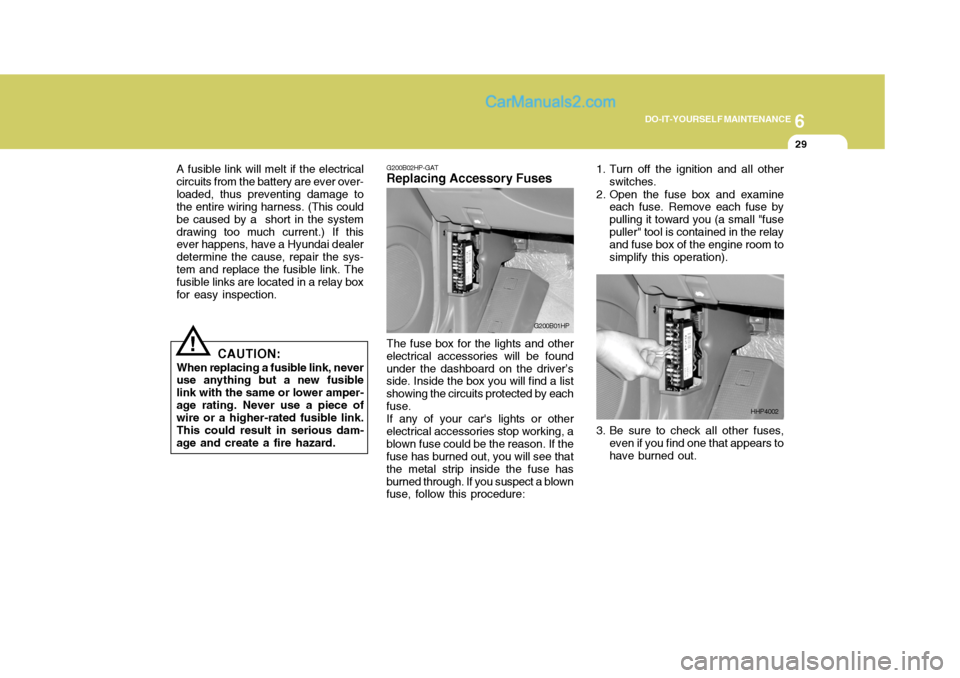
Replacing Accessory Fuses
The fuse box for the lights and other
electrical accessories will be found under the dashboard on the driver’s side. Inside the box you will find a list showing the circuits protected by eachfuse. If any of your car's lights or other
electrical accessories stop working, ablown fuse could be the reason. If the fuse has burned out, you will see that the metal strip inside the fuse hasburned through. If you suspect a blown fuse, follow this procedure: G200B01HP
!
A fusible link will melt if the electrical
circuits from the battery are ever over- loaded, thus preventing damage to the entire wiring harness. (This could be caused by a short in the systemdrawing too much current.) If this ever happens, have a Hyundai dealer determine the cause, repair the sys-tem and replace the fusible link. The fusible links are located in a relay box for easy inspection.
CAUTION:
When replacing a fusible link, never use anything but a new fusible link with the same or lower amper-age rating. Never use a piece of wire or a higher-rated fusible link. This could result in serious dam-age and create a fire hazard. 3. Be sure to check all other fuses,
even if you find one that appears tohave burned out.
1. Turn off the ignition and all other
switches.
2. Open the fuse box and examine each fuse. Remove each fuse bypulling it toward you (a small "fusepuller" tool is contained in the relay and fuse box of the engine room to simplify this operation).
HHP4002
Page 259 of 539
6 DO-IT-YOURSELF MAINTENANCE
32
!
G210B01Y-GET
Checking the Battery
Keep the battery clean. Any evidence
of corrosion around the battery posts or terminals should be removed using a solution of household baking sodaand warm water. After the battery terminals are dry, cover them with a light coating of grease.
WARNING:Always read the followinginstructions carefullywhen handling a battery.Keep lighted cigarettesand all other flames orsparks away from the bat- tery. Hydrogen, which is a highly combustible gas, is always present in batterycells and may explode if ignited.Keep batteries out of the reach of children because batteries contain highly corrosive SULFURIC ACID.Do not allow battery acid to contact your skin, eyes, clothing or paint finish.If any electrolyte gets intoyour eyes, flush your eyeswith clean water for at least 15 minutes and get imme- diate medical attention. Ifpossible, continue to ap- ply water with a sponge or cloth until medical atten-tion is received.If electrolyte gets on yourskin, thoroughly wash thecontacted area.If you feel a pain or a burn-ing sensation, get medi- cal attention immediately. Wear eye protection when charging or working near a battery. Always provide ventilation when working in an en- closed space.o When lifting a plastic-cased bat- tery, excessive pressure on the case may cause battery acid toleak, resulting in personal in- jury. Lift with a battery carrier or with your hands on oppositecorners.
o Never attempt to charge the bat- tery when the battery cables are connected.
o The electrical ignition system works with high voltage. Never touch these componentswith the engine running or the ignition switched on.
Page 265 of 539

6 DO-IT-YOURSELF MAINTENANCE
38REPLACING HEADLIGHT BULBS
G260A03A-GAT Before attempting to replace a head- light bulb, be sure the switch is turned to the "OFF" position. The next paragraph shows how to reach the headlight bulbs so they may be changed. Be sure to replacethe burned-out bulb with one of the same number and wattage rating.
CAUTION:
o Keep the lamps out of contact with petroleum product, such as oil, gasoline, etc.
o After heavy, driving rain or wash- ing, headlight and taillight lensescould appear frosty. This condi- tion is caused by the temperature difference between the lamp in-side and outside. This is similar to the condensation on your win- dows inside your vehicle duringthe rain and doesn’t indicate a problem with your vehicle. If the water leaks into the lamp bulbcircuitry, have the vehicle checked by an Authorized Hyundai Dealer.
! G270A01B-GAT
Headlight Bulb
1. Allow the bulb to cool. Wear eye
protection.
2. Open the engine hood.
3. Always grasp the bulb by its plas- tic base, avoid touching the glass.
4. Using a spanner, remove the head- light assembly mounting bolts.
5. Disconnect the power cord from the bulb base in the back of the headlight.
G270A01HP7. Disconnect the connector from the
bulb base in the back of the head- light.
G270A02HP
6. Turn the plastic cover counterclock- wise and remove it. 8. Push the bulb spring to remove the
headlight bulb.
Page 358 of 539
1CONTROLS AND EQUIPMENT
50
!
!
!
B260P02Y-EAT
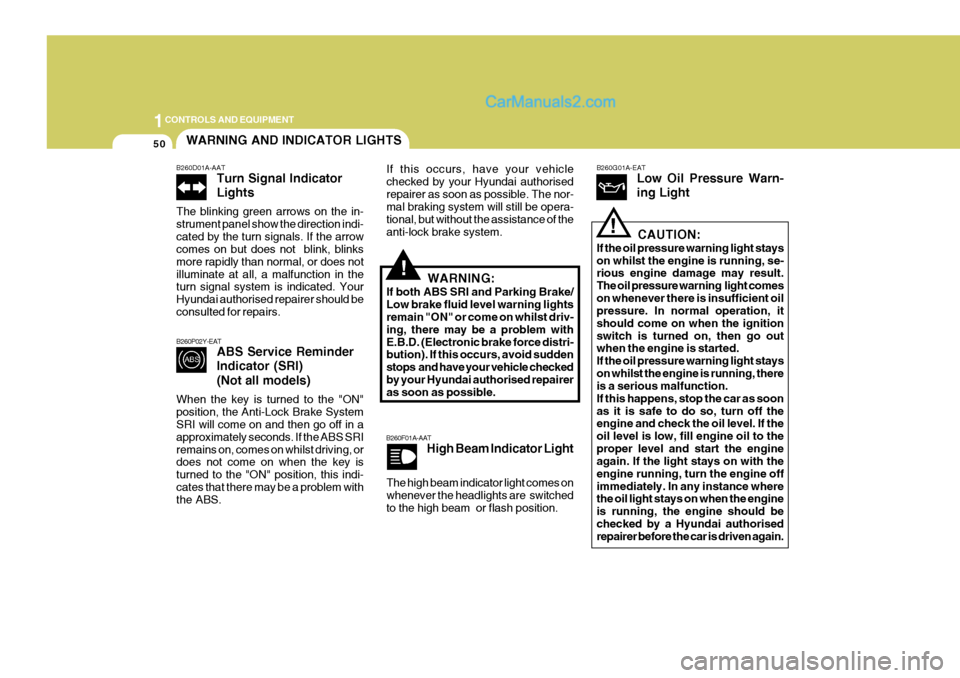
ABS Service Reminder Indicator (SRI) (Not all models)
When the key is turned to the "ON" position, the Anti-Lock Brake System SRI will come on and then go off in a approximately seconds. If the ABS SRIremains on, comes on whilst driving, or does not come on when the key is turned to the "ON" position, this indi-cates that there may be a problem with the ABS. If this occurs, have your vehicle checked by your Hyundai authorisedrepairer as soon as possible. The nor- mal braking system will still be opera- tional, but without the assistance of theanti-lock brake system.
B260F01A-AAT High Beam Indicator Light B260G01A-EAT
Low Oil Pressure Warn- ing Light
CAUTION:
If the oil pressure warning light stays on whilst the engine is running, se- rious engine damage may result. The oil pressure warning light comeson whenever there is insufficient oil pressure. In normal operation, it should come on when the ignitionswitch is turned on, then go out when the engine is started. If the oil pressure warning light stayson whilst the engine is running, there is a serious malfunction. If this happens, stop the car as soonas it is safe to do so, turn off the engine and check the oil level. If the oil level is low, fill engine oil to theproper level and start the engine again. If the light stays on with the engine running, turn the engine offimmediately. In any instance where the oil light stays on when the engine is running, the engine should bechecked by a Hyundai authorised repairer before the car is driven again.
WARNING AND INDICATOR LIGHTS
B260D01A-AAT Turn Signal Indicator Lights
The blinking green arrows on the in- strument panel show the direction indi-cated by the turn signals. If the arrow comes on but does not blink, blinks more rapidly than normal, or does notilluminate at all, a malfunction in the turn signal system is indicated. Your Hyundai authorised repairer should beconsulted for repairs.
The high beam indicator light comes on whenever the headlights are switched to the high beam or flash position. WARNING:
If both ABS SRI and Parking Brake/ Low brake fluid level warning lights remain "ON" or come on whilst driv- ing, there may be a problem withE.B.D. (Electronic brake force distri- bution). If this occurs, avoid sudden stops and have your vehicle checkedby your Hyundai authorised repairer as soon as possible.
Page 359 of 539
1
CONTROLS AND EQUIPMENT
51
B260H02A-EAT
Parking Brake/ Low Brake Fluid LevelWarning Light WARNING:
In the event of problems being sus- pected with the braking system, theadvice of the nearest Hyundai authorised repairer must be sought before the vehicle is driven. Drivingthe vehicle with either an electrical or hydraulic braking system defect may be dangerous, resulting in acci-dent or personal injury. Warning Light Operation The parking brake/low brake fluid level warning light will be illuminated when-ever the ignition switch is turned to the "ON" position irrespective of whether or not the parking brake is applied andmust be extinguished when the engine starts and the parking brake released. If the warning light fails to extinguish orilluminates at any other time, the ve- hicle must be brought to rest in a safe location and the level of brake fluid inthe reservoir checked. If the fluid level is incorrect, fluid conforming to DOT 3 or DOT 4 specifications should beadded. If, after correcting the brake fluid level, the warning light continues to be illuminated, the advice of thenearest Hyundai authorised repairer must be sought before the vehicle is driven again.Your Hyundai is equipped with a di- agonally split dual braking system which will ensure that in the event ofone of the brake circuits becoming defective, approximately fifty per cent of the normal braking performance willbe available.If failure of one of the circuits occurs,the required amount of pedal effort,pedal travel and stopping distance will be increased. Use of the gearbox is recommended to assist in bringing thevehicle to rest. The vehicle must not be driven once brake failure has occurred until the system has been repaired andis functioning normally. The braking system employs a vacuum servo in order that the pedal efforts arereduced. Power for the servo is de- rived from the engine and therefore, in the event of the engine stopping or thevehicle being towed, pedal efforts will be substantially increased.
!