2006 Hyundai Terracan warning
[x] Cancel search: warningPage 498 of 539
6 OWNER MAINTENANCE
20
!
!
SG130B2-E Adding Fluid Recommended brake fluid conform- ing to DOT 3 or DOT 4 should be used. The reservoir cap must be fully tightened to avoid contamination fromforeign matter or moisture.
CAUTION:
Brake fluid is hygroscopic andshould never be stored in an un- sealed container. Do not allow petroleum base fluid to contami- nate the brake fluid since damage to the rubber seals of the systemmay result. WARNING:
Brake fluid will cause rapid and
serious damage to paintwork. If accidental spillage occurs, the af- fected area must be rinsed withwater immediately. Do not allow brake fluid to come into contact with the eyes or to be ingestedand ensure that fluid is safely stored away form the reach of chil- dren. SG140C2-E
Checking the Refrigerant
1. Start the engine and run at idle for
several minutes with the refrigera- tion system running at the coldest setting.
2. If the air coming out of the in-dash vents is not cold, have the air con- ditioning system inspected by yourHyundai authorised repairer.
CAUTION:
Running the air conditioning sys-
tem for extended periods of time with a low refrigerant level may damage the compressor.
!
AIR CONDITIONING SYSTEM MAINTENANCE
SG140A1-E
Condenser
Ensure that the condenser is periodi- cally inspected and that accumula- tions of dirt, dead insects and leaves etc, are removed to ensure that theefficiency of the system is not im- paired. Care must be exercised to ensure that the condenser fins arenot damaged during cleaning.
Page 503 of 539
6
OWNER MAINTENANCE
25
!
!
1. Loosen the adusting bolts just
enough so that the components can be moved.
2. Whilst pulling outward on the pry bar
or screwdriver, test the belt deflec-tion with your thumb.
3. After tightening the adjusting bolts, be sure to recheck the belt tension. Overtightening drive belts can cause excessive wear and failurein driven components and belts.
WARNING:
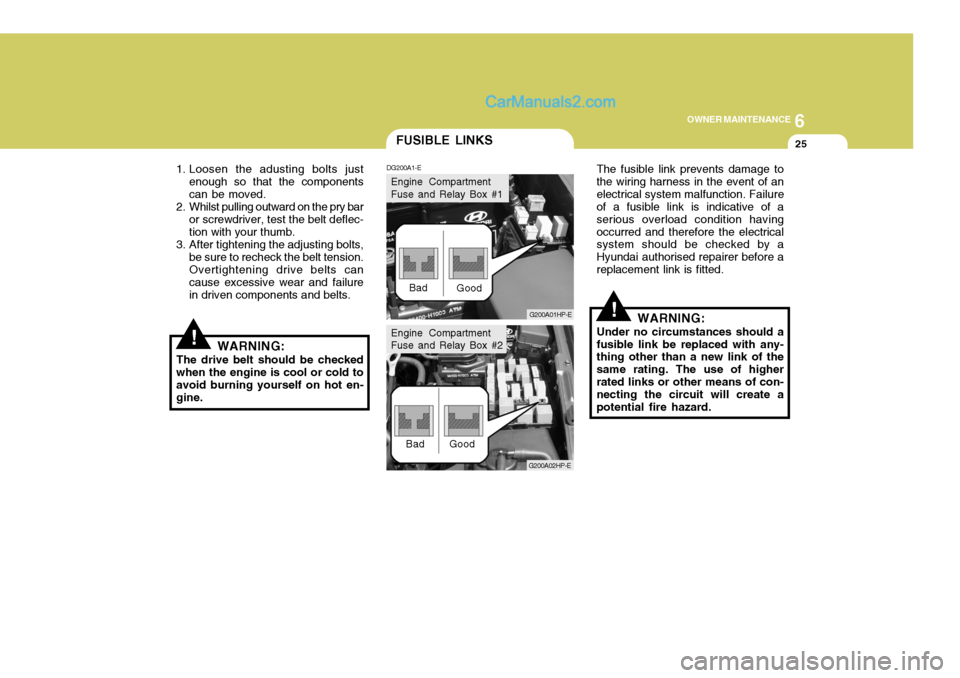
The drive belt should be checked when the engine is cool or cold to avoid burning yourself on hot en-gine. The fusible link prevents damage tothe wiring harness in the event of anelectrical system malfunction. Failure of a fusible link is indicative of a serious overload condition havingoccurred and therefore the electrical system should be checked by a Hyundai authorised repairer before areplacement link is fitted.
WARNING:
Under no circumstances should afusible link be replaced with any- thing other than a new link of the same rating. The use of higherrated links or other means of con- necting the circuit will create a potential fire hazard.
FUSIBLE LINKS
DG200A1-E
G200A01HP-E
Bad
Good
G200A02HP-E
Bad Good
Engine Compartment Fuse and Relay Box #1
Engine Compartment Fuse and Relay Box #2
Page 504 of 539
6 OWNER MAINTENANCE
26
!
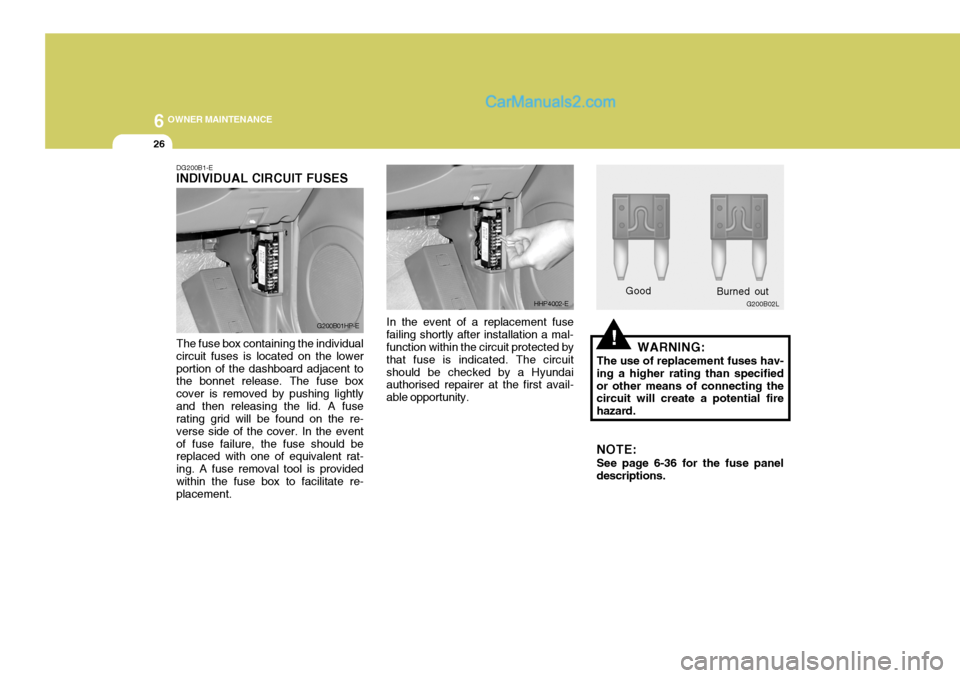
DG200B1-E INDIVIDUAL CIRCUIT FUSES The fuse box containing the individual circuit fuses is located on the lowerportion of the dashboard adjacent to the bonnet release. The fuse box cover is removed by pushing lightlyand then releasing the lid. A fuse rating grid will be found on the re- verse side of the cover. In the eventof fuse failure, the fuse should be replaced with one of equivalent rat- ing. A fuse removal tool is providedwithin the fuse box to facilitate re- placement. In the event of a replacement fuse
failing shortly after installation a mal-function within the circuit protected by that fuse is indicated. The circuitshould be checked by a Hyundai authorised repairer at the first avail- able opportunity. WARNING:
The use of replacement fuses hav-ing a higher rating than specifiedor other means of connecting the circuit will create a potential fire hazard. NOTE: See page 6-36 for the fuse panel descriptions.
G200B01HP-E
HHP4002-E
Good G200B02L
Burned out
Page 505 of 539
6
OWNER MAINTENANCE
27
!WARNING:
Motor vehicle batteries contain sulphuric acid which is corrosive and poisonous. Hydrogen gas isemitted from the battery which is explosive when combined with oxygen. The following precautionsmust be strictly observed to avoid personal injury or damage to the vehicle.
BATTERY MAINTENANCE
DG210A2-E
HHP5020-E
G200C01HP-GAT
Power connector NOTE:
o If the power connector is pulled up from the fuse panel, the warn- ing chime, audio, clock and inte- rior lamps, etc., will not operate. The following items must be re-set after replacement.- Digital Clock - Trip computer
- Automatic heating and cooling
control system
- Audio
o Even though the power connec- tor is pulled up, the battery can still be discharged by operation of the headlights or other electri-cal devices.
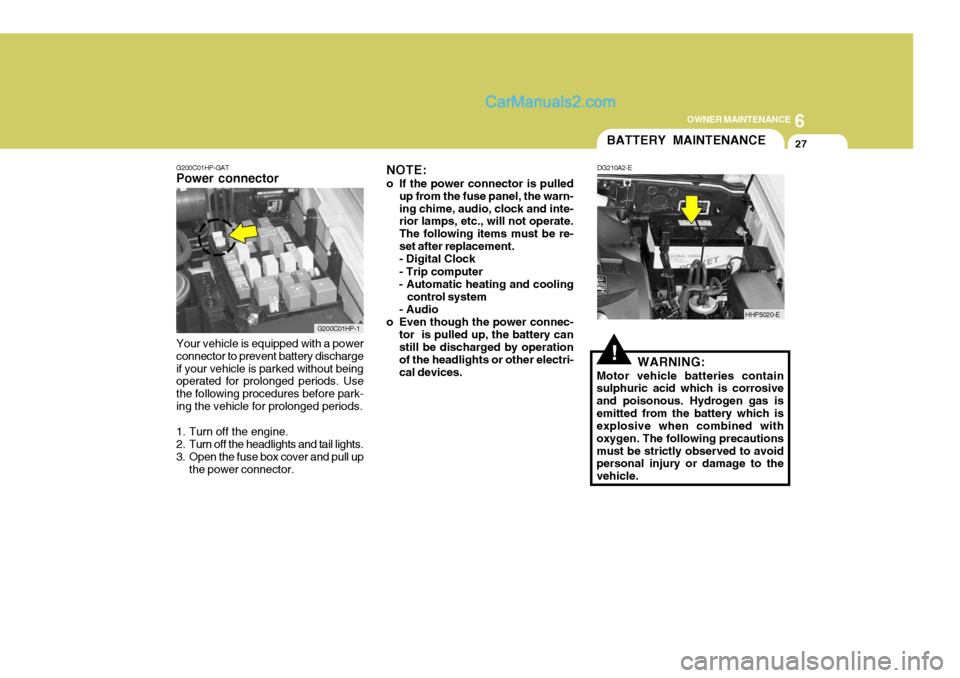
Your vehicle is equipped with a powerconnector to prevent battery dischargeif your vehicle is parked without being operated for prolonged periods. Use the following procedures before park-ing the vehicle for prolonged periods.
1. Turn off the engine.
2. Turn off the headlights and tail lights.
3. Open the fuse box cover and pull up the power connector.
G200C01HP-1
Page 506 of 539
6 OWNER MAINTENANCE
28
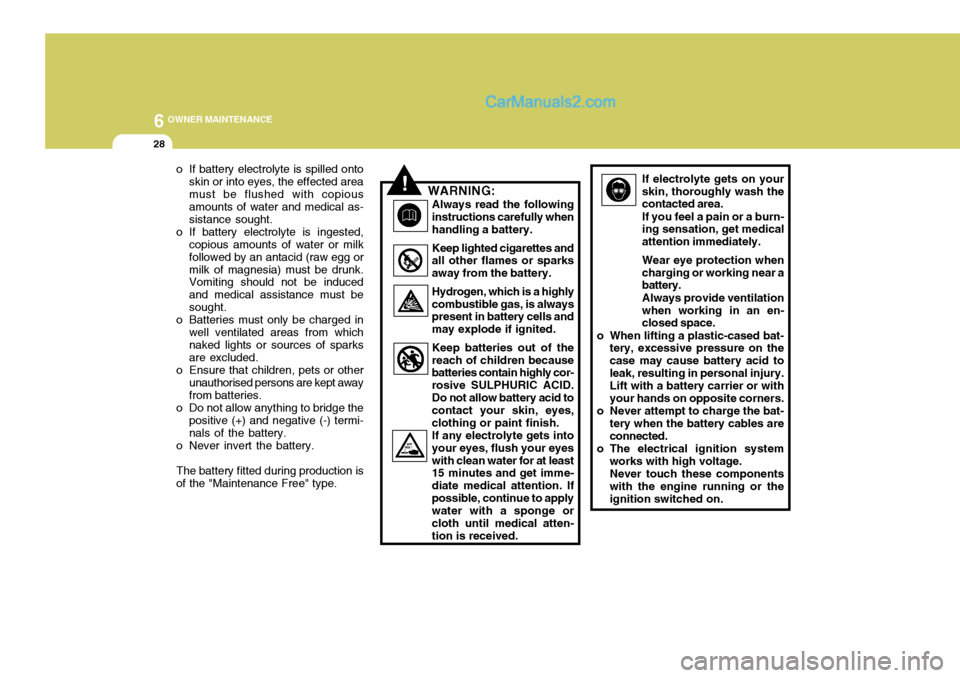
If electrolyte gets on your skin, thoroughly wash the contacted area. If you feel a pain or a burn- ing sensation, get medical attention immediately. Wear eye protection when charging or working near a battery. Always provide ventilation when working in an en- closed space.
o When lifting a plastic-cased bat- tery, excessive pressure on the case may cause battery acid toleak, resulting in personal injury. Lift with a battery carrier or with your hands on opposite corners.
o Never attempt to charge the bat- tery when the battery cables areconnected.
o The electrical ignition system works with high voltage.Never touch these componentswith the engine running or theignition switched on.o If battery electrolyte is spilled onto skin or into eyes, the effected area must be flushed with copious amounts of water and medical as- sistance sought.
o If battery electrolyte is ingested, copious amounts of water or milkfollowed by an antacid (raw egg ormilk of magnesia) must be drunk. Vomiting should not be induced and medical assistance must besought.
o Batteries must only be charged in well ventilated areas from which naked lights or sources of sparks are excluded.
o Ensure that children, pets or other unauthorised persons are kept awayfrom batteries.
o Do not allow anything to bridge the
positive (+) and negative (-) termi-nals of the battery.
o Never invert the battery.
The battery fitted during production isof the "Maintenance Free" type.
!WARNING: Always read the following instructions carefully whenhandling a battery. Keep lighted cigarettes and all other flames or sparks away from the battery. Hydrogen, which is a highly combustible gas, is always present in battery cells and may explode if ignited. Keep batteries out of the reach of children because batteries contain highly cor- rosive SULPHURIC ACID.Do not allow battery acid to contact your skin, eyes, clothing or paint finish.If any electrolyte gets intoyour eyes, flush your eyeswith clean water for at least 15 minutes and get imme- diate medical attention. Ifpossible, continue to apply water with a sponge or cloth until medical atten-tion is received.
Page 507 of 539
6
OWNER MAINTENANCE
29
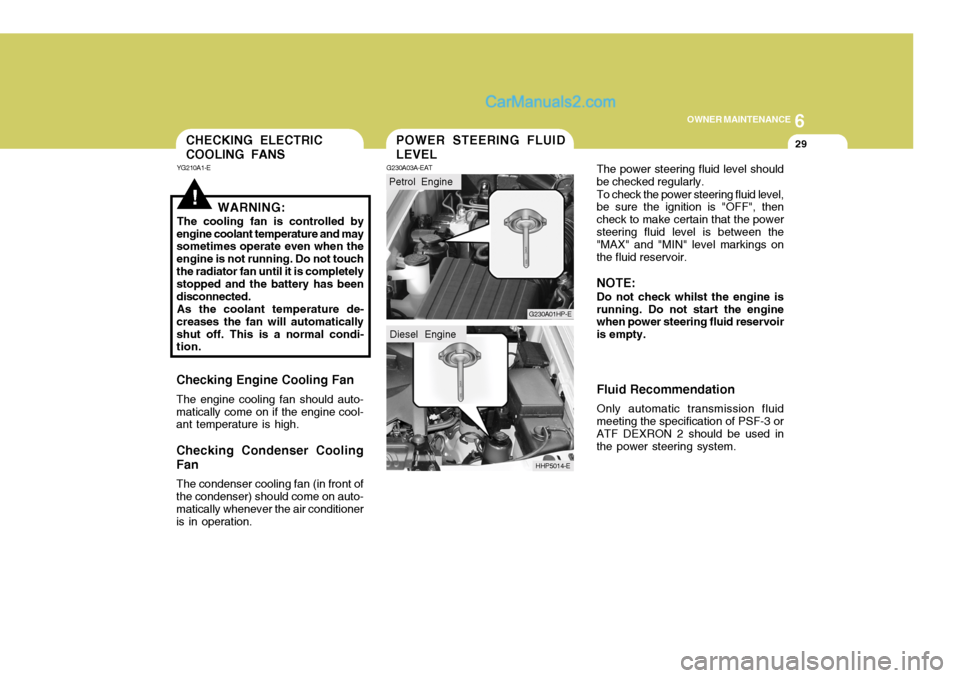
The power steering fluid level should be checked regularly. To check the power steering fluid level, be sure the ignition is "OFF", then check to make certain that the powersteering fluid level is between the "MAX" and "MIN" level markings on the fluid reservoir. NOTE: Do not check whilst the engine is running. Do not start the engine when power steering fluid reservoir is empty. Fluid Recommendation Only automatic transmission fluid meeting the specification of PSF-3 orATF DEXRON 2 should be used in the power steering system.POWER STEERING FLUID LEVEL
G230A03A-EAT
Petrol Engine
G230A01HP-E
HHP5014-E
Diesel Engine
!WARNING:
The cooling fan is controlled by
engine coolant temperature and may sometimes operate even when the engine is not running. Do not touchthe radiator fan until it is completely stopped and the battery has been disconnected. As the coolant temperature de-
creases the fan will automaticallyshut off. This is a normal condi- tion.
Checking Engine Cooling Fan The engine cooling fan should auto- matically come on if the engine cool- ant temperature is high.
Checking Condenser Cooling Fan The condenser cooling fan (in front of the condenser) should come on auto- matically whenever the air conditioner is in operation.
CHECKING ELECTRIC COOLING FANS
YG210A1-E
Page 509 of 539

6
OWNER MAINTENANCE
31
!
!
3. Check to be sure that the warning
lamp illuminates when the ignition key is turned to "ON", and that it goes off when the engine is started. If in doubt, consult your nearest Hyundai authorised repairer.
NOTE: It is recommended that water accu- mulated in the fuel filter should be removed by a Hyundai authorised repairer.
WARNING:
Be sure to carefully wipe away anywater drained out in this manner, because the fuel mixed in the water might be ignited and resultin a fire. Before attempting to replace a head-
light bulb, be sure the switch is turned to the "OFF" position.
The next paragraph shows how to
reach the headlight bulbs so they may be changed. Be sure to replacethe burned-out bulb with one of the same number and wattage rating.
Ensure that the replacement bulb has
the same cap configuration and watt-age as the original.
See page 6-35 for the wattage descrip-
tions.
CAUTION:
Keep the lamps out of contact with
petroleum products, such as oil, petrol, etc.
REPLACING HEADLIGHT BULBS
G260A01HP-EAT
G300B02HP-EAT
Removal Of Water From TheFuel Filter (For Diesel Engine)
If the fuel filter warning lamp illumi- nates during driving, it indicates that water has accumulated in the fuel filter. If this occurs, remove the wateras described below.
1. Loosen the drain plug at the bot- tom of the fuel filter.
2. Tighten the drain plug when water no longer comes out.
HHP5047-E
Page 511 of 539
6
OWNER MAINTENANCE
33
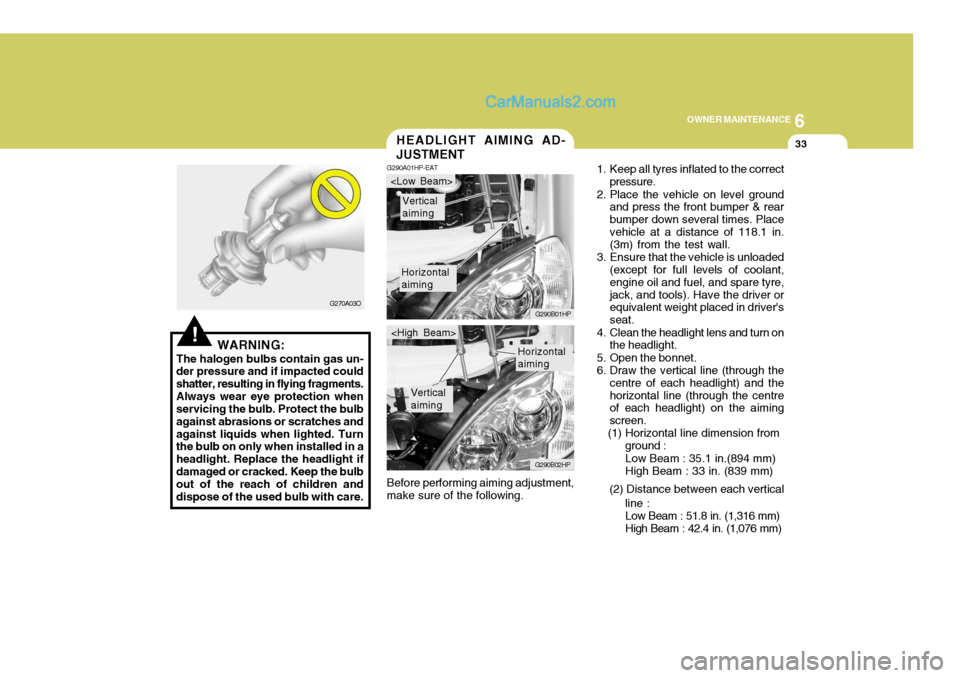
Before performing aiming adjustment, make sure of the following.HEADLIGHT AIMING AD- JUSTMENT
G290A01HP-EAT
1. Keep all tyres inflated to the correct
pressure.
2. Place the vehicle on level ground and press the front bumper & rear bumper down several times. Placevehicle at a distance of 118.1 in. (3m) from the test wall.
3. Ensure that the vehicle is unloaded (except for full levels of coolant, engine oil and fuel, and spare tyre,jack, and tools). Have the driver or equivalent weight placed in driver's seat.
4. Clean the headlight lens and turn on the headlight.
5. Open the bonnet.
6. Draw the vertical line (through the centre of each headlight) and thehorizontal line (through the centre of each headlight) on the aiming screen.
(1) Horizontal line dimension from
Horizontal aiming
Vertical aiming
G290B01HP
G290B02HP
Horizontal aiming
Vertical aiming
ground :Low Beam : 35.1 in.(894 mm) High Beam : 33 in. (839 mm)
(2) Distance between each vertical line :Low Beam : 51.8 in. (1,316 mm) High Beam : 42.4 in. (1,076 mm)
!WARNING:
The halogen bulbs contain gas un-
der pressure and if impacted could shatter, resulting in flying fragments.Always wear eye protection when servicing the bulb. Protect the bulb against abrasions or scratches andagainst liquids when lighted. Turn the bulb on only when installed in a headlight. Replace the headlight ifdamaged or cracked. Keep the bulb out of the reach of children and dispose of the used bulb with care. G270A03O