Page 115 of 253
Playing t he Radio (Vehicles with Navigat ion System)
Features
(C type)
121
U.S. EX model with navigation system
AM/FM BUTTON AUDIO BUTTONSCAN BUTTON BACKGROUND ICON
SOUND ICON
AM ICON
TUNE BAR FM1 ICON FM2 ICON
PRESET BUTTONS AUTO SELECT ICON
JOYSTICK
�����—�����—���
�y�
����
��������y���
�(�#���������y���
�����y
Page 117 of 253
�µ�µ
Select the desired band, AM or
FM. FM1 and FM2 let you store
two f requencies with each preset
button.
UsetheTUNE,SEEK,orSCAN
function to tune the radio to a
desired station.
Repeat steps 1 through 3 to store a
total of six stations on AM and
twelve stations on FM. Each preset button can
store one f requency on AM, and two
f requencies on FM. If you are
traveling far from home and can no
longer receive your preset stations,
you can use the auto select feature to
find stations in the local area.
Press the AUTO SEL icon. ‘‘AUTO
SEL’’ f lashes in the display, and the
system goes into scan mode f or
several seconds. It stores the
f requencies of six AM, and twelve
FM stations in the preset buttons.
If you do not like the stations auto
select has stored, you can store
other f requencies on the preset
buttons. Use the TUNE, SEEK, or
SCAN functions to find stations, then
store them in the preset buttons as
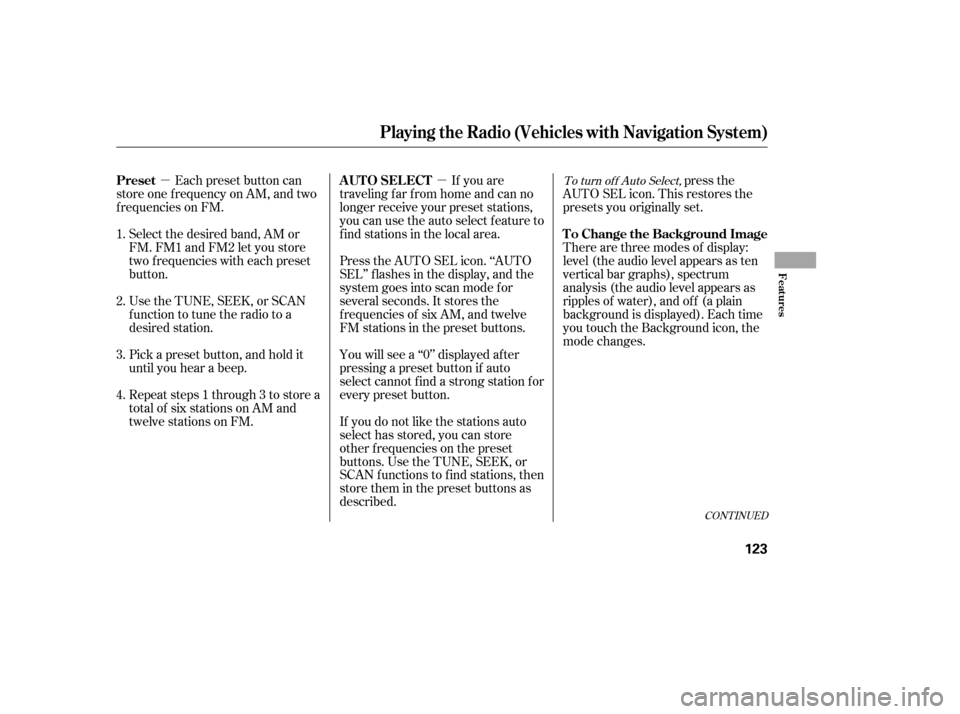
described. press the
AUTO SEL icon. This restores the
presets you originally set.
You will see a ‘‘0’’ displayed af ter
pressing a preset button if auto
select cannot f ind a strong station f or
every preset button. There are three modes of display:
level (the audio level appears as ten
vertical bar graphs), spectrum
analysis (the audio level appears as
ripples of water), and of f (a plain
background is displayed). Each time
you touch the Background icon, the
mode changes.
Pick a preset button, and hold it
until you hear a beep.
1. 2. 3. 4.To turn of f Auto Select,
CONT INUED
Preset A UT O SEL ECT
To Change the Background Image
Playing t he Radio (Vehicles wit h Navigat ion System)
Features
123
�����—�����—�����y�
�������������y���
�(�#���������y���
�����y
Page 149 of 253
Some examples are:Larger or smaller wheels and tires
can interf ere with the operation of
your vehicle’s anti-lock brakes and
other systems.
If you plan to modif y your vehicle,
consult your dealer.
Removing parts f rom your vehicle,
or replacing components with
non-Honda components could
seriously af f ect your vehicle’s
handling, stability, and reliability.
Lowering the vehicle with a non-
Honda suspension kit that
signif icantly reduces ground
clearance can allow the
undercarriage to hit speed bumps
or other raised objects, which
could cause the airbags to deploy.
Raising your vehicle with a
non-Honda suspension kit can
af f ect the handling and stability.
Non-Honda wheels, because they
are a universal design, can cause
excessive stress on suspension
components. Modif ying your steering wheel or
any other part of your vehicle’s
saf ety systems could make the
systems inef f ective.
Modif ying Your Vehicle
A ccessories and Modif ications
156
�����—�����—�����y�
���������
���y���
�(�#���������y���
�����y
Page 167 of 253
Towing can require a variety of
equipment, depending on the size of
your trailer, how it will be used, how
much load you are towing, and
where you tow.Honda recommends that any trailer
having a total weight of 1,000 lbs
(450 kg) or more be equipped with
its own electric or surge-type brakes.
If you choose electric brakes, be
sure they are electrically actuated.
Do not attempt to tap into your
vehicle’s hydraulic system. No
matter how successf ul it may seem,
any attempt to attach trailer brakes
to your vehicle’s hydraulic system
will lower braking ef f ectiveness and
create a potential hazard.
Seeyourtrailerdealerformore
inf ormation on installing electric
brakes.
Discuss your needs with your trailer
sales or rental agency, and f ollow the
guidelines in the rest of this section.
Also make sure that all equipment is
properly installed and that it meets
f ederal, state, province, and local
regulations. Any hitch used on your vehicle must
be properly bolted to the underbody.
Always use saf ety chains when you
tow a trailer. Make sure the chains
are secured to the trailer and hitch,
and that they cross under the tongue
and can catch the trailer if it
becomes unhitched. Leave enough
slack to allow the trailer to turn
corners easily, but do not let the
chains drag on the ground.
CONT INUED
Towing a Trailer
T owing Equipment and
A ccessoriesTrailer Brakes
Hitches
Saf et y Chains
Driving
175
�����—�����—�����y�
�������������y���
�(�#���������y���
�����y
Page 171 of 253
To eliminate potential hazards, read
the instructions bef ore you begin,
and make sure you have the tools
and skills required.Do
not run the engine unless
instructed to do so.
Some of the most important saf ety
precautions are given here. However,
we cannot warn you of every
conceivable hazard that can arise in
perf orming maintenance. Only you
can decide whether or not you
should perf orm a given task.
Make sure your vehicle is parked
on level ground, the parking brake
is set, and the engine is of f .
All service items not detailed in this
section should be perf ormed by a
certif ied technician or qualif ied
mechanic.
To clean parts, use a commercially
available degreaser or parts
cleaner, not gasoline.
To reduce the possibility of f ire or
explosion, keep cigarettes, sparks,
and f lames away f rom the battery
and all f uel-related parts.
Wear eye protection and
protective clothing when working
with the battery or compressed air. Be sure there is
adequate ventilation whenever you
operate the engine.
Let the
engine and exhaust system cool
bef ore touching any parts.
Maintenance Saf ety
Important Saf ety Precautions Injury f rom moving parts.
Potential Vehicle Hazards Carbon Monoxide poison f rom
engine exhaust.
Burns f rom hot parts.
180
Failure to properly follow
maintenance instructions and
precautions can cause you to
be seriously hurt or killed.
Always follow the procedures
and precautions in this owner’smanual.
Improperly maintaining this
vehicle, or failing to correct a
problem before driving can
cause a crash in which you can
be seriously hurt or killed.
Always follow the inspection
and maintenance
recommendations and
schedules in this owner’smanual.
�����—�����—�����y�
������
��
���y���
�(�#���������y���
�����y
Page 184 of 253
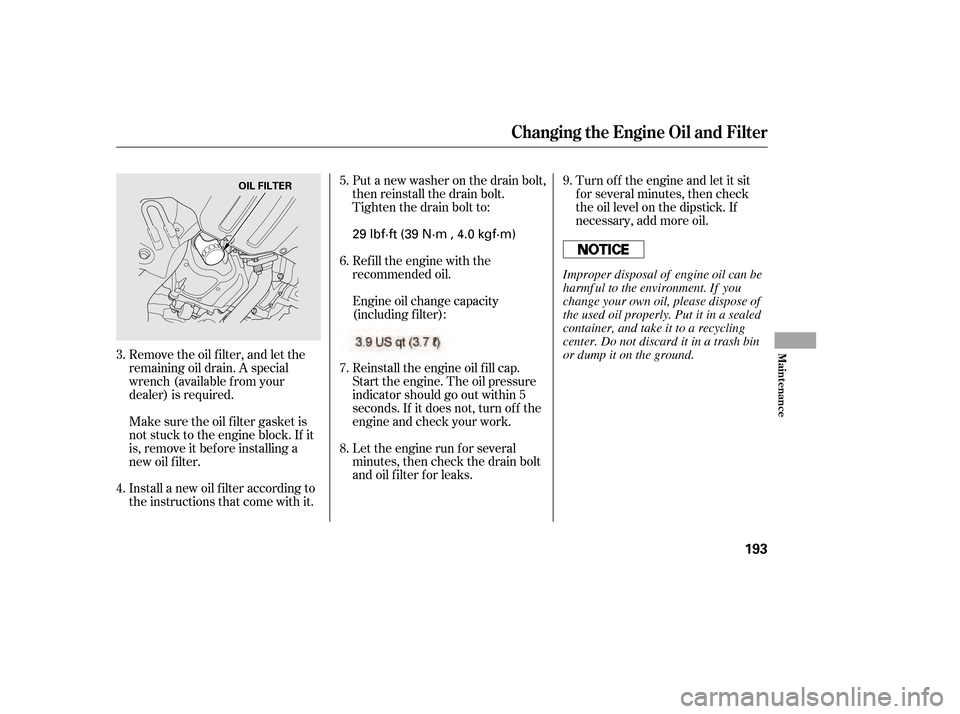
Put a new washer on the drain bolt,
then reinstall the drain bolt.
Tighten the drain bolt to:
Refill the engine with the
recommended oil.
Engine oil change capacity
(including f ilter):
Reinstall the engine oil f ill cap.
Start the engine. The oil pressure
indicator should go out within 5
seconds. If it does not, turn of f the
engine and check your work.
Let the engine run f or several
minutes, then check the drain bolt
and oil f ilter f or leaks.Turn of f the engine and let it sit
f or several minutes, then check
the oil level on the dipstick. If
necessary, add more oil.
Remove the oil f ilter, and let the
remaining oil drain. A special
wrench (available from your
dealer) is required.
Install a new oil f ilter according to
the instructions that come with it.
Make sure the oil f ilter gasket is
not stuck to the engine block. If it
is, remove it bef ore installing a
new oil f ilter. 5. 6. 7. 8.
9.
3. 4.
Changing the Engine Oil and Filter
Maint enance
193
OIL FILTER
29 lbf·ft (39 N·m , 4.0 kgf·m)
4.2 US qt (4.0
) Improper disposal of engine oil can be
harmf ul to the environment. If you
change your own oil, please dispose of
the used oil properly. Put it in a sealed
container, and take it to a recycling
center. Do not discard it in a trash bin
or dump it on the ground.
�����—�����—�����y�
�����������
�y���
�(�#���������y���
�����y
Page 187 of 253
Pour the f luid slowly and caref ully
so you do not spill any. Clean up
any spill immediately; it could
damage components in the engine
compartment.
Check the f luid level with the engine
at normal operating temperature. Park the vehicle on level ground.
Shut of f the engine.
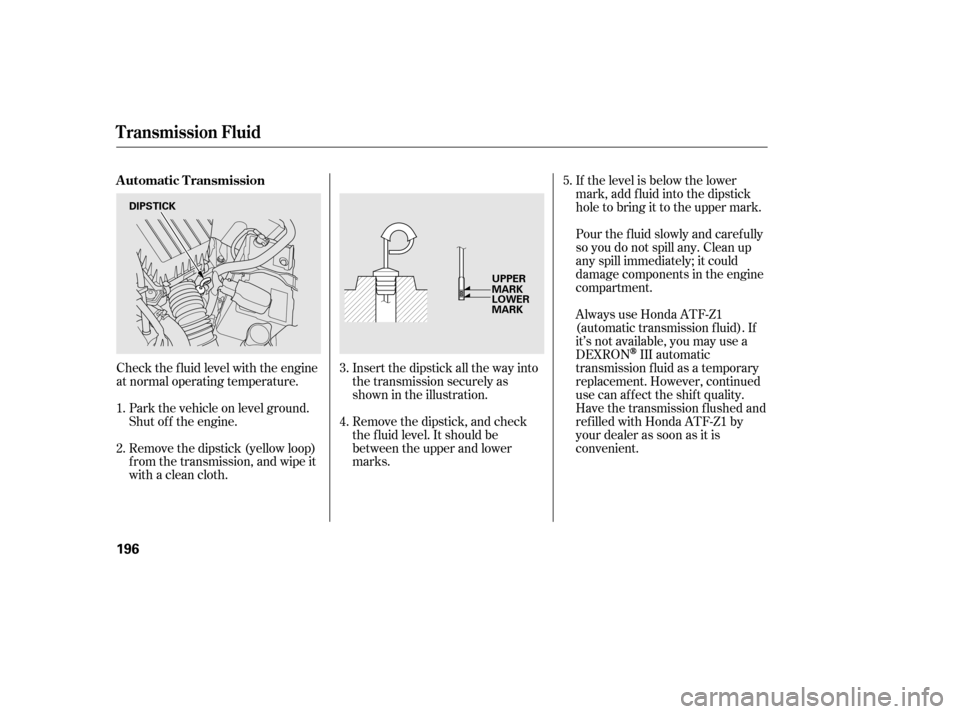
Remove the dipstick (yellow loop)
f rom the transmission, and wipe it
with a clean cloth. Insert the dipstick all the way into
the transmission securely as
shown in the illustration.
Remove the dipstick, and check
the f luid level. It should be
between the upper and lower
marks.If the level is below the lower
mark, add f luid into the dipstick
hole to bring it to the upper mark.
Always use Honda ATF-Z1
(automatic transmission f luid). If
it’s not available, you may use a
DEXRON
III automatic
transmission f luid as a temporary
replacement. However, continued
use can af f ect the shif t quality.
Have the transmission f lushed and
ref illed with Honda ATF-Z1 by
your dealer as soon as it is
convenient.
3. 4. 5.
1. 2.
T ransmission Fluid
Automatic Transmission
196
DIPSTICK UPPER
MARK
LOWER
MARK
�����—�����—�����y�
���������
���y���
�(�#���������y���
�����y
Page 188 of 253
If Honda MTF is not available, you
may use an SAE 10W-30 or 10W-40
viscosity motor oil with the API
Certif ication seal that says ‘‘FOR
GASOLINE ENGINES’’ as a
temporary replacement. However,
motor oil does not contain the proper
additives, and continued use can
cause stif f er shif ting. Replace as
soon as it is convenient.
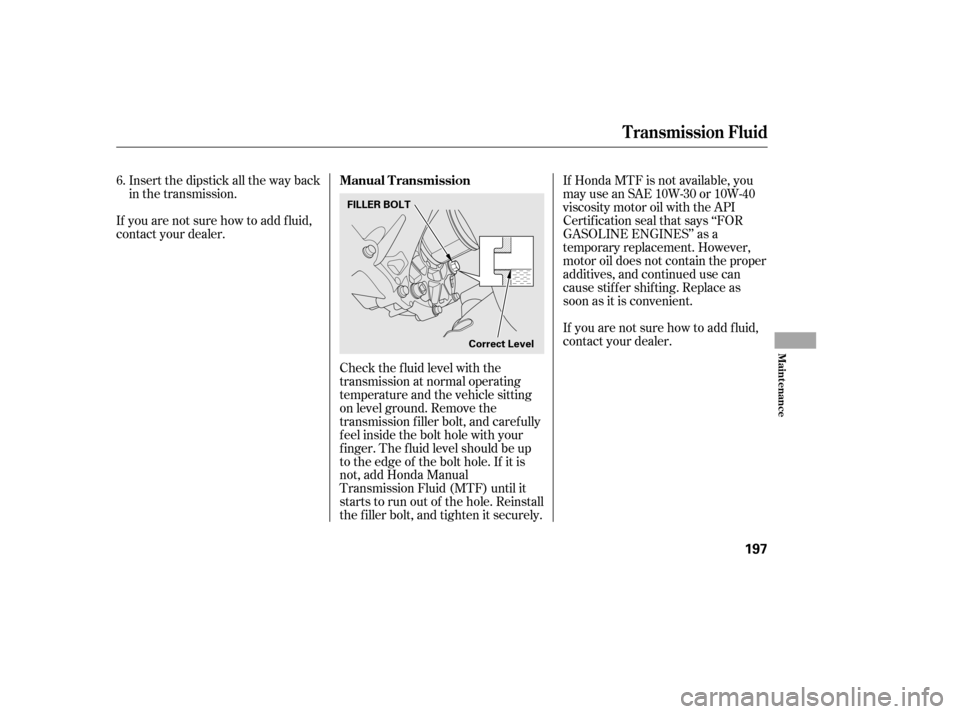
Check the f luid level with the
transmission at normal operating
temperature and the vehicle sitting
on level ground. Remove the
transmission f iller bolt, and caref ully
f eel inside the bolt hole with your
f inger. The f luid level should be up
to the edge of the bolt hole. If it is
not, add Honda Manual
Transmission Fluid (MTF) until it
starts to run out of the hole. Reinstall
the f iller bolt, and tighten it securely.
Insert the dipstick all the way back
in the transmission.
If you are not sure how to add f luid,
contact your dealer.
If you are not sure how to add f luid,
contact your dealer.
6.
T ransmission Fluid
Manual Transmission
Maint enance
197
FILLER BOLT
Correct Level
�����—�����—�����y�
�������������y���
�(�#���������y���������y