Page 49 of 267
After properly securing the child
seat (see page ), lift the head
restraint, then route the tether
strap over the seat-back and
through the head restraint legs. Lift the anchor cover, then attach
the tether strap hook to the
anchor, making sure the strap is
not twisted.
Tighten the strap according to the
seat maker’s instructions.
1.
2.
3.
45
Installing a Child Seat
Driver and Passenger Saf ety
47
TETHER STRAP
HOOK
FrontTETHER STRAP
HOOK
ANCHOR
ANCHOR Front
Outer Position Center Position
�����—�����—�����y�
�������������y���
�(�#���������y���������y
Page 50 of 267

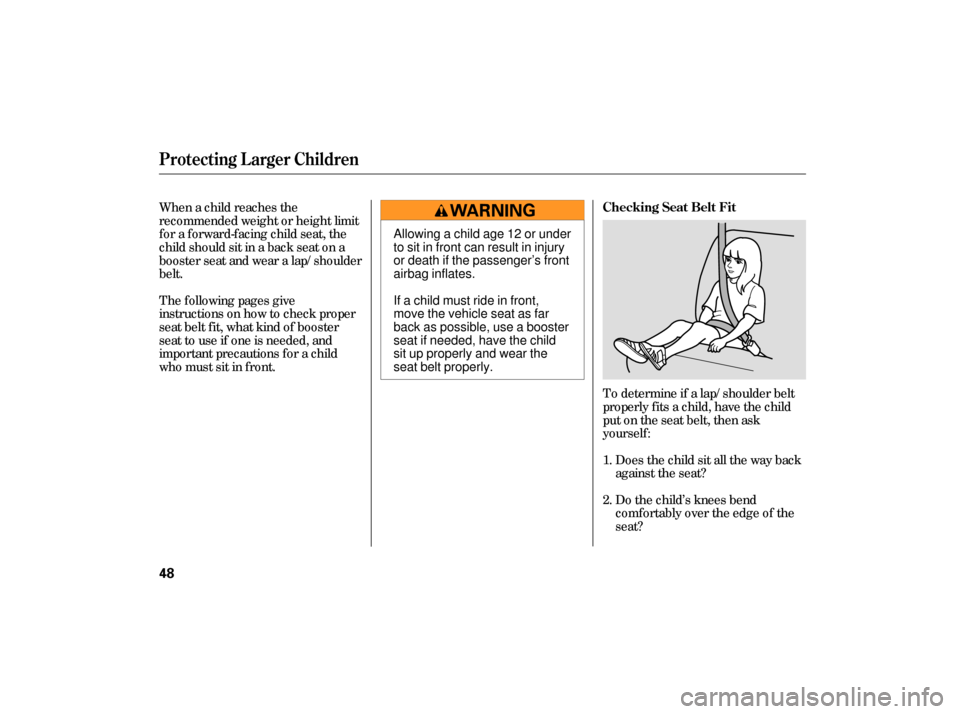
To determine if a lap/shoulder belt
properly f its a child, have the child
put on the seat belt, then ask
yourself :Does the child sit all the way back
against the seat?
Do the child’s knees bend
comf ortably over the edge of the
seat?
When a child reaches the
recommended weight or height limit
for a forward-facing child seat, the
child should sit in a back seat on a
booster seat and wear a lap/shoulder
belt.
The f ollowing pages give
instructions on how to check proper
seat belt f it, what kind of booster
seat to use if one is needed, and
important precautions f or a child
who must sit in f ront.
1.
2. Checking Seat Belt Fit
Protecting L arger Children
48
Allowing a child age 12 or under
to sit in front can result in injury
or death if the passenger’s front
airbag inflates.
If a child must ride in front,
move the vehicle seat as far
back as possible, use a booster
seat if needed, have the child
sit up properly and wear the
seat belt properly.
�����—�����—�����y�
�������������y���
�(�#���������y�������
�y
Page 51 of 267

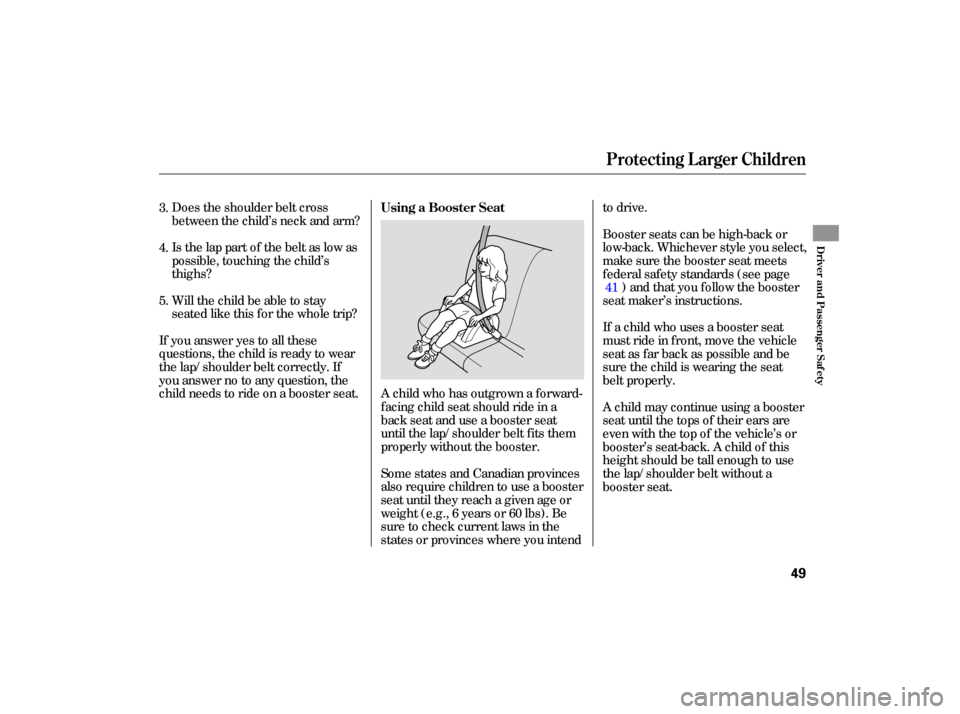
Does the shoulder belt cross
between the child’s neck and arm?
Is the lap part of the belt as low as
possible, touching the child’s
thighs?
Will the child be able to stay
seated like this for the whole trip?
If you answer yes to all these
questions, the child is ready to wear
the lap/shoulder belt correctly. If
you answer no to any question, the
child needs to ride on a booster seat. A child who has outg rown a forward-
facing child seat should ride in a
back seat and use a booster seat
until the lap/shoulder belt fits them
properly without the booster.
Some states and Canadian provinces
also require children to use a booster
seat until they reach a given age or
weight (e.g., 6 years or 60 lbs). Be
sure to check current laws in the
states or provinces where you intend to
drive.
If a child who uses a booster seat
must ride in front, move the vehicle
seat as far back as possible and be
sure the child is wearing the seat
belt properly. Booster seats can be high-back or
low-back. Whichever style you select,
make sure the booster seat meets
f ederal saf ety standards (see page ) and that you f ollow the booster
seat maker’s instructions.
A child may continue using a booster
seat until the tops of their ears are
even with the top of the vehicle’s or
booster’s seat-back. A child of this
height should be tall enough to use
the lap/shoulder belt without a
booster seat.
3.
4.
5.
41
Using a Booster Seat
Protecting L arger Children
Driver and Passenger Saf ety
49
�����—�����—�����y�
�������������y���
�(�#���������y���������y
Page 52 of 267

The National Highway Traffic Safety
Administration and Transport
Canada recommend that all children
aged 12 and under be properly
restrained in a back seat.
If the passenger’s front airbag
inflates in a moderate to severe
frontal collision, the airbag can cause
serious injuries to a child who is
unrestrained, improperly restrained,
sitting too close to the airbag, or out
of position.
A side airbag also poses risks. If any
part of a larger child’s body is in the
path of a deploying side airbag, the
child could receive possibly serious
injuries. Physically,
a child must be large
enough f or the lap/shoulder belt to
properly f it (see pages and ). If
the seat belt does not f it properly,
with or without the child sitting on a
booster seat, the child should not sit
in f ront.
To saf ely ride in f ront, a child must
be able to f ollow the rules, including
sitting properly, and wearing the seat
belt properly throughout a ride. If you decide that a child can saf ely
ride up f ront, be sure to:
Caref ully read the owner’s manual,
and make sure you understand all
seat belt instructions and all saf ety
inf ormation.
Move the vehicle seat to the rear-
most position.
Have the child sit up straight, back
against the seat, and feet on or
near the f loor.
Check that the child’s seat belt is
properly and securely positioned.
Supervise the child. Even mature
children sometimes need to be
reminded to f asten the seat belts
or sit properly.
Of course, children vary widely. And
while age may be one indicator of
when a child can saf ely ride in f ront,
there are other important f actors you
should consider.
14 48
When Can a L arger Child Sit in
Front
Physical Size
Maturity
Protecting L arger Children
50
�����—�����—�����y�
�������������y���
�(�#���������y���������y
Page 53 of 267
This could result
in serious neck injuries during a
crash.
This could
cause very serious injuries during
a crash. It also increases the
chance that the child will slide
under the belt in a crash and be
injured.
If they do, they
could be very seriously injured in a
crash. Devices intended to
improve a child’s comf ort or
reposition the shoulder part of a
seat belt can make the belt less
ef f ective and increase the chance
of serious injury in a crash.
Additional Saf ety Precautions
Do not let a child wear a seat belt
across t he neck.
Do not let a child put the shoulderpart of a seat belt behind t he backor under t he arm.
T wo children should never use thesame seat belt . Do not put any accessories on a
seat belt.
Protecting L arger Children
Driver and Passenger Saf ety
51
�����—�����—�����y�
�������������y���
�(�#���������y���������y
Page 57 of 267

This section gives inf ormation about
the controls and displays that
contribute to the daily operation of
your vehicle. All the essential
controls are within easy reach............................
Control Locations .56
............................
Instrument Panel .57
..........
Instrument Panel Indicators .58
.............................................
Gauges .64
.....................................
Odometer .64
..............
Display Change Button .65
...................................
Trip Meter .65
.................
Current Fuel Mileage .66
................
Average Fuel Mileage .66
..................................
Fuel Gauge .66
...................
Temperature Gauge .67
Outside Temperature
...................................
Indicator .67
..........
Check Fuel Cap Indicator .68
..................
Maintenance Minder .68
.........
IMA Battery Level Gauge .69
................
Charge/Assist Gauge .70
Controls Near the Steering ...........................................
Wheel .71
.
Windshield Wipers and Washers .72
...........
Turn Signal and Headlights .73
............
Daytime Running Lights .74
........
Instrument Panel Brightness .74
.................
Hazard Warning Button .74
.................
Rear Window Def ogger .75
..........
Steering Wheel Adjustment .75 ...............................
Keys and Locks .76
........................
Immobilizer System .78
................................
Ignition Switch .79
......................................
Door Locks .80
......................
Power Door Locks .80
..............
Childproof Door Locks .81
.
Auto Door Locking/Unlocking .81
.....................
Auto Door Locking .81
.................
Auto Door Unlocking .83
................................................
Trunk .86
........
Emergency Trunk Opener .86
.......................
Remote Transmitter .87
.................................................
Seats .89
..............................
Power Windows .92
.............................................
Mirrors .93
.................................
Parking Brake .94
...........
Interior Convenience Items .95
.........................
Beverage Holder .96
...........
Accessory Power Socket .96
....................................
Glove Box .96
...............
Console Compartment .96
.................................
Interior Lights .97
Instruments and Controls
Inst rument s and Cont rols
55
�����—�����—�����y�
�������������y���
�(�#���������y���������y
Page 83 of 267

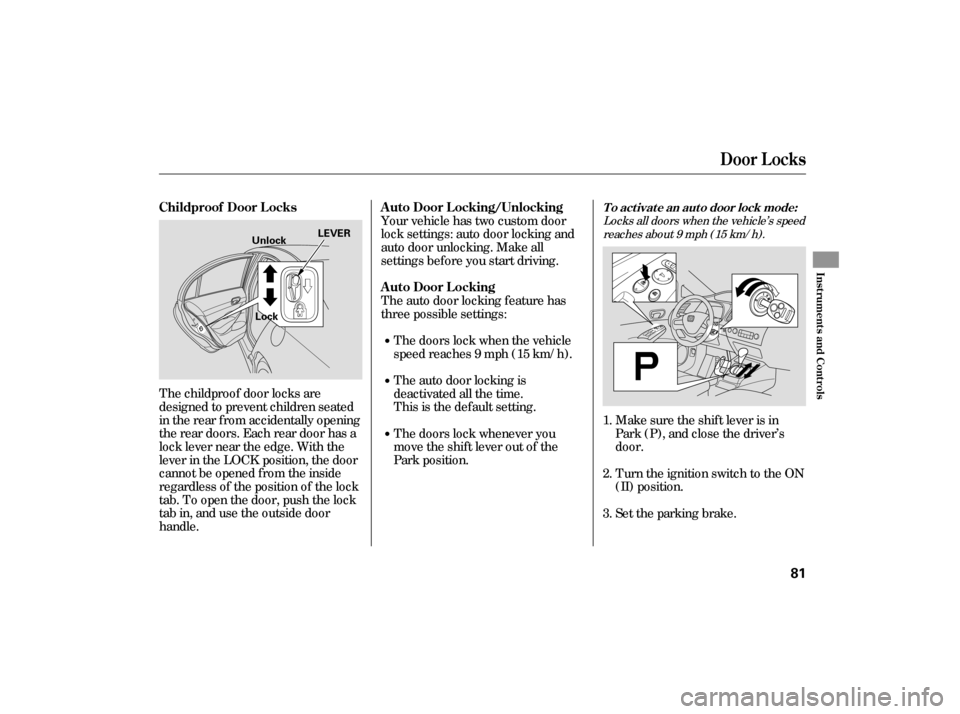
The childproof door locks are
designed to prevent children seated
in the rear f rom accidentally opening
the rear doors. Each rear door has a
lock lever near the edge. With the
lever in the LOCK position, the door
cannot be opened f rom the inside
regardless of the position of the lock
tab. To open the door, push the lock
tab in, and use the outside door
handle.Your vehicle has two custom door
lock settings: auto door locking and
auto door unlocking. Make all
settings bef ore you start driving.
The auto door locking f eature has
three possible settings:
The doors lock when the vehicle
speed reaches 9 mph (15 km/h).
The auto door locking is
deactivated all the time.
This is the def ault setting.
The doors lock whenever you
move the shift lever out of the
Park position.
Set the parking brake. Turn the ignition switch to the ON
(II) position. Make sure the shif t lever is in
Park (P), and close the driver’s
door.
1.
2.
3.
Locks all doors when the vehicle’s speed
reaches about 9 mph (15 km/h).
Childproof Door L ocks A uto Door L ocking/Unlocking
A uto Door L ockingTo activate an auto door lock mode:
Door L ocks
Inst rument s and Cont rols
81
LEVER
Unlock
Lock
�����—�����—�����y�
�������������y���
�(�#���������y���������y
Page 88 of 267

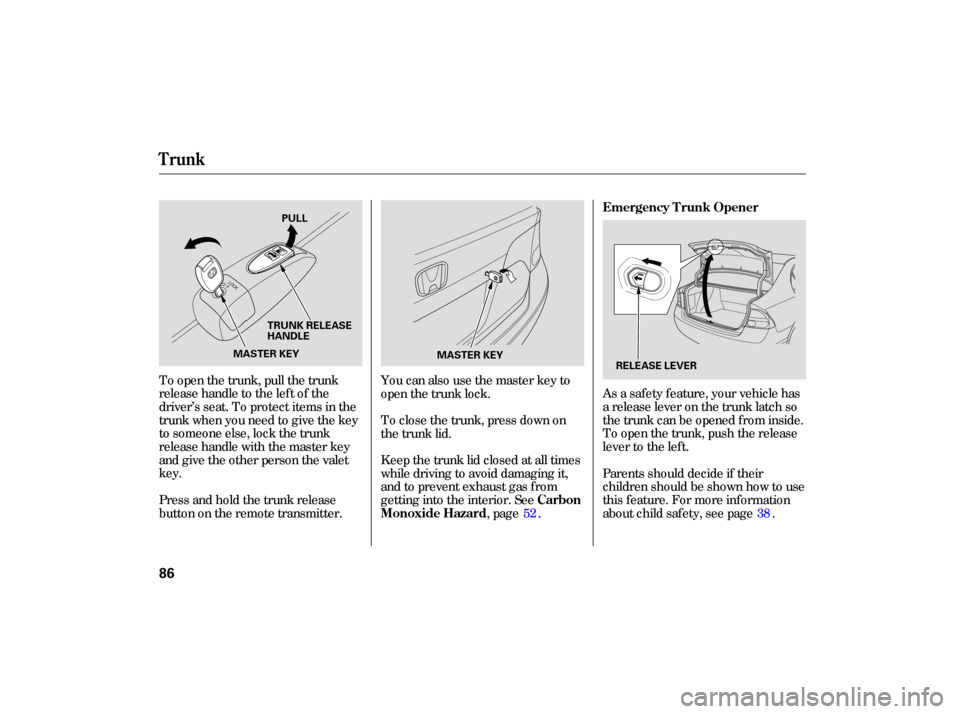
As a safety feature, your vehicle has
a release lever on the trunk latch so
the trunk can be opened from inside.
To open the trunk, push the release
lever to the left.
To
open the trunk, pull the trunk
releasehandletotheleftofthe
driver’s seat. To protect items in the
trunk when you need to give the key
to someone else, lock the trunk
releasehandlewiththemasterkey
and give the other person the valet
key. You
can also use the master key to
open the trunk lock.
Parents should decide if their
children should be shown how to use
this feature. For more information
about child safety, see page .
To
close the trunk, press down on
the trunk lid.
Keep the trunk lid closed at all times
while driving to avoid damaging it,
and to prevent exhaust gas from
getting into the interior. See
,page .
Press and hold the trunk release
button on the remote transmitter.52 38 Emergency T runk Opener
Carbon
Monoxide Hazard
Trunk
86
MASTER KEY
MASTER KEY TRUNK RELEASE
HANDLE
RELEASE LEVER
PULL
�����—�����—�
���y�
�������������y���
�(�#���������y���������y