Page 223 of 319
�µ
�µ
�µ
�µ
�µ
�µ
�µ
�µ
�µ
�µ �µ
�µ
CONTINUED
Calculated Engine
Oil Life (%)
100 % 91 %
90 % 81 %
80 % 71 %
70 % 61 %
60 % 51 %
50 % 41 %
40 % 31 %
30 % 21 %
20 % 16 %
15 % 11 %
10 % 6 %
5% 1%
0% Displayed
Engine Oil Life (%)
100 %
90 %
80 %
70 %
60 %
50 %
40 %
30 %
20 %
15 %
10 %
5%
0%
Your vehicle displays engine oil life
and maintenance service items in the
information display to show you
when you should have your dealer
perform engine oil replacement and
indicated maintenan ce service.
Based on the engine operating
conditions and accumulated engine
revolutions, the onboard computer in
your vehicle calculates the remaining
engine oil life and displays it as a
percentage.
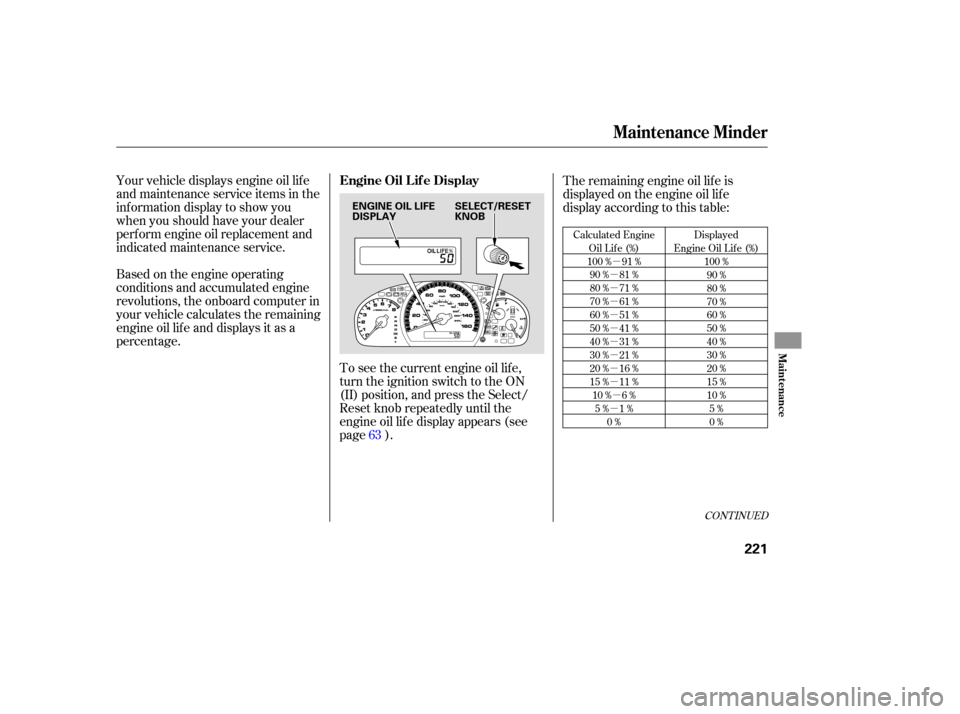
To see the current engine oil life,
turn the ignition switch to the ON
(II) position, and press the Select/
Reset knob repeatedly until the
engine oil lif e display appears (see
page ). The remaining engine oil lif e is
displayed on the engine oil lif e
display according to this table:
63
Maintenance Minder
Engine Oil L if e Display
Maint enance
221
ENGINE OIL LIFE
DISPLAY SELECT/RESET
KNOB
�����—�����—�����y�
�������������y���
�(���%�������y���������y
Page 225 of 319
�µ
If you still do not perf orm the
indicated maintenance, you will see a
negative mileage. It is displayed
when you drive over 10 miles (f or
U.S. models) or 10 km (f or Canadian
models) af ter seeing the 0 percent
message.Afterward,itshowsyour
driving distance if you continue to
drive. Immediately have the
indicated maintenance done by your
dealer. The maximum total mileage shown
is ‘‘ 9999.’’
You can change the inf ormation
display f rom the engine oil lif e
display to the odometer, the trip
meter, or the outside temperature (if
equipped) every time you press and
release the Select/Reset knob.
When the engine oil lif e display is 0
percent or negative mileage, the
maintenance minder indicator
remainsonevenif youchangethe
inf ormation display.
Immediately have the service
perf ormed, and make sure to reset
the display as described in the next
page.
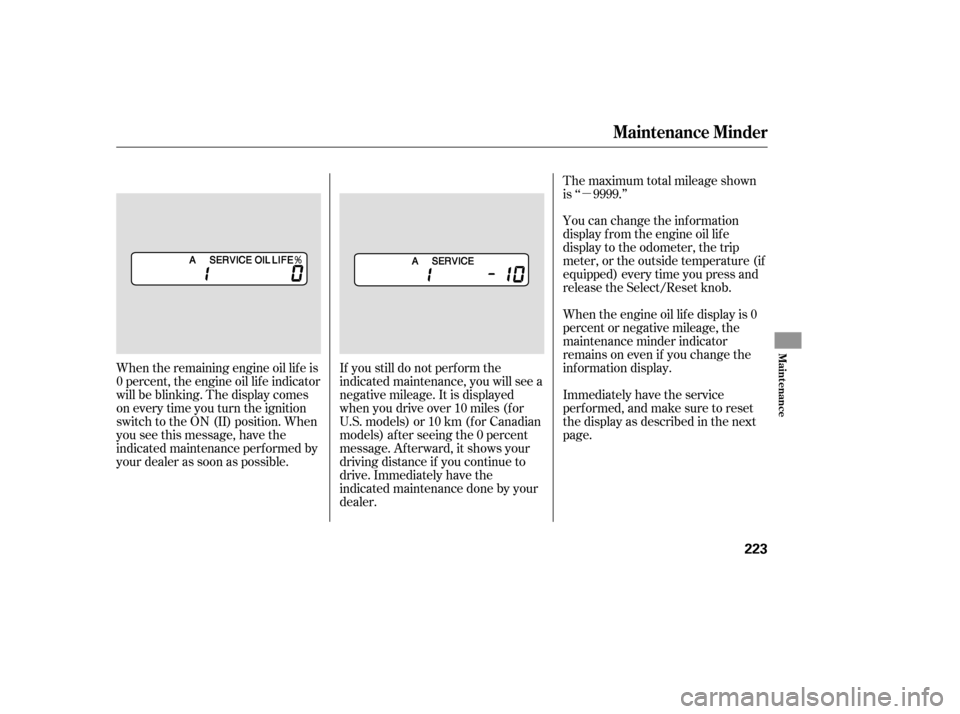
When the remaining engine oil lif e is
0 percent, the engine oil lif e indicator
will be blinking. The display comes
oneverytimeyouturntheignition
switch to the ON (II) position. When
you see this message, have the
indicated maintenance perf ormed by
your dealer as soon as possible.
Maintenance Minder
Maint enance
223
�����—�����—�����y�
�������������y���
�(���%�������y���������y
Page 226 of 319
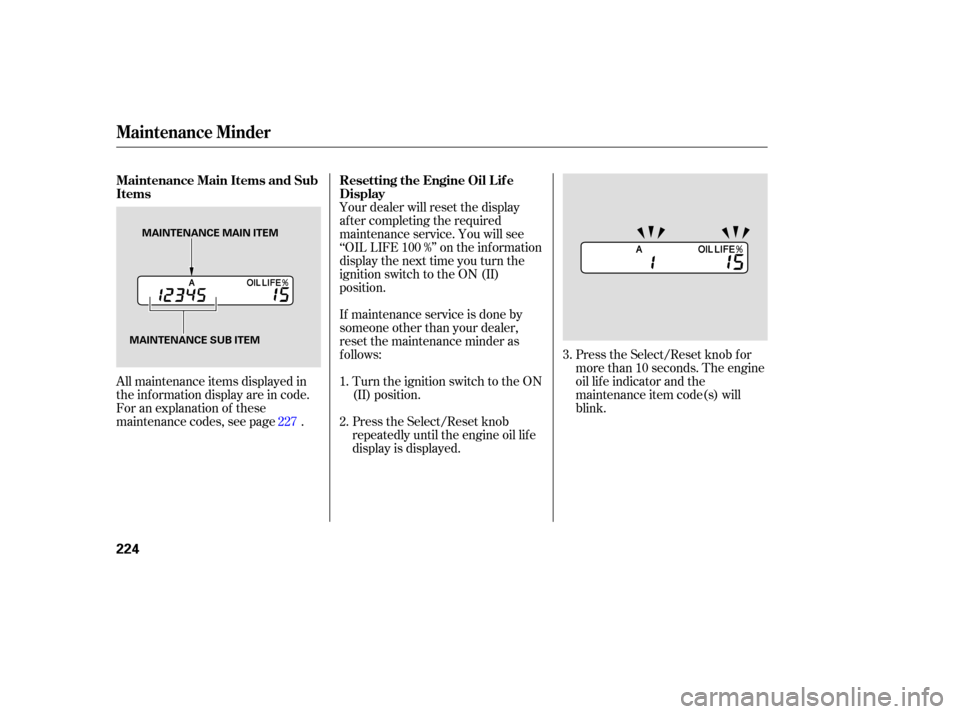
All maintenance items displayed in
the information display are in code.
For an explanation of these
maintenance codes, see page .Your dealer will reset the display
af ter completing the required
maintenance service. You will see
‘‘OIL LIFE 100 %’’ on the inf ormation
display the next time you turn the
ignition switch to the ON (II)
position.
If maintenance service is done by
someone other than your dealer,
reset the maintenance minder as
f ollows:
Turn the ignition switch to the ON
(II) position.
Press the Select/Reset knob
repeatedly until the engine oil lif e
display is displayed. Press the Select/Reset knob f or
more than 10 seconds. The engine
oil lif e indicator and the
maintenance item code(s) will
blink.
1.
2. 3.
227
Maintenance Minder
Maintenance Main Items and Sub
Items Resetting the Engine Oil Lif e
Display
224
MAINTENANCE MAIN ITEM
MAINTENANCE SUB ITEM
�����—�����—�����y�
�������������y���
�(���%�������y���������y
Page 227 of 319

If you have the required service
done but do not reset the display, or
reset the display without doing the
service, the system will not show the
proper maintenance intervals. This
canleadtoseriousmechanical
problems because you will no longer
have an accurate record of when
maintenance is needed.
Your authorized Honda dealer
knows your vehicle best and can
provide competent, ef f icient service.
Press the Select/Reset knob f or
more than 5 seconds. The
maintenance item code(s) will
disappear, and the engine oil lif e
will reset to ‘‘100.’’ However, service at a dealer is not
mandatory to keep your warranties
in effect. Maintenance may be done
by any qualif ied service f acility or
person who is skilled in this type of
automotive service. Make sure to
have the service f acility or person
reset the display as previously
described. Keep all receipts as proof
of completion, and have the person
who does the work fill out the
maintenance record. Check your
warranty booklet f or more
inf ormation.
We recommend using Honda parts
and fluids whenever you have
maintenance done. These are
manuf actured to the same high-
quality standards as the original
components, so you can be conf ident
of their performance and durability.
4.
CONT INUED
Maintenance Minder
Important Maintenance
Precautions
Maint enance
225
�����—�����—�����y�
�������������y���
�(���%�������y���������y
Page 229 of 319

�Ì�Ì
�µ
�Ì
Maintenance
Minder
227
:
If the message ‘‘SERVICE OIL’’ does not appear more than 12 months after
the display is reset, change the engine oil every year.
See information on maintenance and emissions warranty on page .
Independent of the maintenance minder display, replace the brake fluid
every 3 years.
Inspect idle speed every 160,000 miles (256,000 km).
Adjust the valves during services A, B, 1, 2, or 3 only if they are noisy.
NOTE: 1:
226
Maintenance Main Items
Replace engine oil
Replace engine oil and oil filter
Inspect front and rear brakes
Check parking brake adjustment
Inspect these items: Tie-rod ends, steering gear box, and boots
Suspension components
Driveshaft boots
Brake hoses and line (including ABS)
All fluid levels and condition of fluids
Exhaust system
Fuel lines and connections Maintenance Sub Items
Rotate tires
Replace air cleaner element If you drive in dusty conditions, replace
every 15,000 miles (24,000 km).
Replace dust and pollen filter If you drive primarily in urban areas that have high
concentrations of soot in the air from industry and
from diesel-powered vehicles, replace every
15,000 miles (24,000 km).
Inspect drive belt
Replace transmission fluid Driving in mountainous areas at very low vehicle
speeds or trailer towing results in higher
transmission and transfer temperatures. This
requires transmission and transfer fluid changes
more frequently than recommended by the
maintenance minder. If you regularly drive your
vehicle under these conditions, have the
transmission and transfer fluid changed at
60,000 miles (100,000 km), then every 30,000 miles
(48,000 km). (For A/T only:)
Replace spark plugs
Replace timing belt and inspect water pump
(V6 engine only) If you drive regularly in very high temperatures
(over 110°F, 43°C), in very low temperatures
(under 110°F, 29°C), replace every 60,000 mile
(U.S.)/100,000 km (Canada).
Inspect valve clearance
Replace engine coolant
A
B
Symbol
Symbol
1
2
3
4
51
1
Maintenance Minder
�����—�����—�����y�
�������������y���
�(���%�������y���������y
Page 284 of 319
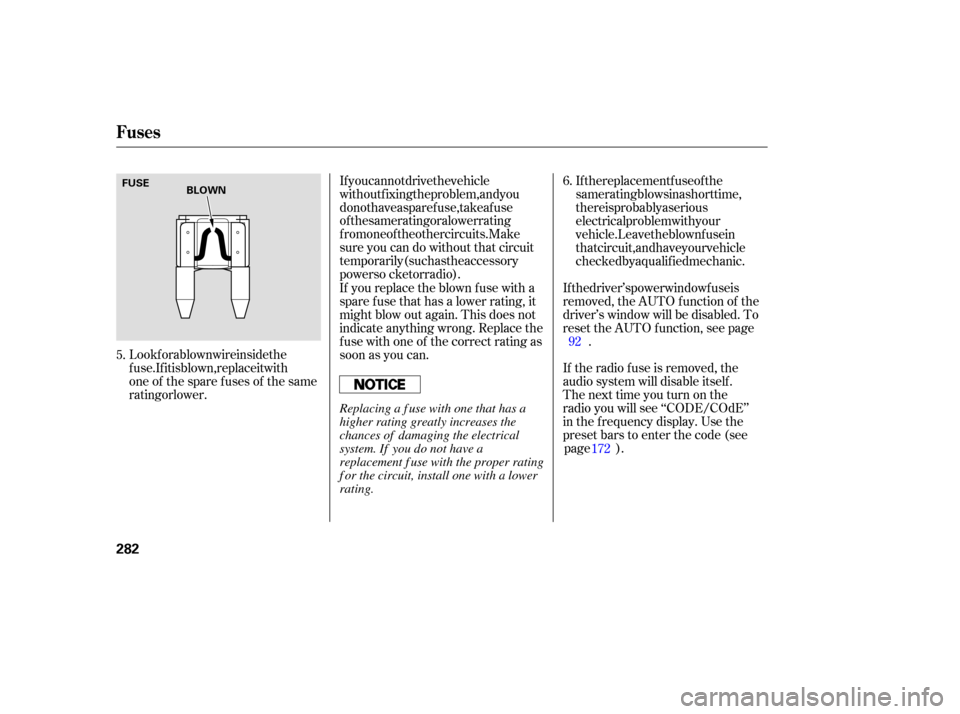
Look for a blown wire inside the
fuse. If it is blown, replace it with
oneofthesparefusesofthesame
rating or lower.If you cannot drive the vehicle
without fixing the problem, and you
do not have a spare fuse, take a fuse
of the same rating or a lower rating
from one of the other circuits. Make
sureyoucandowithoutthatcircuit
temporarily (such as the accessory
power so
cket or radio). If the replacement fuse of the
same rating blows in a short time,
there is probably a serious
electrical problem with your
vehicle. Leave the blown fuse in
that circuit, and have your vehicle
checked by a qualified mechanic.
If the driver’s power window fuse is
removed, the AUTO function of the
driver’s window will be disabled. To
reset the AUTO function, see page
.
If the radio fuse is removed, the
audio system will disable itself.
Thenexttimeyouturnonthe
radio you will see ‘‘CODE/COdE’’
in the frequency display. Use the
preset bars to enter the code (see page ).
If you replace the blown f use with a
spare f use that has a lower rating, it
might blow out again. This does not
indicate anything wrong. Replace the
f use with one of the correct rating as
soon as you can.
5. 6.
92 172
Fuses
282
BLOWN
FUSE
Replacing a f use with one that has a
higher rating greatly increases the
chances of damaging the electrical
system. If you do not have a
replacement f use with the proper rating
f or the circuit, install one with a lower
rating.
�����—�����—�����y�
�������������y���
�(���%�������y���������y