Page 234 of 319
Unscrew and remove the engine oil
fill cap on top of the valve cover.
Pour in the oil slowly and caref ully so
you do not spill. Clean up any spills
immediately. Spilled oil could
damage components in the engine
compartment.Install the engine oil f ill cap, and
tighten it securely. Wait a f ew
minutes, and recheck the oil level.
Do not f ill above the upper mark; you
could damage the engine.Oil is a major contributor to your
engine’s perf ormance and longevity.
Always use a premium-grade 5W-20
detergent oil displaying the API
Certif ication Seal. This seal indicates
the oil is energy conserving, and that
it meets the American Petroleum
Institute’s latest requirements. Recommended Engine Oil
A dding Engine Oil
232
ENGINE OIL FILL CAP
4-cylinder models 6-cylinder models
ENGINE OIL FILL CAPAPI CERTIFICATION SEAL
�����—�����—�����y�
�������������y���
�(���%�������y���������y
Page 237 of 319

Reinstall the engine oil f ill cap.
Start the engine. The oil pressure
indicator should go out within 5
seconds. If it does not, turn of f the
engine, and check your work.
Let the engine run f or several
minutes, then check the drain bolt
and oil f ilter f or leaks.
Turn of f the engine and let it sit
f or several minutes, then check
the oil level on the dipstick. If
necessary, add more oil.
Put a new washer on the drain bolt,
then reinstall the drain bolt.
Tighten the drain bolt to:
(4-cylinder models)
(6-cylinder models)
Refill the engine with the
recommended oil.
Engine oil change capacity
(including f ilter):
(4-cylinder models)
(6-cylinder models)
Install a new oil f ilter according to
the instructions that come with it.
Make sure to clean of f any dirt
and dust on the connecting
surf ace of a new oil f ilter. 9. 8.
7. 6.
5. 10.
Changing the Oil and Filter
Maint enance
235
OIL FILTER
6-cylinder models
33 lbf·ft (44 N·m , 4.5 kgf·m)
29 lbf·ft (39 N·m , 4.0 kgf·m)
4.4 US qt (4.2
)
4.5 US qt (4.3
) Improper disposal of engine oil can be
harmf ul to the environment. If you
change your own oil, please dispose of
the used oil properly. Put it in a sealed
container and take it to a recycling
center. Do not discard it in a trash bin
or dump it on the ground.
�����—�����—�����y�
�������������y���
�(���%�������y���������y
Page 238 of 319

If the coolant level in the reserve
tank is at or below the MIN line, add
coolant to bring it up to the MAX line.
Inspect the cooling system f or leaks.Always use Honda Long-lif e Anti-
f reeze/Coolant Type 2. This coolant
is pre-mixed with 50 percent
antif reeze and 50 percent water.
Never add straight antifreeze or
plain water.
If Honda antif reeze/coolant is not
available, you may use another
major-brand non-silicate coolant as a
temporaryreplacement.Makesureit
is a high-quality coolantrecommended f or aluminum engines.
Continued use of any non-Honda
coolant can result in corrosion,
causing the cooling system to
malf unction or f ail. Have the cooling
system f lushed and ref illed with
Honda antif reeze/coolant as soon as
possible.
If the reserve tank is completely
empty, you should also check the
coolant level in the radiator.
A dding Engine Coolant
Engine Coolant
236
6-cylinder models RESERVE TANK
4-cylinder models RESERVE TANK
Removing the radiator cap
while the engine is hot can
cause the coolant to spray out,
seriously scalding you.
Always let the engine and
radiator cool down before
removing the radiator cap.
�����—�����—�����y�
�������������y���
�(���%�������y���������y
Page 239 of 319
Remove the radiator cap by
pushing down and turning
counterclockwise. When the radiator and engine are
cool, relieve any pressure in the
cooling system by turning the
radiator cap counterclockwise,
without pressing down. Make sure the engine and radiator
are cool.The coolant level should be up to
the base of the f iller neck. Add
coolant if it is low.
Pourthecoolantslowlyand
caref ully so you do not spill any.
Clean up any spill immediately; it
could damage components in the
engine compartment.
Put the radiator cap back on, and
tighten it fully.Pour coolant into the reserve tank.
Fill it to half way between the MAX
and MIN marks. Put the cap back
on the reserve tank.
4.
1. 3.
2.
5.
CONT INUED
Engine Coolant
Maint enance
237
4-cylinder models
6-cylinder models RADIATOR CAP
RADIATOR CAP
4-cylinder modelsRESERVE TANK
�����—�����—�����y�
�������������y���
�(���%�������y���������y
Page 245 of 319

CONT INUED
If no f luid comes out, remove the
f iller bolt. Slowly add Honda Manual
Transmission Fluid (MTF) until it
starts to run out of the check bolt
hole. Let the f luid run out until it
stops, then reinstall the check bolt
and the f iller bolt.Pour the f luid into the f iller hole
slowly and caref ully so you do not
spill. Clean up any spill immediately;
it could damage components in the
engine compartment.
If Honda MTF is not available, you
may use an SAE 10W-30 or 10W-40
viscosity motor oil with the API
Certif ication seal that says ‘‘FOR
GASOLINE ENGINES’’ as a
temporary replacement. However,
motor oil does not contain the proper
additives, and continued use can
cause stiffer shifting. Replace as
soon as it is convenient.
If you are not sure how to check and
add f luid, contact your dealer.
Check the f luid level in the
reservoirs monthly. There are up to
two reservoirs, depending on the
model. They are:
Brake f luid reservoir (all models)
Clutch f luid reservoir
(manual transmission only)
Check the brake f luid level in the
reservoir monthly.
Replace the brake f luid according to
the time recommendation in the
maintenance minder schedule. Brake and Clutch Fluid
Transmission Fluid, Brake and Clutch Fluid
Maint enance
243
FILLER BOLT
WASHER
�����—�����—�����y�
���������
���y���
�(���%�������y���������y
Page 258 of 319

The following chart shows the
recommended cold tire pressures for
most normal and high-speed driving
conditions.
Excessive tread wear.
Cu
ts, splits, or cracks in the side
of the tire. Replace the tire if you
can see fabric or cord.
Bumps
or bulges in the tread or
side of the tire. Replace the tire if
youfindeitheroftheseconditions.
Every
time you check inflation, you
should also examine the tires for
damage, foreign objects, and wear.
Youshouldlookfor: For convenience, the recommended
tire sizes and cold tire pressures are
on a lab el on the driver’s doorjamb.
For additional inf ormation about
your tires, see page . 296Tire Size/Type
Compact Spare Cold Tire Pressure
Tire Size/Type Compact Spare Cold Tire Pressure
Tire Size/Type
Compact Spare Cold Tire Pressure
Front:
Rear: Front:
Rear:
Front:
Rear:
6-cylinder models
Canadian 4-cylinder LX models
All 4-cylinder models except Canadian LX
Tires
Recommended Tire Pressures
Tire Inspection
256
P205/65R15 92H30 psi (210 kPa ,
2.1 kgf/cm)
29 psi (200 kPa , 2.0 kgf/cm
)
60 psi (420 kPa , 4.2 kgf/cm
)
32 psi (220 kPa , 2.2 kgf/cm
)
29 psi (200 kPa , 2.0 kgf/cm
)
60 psi (420 kPa , 4.2 kgf/cm
)
32 psi (220 kPa ,
2.2 kgf/cm
)
30 psi (210 kPa , 2.1 kgf/cm
)
60 psi (420 kPa , 4.2 kgf/cm
)
P205/60R16 91V
P215/50R17 93V
�����—�����—�����y�
�������������y���
�(���%�������y���������y
Page 260 of 319

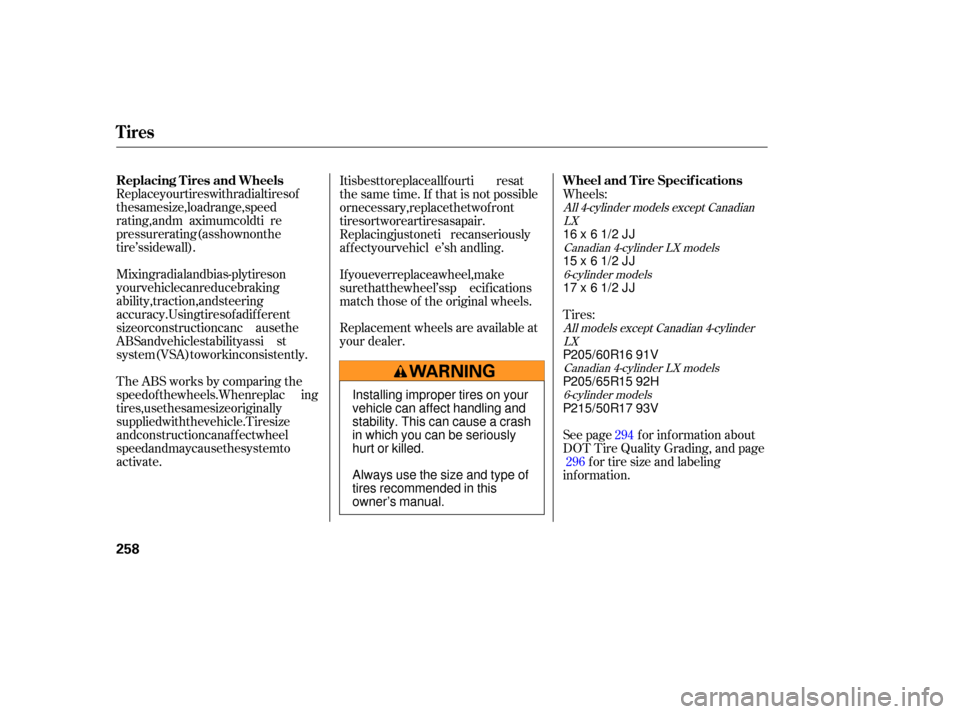
Replace your tires with radial tires of
the same size, load range, speed
rating, and maximum cold ti re
pressure rating (as shown on the
ti re’s sidewall).
Mixing radial and bias-ply tires on
your vehicle can reduce braking
ability, traction, and steering
accuracy. Using tires of a different
size or construction can c ause the
ABS and vehicle stability assi st
system (VSA) to work inconsistently.
TheABSworksbycomparingthe
speed of the wheels. When replac ing
tires, use the same size originally
supplied with the vehicle. Tire size
and construction can affect wheel
speed and may cause the system to
activate. It is best to replace all four ti
res at
thesametime.Ifthatisnotpossible
or necessary, replace the two front
tires or two rear tires as a pair.
Replacing just one ti re can seriously
affect your vehicl e’s handling.
If you ever replace a wheel, make
sure that the wheel’s sp ecifications
match those of the original wheels.
Replacement wheels are available at
your dealer. Wheels:
Tires:
See
page for info rmation about
DOT Tire Quality Grading, and page
f or tire size and labeling
inf ormation. 294
296
Canadian 4-cylinder LX models
6-cylinder models
6-cylinder models
Canadian 4-cylinder LX models
All models except Canadian 4-cylinder
LX
All 4-cylinder models except Canadian
LX
Replacing T ires and Wheels Wheel and T ire Specif ications
Tires
258
16x61/2JJ
15x61/2JJ
17x61/2JJ
P205/60R16 91V
P205/65R15 92H
P215/50R17 93V
Installing improper tires on your
vehicle can affect handling and
stability. This can cause a crash
in which you can be seriously
hurt or killed.
Always use the size and type of
tires recommended in this
owner’s manual.
�����—�����—�����y�
���������
���y���
�(���%�������y�������
�y
Page 266 of 319

Use the compact spare tire as a
temporary replacement only. Get
your regular tire repaired or replaced,
and put it back on your vehicle as
soon as you can. Follow
these precautions:
Do not use your compact spare
tire on another vehicle unless it is
thesamemakeandmodel. Do not use the compact spare tire
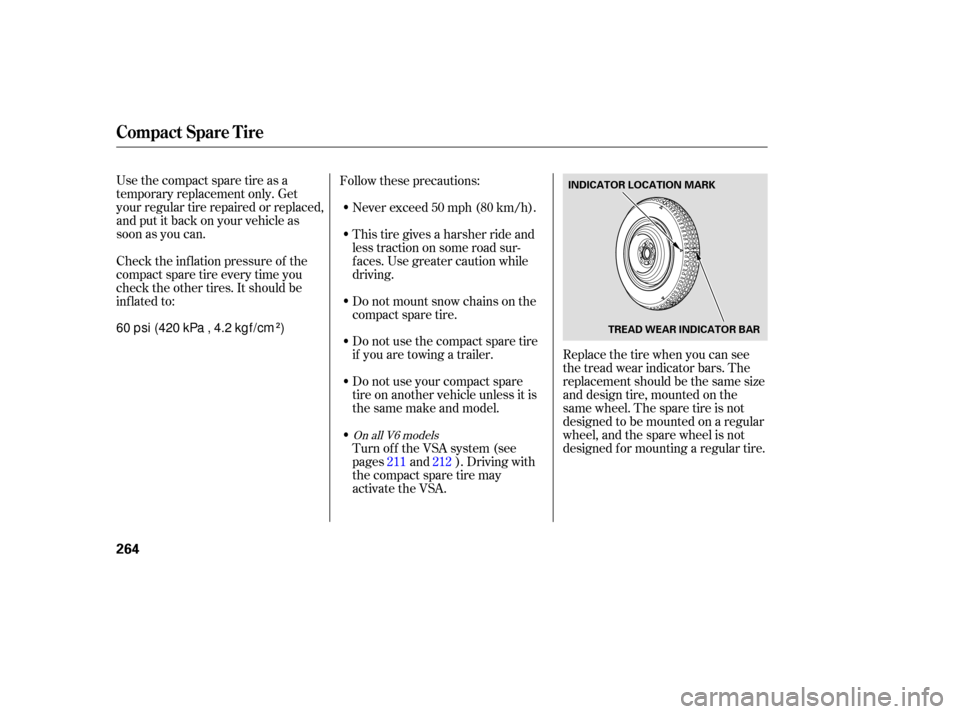
if you are towing a trailer. Replace the tire when you can see
the tread wear indica tor bars. The
replacement should be the same size
and design tire, mounted on the
same wheel. The spare tire is not
designed to be mounted on a regular
wheel, and the spare wheel is not
designed for mounting a regular tire.
Check
the inflation pressure of the
compact spare tire every time you
check the other tires. It should be
inflated to: Never
exceed 50 mph (80 km/h).
This tire gives a harsher ride and
less traction on some road sur-
f aces. Use greater caution while
driving.
Do not mount snow chains on the
compact spare tire.
Turn of f the VSA system (see
pages and ). Driving with
thecompactsparetiremay
activate the VSA. 211 212
On all V6 models
Compact Spare Tire
264
INDICATOR LOCATION MARK
TREAD WEAR INDICATOR BAR
60 psi (420 kPa , 4.2 kgf/cm)
�����—�����—�����y�
���������
���y���
�(���%�������y���������y