Page 231 of 319
Maintenance Record
Maint enance
229
mi
mi
mi
mi
mi
mi
mimi
mi
mi
mi
mi
mi
mi
Mileage
km
km
km
km
km
km
km Signature
Date
Mileage
km
km
km
km
km
km
km Signature
Date
Maintenance
Performed
AB12345
AB12345
AB12345
AB12345
AB12345
AB12345
AB12345 Maintenance
Performed
AB12345
AB12345
AB12345
AB12345
AB12345
AB12345
AB12345
�����—�����—�����y�
�������������y���
�(���%�������y���������y
Page 235 of 319

Honda Motor Oil is the pref erred
5W-20 lubricant f or your vehicle. It is
highly recommended that you use
Honda Motor Oil in your vehicle f or
optimum engine protection. Make
sure the API Certif ication Seal says
‘‘For Gasoline Engines.’’Your vehicle does not require any oil
additives. Additives may adversely
af f ect the engine or transmission
perf ormance and durability.
The oil viscosity or weight is
provided on the container’s label.
5W-20 oil is f ormulated f or year-
round protection of your vehicle to
improve cold weather starting and
f uel economy. You may use a synthetic motor oil if
it meets the same requirements
given f or a conventional motor oil: it
displays the API Certif ication Seal,
and it is the proper weight. You must
f ollow the oil and f ilter change
intervals shown on the information
display.
Always change the oil and f ilter
according to the maintenance
messages shown on the inf ormation
display. The oil and f ilter collect
contaminants that can damage your
engine if they are not removed
regularly.
Changing the oil and f ilter requires
special tools and access f rom
underneath the vehicle. The vehicle
should be raised on a service station-
type hydraulic lif t f or this service.
Unless you have the knowledge and
proper equipment, you should have
this maintenance done by a skilled
mechanic.
Run the engine until it reaches
normal operating temperature,
then shut it off.
1.
CONT INUED
Synthetic Oil
Engine Oil A dditives Changing the Oil and Filter
A dding Engine Oil, Changing the Oil and Filter
Maint enance
233
Ambient Temperature
�����—�����—�����y�
���������
���y���
�(���%�������y���������y
Page 245 of 319
 until it
starts to run out of the check bolt
hole. Let the f luid run out until it
stops, t")
CONT INUED
If no f luid comes out, remove the
f iller bolt. Slowly add Honda Manual
Transmission Fluid (MTF) until it
starts to run out of the check bolt
hole. Let the f luid run out until it
stops, then reinstall the check bolt
and the f iller bolt.Pour the f luid into the f iller hole
slowly and caref ully so you do not
spill. Clean up any spill immediately;
it could damage components in the
engine compartment.
If Honda MTF is not available, you
may use an SAE 10W-30 or 10W-40
viscosity motor oil with the API
Certif ication seal that says ‘‘FOR
GASOLINE ENGINES’’ as a
temporary replacement. However,
motor oil does not contain the proper
additives, and continued use can
cause stiffer shifting. Replace as
soon as it is convenient.
If you are not sure how to check and
add f luid, contact your dealer.
Check the f luid level in the
reservoirs monthly. There are up to
two reservoirs, depending on the
model. They are:
Brake f luid reservoir (all models)
Clutch f luid reservoir
(manual transmission only)
Check the brake f luid level in the
reservoir monthly.
Replace the brake f luid according to
the time recommendation in the
maintenance minder schedule. Brake and Clutch Fluid
Transmission Fluid, Brake and Clutch Fluid
Maint enance
243
FILLER BOLT
WASHER
�����—�����—�����y�
���������
���y���
�(���%�������y���������y
Page 248 of 319

�µ�µTheheadlightswereproperlyaimed
when your vehicle was new. If you
regularly carry heavy items in the
trunk or pull a trailer, readjustment
may be required. Adjustments
should be done by your dealer or
other qualif ied mechanic.
Open the hood. To change a bulb
on the driver’s side, undo the two
f asteners and remove the air
intake cover.
Your vehicle has halogen headlight
bulbs. When replacing a bulb, handle
it by its base, and protect the glass
f rom contact with your skin or hard
objects. If you touch the glass, clean
it with denatured alcohol and a clean
cloth.
If you f requently tow a trailer.
Replace the belt at 60,000 miles (U.S.)
or 100,000 km (Canada) if you
regularly drive your vehicle in one or
more of these conditions: The timing belt should be replaced
at the intervals shown in the
maintenance minder schedule.
In very high temperatures
(over 110°F, 43°C).
In very low temperatures
(under 20°F, 29°C). 1.
6-cylinder models only
Timing Belt, Lights
Headlight A iming
Replacing a Headlight Bulb
Timing BeltHigh Beam Headlight
246
FASTENERS
AIR INTAKE
COVER
4-cylinder models
Halogen headlight bulbs get very hot
when lit. Oil, perspiration, or a scratch
on the glass can cause the bulb to
overheat and shatter.
�����—�����—�����y�
�������������y���
�(���%�������y���������y
Page 254 of 319

This f ilter removes the dust and
pollenthatisbroughtinfromthe
outside through the heating and
cooling system/climate control
system.Check the condition of the wiper
blades at least every 6 months.
Replace them if you f ind signs of
cracking in the rubber, areas that are
getting hard, or if they leave streaks
and unwiped areas when used.
If you remove the f loor mats, make
sure to re-anchor them when you put
them back in your vehicle.
If you use non-Honda f loor mats,
make sure they f it properly and that
theycanbeusedwiththefloormat
anchors. Do not put additional f loor
mats on top of an anchored mat.
Make sure the right-rear f loor mat is
properly hooked to the f loor mat
anchor. Your vehicle is equipped
with f ront passenger’s seat weight
sensors. If the right-rear passenger’s
f loor mat is on the seat rail of the
f ront passenger’s seat, the sensors
will detect the decreased weight on
the seat and they may not work
properly. Have your dealer replace the filter
when this service is indicated by a
maintenance message on the
inf ormation display. It should be
replaced every 15,000 miles (24,000
km) if you drive primarily in urban
areas that have high concentrations
of soot in the air f rom industry and
diesel-powered vehicles. Replace it
more of ten if airf low f rom the
heating and cooling system/climate
control system becomes less than
usual. Have the dust and pollen f ilter
replaced by your dealer. Dust and Pollen Filter Wiper Blades
Floor Mats, Dust and Pollen Filter, Wiper Blades
252
�����—�����—�����y�
�������������y���
�(���%�������y���������y
Page 256 of 319

Examine the new wiper blades. If
they have no plastic or metal
reinf orcement along the back
edge, remove the metal
reinf orcement strips f rom the old
wiper blade, and install them in
the slots along the edge of the new
blade.Slide the new wiper blade into the
holder until the tabs lock.
Slide the wiper blade assembly
onto the wiper arm. Make sure it
locks in place.
Lower the wiper arm down against
the windshield, the passenger’s
side first, then the driver’s side.
To saf ely operate your vehicle, your
tires must be the proper type and
size, in good condition with adequate
tread, and correctly inf lated.
The f ollowing pages give more
detailed inf ormation on how to take
care of your tires and what to do
when they need to be replaced.
4. 5.
6.
7.
Wiper Blades, Tires
Tires
254
BLADE
REINFORCEMENT
Using tires that are excessively
worn or improperly inflated can
cause a crash in which you can
be seriously hurt or killed.
Follow all instructions in this
owner’s manual regarding tire
inflation and maintenance.
�����—�����—�����y�
���������
���y���
�(���%�������y���������y
Page 259 of 319
 wide across
the tread. This shows there is less
than 1/16 inch (1.6 mm) of trea")
Your tires have wear indicators
molded into the tread. When the
tread wears down, you will see a
band 1/2 inch (12.7 mm) wide across
the tread. This shows there is less
than 1/16 inch (1.6 mm) of tread lef t
on the tire.
A tire this worn gives very little
traction on wet roads. You should
replace the tire if you can see three
or more tread wear indicators.In addition to proper inf lation,
correct wheel alignment helps to
decrease tire wear. If you f ind a tire
is worn unevenly, have your dealer
check the wheel alignment.
Have your dealer check the tires if
you f eel a consistent vibration while
driving. A tire should always be
rebalanced if it is removed f rom the
wheel. When you have new tires
installed, make sure they are
balanced. This increases riding
comf ort and tire lif e. For best results,
have the installer perform a dynamic
balance.
To help increase tire lif e and
distribute wear more evenly, rotate
the tires according to the
maintenance messages displayed on
the information display. Move the
tires to the positions shown in the
chart each time they are rotated. If
you purchase directional tires, rotate
only f ront-to-back.
For vehicles with aluminum wheels:
Tires
T ire Maintenance
T ire Rotation
Maint enance
257
INDICATOR LOCATION MARKS
TREAD WEAR INDICATORS Front
Front
(For Non-directional
Tires and Wheels) (For Directional
Tires and Wheels)
Improper wheel weights can damage
your vehicle’s aluminum wheels. Use
only Honda wheel weights f or
balancing.
�����—�����—�����y�
�������������y���
�(���%�������y���������y
Page 263 of 319
�µ
If additional battery maintenance is
needed, see your dealer or a
qualif ied technician.
Battery posts,
terminals, and related accessories
contain lead and lead compounds. If you need to connect the battery to
a charger, disconnect both cables to
prevent damaging your vehicle’s
electrical system. Always disconnect
the negative ( ) cable first, and
reconnect it last.
Checking the Battery
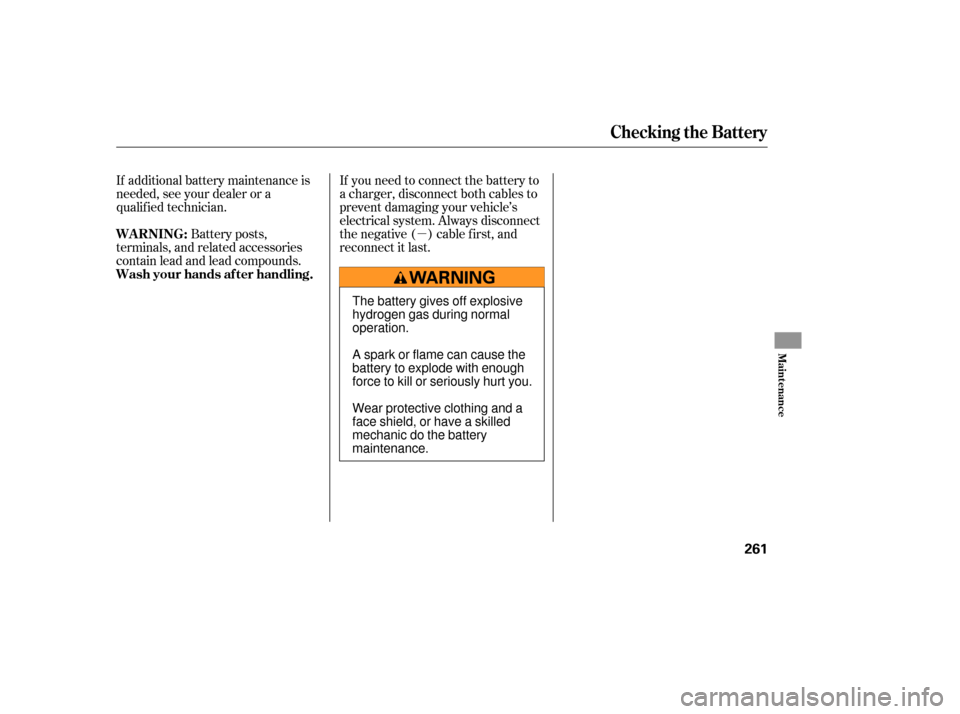
WARNING:
Wash your hands af ter handling.
Maint enance
261
The battery gives off explosive
hydrogen gas during normal
operation.
A spark or flame can cause the
battery to explode with enough
force to kill or seriously hurt you.
Wear protective clothing and a
face shield, or have a skilled
mechanic do the battery
maintenance.
�����—�����—�����y�
�������������y���
�(���%�������y���������y