2006 GMC SAVANA light
[x] Cancel search: lightPage 226 of 394

Rocking Your Vehicle to Get It Out
First, turn your steering wheel left and right. That
will clear the area around your front wheels. Then shift
back and forth between REVERSE (R) and a forward
gear, spinning the wheels as little as possible. Release
the accelerator pedal while you shift, and press
lightly on the accelerator pedal when the transmission is
in gear. By slowly spinning your wheels in the forward
and reverse directions, you will cause a rocking
motion that may free your vehicle. If that does not get
you out after a few tries, you may need to be towed out.
If you do need to be towed out, seeTowing Your
Vehicle on page 4-35.
Loading Your Vehicle
It is very important to know how much weight your
vehicle can carry. This weight is called the vehicle
capacity weight and includes the weight of all occupants,
cargo, and all nonfactory-installed options. Two labels
on your vehicle show how much weight it was designed
to carry, the Tire and Loading Information label and
the Certification/Tire label.
{CAUTION:
Do not load your vehicle any heavier than the
Gross Vehicle Weight Rating (GVWR), or either
the maximum front or rear Gross Axle Weight
Rating (GAWR). If you do, parts on your
vehicle can break, and it can change the way
your vehicle handles. These could cause you
to lose control and crash. Also, overloading
can shorten the life of your vehicle.
4-30
Page 235 of 394

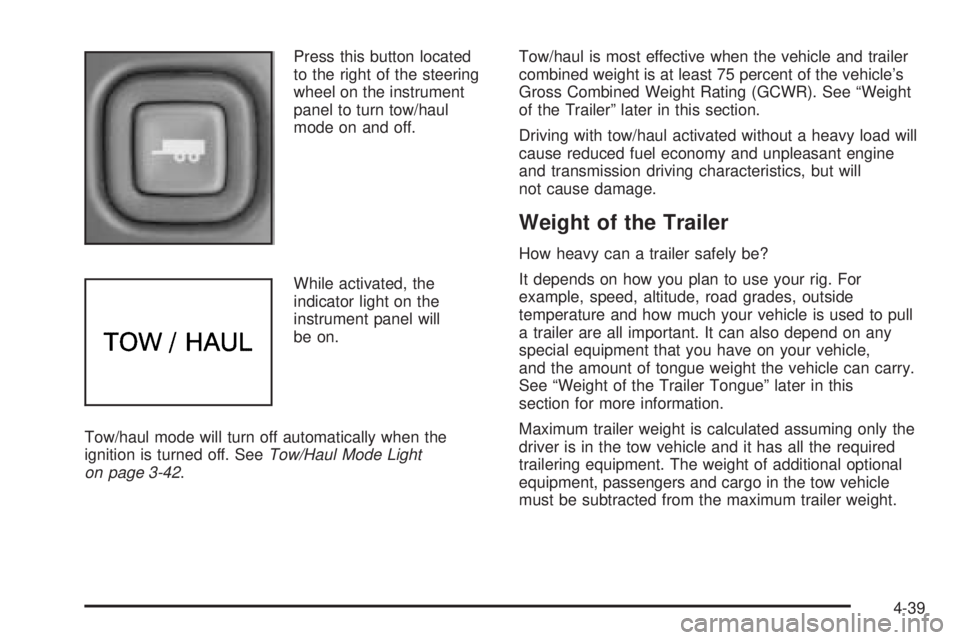
Press this button located
to the right of the steering
wheel on the instrument
panel to turn tow/haul
mode on and off.
While activated, the
indicator light on the
instrument panel will
be on.
Tow/haul mode will turn off automatically when the
ignition is turned off. SeeTow/Haul Mode Light
on page 3-42.Tow/haul is most effective when the vehicle and trailer
combined weight is at least 75 percent of the vehicle’s
Gross Combined Weight Rating (GCWR). See “Weight
of the Trailer” later in this section.
Driving with tow/haul activated without a heavy load will
cause reduced fuel economy and unpleasant engine
and transmission driving characteristics, but will
not cause damage.
Weight of the Trailer
How heavy can a trailer safely be?
It depends on how you plan to use your rig. For
example, speed, altitude, road grades, outside
temperature and how much your vehicle is used to pull
a trailer are all important. It can also depend on any
special equipment that you have on your vehicle,
and the amount of tongue weight the vehicle can carry.
See “Weight of the Trailer Tongue” later in this
section for more information.
Maximum trailer weight is calculated assuming only the
driver is in the tow vehicle and it has all the required
trailering equipment. The weight of additional optional
equipment, passengers and cargo in the tow vehicle
must be subtracted from the maximum trailer weight.
4-39
Page 247 of 394

Maintenance When Trailer Towing
Your vehicle will need service more often when you’re
pulling a trailer. See the Maintenance Schedule for more
on this. Things that are especially important in trailer
operation are automatic transmission fluid (don’t overfill),
engine oil, axle lubricant, belt, cooling system and
brake system. Each of these is covered in this manual,
and the Index will help you find them quickly. If
you’re trailering, it’s a good idea to review these sections
before you start your trip.
Check periodically to see that all hitch nuts and bolts
are tight.
Trailer Wiring Harness
The optional heavy-duty trailer wiring package includes
a seven-wire harness assembly at the rear of the
vehicle and a four-wire harness assembly under the left
hand side of the instrument panel. The seven-wire
harness assembly is taped together and located in a
frame pocket at the driver side rear left corner of
the frame. The seven-wire harness includes a 30-amp
feed wire. Both harnesses come without connectors and
should be wired by a qualified electrical technician.
The technician can use the following color code chart
when connecting the wiring harness to your trailer
and trailer brake controller.Seven-Wire Harness
•Light Green: Back-up lamps
•Brown: Parking lamps
•Yellow: Left stoplamp and turn signal
•Dark Green: Right stoplamp and turn signal
•Dark Blue: Use for electric trailer brakes
•Orange: Trailer accessory
•White (heavy gage): Ground wire
Four-Wire Harness (Trailer Brake Controller)
•Black: Ground
•Red/White Stripe: Fused Battery
•Dark Blue: Trailer Brake Feed
•Light Blue: Fused Stoplamp/CHMSL
4-51
Page 257 of 394

{CAUTION:
If you spill fuel and then something ignites it,
you could be badly burned. Fuel can spray out
on you if you open the fuel cap too quickly.
This spray can happen if your tank is nearly
full, and is more likely in hot weather. Open
the fuel cap slowly and wait for any hiss noise
to stop. Then unscrew the cap all the way.
Be careful not to spill fuel. Do not top off or overfill the
tank and wait a few seconds after you have finished
pumping before removing the nozzle. Clean fuel
from painted surfaces as soon as possible. See
Washing Your Vehicle on page 5-87.
When replacing the fuel cap, turn it clockwise until it
clicks. Make sure the cap is fully installed. The
diagnostic system can determine if the fuel cap has
been left off or improperly installed. This would allow fuel
to evaporate into the atmosphere. SeeMalfunction
Indicator Lamp on page 3-36.
{CAUTION:
If a �re starts while you are refueling, do not
remove the nozzle. Shut off the �ow of fuel by
shutting off the pump or by notifying the
station attendant. Leave the area immediately.
Notice:If you need a new fuel cap, be sure to get
the right type. Your dealer can get one for you.
If you get the wrong type, it may not �t properly.
This may cause your malfunction indicator lamp to
light and may damage your fuel tank and emissions
system. SeeMalfunction Indicator Lamp on
page 3-36.
5-9
Page 264 of 394

If you are in an area of extreme cold, where the
temperature falls below−20°F (−29°C), it is
recommended that you use either an SAE 5W-30
synthetic oil or an SAE 0W-30 oil. Both will provide
easier cold starting and better protection for your engine
at extremely low temperatures.
Engine Oil Additives
Do not add anything to your oil. The recommended oils
with the starburst symbol that meet GM Standard
GM6094M are all you will need for good performance
and engine protection.
Engine Oil Life System (Gasoline
Engine)
When to Change Engine Oil
Your vehicle has a computer system that lets you
know when to change the engine oil and filter. This is
based on engine revolutions and engine temperature,
and not on mileage. Based on driving conditions, the
mileage at which an oil change will be indicated can vary
considerably. For the oil life system to work properly, you
must reset the system every time the oil is changed.When the system has calculated that oil life has been
diminished, it will indicate that an oil change is
necessary. A change engine oil light will come on.
SeeChange Engine Oil Light on page 3-39. Change
your oil as soon as possible within the next 600 miles
(1 000 km). It is possible that, if you are driving
under the best conditions, the oil life system may not
indicate that an oil change is necessary for over a year.
However, your engine oil and filter must be changed
at least once a year and at this time the system must be
reset. Your dealer has GM-trained service people who
will perform this work using genuine GM parts and reset
the system. It is also important to check your oil
regularly and keep it at the proper level.
If the system is ever reset accidentally, you must
change your oil at 3,000 miles (5 000 km) since your
last oil change. Remember to reset the oil life system
whenever the oil is changed.How to Reset the Engine Oil
Life System
The Engine Oil Life System calculates when to change
your engine oil and filter based on vehicle use. Anytime
your oil is changed, reset the system so it can calculate
when the next oil change is required. If a situation occurs
where you change your oil prior to a change engine oil
light being turned on, reset the system.
5-16
Page 265 of 394

To reset the change engine oil light, do the following:
1. Turn the ignition key to RUN with the engine off.
2. Fully press and release the accelerator pedal slowly
three times within five seconds.
3. If the Change Engine Oil light flashes for five
seconds, the system is reset.
4. Turn the key to LOCK.
If the change engine oil light comes back on when you
start your vehicle, the engine oil life system has not
reset. Repeat the procedure. If it still does not reset, see
your dealer for service. SeeChange Engine Oil Light
on page 3-39.
What to Do with Used Oil
Used engine oil contains certain elements that may be
unhealthy for your skin and could even cause cancer.
Do not let used oil stay on your skin for very long. Clean
your skin and nails with soap and water, or a good
hand cleaner. Wash or properly dispose of clothing or
rags containing used engine oil. See the manufacturer’s
warnings about the use and disposal of oil products.
Used oil can be a threat to the environment. If you
change your own oil, be sure to drain all the oil from the
filter before disposal. Never dispose of oil by putting it
in the trash, pouring it on the ground, into sewers, or intostreams or bodies of water. Instead, recycle it by taking
it to a place that collects used oil. If you have a
problem properly disposing of your used oil, ask your
dealer, a service station or a local recycling center
for help.
Engine Air Cleaner/Filter
The engine air cleaner/filter is located near the center of
the engine compartment. SeeEngine Compartment
Overview on page 5-12for more information on location.
5-17
Page 266 of 394

When to Inspect the Engine Air
Cleaner/Filter
Inspect the air cleaner/filter at the MaintenanceII
intervals and replace it at the first oil change after each
50,000 mile (83 000 km) interval. SeeScheduled
Maintenance (Gasoline Engine) on page 6-4for more
information. If you are driving in dusty/dirty conditions,
inspect the filter at each engine oil change.
How to Inspect the Engine Air
Cleaner/Filter
To inspect the air cleaner/filter, remove the filter from
the vehicle and lightly shake the filter to release
loose dust and dirt. If the filter remains caked with dirt,
a new filter is required.
To inspect or replace the engine air cleaner/filter,
do the following:
1. Unhook the retainer clips and remove the cover.
2. Lift the filter out of the engine air cleaner/filter
housing. Care should be taken to dislodge as
little dirt as possible.
3. Clean the engine air cleaner/filter housing.4. Inspect or replace the engine air cleaner/filter. Make
sure that the filter fits properly into the housing.
5. Reinstall the cover and fasten the retaining clips.
{CAUTION:
Operating the engine with the air cleaner/�lter
off can cause you or others to be burned.
The air cleaner not only cleans the air; it helps
to stop �ames if the engine back�res. If it is
not there and the engine back�res, you could
be burned. Do not drive with it off, and be
careful working on the engine with the air
cleaner/�lter off.
Notice:If the air cleaner/�lter is off, a back�re can
cause a damaging engine �re. And, dirt can
easily get into your engine, which will damage it.
Always have the air cleaner/�lter in place when you
are driving.
5-18
Page 269 of 394

How to Add Automatic Transmission
Fluid
Refer to the Maintenance Schedule to determine what
kind of transmission fluid to use. SeeRecommended
Fluids and Lubricants (Gasoline Engine) on page 6-13.
Using a funnel, add fluid down the transmission
dipstick tube only after checking the transmission fluid
while it is hot. A cold check is used only as a reference.
If the fluid level is low, add only enough of the proper
fluid to bring the level up to the HOT area for a hot
check. It does not take much fluid, generally less than
one pint (0.5 L). Do not overfill.
Notice:Use of the incorrect automatic transmission
�uid may damage your vehicle, and the damages
may not be covered by your warranty. Always
use the automatic transmission �uid listed in
Recommended Fluids and Lubricants (Gasoline
Engine) on page 6-13.
•After adding fluid, recheck the fluid level as
described under “How to Check Automatic
Transmission Fluid,” earlier in this section.
•When the correct fluid level is obtained, push the
dipstick back in all the way; then flip the handle
down to lock the dipstick in place.
Engine Coolant
The cooling system in your vehicle is filled with
DEX-COOL®engine coolant. This coolant is designed
to remain in your vehicle for five years or 150,000 miles
(240 000 km), whichever occurs first, if you add only
DEX-COOL
®extended life coolant.
The following explains your cooling system and how to
add coolant when it is low. If you have a problem
with engine overheating, seeEngine Overheating on
page 5-24.
A 50/50 mixture of clean, drinkable water and
DEX-COOL
®coolant will:
•Give freezing protection down to−34°F (−37°C).
•Give boiling protection up to 265°F (129°C).
•Protect against rust and corrosion.
•Help keep the proper engine temperature.
•Let the warning lights and gages work as
they should.
Notice:Using coolant other than DEX-COOL
®may
cause premature engine, heater core, radiator
and fuel operated heater (FOH) corrosion. In
addition, the engine coolant may require changing
sooner, at 30,000 miles (50 000 km) or 24 months,
whichever occurs �rst. Any repairs would not
be covered by your warranty. Always use
DEX-COOL
®(silicate-free) coolant in your vehicle.
5-21