2006 GMC SAVANA instrument panel
[x] Cancel search: instrument panelPage 206 of 394

For more information, seeStabiliTrak®Not Ready Light
on page 3-34andStabiliTrak®Indicator Light on
page 3-35.
Pressing and holding the
StabiliTrak
®button located
on the instrument panel
for more than five seconds
can turn off StabiliTrak
®
and part of the traction
control system.
For your safety, the system can only be disabled when
the vehicle speed is less than 20 mph (32 km/h).
You will hear three chimes and the StabiliTrak
®not
ready light will come on.
To turn on the StabiliTrak
®system, press the
StabiliTrak®button again. StabiliTrak®will automatically
turn back on when the vehicle speed exceeds
20 mph (32 km/h). You will hear one chime and the
StabiliTrak
®not ready light will turn off.
When the StabiliTrak
®system has been turned off you
may still hear system noises as a result of the
brake-traction control coming on.It is recommended to leave the system on for normal
driving conditions, but it may be necessary to turn
the system off if your vehicle is stuck in sand, mud, ice
or snow, and you want to “rock” your vehicle to
attempt to free it. SeeIf Your Vehicle is Stuck in Sand,
Mud, Ice or Snow on page 4-29.
StabiliTrak®System Operation
The StabiliTrak®system is normally on, except when the
system is initializing or has been disabled with the
StabiliTrak
®button. The StabiliTrak®system will
automatically activate to assist the driver in maintaining
vehicle directional control in most driving conditions.
When activated, the StabiliTrak
®system may reduce
engine power to the wheels and apply braking to
individual wheels as necessary to assist the driver with
vehicle directional control. If your vehicle is in cruise
control when the system activates, the StabiliTrak
®
indicator light on the instrument panel will flash, and the
cruise control will automatically disengage. When the
StabiliTrak
®system is no longer active, you may
re-engage the cruise control. SeeCruise Control on
page 3-10.
The StabiliTrak
®system may also turn off automatically
if it determines that a problem exists with the system.
If the problem does not clear itself after restarting
the vehicle, you should see your dealer for service.
4-10
Page 235 of 394

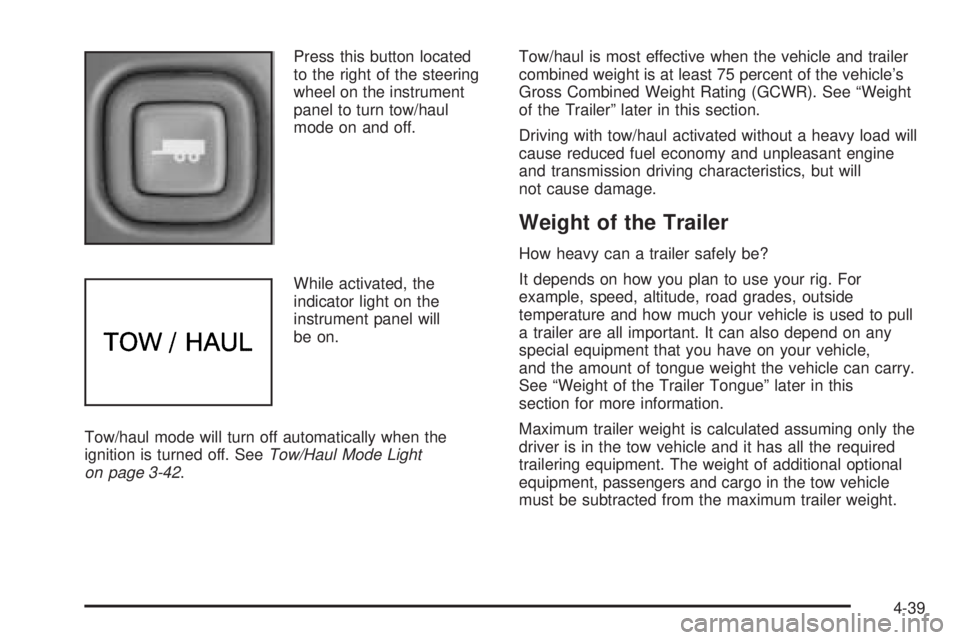
Press this button located
to the right of the steering
wheel on the instrument
panel to turn tow/haul
mode on and off.
While activated, the
indicator light on the
instrument panel will
be on.
Tow/haul mode will turn off automatically when the
ignition is turned off. SeeTow/Haul Mode Light
on page 3-42.Tow/haul is most effective when the vehicle and trailer
combined weight is at least 75 percent of the vehicle’s
Gross Combined Weight Rating (GCWR). See “Weight
of the Trailer” later in this section.
Driving with tow/haul activated without a heavy load will
cause reduced fuel economy and unpleasant engine
and transmission driving characteristics, but will
not cause damage.
Weight of the Trailer
How heavy can a trailer safely be?
It depends on how you plan to use your rig. For
example, speed, altitude, road grades, outside
temperature and how much your vehicle is used to pull
a trailer are all important. It can also depend on any
special equipment that you have on your vehicle,
and the amount of tongue weight the vehicle can carry.
See “Weight of the Trailer Tongue” later in this
section for more information.
Maximum trailer weight is calculated assuming only the
driver is in the tow vehicle and it has all the required
trailering equipment. The weight of additional optional
equipment, passengers and cargo in the tow vehicle
must be subtracted from the maximum trailer weight.
4-39
Page 245 of 394

Passing
You’ll need more passing distance up ahead when
you’re towing a trailer. And, because you’re a good deal
longer, you’ll need to go much farther beyond the
passed vehicle before you can return to your lane.
Backing Up
Hold the bottom of the steering wheel with one hand.
Then, to move the trailer to the left, just move that hand
to the left. To move the trailer to the right, move your
hand to the right. Always back up slowly and, if possible,
have someone guide you.
Making Turns
Notice:Making very sharp turns while trailering
could cause the trailer to come in contact with the
vehicle. Your vehicle could be damaged. Avoid
making very sharp turns while trailering.
When you’re turning with a trailer, make wider turns
than normal. Do this so your trailer won’t strike
soft shoulders, curbs, road signs, trees or other objects.
Avoid jerky or sudden maneuvers. Signal well in
advance.
Turn Signals When Towing a Trailer
When you tow a trailer, your vehicle has to have extra
wiring and a heavy-duty turn signal flasher (included
in the optional trailering package).
The arrows on your instrument panel will flash whenever
you signal a turn or lane change. Properly hooked up,
the trailer lamps will also flash, telling other drivers
you’re about to turn, change lanes or stop.
When towing a trailer, the arrows on your instrument
panel will flash for turns even if the bulbs on the trailer
are burned out. Thus, you may think drivers behind
you are seeing your signal when they are not. It’s
important to check occasionally to be sure the trailer
bulbs are still working.
Driving On Grades
Reduce speed and shift to a lower gearbeforeyou start
down a long or steep downgrade. If you don’t shift
down, you might have to use your brakes so much that
they would get hot and no longer work well.
You can tow in DRIVE (D). You may want to shift the
transmission to THIRD (3) or a lower gear under heavy
loads and/or hilly conditions.
4-49
Page 247 of 394

Maintenance When Trailer Towing
Your vehicle will need service more often when you’re
pulling a trailer. See the Maintenance Schedule for more
on this. Things that are especially important in trailer
operation are automatic transmission fluid (don’t overfill),
engine oil, axle lubricant, belt, cooling system and
brake system. Each of these is covered in this manual,
and the Index will help you find them quickly. If
you’re trailering, it’s a good idea to review these sections
before you start your trip.
Check periodically to see that all hitch nuts and bolts
are tight.
Trailer Wiring Harness
The optional heavy-duty trailer wiring package includes
a seven-wire harness assembly at the rear of the
vehicle and a four-wire harness assembly under the left
hand side of the instrument panel. The seven-wire
harness assembly is taped together and located in a
frame pocket at the driver side rear left corner of
the frame. The seven-wire harness includes a 30-amp
feed wire. Both harnesses come without connectors and
should be wired by a qualified electrical technician.
The technician can use the following color code chart
when connecting the wiring harness to your trailer
and trailer brake controller.Seven-Wire Harness
•Light Green: Back-up lamps
•Brown: Parking lamps
•Yellow: Left stoplamp and turn signal
•Dark Green: Right stoplamp and turn signal
•Dark Blue: Use for electric trailer brakes
•Orange: Trailer accessory
•White (heavy gage): Ground wire
Four-Wire Harness (Trailer Brake Controller)
•Black: Ground
•Red/White Stripe: Fused Battery
•Dark Blue: Trailer Brake Feed
•Light Blue: Fused Stoplamp/CHMSL
4-51
Page 250 of 394

Tires..............................................................5-52
Tire Sidewall Labeling...................................5-53
Tire Terminology and Definitions.....................5-56
Inflation - Tire Pressure.................................5-59
Dual Tire Operation.......................................5-60
Tire Inspection and Rotation...........................5-61
When It Is Time for New Tires.......................5-63
Buying New Tires.........................................5-63
Different Size Tires and Wheels......................5-65
Uniform Tire Quality Grading..........................5-65
Wheel Alignment and Tire Balance..................5-67
Wheel Replacement......................................5-67
Tire Chains..................................................5-68
If a Tire Goes Flat........................................5-69
Changing a Flat Tire.....................................5-70
Removing the Spare Tire and Tools................5-71
Removing the Flat Tire and Installing
the Spare Tire..........................................5-74
Secondary Latch System...............................5-79
Storing a Flat or Spare Tire and Tools............5-82
Spare Tire...................................................5-83
Appearance Care............................................5-84
Cleaning the Inside of Your Vehicle.................5-84
Fabric/Carpet...............................................5-85
Instrument Panel, Vinyl, and Other
Plastic Surfaces........................................5-86Care of Safety Belts......................................5-86
Weatherstrips...............................................5-86
Washing Your Vehicle...................................5-87
Cleaning Exterior Lamps/Lenses.....................5-87
Finish Care..................................................5-87
Windshield and Wiper Blades.........................5-88
Aluminum Wheels.........................................5-89
Tires...........................................................5-89
Sheet Metal Damage.....................................5-90
Finish Damage.............................................5-90
Underbody Maintenance................................5-90
Chemical Paint Spotting.................................5-90
Vehicle Care/Appearance Materials..................5-91
Vehicle Identi�cation......................................5-92
Vehicle Identification Number (VIN).................5-92
Service Parts Identification Label.....................5-92
Electrical System............................................5-93
Add-On Electrical Equipment..........................5-93
Headlamp Wiring..........................................5-93
Windshield Wiper Fuses................................5-93
Fuses and Circuit Breakers............................5-93
Floor Console Fuse Block..............................5-94
Engine Compartment Fuse Block....................5-95
Capacities and Speci�cations..........................5-98
Section 5 Service and Appearance Care
5-2
Page 272 of 394

Radiator Pressure Cap
The radiator pressure cap is located near the center of
the engine compartment. SeeEngine Compartment
Overview on page 5-12for more information on location.
Notice:If the pressure cap is not tightly installed,
coolant loss and possible engine damage may
occur. Be sure the cap is properly and tightly
secured.
Engine Overheating
You will find an engine coolant temperature gage on
your vehicle’s instrument panel. SeeEngine Coolant
Temperature Gage on page 3-35for more information.
If Steam Is Coming From Your Engine
{CAUTION:
Steam from an overheated engine can burn
you badly, even if you just open the hood. Stay
away from the engine if you see or hear steam
coming from it. Just turn it off and get
everyone away from the vehicle until it cools
down. Wait until there is no sign of steam or
coolant before you open the hood.
If you keep driving when your engine is
overheated, the liquids in it can catch �re. You
or others could be badly burned. Stop your
engine if it overheats, and get out of the
vehicle until the engine is cool.
Notice:If your engine catches �re because you
keep driving with no coolant, your vehicle can
be badly damaged. The costly repairs would not be
covered by your warranty.
5-24
Page 334 of 394

Instrument Panel, Vinyl, and Other
Plastic Surfaces
A soft cloth dampened with water may be used to
remove dust. If a more thorough cleaning is necessary,
a clean soft cloth dampened with a mild soap solution
can be used to gently remove dust and dirt. Never use
spot lifters or removers on plastic surfaces. Many
commercial cleaners and coatings that are sold to
preserve and protect soft plastic surfaces may
permanently change the appearance and feel of your
interior and are not recommended. Do not use silicone
or wax-based products, or those containing organic
solvents to clean your vehicle’s interior because
they can alter the appearance by increasing the gloss in
a non-uniform manner.
Some commercial products may increase gloss on your
instrument panel. The increase in gloss may cause
annoying reflections in the windshield and even make it
difficult to see through the windshield under certain
conditions.
Care of Safety Belts
Keep belts clean and dry.
{CAUTION:
Do not bleach or dye safety belts. If you do, it
may severely weaken them. In a crash, they
might not be able to provide adequate
protection. Clean safety belts only with mild
soap and lukewarm water.
Weatherstrips
Silicone grease on weatherstrips will make them last
longer, seal better, and not stick or squeak. Apply
silicone grease with a clean cloth. During very cold,
damp weather frequent application may be required.
SeeRecommended Fluids and Lubricants (Gasoline
Engine) on page 6-13.
5-86
Page 340 of 394

Vehicle Identi�cation
Vehicle Identi�cation Number (VIN)
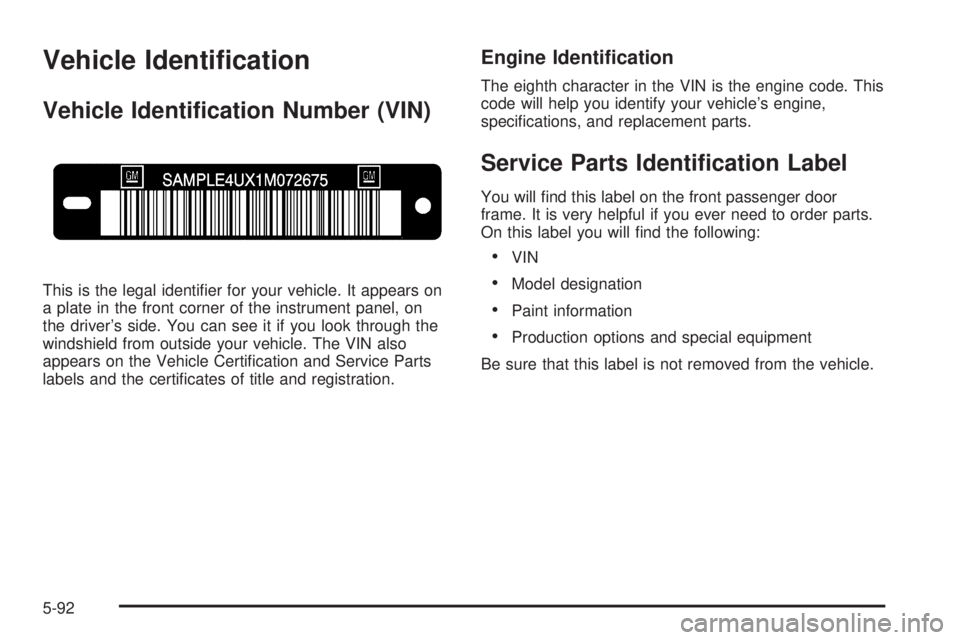
This is the legal identifier for your vehicle. It appears on
a plate in the front corner of the instrument panel, on
the driver’s side. You can see it if you look through the
windshield from outside your vehicle. The VIN also
appears on the Vehicle Certification and Service Parts
labels and the certificates of title and registration.
Engine Identi�cation
The eighth character in the VIN is the engine code. This
code will help you identify your vehicle’s engine,
specifications, and replacement parts.
Service Parts Identi�cation Label
You will find this label on the front passenger door
frame. It is very helpful if you ever need to order parts.
On this label you will find the following:
•VIN
•Model designation
•Paint information
•Production options and special equipment
Be sure that this label is not removed from the vehicle.
5-92