Page 8 of 288
These are some of the symbols you may see on your vehicle.
Vehicle Symbol Glossary
Safety Alert
See Owner’s Guide
Fasten Safety BeltAirbag - Front
Airbag - SideChild Seat
Child Seat Installation
WarningChild Seat Lower
Anchor
Child Seat Tether
AnchorBrake System
Anti-Lock Brake SystemBrake Fluid -
Non-Petroleum Based
Powertrain MalfunctionSpeed Control
Master Lighting SwitchHazard Warning Flasher
Fog Lamps-FrontFuse Compartment
Fuel Pump ResetWindshield Wash/Wipe
Windshield
Defrost/DemistRear Window
Defrost/Demist
2006 Freestyle(219)
Owners Guide (post-2002-fmt)
USA(fus)
Introduction
8
Page 9 of 288
Vehicle Symbol Glossary
Power Windows
Front/Rear
Power Window Lockout
Child Safety Door
Lock/UnlockInterior Luggage
Compartment Release
Symbol
Panic AlarmEngine Oil
Engine CoolantEngine Coolant
Temperature
Do Not Open When HotBattery
Avoid Smoking, Flames,
or SparksBattery Acid
Explosive GasFan Warning
Power Steering FluidMaintain Correct Fluid
LevelMAX
MIN
Emission SystemEngine Air Filter
Passenger Compartment
Air FilterJack
Check Fuel CapLow Tire Pressure
Warning
2006 Freestyle(219)
Owners Guide (post-2002-fmt)
USA(fus)
Introduction
9
Page 58 of 288
Handle a halogen headlamp bulb carefully and keep out of
children’s reach. Grasp the bulb only by its plastic base and do
not touch the glass. The oil from your hand could cause the bulb to
break the next time the headlamps are operated.
Install the new bulb(s) in reverse order.
Replacing front parking lamp/turn signal bulbs
1. Make sure headlamp switch is in the OFF position, then open the
hood.
2. Reach behind the headlamp assembly to access the bulb sockets and
connectors.
3. Remove the bulb socket by
turning it counterclockwise and
pulling it straight out.
4. To remove the bulb, pull it
straight out of the bulb socket.
Install the new bulb(s) in reverse order.
Replacing front sidemarker bulbs
1. Make sure headlamp switch is in the OFF position, then open the
hood.
2. Reach behind the headlamp assembly to access the bulb sockets and
connectors.
2006 Freestyle(219)
Owners Guide (post-2002-fmt)
USA(fus)
Lights
58
Page 74 of 288
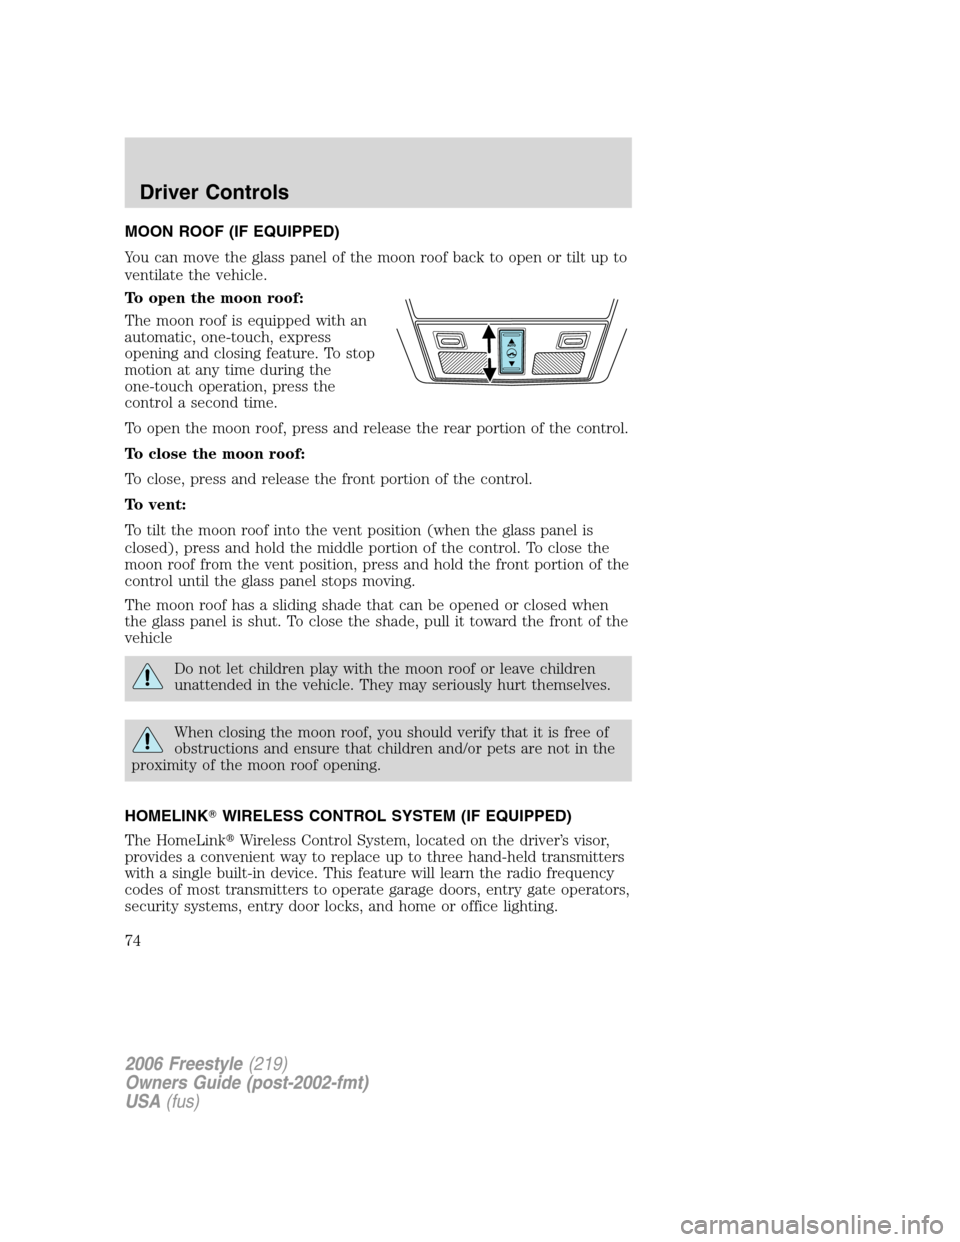
MOON ROOF (IF EQUIPPED)
You can move the glass panel of the moon roof back to open or tilt up to
ventilate the vehicle.
To open the moon roof:
The moon roof is equipped with an
automatic, one-touch, express
opening and closing feature. To stop
motion at any time during the
one-touch operation, press the
control a second time.
To open the moon roof, press and release the rear portion of the control.
To close the moon roof:
To close, press and release the front portion of the control.
To vent:
To tilt the moon roof into the vent position (when the glass panel is
closed), press and hold the middle portion of the control. To close the
moon roof from the vent position, press and hold the front portion of the
control until the glass panel stops moving.
The moon roof has a sliding shade that can be opened or closed when
the glass panel is shut. To close the shade, pull it toward the front of the
vehicle
Do not let children play with the moon roof or leave children
unattended in the vehicle. They may seriously hurt themselves.
When closing the moon roof, you should verify that it is free of
obstructions and ensure that children and/or pets are not in the
proximity of the moon roof opening.
HOMELINK�WIRELESS CONTROL SYSTEM (IF EQUIPPED)
The HomeLink�Wireless Control System, located on the driver’s visor,
provides a convenient way to replace up to three hand-held transmitters
with a single built-in device. This feature will learn the radio frequency
codes of most transmitters to operate garage doors, entry gate operators,
security systems, entry door locks, and home or office lighting.
2006 Freestyle(219)
Owners Guide (post-2002-fmt)
USA(fus)
Driver Controls
74
Page 91 of 288
1. Place the key in the ignition and turn the ignition to the 3 (RUN)
position.
2. Press the power door unlock control on the door panel three times.
3. Turn the ignition from the 3 (RUN) position to the 1 (LOCK) position.
4. Press the power door unlock control on the door panel three times.
5. Turn the ignition back to the 3 (RUN) position. The horn will chirp
one time to confirm programming mode has been entered and is active.
6. Press the power door lock control on the door panel two times within
five seconds. The horn will chirp two times to confirm the feature is off;
the horn will chirp two times and honk one time to confirm the feature is
on.
7. Turn the ignition from the 3 (RUN) position to the 1 (LOCK) position.
The horn will chirp one time to confirm the programming mode has been
exited.
Repeat the procedure to turn the feature on or off.
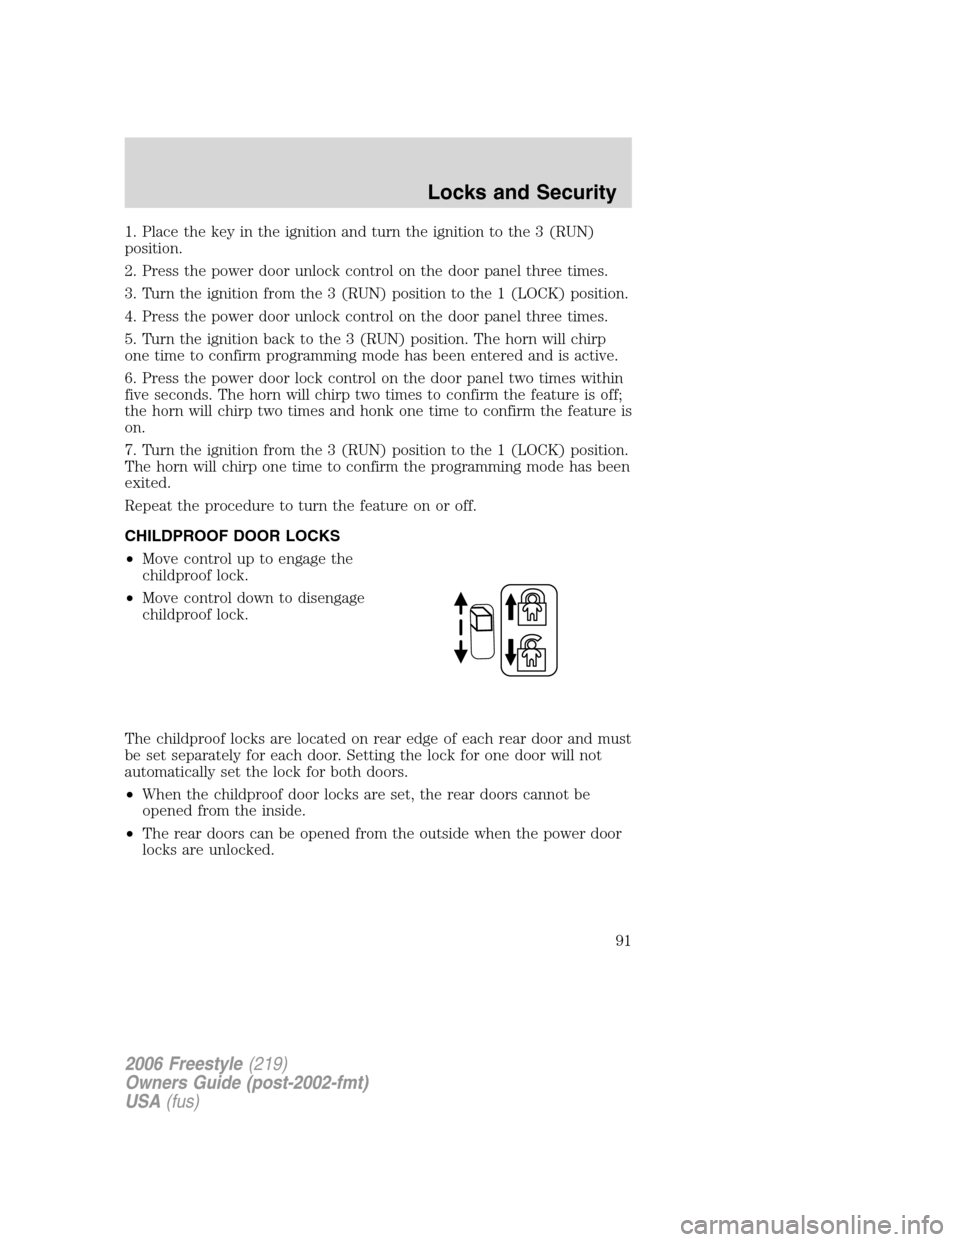
CHILDPROOF DOOR LOCKS
•Move control up to engage the
childproof lock.
•Move control down to disengage
childproof lock.
The childproof locks are located on rear edge of each rear door and must
be set separately for each door. Setting the lock for one door will not
automatically set the lock for both doors.
•When the childproof door locks are set, the rear doors cannot be
opened from the inside.
•The rear doors can be opened from the outside when the power door
locks are unlocked.
2006 Freestyle(219)
Owners Guide (post-2002-fmt)
USA(fus)
Locks and Security
91
Page 124 of 288
All safety restraints in the vehicle are combination lap and shoulder
belts. All of the passenger combination lap and shoulder belts have two
types of locking modes described below:
Vehicle sensitive mode
This is the normal retractor mode, which allows free shoulder belt length
adjustment to your movements and locking in response to vehicle
movement. For example, if the driver brakes suddenly or turns a corner
sharply, or the vehicle receives an impact of approximately 5 mph (8
km/h) or more, the combination safety belts will lock to help reduce
forward movement of the driver and passengers.
Automatic locking mode
When to use the automatic locking mode
In this mode, the shoulder belt is automatically pre-locked. The belt will
still retract to remove any slack in the shoulder belt. The automatic
locking mode is not available on the driver safety belt.
This mode should be usedany timea child safety seat is installed in a
passenger front or outboard rear seating position (if equipped). Children
12 years old and under should be properly restrained in the rear seat
whenever possible. Refer toSafety restraints for childrenorSafety
seats for childrenlater in this chapter.
How to use the automatic locking mode
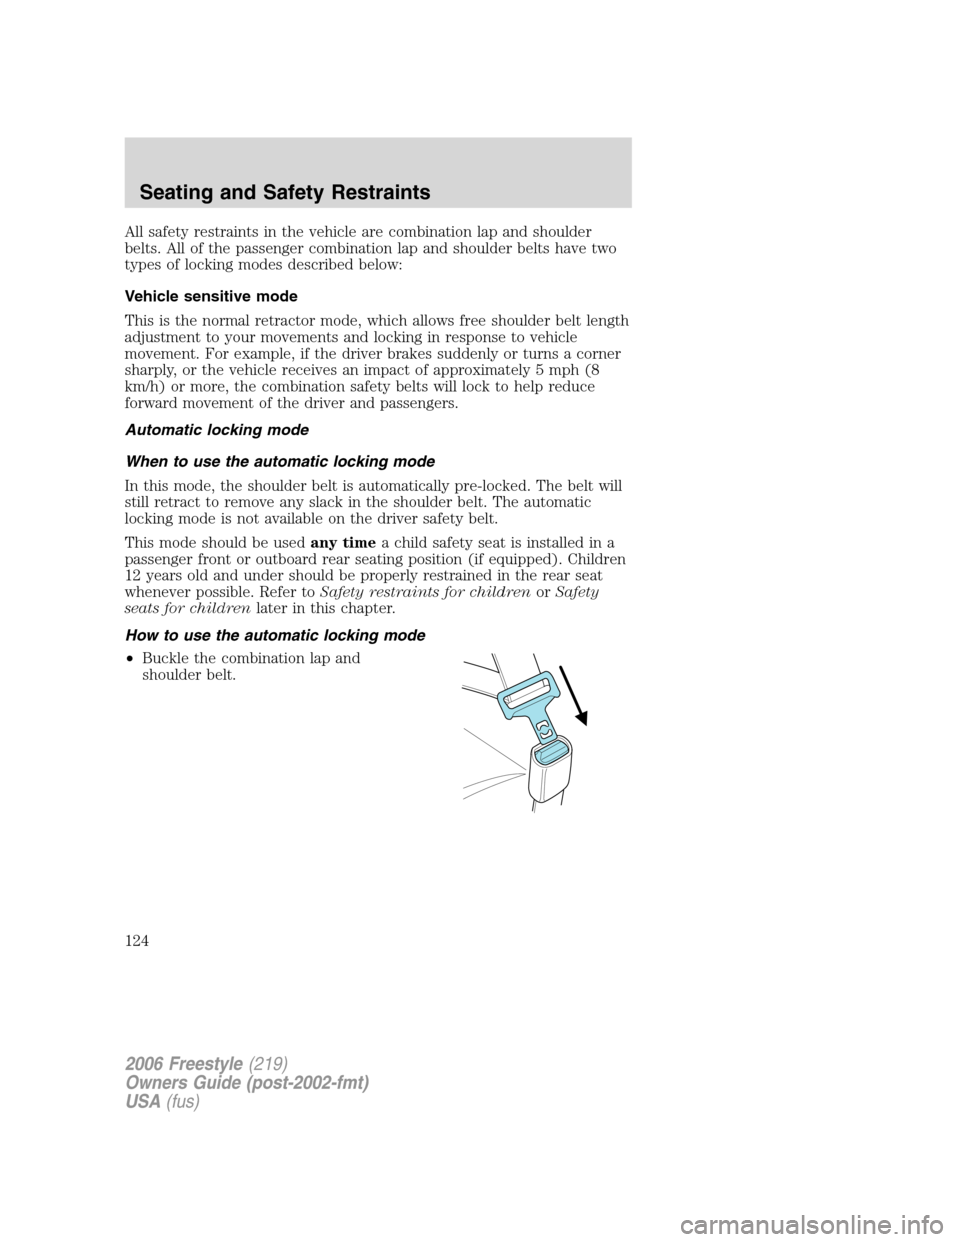
•Buckle the combination lap and
shoulder belt.
2006 Freestyle(219)
Owners Guide (post-2002-fmt)
USA(fus)
Seating and Safety Restraints
124
Page 125 of 288
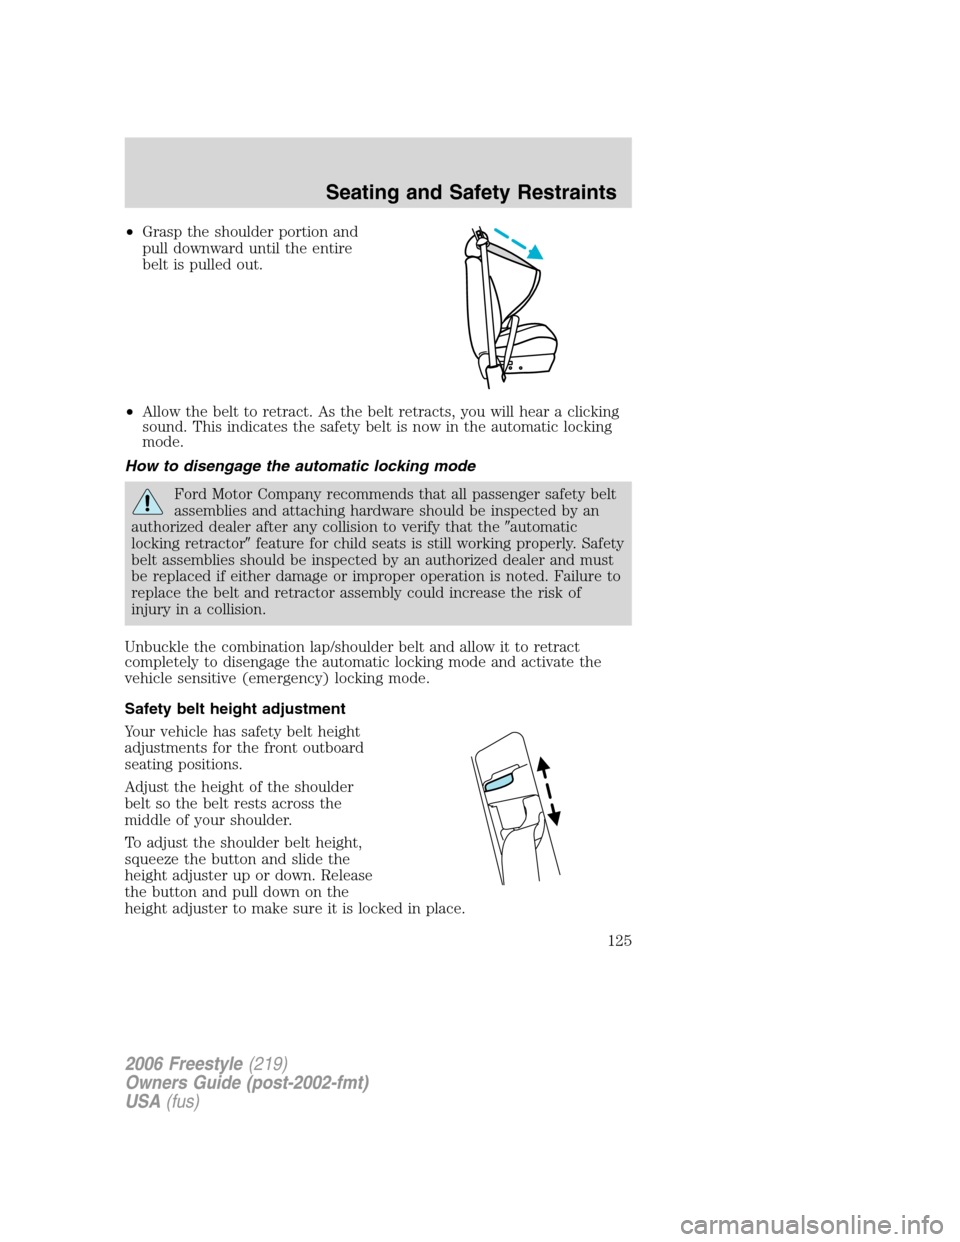
•Grasp the shoulder portion and
pull downward until the entire
belt is pulled out.
•Allow the belt to retract. As the belt retracts, you will hear a clicking
sound. This indicates the safety belt is now in the automatic locking
mode.
How to disengage the automatic locking mode
Ford Motor Company recommends that all passenger safety belt
assemblies and attaching hardware should be inspected by an
authorized dealer after any collision to verify that the�automatic
locking retractor�feature for child seats is still working properly. Safety
belt assemblies should be inspected by an authorized dealer and must
be replaced if either damage or improper operation is noted. Failure to
replace the belt and retractor assembly could increase the risk of
injury in a collision.
Unbuckle the combination lap/shoulder belt and allow it to retract
completely to disengage the automatic locking mode and activate the
vehicle sensitive (emergency) locking mode.
Safety belt height adjustment
Your vehicle has safety belt height
adjustments for the front outboard
seating positions.
Adjust the height of the shoulder
belt so the belt rests across the
middle of your shoulder.
To adjust the shoulder belt height,
squeeze the button and slide the
height adjuster up or down. Release
the button and pull down on the
height adjuster to make sure it is locked in place.
2006 Freestyle(219)
Owners Guide (post-2002-fmt)
USA(fus)
Seating and Safety Restraints
125
Page 151 of 288
Never use pillows, books, or towels to boost a child. They can
slide around and increase the likelihood of injury or death in a
collision.
SAFETY SEATS FOR CHILDREN
Child and infant or child safety seats
Use a safety seat that is recommended for the size and weight of the
child. Carefully follow all of the manufacturer’s instructions with the
safety seat you put in your vehicle. If you do not install and use the
safety seat properly, the child may be injured in a sudden stop or
collision.
When installing a child safety seat:
•Review and follow the information
presented in theAirbag
supplemental restraint system
(SRS) section in this chapter.
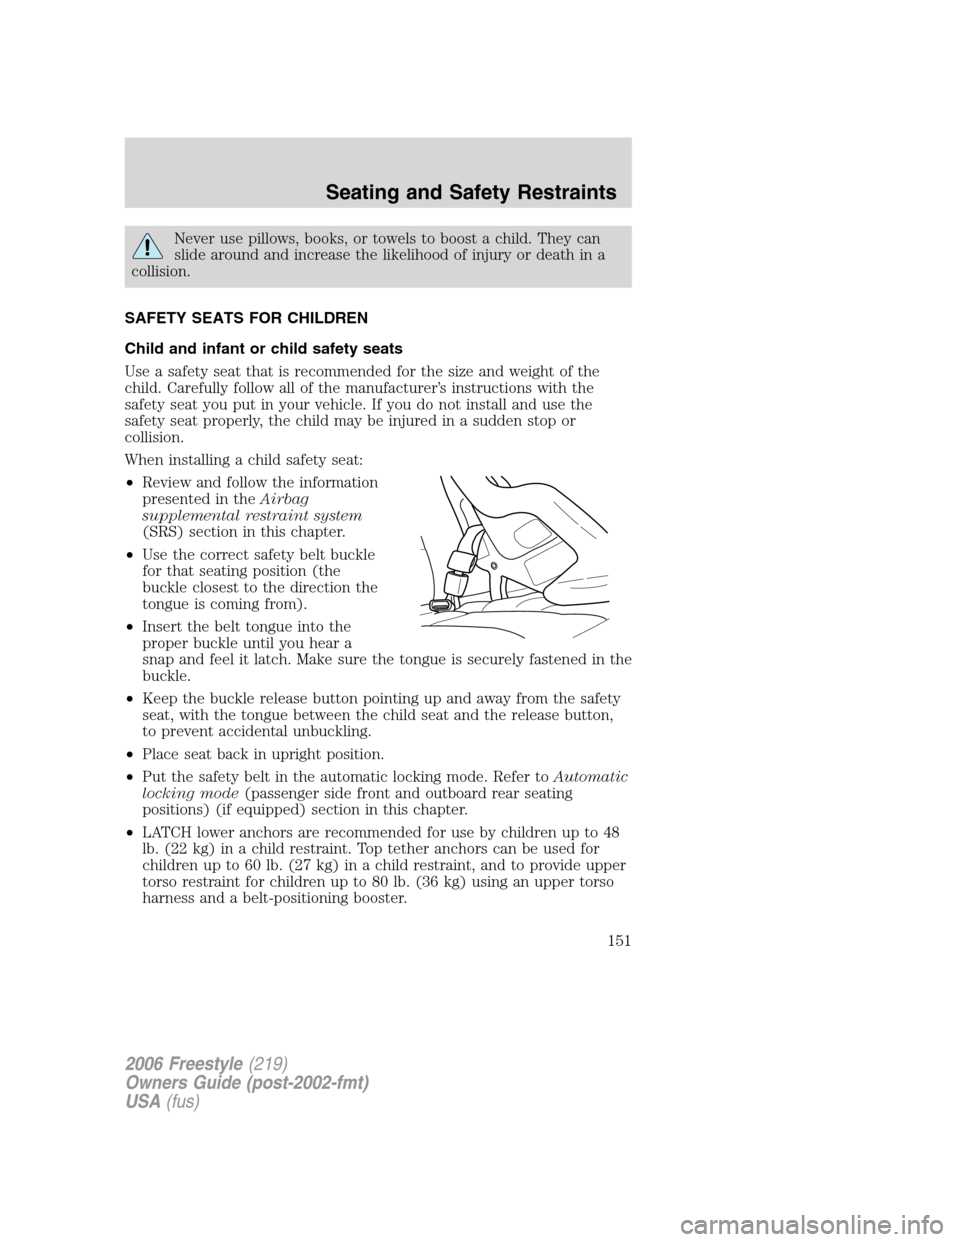
•Use the correct safety belt buckle
for that seating position (the
buckle closest to the direction the
tongue is coming from).
•Insert the belt tongue into the
proper buckle until you hear a
snap and feel it latch. Make sure the tongue is securely fastened in the
buckle.
•Keep the buckle release button pointing up and away from the safety
seat, with the tongue between the child seat and the release button,
to prevent accidental unbuckling.
•Place seat back in upright position.
•Put the safety belt in the automatic locking mode. Refer toAutomatic
locking mode(passenger side front and outboard rear seating
positions) (if equipped) section in this chapter.
•LATCH lower anchors are recommended for use by children up to 48
lb. (22 kg) in a child restraint. Top tether anchors can be used for
children up to 60 lb. (27 kg) in a child restraint, and to provide upper
torso restraint for children up to 80 lb. (36 kg) using an upper torso
harness and a belt-positioning booster.
2006 Freestyle(219)
Owners Guide (post-2002-fmt)
USA(fus)
Seating and Safety Restraints
151