2006 CHEVROLET TRAIL BLAZER cruise control
[x] Cancel search: cruise controlPage 145 of 534
Instrument Panel Overview...............................3-4
Hazard Warning Flashers................................3-6
Other Warning Devices...................................3-6
Horn .............................................................3-6
Tilt Wheel.....................................................3-6
Turn Signal/Multifunction Lever.........................3-7
Turn and Lane-Change Signals........................3-7
Headlamp High/Low-Beam Changer..................3-8
Flash-to-Pass.................................................3-8
Windshield Wipers..........................................3-9
Rainsense™ Wipers.......................................3-9
Windshield Washer.......................................3-10
Rear Window Wiper/Washer...........................3-10
Cruise Control..............................................3-11
Headlamps..................................................3-13
Headlamps on Reminder................................3-14
Daytime Running Lamps (DRL).......................3-14
Automatic Headlamp System..........................3-15
Fog Lamps ..................................................3-16
Instrument Panel Brightness...........................3-16
Dome Lamps ...............................................3-16
Dome Lamp Override....................................3-17
Entry Lighting...............................................3-17
Exit Lighting.................................................3-17
Reading Lamps............................................3-17Battery Run-Down Protection..........................3-18
Accessory Power Outlet(s).............................3-18
Ashtray(s) and Cigarette Lighter......................3-19
Climate Controls............................................3-19
Dual Climate Control System..........................3-19
Dual Automatic Climate Control System...........3-22
Outlet Adjustment.........................................3-26
Rear Climate Control System.........................3-26
Warning Lights, Gages, and Indicators............3-30
Instrument Panel Cluster................................3-31
Speedometer and Odometer...........................3-32
Trip Odometer..............................................3-32
Tachometer.................................................3-32
Safety Belt Reminder Light.............................3-33
Passenger Safety Belt Reminder Light.............3-33
Airbag Readiness Light..................................3-34
Passenger Airbag Status Indicator...................3-35
Charging System Light..................................3-37
Voltmeter Gage............................................3-38
Brake System Warning Light..........................3-39
Anti-Lock Brake System Warning Light.............3-40
Low Tire Pressure Warning Light (SS Model). . . .3-40
StabiliTrak
®Service Light...............................3-41
StabiliTrak®Indicator Light..............................3-41
Section 3 Instrument Panel
3-1
Page 146 of 534
Engine Coolant Temperature Gage..................3-42
Malfunction Indicator Lamp.............................3-42
Oil Pressure Gage........................................3-45
Change Engine Oil Light................................3-46
Security Light...............................................3-46
Cruise Control Light......................................3-47
Reduced Engine Power Light.........................3-47
Highbeam On Light.......................................3-47
Service All-Wheel Drive Light (SS Model).........3-48
Service Four-Wheel Drive Warning Light..........3-48
Check Gages Warning Light...........................3-49
Gate Ajar Light.............................................3-49
Fuel Gage...................................................3-49
Low Fuel Warning Light.................................3-50
Check Gas Cap Light....................................3-50
Driver Information Center (DIC).......................3-50
DIC Operation and Displays...........................3-51
DIC Warnings and Messages.........................3-55
DIC Vehicle Customization.............................3-61Audio System(s).............................................3-67
Setting the Time...........................................3-69
Radio with CD (Base)...................................3-69
Radio with CD (MP3)....................................3-80
Radio with Cassette and CD..........................3-95
Radio with Six-Disc CD................................3-110
Navigation/Radio System..............................3-124
Rear Seat Entertainment System...................3-124
Rear Seat Audio (RSA)................................3-137
Theft-Deterrent Feature................................3-138
Audio Steering Wheel Controls......................3-139
Radio Reception.........................................3-140
Care of the Cassette Tape Player.................3-141
Care of Your CDs and DVDs........................3-142
Care of the CD and DVD Player...................3-142
Fixed Mast Antenna....................................3-143
XM™ Satellite Radio Antenna System............3-143
Chime Level Adjustment...............................3-143
Section 3 Instrument Panel
3-2
Page 151 of 534
Turn Signal/Multifunction Lever
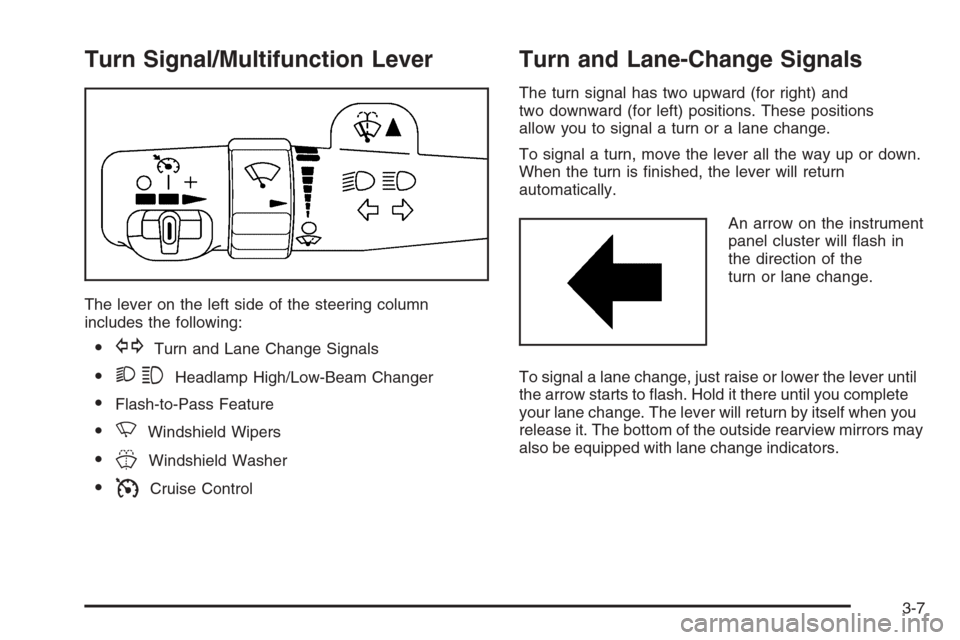
The lever on the left side of the steering column
includes the following:
GTurn and Lane Change Signals
23Headlamp High/Low-Beam Changer
Flash-to-Pass Feature
NWindshield Wipers
JWindshield Washer
ICruise Control
Turn and Lane-Change Signals
The turn signal has two upward (for right) and
two downward (for left) positions. These positions
allow you to signal a turn or a lane change.
To signal a turn, move the lever all the way up or down.
When the turn is �nished, the lever will return
automatically.
An arrow on the instrument
panel cluster will �ash in
the direction of the
turn or lane change.
To signal a lane change, just raise or lower the lever until
the arrow starts to �ash. Hold it there until you complete
your lane change. The lever will return by itself when you
release it. The bottom of the outside rearview mirrors may
also be equipped with lane change indicators.
3-7
Page 155 of 534
Cruise Control
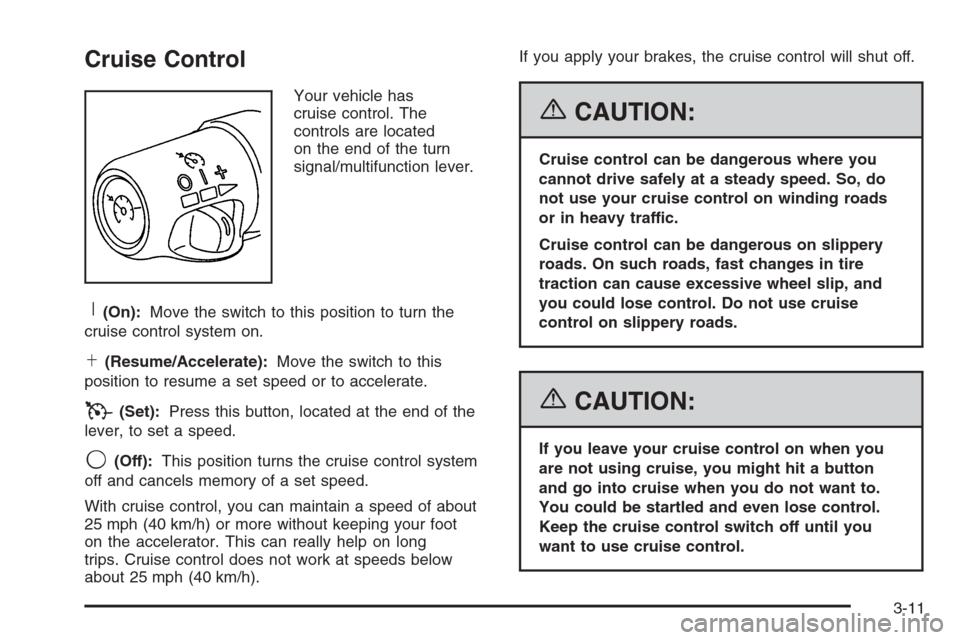
Your vehicle has
cruise control. The
controls are located
on the end of the turn
signal/multifunction lever.
R(On):Move the switch to this position to turn the
cruise control system on.
S(Resume/Accelerate):Move the switch to this
position to resume a set speed or to accelerate.
T(Set):Press this button, located at the end of the
lever, to set a speed.
9(Off):This position turns the cruise control system
off and cancels memory of a set speed.
With cruise control, you can maintain a speed of about
25 mph (40 km/h) or more without keeping your foot
on the accelerator. This can really help on long
trips. Cruise control does not work at speeds below
about 25 mph (40 km/h).If you apply your brakes, the cruise control will shut off.
{CAUTION:
Cruise control can be dangerous where you
cannot drive safely at a steady speed. So, do
not use your cruise control on winding roads
or in heavy traffic.
Cruise control can be dangerous on slippery
roads. On such roads, fast changes in tire
traction can cause excessive wheel slip, and
you could lose control. Do not use cruise
control on slippery roads.
{CAUTION:
If you leave your cruise control on when you
are not using cruise, you might hit a button
and go into cruise when you do not want to.
You could be startled and even lose control.
Keep the cruise control switch off until you
want to use cruise control.
3-11
Page 156 of 534
Setting Cruise Control
1. Move the cruise control switch to on.
2. Get up to the speed you want.
3. Press the set button at the end of the lever and
release it.
4. Take your foot off the accelerator pedal. The
accelerator pedal will not go down.
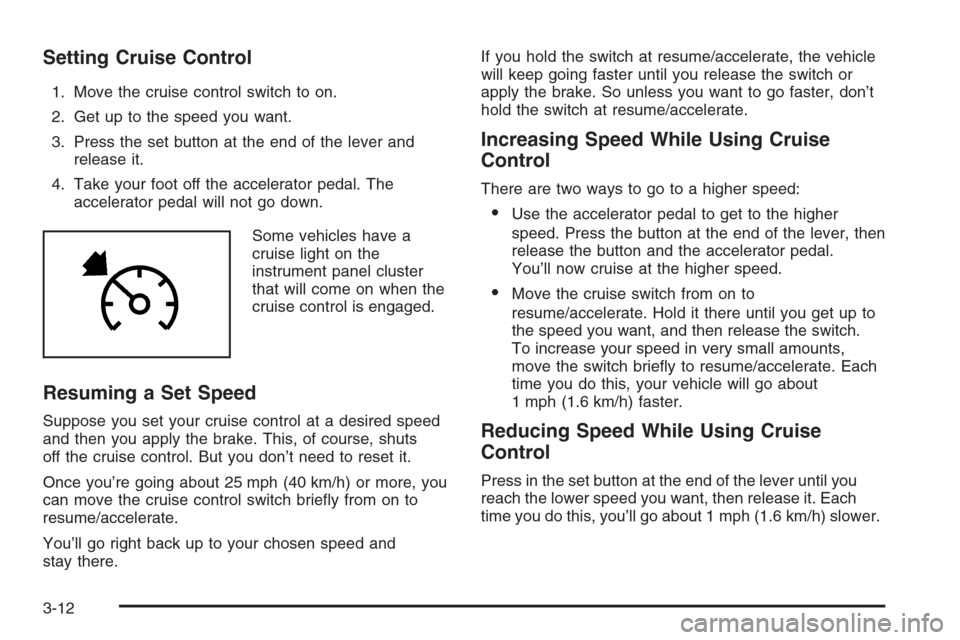
Some vehicles have a
cruise light on the
instrument panel cluster
that will come on when the
cruise control is engaged.
Resuming a Set Speed
Suppose you set your cruise control at a desired speed
and then you apply the brake. This, of course, shuts
off the cruise control. But you don’t need to reset it.
Once you’re going about 25 mph (40 km/h) or more, you
can move the cruise control switch brie�y from on to
resume/accelerate.
You’ll go right back up to your chosen speed and
stay there.If you hold the switch at resume/accelerate, the vehicle
will keep going faster until you release the switch or
apply the brake. So unless you want to go faster, don’t
hold the switch at resume/accelerate.
Increasing Speed While Using Cruise
Control
There are two ways to go to a higher speed:
Use the accelerator pedal to get to the higher
speed. Press the button at the end of the lever, then
release the button and the accelerator pedal.
You’ll now cruise at the higher speed.
Move the cruise switch from on to
resume/accelerate. Hold it there until you get up to
the speed you want, and then release the switch.
To increase your speed in very small amounts,
move the switch brie�y to resume/accelerate. Each
time you do this, your vehicle will go about
1 mph (1.6 km/h) faster.
Reducing Speed While Using Cruise
Control
Press in the set button at the end of the lever until you
reach the lower speed you want, then release it. Each
time you do this, you’ll go about 1 mph (1.6 km/h) slower.
3-12
Page 157 of 534
Passing Another Vehicle While Using
Cruise Control
Use the accelerator pedal to increase your speed.
When you take your foot off the pedal, your vehicle will
slow down to the cruise control speed you set earlier.
Using Cruise Control on Hills
How well your cruise control will work on hills depends
upon your speed, load and the steepness of the
hills. When going up steep hills, you may want to step
on the accelerator pedal to maintain your speed.
When going downhill, you may have to brake or shift to
a lower gear to keep your speed down. Of course,
applying the brake takes you out of cruise control. Many
drivers �nd this to be too much trouble and don’t use
cruise control on steep hills.
Ending Cruise Control
There are three ways to turn off the cruise control:
Step lightly on the brake pedal.
Move the cruise switch to off, or
Shift the transmission to NEUTRAL (N).
Erasing Speed Memory
When you turn off the cruise control or the ignition, your
cruise control set speed memory is erased.
Headlamps
Your exterior lamps knob
is located on your
instrument panel to the left
of the steering wheel.
c(Off):Turn the knob to this symbol and release it to
turn off the Daytime Running Lamps (DRL) and the
Automatic Headlamps (AHS). An indicator will illuminate
when the position is selected. This position is not
available for vehicles �rst sold in Canada.
i(Automatic DRL/AHS):Turning the knob to this
symbol puts the system into automatic headlamp mode.
An indicator will illuminate when the position is
selected.
3-13
Page 191 of 534
Cruise Control Light
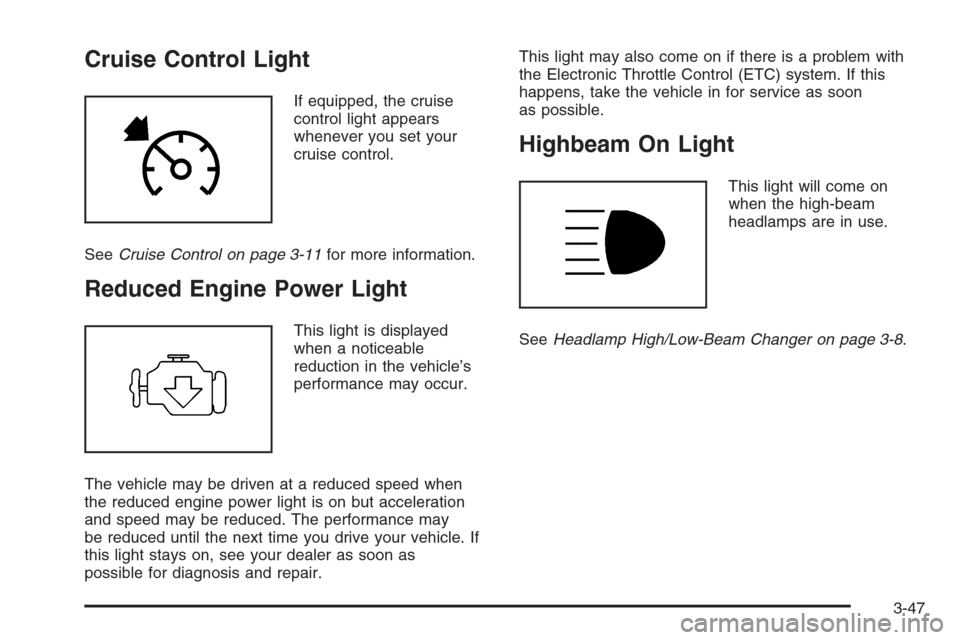
If equipped, the cruise
control light appears
whenever you set your
cruise control.
SeeCruise Control on page 3-11for more information.
Reduced Engine Power Light
This light is displayed
when a noticeable
reduction in the vehicle’s
performance may occur.
The vehicle may be driven at a reduced speed when
the reduced engine power light is on but acceleration
and speed may be reduced. The performance may
be reduced until the next time you drive your vehicle. If
this light stays on, see your dealer as soon as
possible for diagnosis and repair.This light may also come on if there is a problem with
the Electronic Throttle Control (ETC) system. If this
happens, take the vehicle in for service as soon
as possible.
Highbeam On Light
This light will come on
when the high-beam
headlamps are in use.
SeeHeadlamp High/Low-Beam Changer on page 3-8.
3-47
Page 302 of 534
If your vehicle is in cruise control when the system
activates, the StabiliTrak®light will blink, and the cruise
control will automatically disengage. When road
conditions allow, you may re-engage the cruise control.
SeeCruise Control on page 3-11.
StabiliTrak
®will turn off automatically if a problem is
detected in the system. The StabiliTrak®light will come
on and SERVICE STABILITRAK will be displayed on
the DIC. For vehicles without a DIC, the StabiliTrak
®
light and the StabiliTrak®service light will both come on.
If the SERVICE STABILITRAK message (or StabiliTrak®
service light) does not clear itself after restarting the
vehicle, you should see your dealer for service.
Adding non-GM accessories can affect your vehicle’s
performance. SeeAccessories and Modi�cations
on page 5-3for more information.
All-Wheel Drive (AWD) System
(TrailBlazer SS)
With this feature, engine power is sent to all four wheels
when extra traction is needed. This is like four-wheel
drive, but there is no separate lever or switch to engage
or disengage the front axle. It is fully automatic, and
adjusts itself as needed for road conditions. See
StabiliTrak
®System on page 4-9for more information.
Steering
Power Steering
If you lose power steering assist because the engine
stops or the system is not functioning, you can steer but
it will take much more effort.
Steering Tips
It is important to take curves at a reasonable speed.
A lot of the “driver lost control” accidents mentioned on
the news happen on curves. Here is why:
Experienced driver or beginner, each of us is subject to
the same laws of physics when driving on curves.
The traction of the tires against the road surface makes
it possible for the vehicle to change its path when
you turn the front wheels. If there is no traction, inertia
will keep the vehicle going in the same direction. If
you have ever tried to steer a vehicle on wet ice, you
will understand this.
The traction you can get in a curve depends on the
condition of your tires and the road surface, the angle at
which the curve is banked, and your speed. While you are
in a curve, speed is the one factor you can control.
4-14