2006 CHEVROLET TRAIL BLAZER engine
[x] Cancel search: enginePage 114 of 534
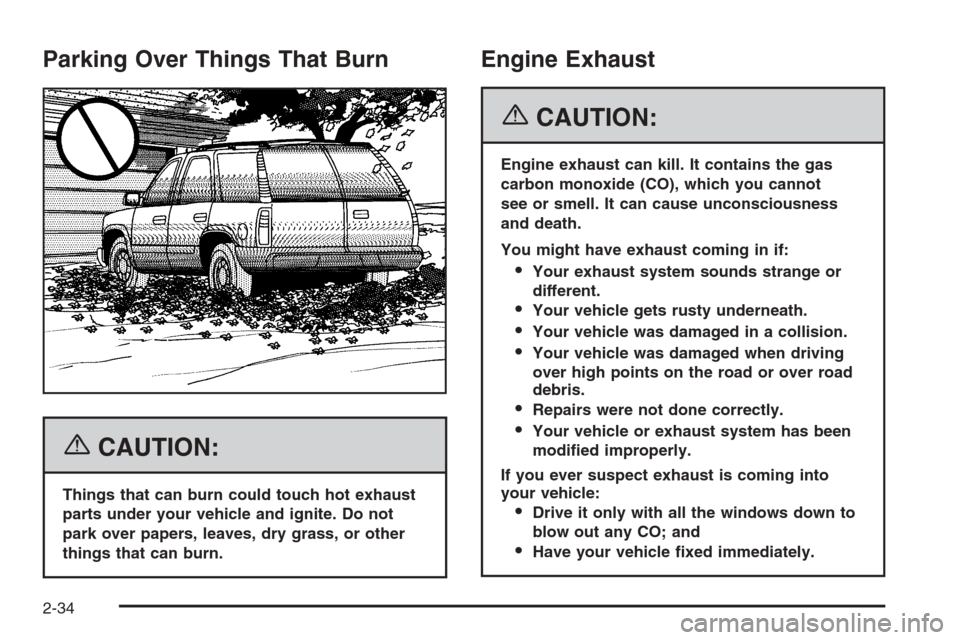
Parking Over Things That Burn
{CAUTION:
Things that can burn could touch hot exhaust
parts under your vehicle and ignite. Do not
park over papers, leaves, dry grass, or other
things that can burn.
Engine Exhaust
{CAUTION:
Engine exhaust can kill. It contains the gas
carbon monoxide (CO), which you cannot
see or smell. It can cause unconsciousness
and death.
You might have exhaust coming in if:
Your exhaust system sounds strange or
different.
Your vehicle gets rusty underneath.
Your vehicle was damaged in a collision.
Your vehicle was damaged when driving
over high points on the road or over road
debris.
Repairs were not done correctly.
Your vehicle or exhaust system has been
modi�ed improperly.
If you ever suspect exhaust is coming into
your vehicle:
Drive it only with all the windows down to
blow out any CO; and
Have your vehicle �xed immediately.
2-34
Page 115 of 534
Running the Engine While Parked
It is better not to park with the engine running. But if you
ever have to, here are some things to know.
{CAUTION:
Idling the engine with the climate control
system off could allow dangerous exhaust into
your vehicle. See the earlier caution under
Engine Exhaust on page 2-34.
Also, idling in a closed-in place can let deadly
carbon monoxide (CO) into your vehicle even if
the climate control fan is at the highest setting.
One place this can happen is a garage.
Exhaust — with CO — can come in easily.
NEVER park in a garage with the engine
running.
Another closed-in place can be a blizzard. See
Winter Driving on page 4-42.
{CAUTION:
It can be dangerous to get out of your vehicle
if the shift lever is not fully in PARK (P) with
the parking brake �rmly set. Your vehicle can
roll. Do not leave your vehicle when the engine
is running unless you have to. If you have left
the engine running, the vehicle can move
suddenly. You or others could be injured. To
be sure your vehicle will not move, even when
you are on fairly level ground, always set your
parking brake and move the shift lever to
PARK (P).
2-35
Page 146 of 534
Engine Coolant Temperature Gage..................3-42
Malfunction Indicator Lamp.............................3-42
Oil Pressure Gage........................................3-45
Change Engine Oil Light................................3-46
Security Light...............................................3-46
Cruise Control Light......................................3-47
Reduced Engine Power Light.........................3-47
Highbeam On Light.......................................3-47
Service All-Wheel Drive Light (SS Model).........3-48
Service Four-Wheel Drive Warning Light..........3-48
Check Gages Warning Light...........................3-49
Gate Ajar Light.............................................3-49
Fuel Gage...................................................3-49
Low Fuel Warning Light.................................3-50
Check Gas Cap Light....................................3-50
Driver Information Center (DIC).......................3-50
DIC Operation and Displays...........................3-51
DIC Warnings and Messages.........................3-55
DIC Vehicle Customization.............................3-61Audio System(s).............................................3-67
Setting the Time...........................................3-69
Radio with CD (Base)...................................3-69
Radio with CD (MP3)....................................3-80
Radio with Cassette and CD..........................3-95
Radio with Six-Disc CD................................3-110
Navigation/Radio System..............................3-124
Rear Seat Entertainment System...................3-124
Rear Seat Audio (RSA)................................3-137
Theft-Deterrent Feature................................3-138
Audio Steering Wheel Controls......................3-139
Radio Reception.........................................3-140
Care of the Cassette Tape Player.................3-141
Care of Your CDs and DVDs........................3-142
Care of the CD and DVD Player...................3-142
Fixed Mast Antenna....................................3-143
XM™ Satellite Radio Antenna System............3-143
Chime Level Adjustment...............................3-143
Section 3 Instrument Panel
3-2
Page 164 of 534
To change the current mode, select one of the following:
H(Vent):This mode directs air to the instrument
panel outlets.
)(Bi-Level):This mode directs about half of the air
to the instrument panel outlets; then directs most of
the remaining air to the �oor outlets. A little air is
directed toward the windshield and the side window
outlets. Cooler air is directed to the upper vents
and warmer air to the �oor outlets.
6(Floor):This mode directs most of the air to the
�oor outlets with a little air directed to the windshield and
the side window outlets. The recirculation button
cannot be selected while in �oor mode.
@(Recirculation):Recirculation mode is used to
recirculate the air inside of your vehicle. When this button
is pressed, an indicator light in the button will come on to
let you know that it is active. Use this mode to help
prevent outside odors and/or dust from entering your
vehicle or to help cool the air inside of your vehicle more
quickly. The air conditioning compressor will also come
on when this mode is activated. While in recirculation
mode, the windows may fog when the weather is cold and
damp. To clear the fog, select either the defog or defrost
mode and increase fan speed.Defog and defrost modes are described later in this
section.
Driver’s Side Temperature Knob:The lever on the left
side of the climate control panel is used to raise or
lower the temperature on the driver’s side of the vehicle.
Slide the lever up or down to adjust the temperature.
Passenger’s Side Temperature Knob:The lever
on the right side of the climate control panel is used to
raise or lower the temperature on the passenger’s
side of the vehicle. Slide the lever up or down to adjust
the temperature. This lever also adjusts the temperature
to the rear seat outlets.
When the temperature outside is 0°F (-18°C) or lower,
use the engine coolant heater, if equipped, to provide
warmer air, faster to your vehicle.#(Air Conditioning):Press this button to turn the
air-conditioning system on or off. When the button
is pressed, an indicator light will come on and the
system will begin to cool and dehumidify the air inside
of your vehicle. You may notice a slight change in
engine performance when the air conditioning
compressor shuts off and turns on again. This is
normal.
3-20
Page 166 of 534
Dual Automatic Climate Control
System
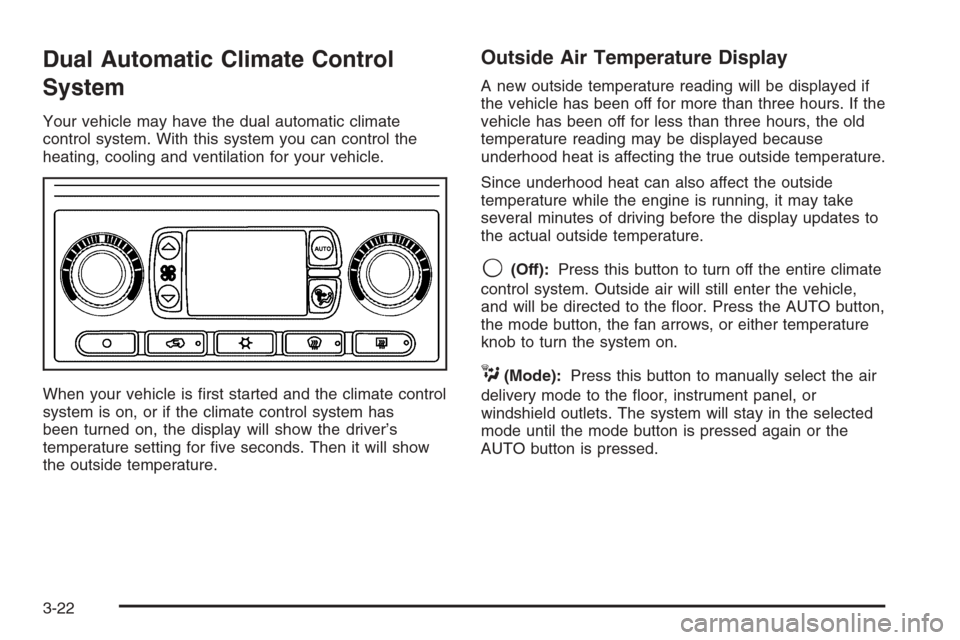
Your vehicle may have the dual automatic climate
control system. With this system you can control the
heating, cooling and ventilation for your vehicle.
When your vehicle is �rst started and the climate control
system is on, or if the climate control system has
been turned on, the display will show the driver’s
temperature setting for �ve seconds. Then it will show
the outside temperature.
Outside Air Temperature Display
A new outside temperature reading will be displayed if
the vehicle has been off for more than three hours. If the
vehicle has been off for less than three hours, the old
temperature reading may be displayed because
underhood heat is affecting the true outside temperature.
Since underhood heat can also affect the outside
temperature while the engine is running, it may take
several minutes of driving before the display updates to
the actual outside temperature.
9(Off):Press this button to turn off the entire climate
control system. Outside air will still enter the vehicle,
and will be directed to the �oor. Press the AUTO button,
the mode button, the fan arrows, or either temperature
knob to turn the system on.
C(Mode):Press this button to manually select the air
delivery mode to the �oor, instrument panel, or
windshield outlets. The system will stay in the selected
mode until the mode button is pressed again or the
AUTO button is pressed.
3-22
Page 168 of 534
Manual Operation
To change the current setting, select one of the
following:
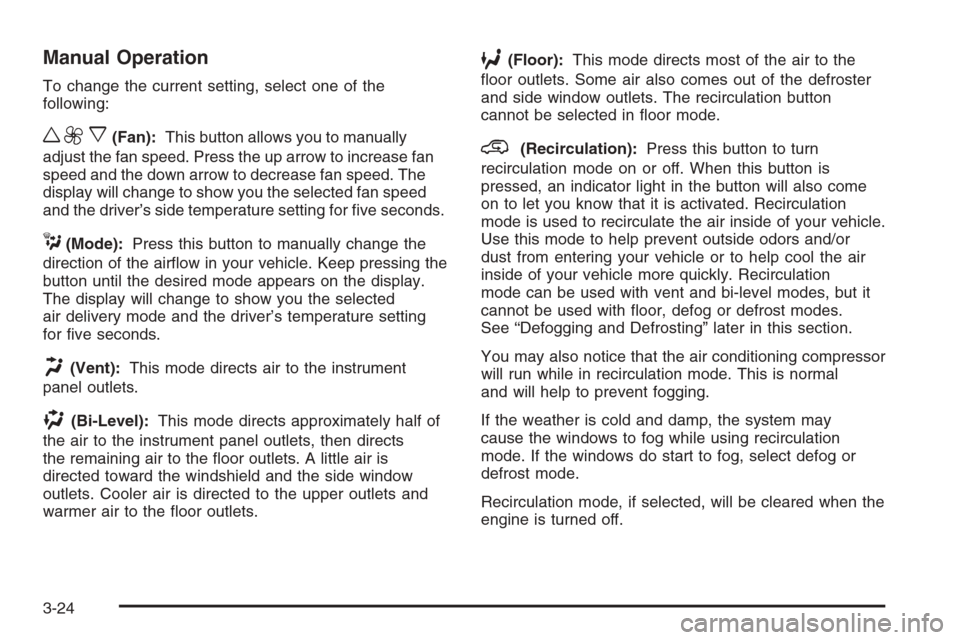
w9x(Fan):This button allows you to manually
adjust the fan speed. Press the up arrow to increase fan
speed and the down arrow to decrease fan speed. The
display will change to show you the selected fan speed
and the driver’s side temperature setting for �ve seconds.
C(Mode):Press this button to manually change the
direction of the air�ow in your vehicle. Keep pressing the
button until the desired mode appears on the display.
The display will change to show you the selected
air delivery mode and the driver’s temperature setting
for �ve seconds.
H(Vent):This mode directs air to the instrument
panel outlets.
)(Bi-Level):This mode directs approximately half of
the air to the instrument panel outlets, then directs
the remaining air to the �oor outlets. A little air is
directed toward the windshield and the side window
outlets. Cooler air is directed to the upper outlets and
warmer air to the �oor outlets.
6(Floor):This mode directs most of the air to the
�oor outlets. Some air also comes out of the defroster
and side window outlets. The recirculation button
cannot be selected in �oor mode.
@(Recirculation):Press this button to turn
recirculation mode on or off. When this button is
pressed, an indicator light in the button will also come
on to let you know that it is activated. Recirculation
mode is used to recirculate the air inside of your vehicle.
Use this mode to help prevent outside odors and/or
dust from entering your vehicle or to help cool the air
inside of your vehicle more quickly. Recirculation
mode can be used with vent and bi-level modes, but it
cannot be used with �oor, defog or defrost modes.
See “Defogging and Defrosting” later in this section.
You may also notice that the air conditioning compressor
will run while in recirculation mode. This is normal
and will help to prevent fogging.
If the weather is cold and damp, the system may
cause the windows to fog while using recirculation
mode. If the windows do start to fog, select defog or
defrost mode.
Recirculation mode, if selected, will be cleared when the
engine is turned off.
3-24
Page 169 of 534
#A/C (Air Conditioning):Press this button to
manually turn the air conditioning system on or off.
When the system is on, the system will automatically
begin to cool and dehumidify the air inside of your
vehicle. The air conditioning symbol will appear on the
display when the air conditioning is on and will turn
off when the air conditioning is off.
If you select turn the air conditioning off while in front
defrost or defog mode, the air conditioning symbol
will turn off, however, the A/C compressor will remain
on to help de-humidify the air inside the vehicle. If one of
the other modes is selected the compressor will then
turn the A/C off until it is selected again or the
AUTO button is pressed.
You may notice a slight change in engine performance
when the air conditioning compressor shuts off and
turns on again. This is normal.
Defogging and Defrosting
Fog on the inside of windows is a result of high humidity
(moisture) condensing on the cool window glass. This
can be minimized if the climate control system is
used properly. You can use either defog or front defrost
to clear fog or frost from your windshield.
-(Defog):Use this setting to clear the windows of
fog or moisture. This setting will deliver air to the
�oor and windshield outlets.
0(Defrost):Press the front defrost button to clear
the windshield and side windows of frost or fog quickly.
The system will automatically control the fan speed if
you select defrost from AUTO mode. If the outside
temperature is 40°F (4°C) or warmer, your air
conditioning compressor will automatically run to help
dehumidify the air and dry the windshield. Do not
drive the vehicle until all the windows are clear.
Rear Window Defogger
The rear window defogger uses a warming grid to
remove fog from the rear window.
<(Rear):Press this button to turn the rear window
defogger on or off.
An indicator light in the button will come on to let you
know that the rear window defogger is activated.
The rear window defogger will turn off approximately
10 minutes after the button is pressed. If you need
additional warming time, press the button again.
If equipped, your heated mirrors will also come on when
you press this button.
Notice:Do not use a razor blade or sharp object to
clear the inside rear window. Do not adhere
anything to the defogger grid lines in the rear glass.
These actions may damage the rear defogger.
Repairs would not be covered by your warranty.
3-25
Page 174 of 534
Warning Lights, Gages, and
Indicators
This part describes the warning lights and gages that
may be on your vehicle. The pictures will help you
locate them.
Warning lights and gages can signal that something is
wrong before it becomes serious enough to cause
an expensive repair or replacement. Paying attention to
your warning lights and gages could also save you
or others from injury.
Warning lights come on when there may be or is a
problem with one of your vehicle’s functions. As you will
see in the details on the next few pages, some
warning lights come on brie�y when you start the
engine just to let you know they’re working. If you are
familiar with this section, you should not be alarmed
when this happens.Gages can indicate when there may be or is a problem
with one of your vehicle’s functions. Often gages
and warning lights work together to let you know when
there’s a problem with your vehicle.
When one of the warning lights comes on and stays on
when you are driving, or when one of the gages
shows there may be a problem, check the section that
tells you what to do about it. Please follow this
manual’s advice.
Waiting to do repairs can be costly — and even
dangerous. So please get to know your warning lights
and gages. They’re a big help.
Your vehicle may also have a Driver Information Center
(DIC) that works along with the warning lights and
gages. SeeDriver Information Center (DIC) on
page 3-50.
3-30