Page 168 of 534
Manual Operation
To change the current setting, select one of the
following:
w9x(Fan):This button allows you to manually
adjust the fan speed. Press the up arrow to increase fan
speed and the down arrow to decrease fan speed. The
display will change to show you the selected fan speed
and the driver’s side temperature setting for �ve seconds.
C(Mode):Press this button to manually change the
direction of the air�ow in your vehicle. Keep pressing the
button until the desired mode appears on the display.
The display will change to show you the selected
air delivery mode and the driver’s temperature setting
for �ve seconds.
H(Vent):This mode directs air to the instrument
panel outlets.
)(Bi-Level):This mode directs approximately half of
the air to the instrument panel outlets, then directs
the remaining air to the �oor outlets. A little air is
directed toward the windshield and the side window
outlets. Cooler air is directed to the upper outlets and
warmer air to the �oor outlets.
6(Floor):This mode directs most of the air to the
�oor outlets. Some air also comes out of the defroster
and side window outlets. The recirculation button
cannot be selected in �oor mode.
@(Recirculation):Press this button to turn
recirculation mode on or off. When this button is
pressed, an indicator light in the button will also come
on to let you know that it is activated. Recirculation
mode is used to recirculate the air inside of your vehicle.
Use this mode to help prevent outside odors and/or
dust from entering your vehicle or to help cool the air
inside of your vehicle more quickly. Recirculation
mode can be used with vent and bi-level modes, but it
cannot be used with �oor, defog or defrost modes.
See “Defogging and Defrosting” later in this section.
You may also notice that the air conditioning compressor
will run while in recirculation mode. This is normal
and will help to prevent fogging.
If the weather is cold and damp, the system may
cause the windows to fog while using recirculation
mode. If the windows do start to fog, select defog or
defrost mode.
Recirculation mode, if selected, will be cleared when the
engine is turned off.
3-24
Page 169 of 534
#A/C (Air Conditioning):Press this button to
manually turn the air conditioning system on or off.
When the system is on, the system will automatically
begin to cool and dehumidify the air inside of your
vehicle. The air conditioning symbol will appear on the
display when the air conditioning is on and will turn
off when the air conditioning is off.
If you select turn the air conditioning off while in front
defrost or defog mode, the air conditioning symbol
will turn off, however, the A/C compressor will remain
on to help de-humidify the air inside the vehicle. If one of
the other modes is selected the compressor will then
turn the A/C off until it is selected again or the
AUTO button is pressed.
You may notice a slight change in engine performance
when the air conditioning compressor shuts off and
turns on again. This is normal.
Defogging and Defrosting
Fog on the inside of windows is a result of high humidity
(moisture) condensing on the cool window glass. This
can be minimized if the climate control system is
used properly. You can use either defog or front defrost
to clear fog or frost from your windshield.
-(Defog):Use this setting to clear the windows of
fog or moisture. This setting will deliver air to the
�oor and windshield outlets.
0(Defrost):Press the front defrost button to clear
the windshield and side windows of frost or fog quickly.
The system will automatically control the fan speed if
you select defrost from AUTO mode. If the outside
temperature is 40°F (4°C) or warmer, your air
conditioning compressor will automatically run to help
dehumidify the air and dry the windshield. Do not
drive the vehicle until all the windows are clear.
Rear Window Defogger
The rear window defogger uses a warming grid to
remove fog from the rear window.
<(Rear):Press this button to turn the rear window
defogger on or off.
An indicator light in the button will come on to let you
know that the rear window defogger is activated.
The rear window defogger will turn off approximately
10 minutes after the button is pressed. If you need
additional warming time, press the button again.
If equipped, your heated mirrors will also come on when
you press this button.
Notice:Do not use a razor blade or sharp object to
clear the inside rear window. Do not adhere
anything to the defogger grid lines in the rear glass.
These actions may damage the rear defogger.
Repairs would not be covered by your warranty.
3-25
Page 173 of 534
If your vehicle has the rear seat audio system, press
the buttons at the bottom of the audio control panel to
adjust the fan speed, mode and temperature for the
rear passengers. The selections will be shown on
the display.
z9 y(Fan):Press the rear fan control button with
the arrow pointing right to turn the rear climate control
on. Toggle this button to adjust the air �ow speed.
To turn the rear system off, toggle the left arrow until
the display turns off.
z\y(Mode):Press this button to change the
direction of air�ow (panel, bi-level or �oor) to the rear
seat area.
zby(Temperature):Press this button to increase
and decrease the temperature setting.
3-29
Page 176 of 534
Speedometer and Odometer
Your speedometer lets you see your speed in both
miles per hour (mph) and kilometers per hour (km/h).
Your odometer shows how far your vehicle has
been driven, in either miles (used in the United States)
or kilometers (used in Canada).
The odometer mileage can be checked without the
vehicle running. Simply press the trip stem located on
the instrument panel cluster.
You may wonder what happens if your vehicle needs a
new odometer installed. The new one will be set to
the correct mileage total of the old odometer.
Trip Odometer
The trip odometer can tell you how far your vehicle has
been driven since you last set the trip odometer to zero.
Your vehicle’s odometer works together with the Driver
Information Center (DIC). You can set a Trip A and
Trip B odometer. See “Trip Information” underDIC
Operation and Displays on page 3-51.The odometer mileage can be checked without the
vehicle running. Simply press the trip stem on the
instrument panel cluster.
If your vehicle ever needs a new odometer installed, the
new one will be set to the correct mileage total of the
old odometer.
Tachometer
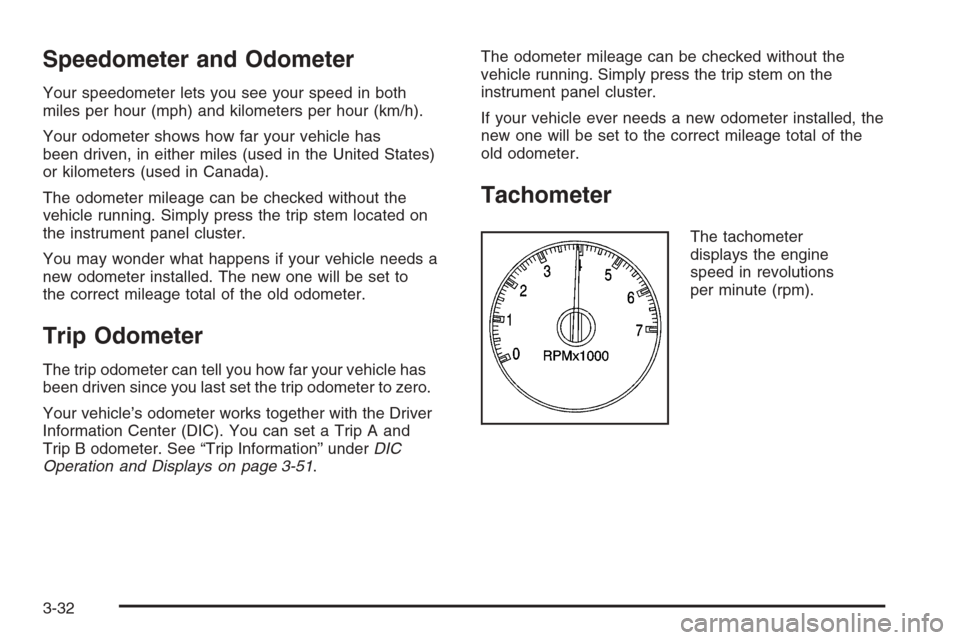
The tachometer
displays the engine
speed in revolutions
per minute (rpm).
3-32
Page 190 of 534
Change Engine Oil Light
If equipped and this light
comes on, it means that
an oil change and
other maintenance
procedures are required
for your vehicle.
SeeScheduled Maintenance on page 6-4andEngine
Oil on page 5-18for more information.
Once the engine oil has been changed, the change
engine oil light must be reset. Until it is reset, the light
will be displayed when the engine is on.
Security Light
This light will come on
brie�y when you turn the
key toward START.
The light will stay on until the engine starts. If the light
�ashes, the Passlock
®system has entered a tamper
mode. If the vehicle fails to start, seePasslock®
on page 2-18.
If the light comes on continuously while driving and
stays on, there may be a problem with the Passlock
®
system. Your vehicle will not be protected by Passlock®,
and you should see your dealer.
Also, seeContent Theft-Deterrent on page 2-17for
additional information regarding the security light.
3-46
Page 191 of 534
Cruise Control Light
If equipped, the cruise
control light appears
whenever you set your
cruise control.
SeeCruise Control on page 3-11for more information.
Reduced Engine Power Light
This light is displayed
when a noticeable
reduction in the vehicle’s
performance may occur.
The vehicle may be driven at a reduced speed when
the reduced engine power light is on but acceleration
and speed may be reduced. The performance may
be reduced until the next time you drive your vehicle. If
this light stays on, see your dealer as soon as
possible for diagnosis and repair.This light may also come on if there is a problem with
the Electronic Throttle Control (ETC) system. If this
happens, take the vehicle in for service as soon
as possible.
Highbeam On Light
This light will come on
when the high-beam
headlamps are in use.
SeeHeadlamp High/Low-Beam Changer on page 3-8.
3-47
Page 194 of 534
Here are four things that some owners ask about. None
of these show a problem with your fuel gage:
At the gas station, the gas pump shuts off before
the gage reads full.
It takes a little more or less fuel to �ll up than the
gage indicated. For example, the gage may have
indicated the tank was half full, but it actually took a
little more or less than half the tank’s capacity to
�ll the tank.
The gage moves a little when you turn a corner or
speed up.
The gage doesn’t go back to empty when you turn
off the ignition.
Low Fuel Warning Light
The light next to the fuel gage will come on brie�y when
you are starting the engine.
This light comes on when the fuel tank is low on fuel.
To turn it off, add fuel to the fuel tank.
Check Gas Cap Light
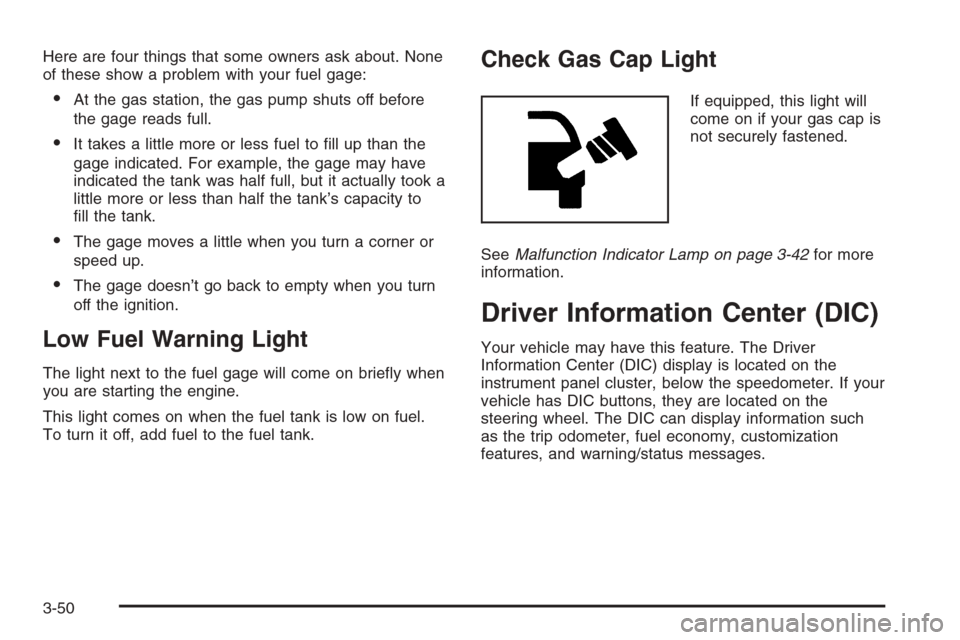
If equipped, this light will
come on if your gas cap is
not securely fastened.
SeeMalfunction Indicator Lamp on page 3-42for more
information.
Driver Information Center (DIC)
Your vehicle may have this feature. The Driver
Information Center (DIC) display is located on the
instrument panel cluster, below the speedometer. If your
vehicle has DIC buttons, they are located on the
steering wheel. The DIC can display information such
as the trip odometer, fuel economy, customization
features, and warning/status messages.
3-50
Page 195 of 534
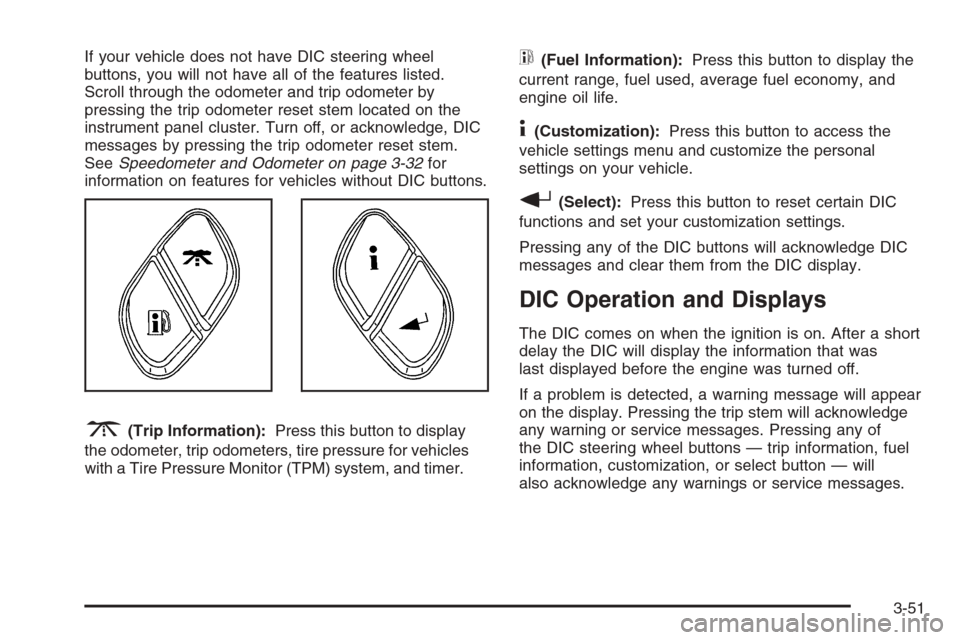
If your vehicle does not have DIC steering wheel
buttons, you will not have all of the features listed.
Scroll through the odometer and trip odometer by
pressing the trip odometer reset stem located on the
instrument panel cluster. Turn off, or acknowledge, DIC
messages by pressing the trip odometer reset stem.
SeeSpeedometer and Odometer on page 3-32for
information on features for vehicles without DIC buttons.
3(Trip Information):Press this button to display
the odometer, trip odometers, tire pressure for vehicles
with a Tire Pressure Monitor (TPM) system, and timer.
t(Fuel Information):Press this button to display the
current range, fuel used, average fuel economy, and
engine oil life.
4(Customization):Press this button to access the
vehicle settings menu and customize the personal
settings on your vehicle.
r(Select):Press this button to reset certain DIC
functions and set your customization settings.
Pressing any of the DIC buttons will acknowledge DIC
messages and clear them from the DIC display.
DIC Operation and Displays
The DIC comes on when the ignition is on. After a short
delay the DIC will display the information that was
last displayed before the engine was turned off.
If a problem is detected, a warning message will appear
on the display. Pressing the trip stem will acknowledge
any warning or service messages. Pressing any of
the DIC steering wheel buttons — trip information, fuel
information, customization, or select button — will
also acknowledge any warnings or service messages.
3-51