2006 CHEVROLET SUBURBAN buttons
[x] Cancel search: buttonsPage 249 of 540
SCAN:Scan the stations within a PTY by performing
the following:
1. Press the TYPE button to activate program type
select mode. TYPE and the last selected PTY will
appear on the display.
2. Turn the TYPE knob or press and release the
TYPE button to select a PTY.
3. Once the desired PTY is displayed, press and
hold either the TYPE or the SCAN arrows for
two seconds, and the radio will begin scanning the
stations in the PTY.
4. Press either the TYPE or the SCAN arrows to
stop at a station.
BAND (Alternate Frequency):Alternate frequency
allows the radio to switch to a stronger station with the
same program type. To turn alternate frequency on,
press and hold BAND for two seconds. AF ON will
appear on the display. The radio may switch to stations
with a stronger frequency.
To turn alternate frequency off, press and hold BAND
again for two seconds. AF OFF will appear on the
display. The radio will not switch to other stations.
This function does not apply for XM™ Satellite
Radio Service.Setting Preset PTYs (RDS Only)
These buttons have factory PTY presets. Up to
12 PTYs (six FM1 and six FM2), can be programmed
on the six numbered pushbuttons, by performing
the following steps:
1. Press BAND to select FM1 or FM2.
2. Press the TYPE button to activate program type
select mode. TYPE and the last selected PTY will
appear on the display.
3. Turn the TYPE knob or press and release the
TYPE button to select a PTY.
4. Press and hold one of the six numbered
pushbuttons until you hear a beep. Whenever that
numbered pushbutton is pressed, while in PTY
select mode, the PTY that was set will return.
5. Repeat the steps for each pushbutton.
3-93
Page 261 of 540
Setting Preset Stations
Up to 30 stations (six FM1, six FM2, and six AM,
six XM1 and six XM2 (if equipped)), can be programed
on the six numbered pushbuttons, by performing the
following steps:
1. Turn the radio on.
2. Press BAND to select FM1, FM2, AM, or XM1
or XM2.
3. Tune in the desired station.
4. Press and hold one of the six numbered
pushbuttons until you hear a beep. Whenever
that numbered pushbutton is pressed, the station
that was set will return for that pushbutton.
5. Repeat the steps for each pushbutton.
To store an equalization setting to a preset station
perform the following:
1. Tune to the preset station.
2. Press and release the AUTO EQ button to select
the equalization setting.
Once the equalization no longer appears on the
display, the equalization will be set for that preset
station.
Setting the Tone (Bass/Treble)
AUDIO:Push and release the AUDIO knob until BASS
or TREB appears on the display. Turn the knob to
increase or to decrease. The display will show the bass
or treble level. If a station is weak or noisy, decrease
the treble.
To adjust the bass or treble to the middle position while
it is displayed, push and hold the AUDIO knob. The
radio will produce one beep and adjust the display level
to the middle position.
To adjust all tone and speaker controls to the middle
position, push and hold the AUDIO knob when no tone
or speaker controls are displayed. ALL CENTERED
will appear on the display and you will hear a beep.
AUTO EQ (Automatic Equalization):Press this button
to select customized equalization settings designed
for country/western, jazz, talk, pop, rock, and classical.
The radio will save separate AUTO EQ settings for
each preset and source.
If the radio is equipped with the Bose
®audio system,
the equalization settings are either CUSTOM or TALK.
3-105
Page 263 of 540
SCAN:Scan the stations within a PTY by performing
the following:
1. Press the TYPE button to activate program type
select mode. P-TYPE and the last selected PTY
will appear on the display.
2. Turn the TYPE knob or press and release the
TYPE button to select a PTY.
3. Once the desired PTY is displayed, press and
hold either the TYPE or the SCAN arrows for
two seconds, and the radio will begin scanning
the stations in the PTY.
4. Press either the TYPE or the SCAN arrows to
stop scanning.
BAND (Alternate Frequency):Alternate frequency
allows the radio to switch to a stronger station with the
same program type. To turn alternate frequency on,
press and hold BAND for two seconds. AF ON will
appear on the display. The radio may switch to stations
with a stronger frequency.
To turn alternate frequency off, press and hold BAND
again for two seconds. AF OFF will appear on the
display. The radio will not switch to other stations.
This function does not apply for XM™ Satellite
Radio Service.Setting Preset PTYs (RDS Only)
These pushbuttons have factory PTY presets. Up to
12 PTYs (six FM1 and six FM2), can be programmed on
the six numbered pushbuttons, by performing the
following steps:
1. Press BAND to select FM1 or FM2.
2. Press the TYPE button to activate program type
select mode. P-TYPE and the last selected PTY
will appear on the display.
3. Turn the TYPE knob or press and release the
TYPE button to select a PTY.
4. Press and hold one of the six numbered
pushbuttons until you hear a beep. Whenever that
numbered pushbutton is pressed, while in PTY
mode, the PTY that was set will return.
5. Repeat the steps for each pushbutton.
3-107
Page 276 of 540
Video Screen
The video screen is located in the overhead console.
To use the video screen, push forward on the release
latch and the screen will fold down. Adjust the screen’s
position as desired. When the video screen is not in
use, push it up into its latched position.
The DVD player and display will continue to operate
when the screen is in the up or the down position. The
video screen contains the transmitters for the wireless
headphones and the remote control. If the screen is in the
closed position, the signals will not be available for the
operation of the headphones or the remote control.
Notice:Avoid directly touching the video screen,
as damage may occur. See “Cleaning the Video
Screen” later in this section for more information.
DVD Player
The DVD player is located in the overhead console.
The DVD player can be controlled by the buttons on the
DVD player and/or by the buttons on the remote control.
See “Remote Control” later in this section for more
information.The DVD player power may be turned on when the
ignition is in RUN, ACCESSORY, or when Retained
Accessory Power (RAP) is active.
The RSE system DVD player is only compatible with
DVDs of the appropriate region code for the country that
the vehicle was sold in. The DVD region code is
printed on the jacket of most DVDs.
Standard audio CDs, CD-R, CD-RW, Video CD and
Photo CD/CD-R media are fully supported by this DVD
player. DVD-R and DVD-RW media is supported if
formatted as DVD-Video. DVD+R and DVD+RW media
may or may not be supported by the DVD player.
The DVD player does not support DVD-RAM,
DVD-ROM, and DVD Audio media. An error message
will appear on the display if this type of media is inserted
into the DVD player.
When using the wired headphones, not included, if the
front seat passengers play a CD in the Radio with
Six-Disc CD (if equipped) or use XM™ Satellite Radio
Service (if equipped), you will hear the audio for
these sources, instead of the DVD or CD that is currently
playing through the RSE.
If an error message appears on the video screen, see
“DVD Messages” later in this section.
3-120
Page 277 of 540

DVD Player Buttons
O(Power):Press this button to turn the RSE system
on and off. The power indicator light will illuminate
when the power is on.
X(Eject):Press this button to eject a DVD or CD.
SRCE (Source):Press this button to switch between
the DVD player and an auxiliary source.
c(Stop):Press this button to stop playing, rewinding,
or fast forwarding a DVD or CD. Press this button
twice to return to the beginning of the DVD.
s(Play/Pause):Press this button to start play of a
DVD or CD. Press this button while a DVD or CD is
playing to pause it. Press this button again to continue
the play of the DVD or CD.
y(Main DVD Menu):Press this button to access
the DVD menu. The DVD menu is different on every
DVD. Use the up, down, left, and right arrow buttons to
move the cursor around the DVD menu. After making
a selection press the enter button. This button only
operates when playing a DVD.
z(Set-up Menu):Press this button to adjust the
color, tint, brightness, contrast, display mode, and
dynamic range compression. The dynamic range
compression feature can be used to reduce loud audio
and increase low audio produced by some DVDs.
To change a feature back to the factory default setting,
press this button to display the feature, then press
and hold this button. The default setting will appear on
the display.
While playing an Audio or DVD disc, press and hold this
button to display and to remove the track and time
information.
n,q,p,o(Menu Navigation Arrows):Use the
arrow buttons to navigate through a menu.
r(Enter):Press this button to select the choices
that are highlighted in any menu.
3-121
Page 279 of 540

Remote Control Buttons
O(Power):Press this button to turn the DVD player
on and off.
v(Title):Press this button to return the DVD to the
main menu of the DVD.
n,q,p,o(Menu Navigation Arrows):Use the
arrow buttons to navigate through a menu.
z(Set-up Menu):Press this button to adjust the
color, tint, brightness, contrast, display mode, and
dynamic range compression. The dynamic range
compression feature can be used to reduce loud audio
and increase low audio produced by some DVDs.
e(Audio):Press this button to display a menu that
will only appear when a DVD is being played. The format
and content of this function will vary for each disc.
r(Fast Reverse):Press this button to fast reverse
the DVD or CD. To stop fast reversing, press this button
again. This button may not work when the DVD is
playing the copyright information or the previews.
SRCE (Source):Press this button to switch between
the DVD player and an auxiliary source.
c(Stop):Press this button to stop playing, rewinding,
or fast forwarding a DVD or CD. Press this button
twice to return to the beginning of the DVD.
t(Previous Track/Chapter):Press this button to
return to the start of the current track or chapter. Press
this button again to return to the previous track or
chapter. This button may not work when the DVD is
playing the copyright information or the previews.
3-123
Page 280 of 540
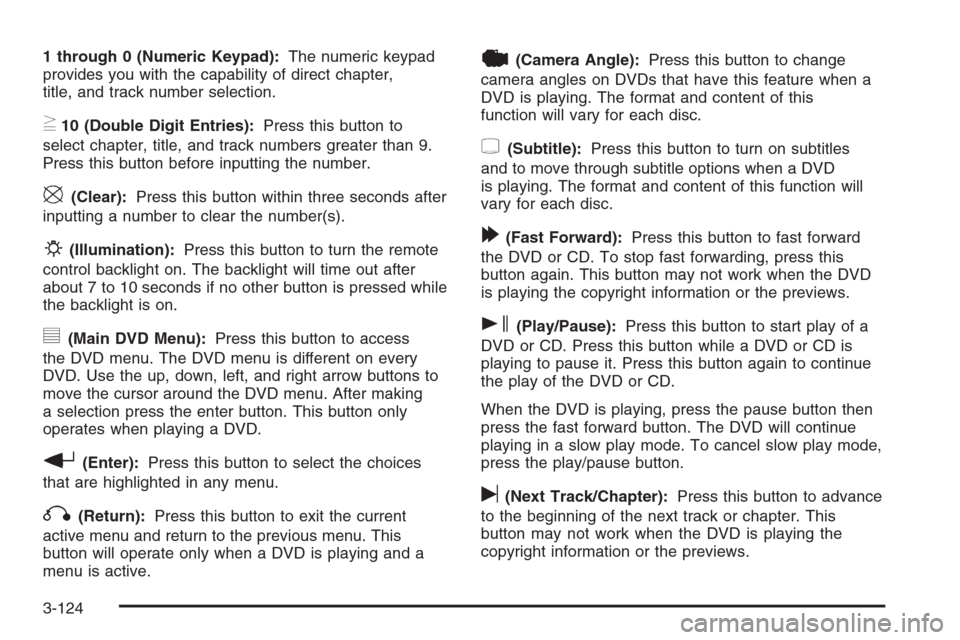
1 through 0 (Numeric Keypad):The numeric keypad
provides you with the capability of direct chapter,
title, and track number selection.
}10 (Double Digit Entries):Press this button to
select chapter, title, and track numbers greater than 9.
Press this button before inputting the number.
\(Clear):Press this button within three seconds after
inputting a number to clear the number(s).
P(Illumination):Press this button to turn the remote
control backlight on. The backlight will time out after
about 7 to 10 seconds if no other button is pressed while
the backlight is on.
y(Main DVD Menu):Press this button to access
the DVD menu. The DVD menu is different on every
DVD. Use the up, down, left, and right arrow buttons to
move the cursor around the DVD menu. After making
a selection press the enter button. This button only
operates when playing a DVD.
r(Enter):Press this button to select the choices
that are highlighted in any menu.
q(Return):Press this button to exit the current
active menu and return to the previous menu. This
button will operate only when a DVD is playing and a
menu is active.
|(Camera Angle):Press this button to change
camera angles on DVDs that have this feature when a
DVD is playing. The format and content of this
function will vary for each disc.
{(Subtitle):Press this button to turn on subtitles
and to move through subtitle options when a DVD
is playing. The format and content of this function will
vary for each disc.
[(Fast Forward):Press this button to fast forward
the DVD or CD. To stop fast forwarding, press this
button again. This button may not work when the DVD
is playing the copyright information or the previews.
s(Play/Pause):Press this button to start play of a
DVD or CD. Press this button while a DVD or CD is
playing to pause it. Press this button again to continue
the play of the DVD or CD.
When the DVD is playing, press the pause button then
press the fast forward button. The DVD will continue
playing in a slow play mode. To cancel slow play mode,
press the play/pause button.
u(Next Track/Chapter):Press this button to advance
to the beginning of the next track or chapter. This
button may not work when the DVD is playing the
copyright information or the previews.
3-124
Page 283 of 540
Problem Recommended Action
The audio/video skips
or jumps.The DVD or CD could
be dirty, scratched, or
damaged.
The audio from the radio
for the Radio with
Six-Disc CD and XM™
has taken over the audio
from the DVD or CD when
using the wired
headphones.The RSE is working
correctly.
Use the wireless
headphones or have the
front seat passengers
listen to another audio
source.
DVD Messages
The following errors may be displayed on the
video screen:
Disc Format Error:This message will be displayed if a
disc is inserted upside down, if the disc is not readable,
or if the format is not compatible with the DVD player.
Load/Eject Error:This message will be displayed if the
disc is not properly loaded or ejected.
Disc Play Error:This message will be displayed if the
DVD player cannot play the disc. Scratched or
damaged discs will cause this error.Region Code Error:This message will be displayed if
the region code of the DVD is not compatible with
the region code of the DVD player.
No Disc:This message will be displayed if any of the
buttons on the DVD faceplate or remote control are
pressed and no disc is present in the DVD player.
DVD Distortion
There may be an experience with audio distortion in the
wireless headphones when operating cellular phones,
scanners, CB radios, Global Positioning Systems
(GPS)*, two-way radios, mobile fax, or walkie talkies.
It may be necessary to turn off the DVD player
when operating one of these devices in or near
the vehicle.
* Excludes the OnStar
®System.
Cleaning the Video Screen
Pour some isopropyl or rubbing alcohol on a clean
cloth and gently wipe the video screen. Do not spray
directly onto the screen and do not press too hard or
too long on the video screen.
3-127