2006 CHEVROLET SILVERADO change wheel
[x] Cancel search: change wheelPage 132 of 594
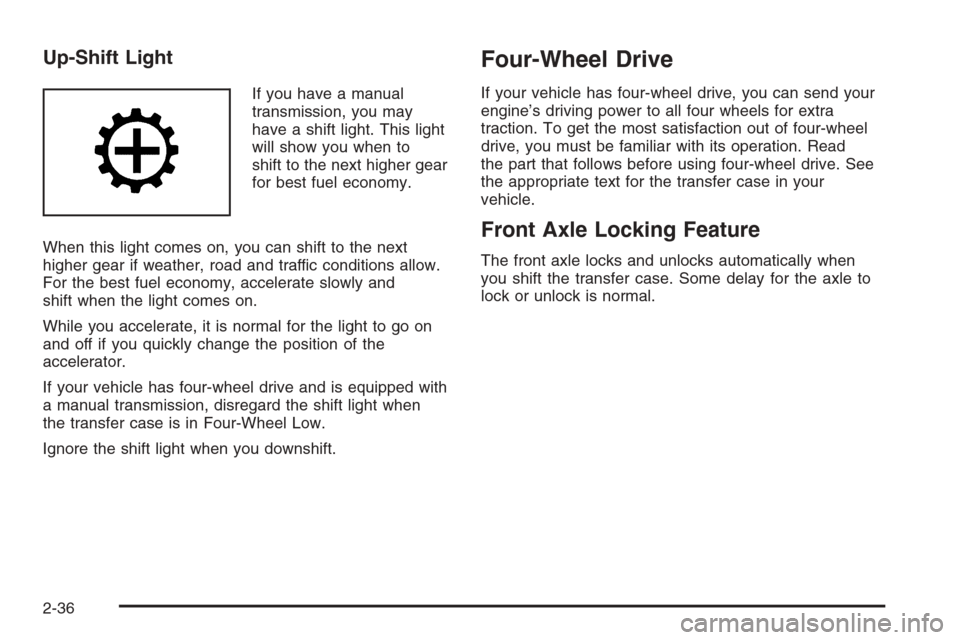
Up-Shift Light
If you have a manual
transmission, you may
have a shift light. This light
will show you when to
shift to the next higher gear
for best fuel economy.
When this light comes on, you can shift to the next
higher gear if weather, road and traffic conditions allow.
For the best fuel economy, accelerate slowly and
shift when the light comes on.
While you accelerate, it is normal for the light to go on
and off if you quickly change the position of the
accelerator.
If your vehicle has four-wheel drive and is equipped with
a manual transmission, disregard the shift light when
the transfer case is in Four-Wheel Low.
Ignore the shift light when you downshift.
Four-Wheel Drive
If your vehicle has four-wheel drive, you can send your
engine’s driving power to all four wheels for extra
traction. To get the most satisfaction out of four-wheel
drive, you must be familiar with its operation. Read
the part that follows before using four-wheel drive. See
the appropriate text for the transfer case in your
vehicle.
Front Axle Locking Feature
The front axle locks and unlocks automatically when
you shift the transfer case. Some delay for the axle to
lock or unlock is normal.
2-36
Page 177 of 594

Instrument Panel Overview...............................3-4
Hazard Warning Flashers................................3-6
Other Warning Devices...................................3-6
Horn .............................................................3-6
Tilt Wheel.....................................................3-6
Turn Signal/Multifunction Lever.........................3-7
Turn and Lane-Change Signals........................3-7
Headlamp High/Low-Beam Changer..................3-8
Flash-to-Pass.................................................3-8
Windshield Wipers..........................................3-9
Windshield Washer.........................................3-9
Cruise Control..............................................3-10
Headlamps..................................................3-13
Headlamps on Reminder................................3-14
Daytime Running Lamps (DRL).......................3-14
Automatic Headlamp System..........................3-14
Fog Lamps ..................................................3-16
Auxiliary Roof Mounted Lamp.........................3-16
Instrument Panel Brightness...........................3-17
Dome Lamps ...............................................3-17
Dome Lamp Override....................................3-17
Entry Lighting...............................................3-18Exit Lighting.................................................3-18
Front Reading Lamps....................................3-18
Cargo Lamp.................................................3-18
Accessory Power Outlet(s).............................3-18
Ashtray(s) and Cigarette Lighter......................3-19
Climate Controls............................................3-20
Climate Control System.................................3-20
Dual Climate Control System..........................3-21
Dual Automatic Climate Control System...........3-24
Outlet Adjustment.........................................3-29
Warning Lights, Gages, and Indicators............3-30
Instrument Panel Cluster................................3-31
Speedometer and Odometer...........................3-32
Trip Odometer..............................................3-32
Tachometer.................................................3-32
Safety Belt Reminder Light.............................3-33
Airbag Readiness Light..................................3-33
Airbag Off Light............................................3-34
Passenger Airbag Status Indicator...................3-36
Battery Warning Light....................................3-39
Voltmeter Gage............................................3-39
Section 3 Instrument Panel
3-1
Page 183 of 594

To tilt the wheel, hold the steering wheel and pull the
lever. Then move the steering wheel to a comfortable
position and release the lever to lock the wheel in place.
Turn Signal/Multifunction Lever
The lever on the left side of the steering column
includes the following:
GTurn and Lane Change Signals. SeeTurn and
Lane-Change Signals on page 3-7.
53Headlamp High/Low-Beam Changer. See
Headlamp High/Low-Beam Changer on page 3-8.
Flash-to-Pass. SeeFlash-to-Pass on page 3-8.
NWindshield Wipers. SeeWindshield Wipers on
page 3-9.
LWindshield Washer. SeeWindshield Washer
on page 3-9.
ICruise Control. SeeCruise Control on
page 3-10.
For information on the headlamps, seeHeadlamps on
page 3-13.
Turn and Lane-Change Signals
The turn signal has two upward (for right) and
two downward (for left) positions. These positions
allow you to signal a turn or a lane change.
To signal a turn, move the lever all the way up or
down. When the turn is �nished, the lever will return
automatically.
To signal a lane change, raise or lower the lever for
less than one second until the arrow starts to �ash.
This will cause the turn signals to automatically �ash
three times. It will �ash six times if tow-haul mode
is active. Holding the turn signal lever for more than
one second will cause the turn signals to �ash until you
release the lever. The lever will return by itself when
it is released.
3-7
Page 186 of 594

Cruise Control
9(Off):This position
turns the system off.
If your vehicle is equipped with an Allison
®automatic
transmission, see “Grade Braking and Cruise Grade
Braking (Allison Transmission
®) underTow/Haul Mode
on page 2-30for an explanation of how cruise control
interacts with the tap up/down gear selection, tow/haul
and grade braking systems.
R(On):This position activates the system.
+ (Resume/Accelerate):Push the lever to this symbol
to make the vehicle accelerate or resume to a
previously set speed.
T(Set):Press this button to set the speed.
With cruise control, you can maintain a speed of about
25 mph (40 km/h) or more without keeping your foot
on the accelerator. This can really help on long
trips. Cruise control does not work at speeds below
about 25 mph (40 km/h).
If you apply your brakes, the cruise control will shut off.
{CAUTION:
Cruise control can be dangerous where you
cannot drive safely at a steady speed. So, do
not use your cruise control on winding roads
or in heavy traffic.
Cruise control can be dangerous on slippery
roads. On such roads, fast changes in tire
traction can cause excessive wheel slip, and
you could lose control. Do not use cruise
control on slippery roads.
3-10
Page 225 of 594
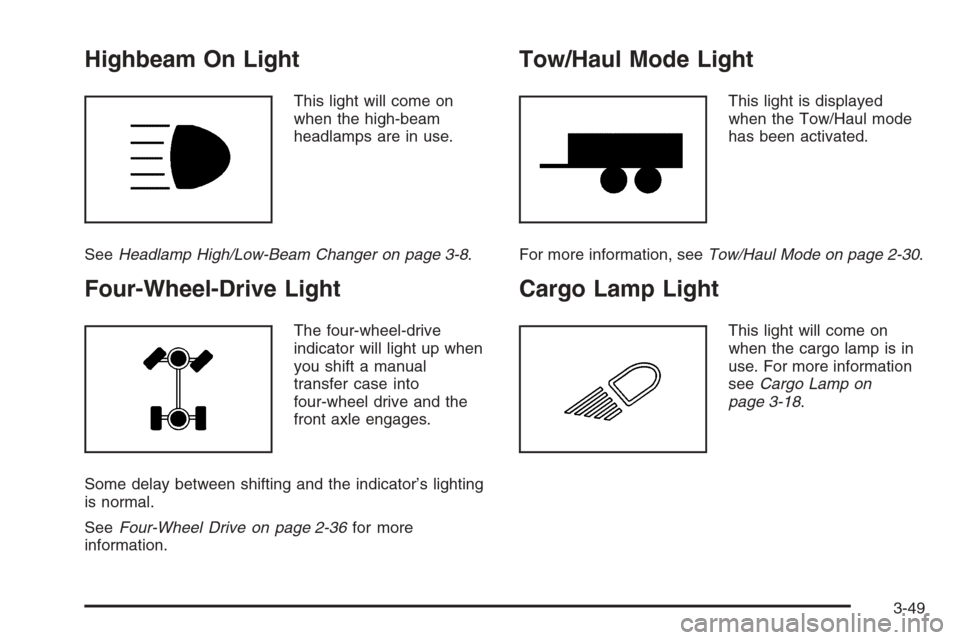
Highbeam On Light
This light will come on
when the high-beam
headlamps are in use.
SeeHeadlamp High/Low-Beam Changer on page 3-8.
Four-Wheel-Drive Light
The four-wheel-drive
indicator will light up when
you shift a manual
transfer case into
four-wheel drive and the
front axle engages.
Some delay between shifting and the indicator’s lighting
is normal.
SeeFour-Wheel Drive on page 2-36for more
information.
Tow/Haul Mode Light
This light is displayed
when the Tow/Haul mode
has been activated.
For more information, seeTow/Haul Mode on page 2-30.
Cargo Lamp Light
This light will come on
when the cargo lamp is in
use. For more information
seeCargo Lamp on
page 3-18.
3-49
Page 230 of 594
Engine Oil Life System:Press the fuel information
button until ENGINE OIL LIFE appears on the display.
The engine oil life system shows an estimate of the
oil’s remaining useful life. It will show 100% when the
system is reset after an oil change. It will alert you
to change your oil on a schedule consistent with your
driving conditions.
Always reset the engine oil life system after an oil
change. To reset the engine oil life system, seeEngine
Oil Life System (Gasoline Engine) on page 5-23.
In addition to the engine oil life system monitoring the
oil life, additional maintenance is recommended in
the Maintenance Schedule in this manual. SeeEngine
Oil (Gasoline Engine) on page 5-20andScheduled
Maintenance (Gasoline Engine) on page 6-4.
Customization Button
4
(Customization):Press the customization button to
access the VEHICLE SETTINGS menu and customize
the settings to your vehicle. SeeDIC Vehicle
Customization on page 3-64for more information.
Select Button
r
(Select):Press the select button to reset certain
DIC functions and set your customization settings.
For example, this button will reset the trip odometers
and enables you to scroll through and select the
language in which the DIC information will appear.
DIC Warnings and Messages
Warning messages are displayed on the Driver
Information Center (DIC) to notify the driver that the
status of the vehicle has changed and that some action
may be needed by the driver to correct the condition.
If there is more than one message that needs to
be displayed, they will appear one after another. Some
messages may not require immediate action, but
you should press any of the four DIC buttons on the
steering wheel to acknowledge that you received
the messages and to clear them from the display. If
your vehicle does not have DIC buttons on the steering
wheel, press the trip odometer reset stem, located
on the instrument panel cluster, to acknowledge
messages and clear them from the display.
Some messages cannot be cleared from the display
because they are more urgent. These messages require
action before they can be removed from the DIC
display. You should take any messages that appear on
the display seriously and remember that clearing the
messages will only make the messages disappear, not
correct the problem.
3-54
Page 303 of 594
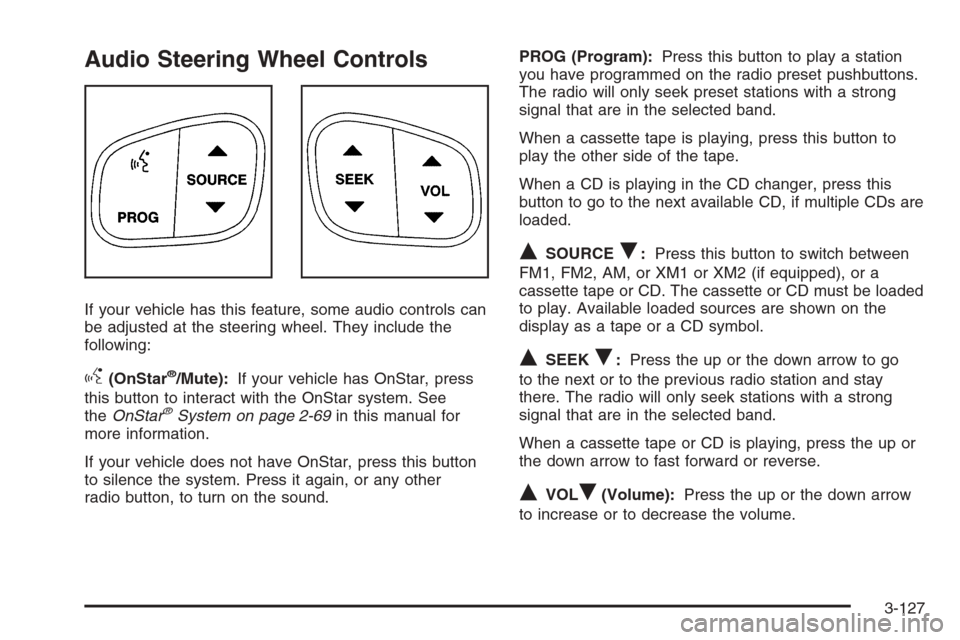
Audio Steering Wheel Controls
If your vehicle has this feature, some audio controls can
be adjusted at the steering wheel. They include the
following:
g(OnStar®/Mute):If your vehicle has OnStar, press
this button to interact with the OnStar system. See
theOnStar
®System on page 2-69in this manual for
more information.
If your vehicle does not have OnStar, press this button
to silence the system. Press it again, or any other
radio button, to turn on the sound.PROG (Program):Press this button to play a station
you have programmed on the radio preset pushbuttons.
The radio will only seek preset stations with a strong
signal that are in the selected band.
When a cassette tape is playing, press this button to
play the other side of the tape.
When a CD is playing in the CD changer, press this
button to go to the next available CD, if multiple CDs are
loaded.
QSOURCER:Press this button to switch between
FM1, FM2, AM, or XM1 or XM2 (if equipped), or a
cassette tape or CD. The cassette or CD must be loaded
to play. Available loaded sources are shown on the
display as a tape or a CD symbol.
QSEEKR:Press the up or the down arrow to go
to the next or to the previous radio station and stay
there. The radio will only seek stations with a strong
signal that are in the selected band.
When a cassette tape or CD is playing, press the up or
the down arrow to fast forward or reverse.
QVOLR(Volume):Press the up or the down arrow
to increase or to decrease the volume.
3-127
Page 314 of 594
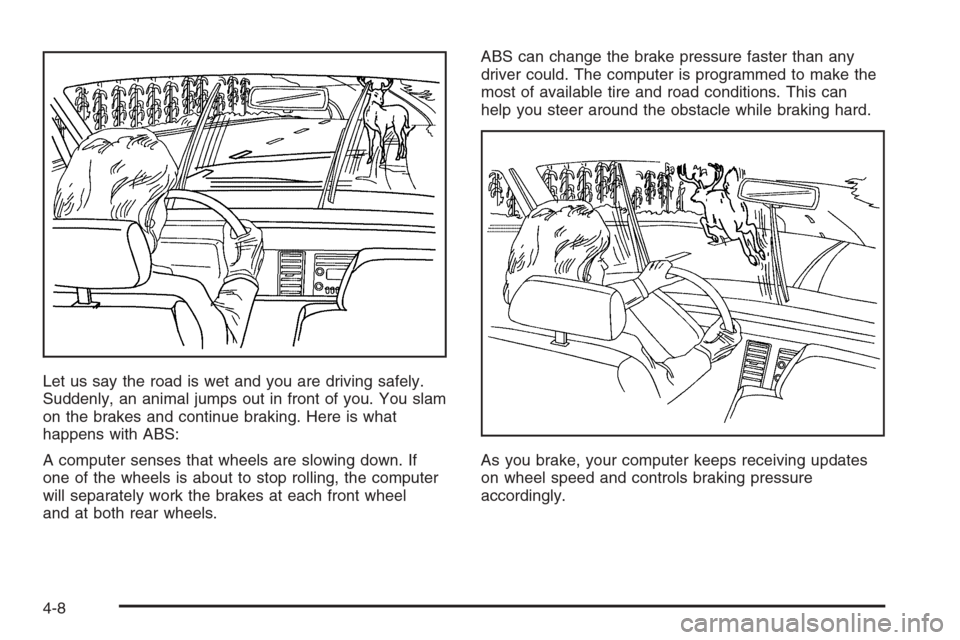
Let us say the road is wet and you are driving safely.
Suddenly, an animal jumps out in front of you. You slam
on the brakes and continue braking. Here is what
happens with ABS:
A computer senses that wheels are slowing down. If
one of the wheels is about to stop rolling, the computer
will separately work the brakes at each front wheel
and at both rear wheels.ABS can change the brake pressure faster than any
driver could. The computer is programmed to make the
most of available tire and road conditions. This can
help you steer around the obstacle while braking hard.
As you brake, your computer keeps receiving updates
on wheel speed and controls braking pressure
accordingly.
4-8