2006 CHEVROLET SILVERADO brakes
[x] Cancel search: brakesPage 124 of 594
SECOND (2):This position gives you more power but
lower fuel economy. You can use SECOND (2) on
hills. It can help control your speed as you go down
steep mountain roads, but then you would also want to
use your brakes off and on.
If you manually select SECOND (2) in an automatic
transmission, the transmission will start in second gear.
You may use this feature for reducing the speed of
the rear wheels when you are trying to start your vehicle
from a stop on slippery road surfaces.
FIRST (1):This position gives you even more power
(but lower fuel economy) than SECOND (2). You
can use it on very steep hills, or in deep snow or mud.
If the shift lever is put in FIRST (1) while the vehicle
is moving forward, the transmission will not shift into �rst
gear until the vehicle is going slowly enough.
Notice:Spinning the tires or holding the vehicle in
one place on a hill using only the accelerator
pedal may damage the transmission. If you are
stuck, do not spin the tires. When stopping on a hill,
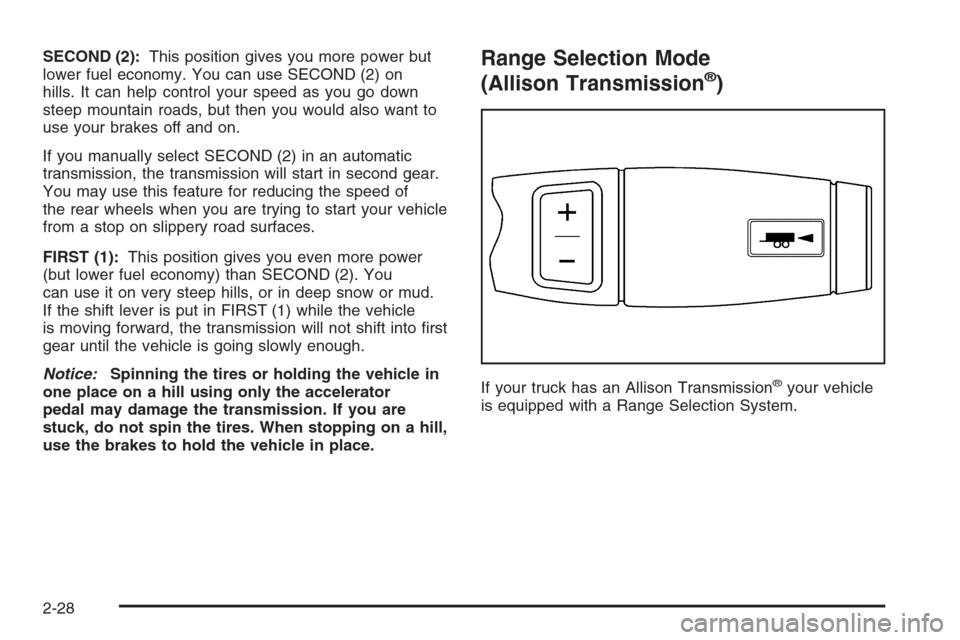
use the brakes to hold the vehicle in place.Range Selection Mode
(Allison Transmission®)
If your truck has an Allison Transmission®your vehicle
is equipped with a Range Selection System.
2-28
Page 125 of 594
To use this feature, do the following:
1. Move the shift lever to the MANUAL MODE (M).
When in the MANUAL MODE, the transmission’s
current gear range will be the highest attainable
range with all the lower gears available.
2. Press the plus/minus buttons to upshift or downshift
selecting the desired range of gears for your current
driving conditions.
The Range Selection Mode allows you to control the
vehicle’s engine and vehicle speed while driving
down hill by allowing you to select a desired gear.
The DIC shows the six available ranges with the highest
attainable range shown in brackets. SeeDriver
Information Center (DIC) on page 3-51andDIC
Operation and Displays on page 3-52for more
information.
While using the Range Selection mode feature, cruise
control and the Tow/Haul mode can be used.
Low Traction Mode
(Allison Transmission®)
If your vehicle has the DURAMAX®diesel engine and
the Allison Transmission®, it is equipped with a Low
Traction Mode that assists in vehicle acceleration when
road conditions are slippery, such as ice or snow.While at a stop, selecting the second gear range using
the Range Selection system, will allow the Allison
Transmission
®to limit torque to the wheels after it
detects wheel slip, preventing the tires from spinning.
Notice:Spinning the tires or holding the vehicle in
one place on a hill using only the accelerator
pedal may damage the transmission. If you are
stuck, do not spin the tires. When stopping on a hill,
use the brakes to hold the vehicle in place.
Cold Weather Operation
(Allison Transmission®)
On cold days, approximately 32°F (0°C) or colder, your
automatic transmission is designed to shift differently.
The transmission uses a warm-up mode shift schedule
until the engine reaches normal operating temperature.
While the transmission is in warm-up mode it is
normal for transmission upshifts to be delayed or held
longer. This feature improves heater performance
by giving quicker vehicle warm-ups.
When temperatures are below−13°F (−25°C), the
transmission will prevent certain operations to protect
against damage. When active the DIC will display
the message “Trans in Warm-up”.
SeeDIC Warnings and Messages on page 3-54for
more information.
2-29
Page 127 of 594
The selector button is located on the end of the shift
lever. Turn the Turn Tow/Haul on and off by pressing the
button. When the Tow/Haul is on, a light on the
instrument panel cluster will come on.
SeeTow/Haul Mode Light on page 3-49for more
information.
Also see “Tow Haul Mode” underTowing a Trailer on
page 4-67for more information.
Grade Braking and Cruise Grade
Braking (Allison Transmission®)
Grade Braking and Cruise Grade Braking assists when
driving on a downhill grade. It maintains the vehicle’s
speed by automatically implementing a shift schedule
that uses the engine and the transmission to slow
the vehicle. This reduces wear on the brakes system
and increases control of the vehicle. The system
constantly monitors the vehicle’s speed, acceleration,
engine torque, and brake pedal usage. It detects
when the truck is on a downhill grade and the driver’s
desire to slow down by pressing the brake.Cruise Grade Braking is available on the 6.6L
DURAMAX
®diesel engine. Cruise Grade Braking
monitors a vehicle’s cruise state, engine torque,
acceleration, vehicle speed, and the cruise set speed.
Using this information, it detects when the truck is
accelerating on a downhill grade and will automatically
downshift to slow the vehicle if it exceeds the cruise
set speed by a certain amount.
SeeCruise Control on page 3-10for more information.
The Tow/Haul mode and Grade Braking shift modes
can be activated by pressing the button on the front
of the shift control stalk. If your vehicle has the
DURAMAX
®Diesel Engine or the 8.1L VORTEC™
gasoline engine, Grade Braking is only available while
the Tow/Haul Mode is selected. While in the Range
Selection Mode, Grade Braking is deactivated allowing
the driver to select a desired gear.
SeeAutomatic Transmission Operation on page 2-24for
more information.
Also seeTowing a Trailer on page 4-67for more
information.
2-31
Page 131 of 594
FOURTH (4), FIFTH (5) and SIXTH (6):Upshift into the
higher forward gears the same way as you do
THIRD (3). Slowly let up on the clutch pedal as you
press the accelerator pedal.
NEUTRAL:Use this position when you start or idle
your engine.
REVERSE (R):To back up, press the clutch pedal.
Wait for the vehicle to stop moving and then, shift
to REVERSE (R). Let up on the clutch slowly while
pressing the accelerator pedal. Also, use REVERSE (R),
along with the parking brake, when turning off your
engine and parking your vehicle.
Shift Speeds
{CAUTION:
If you skip a gear when you downshift, you
could lose control of your vehicle. You could
injure yourself or others. Do not shift down
more than one gear at a time when you
downshift.Do not allow the engine rpm to overspeed and enter the
tachometer red lines. Engine overspeed occurs when
downshifting, or descending a grade, at too high a
vehicle speed. When going down steep grades, always
select a gear at least one position lower than you
would use on climbing a grade. This will allow the
vehicle’s engine to provide some braking and help to
slow the vehicle as it goes down the grade. Monitor your
vehicle speed, acceleration and engine rpm while
applying the brakes as you go down the grade to ensure
you have complete control over the vehicle.
If your engine speed drops below 600 rpm, or if the
engine is not running smoothly, you should downshift to
the next lower gear. When operating on slippery
surfaces, downshift at lower than normal vehicle speeds
to prevent the tires from slipping.
In bench seat equipped vehicles, move the tallest
beverage containers to the right cupholder to provide
additional clearance for the shift lever.
For vehicles equipped with a center console, the front
cup holder pulls out and turns 180° to provide additional
clearance between tall beverage containers and the
shift lever.
2-35
Page 148 of 594
Shifting Out of Park (P)
(Automatic Transmission)
Your vehicle has an automatic transmission shift lock
control system which locks the shift lever in PARK (P)
when the ignition is in the LOCK position. You have
to fully apply your regular brakes before you can shift
from PARK (P) when the ignition is in RUN. See
Automatic Transmission Operation on page 2-24and
“Torque Lock” underShifting Out of Park (P) (Automatic
Transmission) on page 2-52.
If your vehicle has an Allison Transmission
®, the
transmission is equipped with a park pawl designed to
hold the higher weight of commercial medium duty
trucks. Therefore, the Allison Transmission
®uses larger
parts than other automatic transmissions. These
larger parts may sometimes make a clunk noise when
the selector lever is moved from DRIVE (D) or
REVERSE (R) to PARK (P). This is normal and there is
no damage occurring during these shifts.If you cannot shift out of PARK (P), ease pressure on
the shift lever and push the shift lever all the way up into
PARK (P) as you maintain brake application. Then,
move the shift lever into the gear you want.
If you ever hold the brake pedal down but still can’t shift
out of PARK (P), try this:
1. Turn the key to ACCESSORY. There is no shift
interlock in this key position.
2. Apply and hold the brake until the end of Step 4.
3. Shift the transmission to NEUTRAL (N).
4. Start the vehicle and then shift to the gear
you want.
5. Have the system �xed as soon as you can.
2-52
Page 186 of 594

Cruise Control
9(Off):This position
turns the system off.
If your vehicle is equipped with an Allison
®automatic
transmission, see “Grade Braking and Cruise Grade
Braking (Allison Transmission
®) underTow/Haul Mode
on page 2-30for an explanation of how cruise control
interacts with the tap up/down gear selection, tow/haul
and grade braking systems.
R(On):This position activates the system.
+ (Resume/Accelerate):Push the lever to this symbol
to make the vehicle accelerate or resume to a
previously set speed.
T(Set):Press this button to set the speed.
With cruise control, you can maintain a speed of about
25 mph (40 km/h) or more without keeping your foot
on the accelerator. This can really help on long
trips. Cruise control does not work at speeds below
about 25 mph (40 km/h).
If you apply your brakes, the cruise control will shut off.
{CAUTION:
Cruise control can be dangerous where you
cannot drive safely at a steady speed. So, do
not use your cruise control on winding roads
or in heavy traffic.
Cruise control can be dangerous on slippery
roads. On such roads, fast changes in tire
traction can cause excessive wheel slip, and
you could lose control. Do not use cruise
control on slippery roads.
3-10
Page 218 of 594
Anti-Lock Brake System
Warning Light
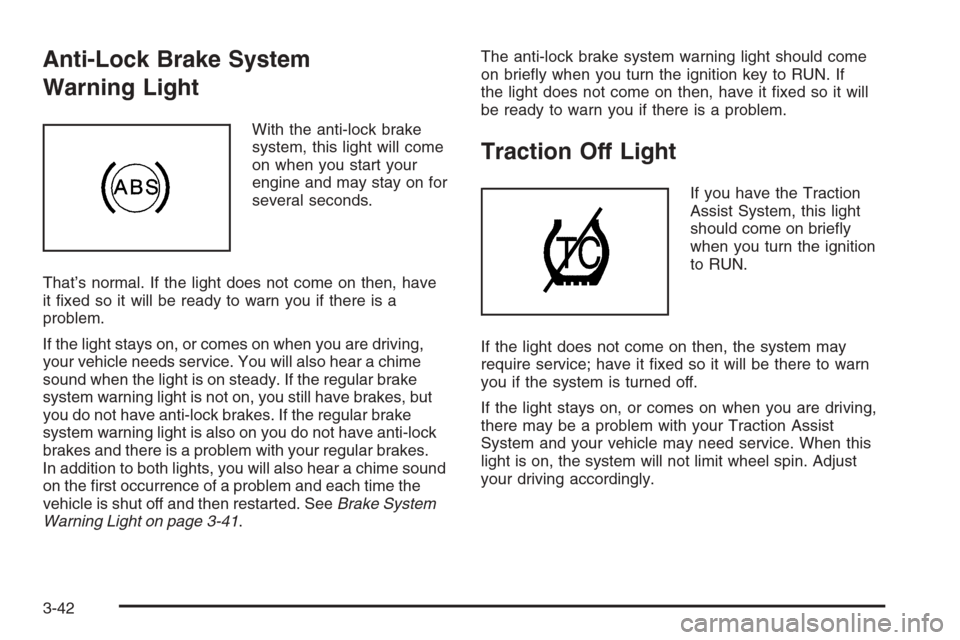
With the anti-lock brake
system, this light will come
on when you start your
engine and may stay on for
several seconds.
That’s normal. If the light does not come on then, have
it �xed so it will be ready to warn you if there is a
problem.
If the light stays on, or comes on when you are driving,
your vehicle needs service. You will also hear a chime
sound when the light is on steady. If the regular brake
system warning light is not on, you still have brakes, but
you do not have anti-lock brakes. If the regular brake
system warning light is also on you do not have anti-lock
brakes and there is a problem with your regular brakes.
In addition to both lights, you will also hear a chime sound
on the �rst occurrence of a problem and each time the
vehicle is shut off and then restarted. SeeBrake System
Warning Light on page 3-41.The anti-lock brake system warning light should come
on brie�y when you turn the ignition key to RUN. If
the light does not come on then, have it �xed so it will
be ready to warn you if there is a problem.
Traction Off Light
If you have the Traction
Assist System, this light
should come on brie�y
when you turn the ignition
to RUN.
If the light does not come on then, the system may
require service; have it �xed so it will be there to warn
you if the system is turned off.
If the light stays on, or comes on when you are driving,
there may be a problem with your Traction Assist
System and your vehicle may need service. When this
light is on, the system will not limit wheel spin. Adjust
your driving accordingly.
3-42
Page 237 of 594
SERVICE BRAKE BOOSTER
{CAUTION:
Your brake system may not be working
properly if the SERVICE BRAKE BOOSTER
message is displayed.
If the brake system warning light is also on,
you should have the vehicle towed for service.
SeeBrake System Warning Light on page 3-41.
If the brake system warning light is not on, you
still have brakes, but the supplemental brake
assist system on vehicles with rear disc brakes
may not operate properly. In the event of a
vacuum loss, you may not have vacuum power
assist for braking. The brake pedal will be
harder to push and it will take longer to stop.
If you continue to drive with this message
displayed it can lead to a crash. Have the brake
system serviced as soon as possible.If your vehicle has vacuum assist power brakes, this
message will be displayed on the DIC when there is a
problem with the Supplemental Brake Assist system.
If the message is displayed immediately after starting
the vehicle or the message appears while driving,
your Supplemental Brake Assist system needs service.
See your GM dealer. SeeBrake System Warning
Light on page 3-41for additional information.
SERVICE BRAKE SYSTEM
If there is a problem with the brake system, this
message will be displayed on the DIC. If this message
appears, stop as soon as possible and turn off the
vehicle. Restart the vehicle and check for the message
on the DIC display. If the message is still displayed
or appears again when you begin driving, the brake
system needs service. See your GM dealer.
3-61