2006 CHEVROLET EQUINOX change time
[x] Cancel search: change timePage 151 of 382
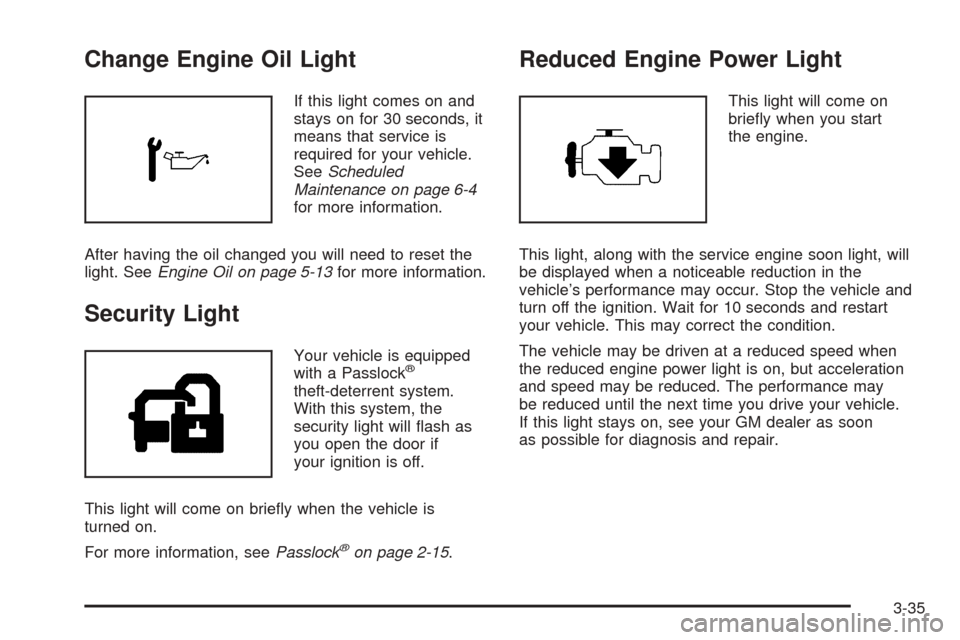
Change Engine Oil Light
If this light comes on and
stays on for 30 seconds, it
means that service is
required for your vehicle.
SeeScheduled
Maintenance on page 6-4
for more information.
After having the oil changed you will need to reset the
light. SeeEngine Oil on page 5-13for more information.
Security Light
Your vehicle is equipped
with a Passlock®
theft-deterrent system.
With this system, the
security light will �ash as
you open the door if
your ignition is off.
This light will come on brie�y when the vehicle is
turned on.
For more information, seePasslock
®on page 2-15.
Reduced Engine Power Light
This light will come on
brie�y when you start
the engine.
This light, along with the service engine soon light, will
be displayed when a noticeable reduction in the
vehicle’s performance may occur. Stop the vehicle and
turn off the ignition. Wait for 10 seconds and restart
your vehicle. This may correct the condition.
The vehicle may be driven at a reduced speed when
the reduced engine power light is on, but acceleration
and speed may be reduced. The performance may
be reduced until the next time you drive your vehicle.
If this light stays on, see your GM dealer as soon
as possible for diagnosis and repair.
3-35
Page 152 of 382
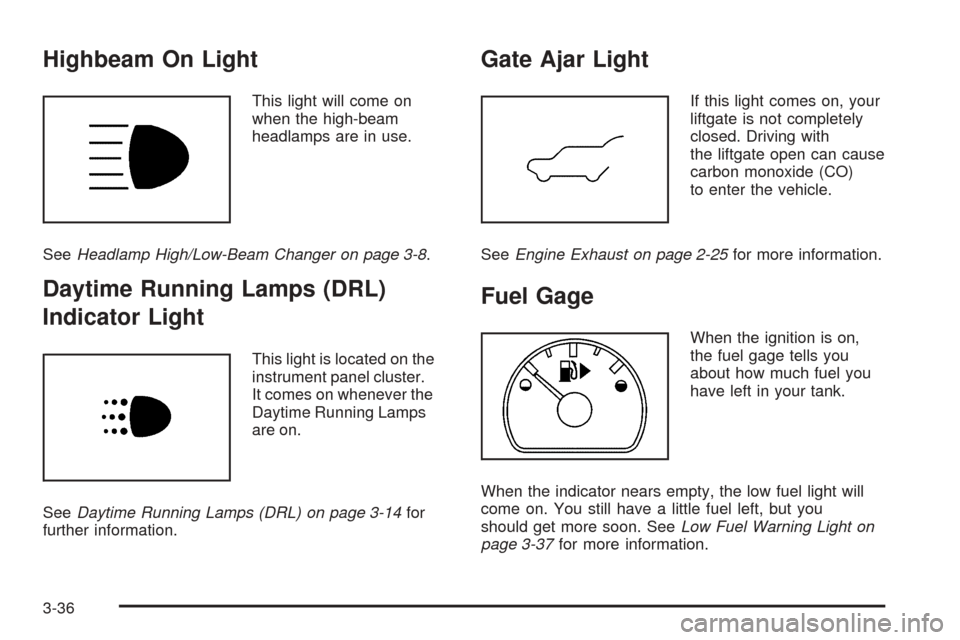
Highbeam On Light
This light will come on
when the high-beam
headlamps are in use.
SeeHeadlamp High/Low-Beam Changer on page 3-8.
Daytime Running Lamps (DRL)
Indicator Light
This light is located on the
instrument panel cluster.
It comes on whenever the
Daytime Running Lamps
are on.
SeeDaytime Running Lamps (DRL) on page 3-14for
further information.
Gate Ajar Light
If this light comes on, your
liftgate is not completely
closed. Driving with
the liftgate open can cause
carbon monoxide (CO)
to enter the vehicle.
SeeEngine Exhaust on page 2-25for more information.
Fuel Gage
When the ignition is on,
the fuel gage tells you
about how much fuel you
have left in your tank.
When the indicator nears empty, the low fuel light will
come on. You still have a little fuel left, but you
should get more soon. SeeLow Fuel Warning Light on
page 3-37for more information.
3-36
Page 165 of 382
s(Reverse):Press and hold this pushbutton to
reverse quickly within a track. You will hear sound at a
reduced volume. Release the button to play the
passage. The elapsed time of the track will appear on
the display.
\(Fast Forward):Press and hold this button to
advance quickly within a track. You will hear sound at a
reduced volume. Release the button to play the passage.
The elapsed time of the track will appear on the display.
9RPT (Repeat):Press this button once to hear a
track over again. RPT ON will appear on the display.
The current track will continue to repeat. Press
RPT again to turn off repeat play. RPT OFF will appear
on the display and RPT will disappear from the
display.
9RDM (Random):Press this button to hear the
tracks in random, rather than sequential, order. TRACK,
TRK#, and the RDM icon will appear on the display.
TRACK and the track number will appear on the display
when each track starts to play. Press RDM again to turn
off random play. RDM OFF will appear on the display and
the RDM icon will disappear from the display.
oSEEKp:Press the left arrow to go to the start of
the current track. If this button is pressed more than
once, the player will continue moving backward through
the CD.
Press the right arrow to go to the start of the next track.
If this button is pressed more than once, the player
will continue moving forward through the CD.
©SCAN¨:To scan the CD, press either SCAN
arrow. Use this feature to listen to ten seconds of each
track of the CD. Press either SCAN arrow again, to
stop scanning.
DISP (Display):Press the DISP knob to see how long
the current track has been playing. The track number,
and the elapsed time of the track will appear on the
display. To change the default on the display, track or
elapsed time, press the knob until you see the display you
want, then hold the knob for two seconds. The radio will
produce one beep and the selected display will now be
the default. Pressing this knob will also display text on
commercially recorded CDs (if available).
3-49
Page 176 of 382
s(Reverse):Press and hold this pushbutton to
reverse quickly within a track. You will hear sound at
a reduced volume. Release the button to play the
passage. The elapsed time of the track will appear on
the display.
\(Fast Forward):Press and hold this pushbutton to
advance quickly within a track. You will hear sound at a
reduced volume. Release the button to play the passage.
The elapsed time of the track will appear on the display.
9RDM (Random):Press this button to hear the
tracks in random, rather than sequential, order. TRACK,
TRK #, and the RDM icon will appear on the display.
TRACK and the track number will appear on the display
when each track starts to play. Press RDM again to
turn off random play. RDM OFF will appear on the
display and the RDM icon will disappear from
the display.
©SEEK¨:Press and release the left arrow to go to
the start of the current track. If this button is pressed
more than once, the player will continue moving
backward through the CD.Press and release the right arrow to go to the start of
the next track. If this button is pressed more than
once, the player will continue moving forward through
the CD.
To scan the CD, press and hold either SEEK arrow for
more than two seconds. Use this feature to listen to
ten seconds of each track of the CD. Press either SEEK
arrow again, to stop scanning.
DISP (Display):Press the DISP knob to see how long
the current track has been playing. The track number,
and the elapsed time of the track will appear on
the display. To change the default on the display, track
or elapsed time, press the knob until you see the
display you want, then hold the knob for two seconds.
The radio will produce one beep and the selected
display will now be the default. Pressing this knob will
also display text on commercially recorded CDs (if
available).
EQ (Equalizer):Press this button to select the desired
equalization setting while playing a CD. The equalization
will be automatically recalled whenever a CD is played.
For more information, see “EQ” listed previously in
this section.
3-60
Page 180 of 382
If there is no apparent damage, try a known good CD.
Do not add any label to a CD, it could get caught in the
CD player. If a CD is recorded on a personal computer
and a description label is needed, try labeling the top of
the recorded CD with a marking pen instead.
Notice:If you add any label to a CD, insert more
than one CD into the slot at a time, or attempt
to play scratched or damaged CDs, you could
damage the CD player. When using the CD player,
use only CDs in good condition without any
label, load one CD at a time, and keep the CD player
and the loading slot free of foreign materials,
liquids, and debris.
If an error appears on the display, see “CD Messages”
later in this section.
9DIR (Directory):Press and release this button to
display the current directory structure (�at or normal).
Press and release this button twice to change the
directory structure. When �at is enabled, the tracks on
the MP3 will be alphabetized by song name. The
MP3 will play the next alphabetical track when the
current track is �nished.
xcw(Previous/Next Folder):Press the down or
the up arrow to go to the �rst track in the previous or
next folder. Pressing this button while in folder random
mode will take you to the previous or next folder and
random the tracks in that folder.
s(Reverse):Press and hold this button to reverse
quickly within a track. Press and hold this button for
less than two seconds to reverse at 10 times the
normal playing speed. Press and hold it for more than
two seconds to reverse at 20 times the normal playing
speed. Release the button to play the track. REV and the
elapsed time of the track will appear on the display.
\(Forward):Press and hold this button to advance
quickly within a track. Press and hold this button for
less than two seconds to advance at 10 times the
normal playing speed. Press and hold it for more than
two seconds to advance at 20 times the normal
playing speed. Release the button to play the track.
FWD and the elapsed time of the track will appear on
the display.
3-64
Page 181 of 382
9RDM (Random):To random the tracks in the
current folder or playlist, press and release this button.
FLDR RDM ON will appear on the display. Once all
of the tracks in the current folder or playlist have been
played the system will move on to the next folder or
playlist and play all of the tracks in random order.
To random all the tracks on the CD, press and hold this
button for two seconds. You will hear a beep and
DISC RDM ON will appear on the display. This feature
will not work with playlists.
When in random, pressing and releasing either SEEK
arrow will take you to the next or previous random track.
Press and release this button again to turn off random
play. RDM OFF will appear on the display.
©SEEK¨:Press the left arrow to go to the start of
the previous track. Press the right arrow to go to the
start of the next track. Pressing either arrow for
more than two seconds will search the previous or next
tracks at two tracks per second. Release the button
to stop searching and to play the track.ADJ (Adjust):Turning this knob will fast track reverse
or advance through the tracks in all folders or playlists.
The track number and �le name will appear on the
display for each track. Turning this knob while in random
will fast track reverse or advance the tracks in
sequential order.
DISP (Display):Press the DISP knob to switch
between track mode, folder/playlist mode, and time of
day mode. The display will show sixteen characters, but
there can be two pages of text. If there are more
than eight characters in the song, folder, or playlist
name, pressing this knob within two seconds will take
you to the next page of text. If there are no other pages
to be shown, pressing this knob within two seconds
will take you to the next display mode.Track mode will display the current track number
and the ID3 tag song name.
Folder/playlist mode will display the current folder or
playlist number and the folder/playlist name.
To change the default on the display, press the DISP
knob until you see the display you want, then hold
this knob for two seconds. The radio will produce
one beep and the selected display will now be the
default.
3-65
Page 194 of 382
oSEEKp:Press the left arrow to go to the start of
the current track if more than eight seconds have
played. Press the right arrow to go to the beginning of
the next track. If either arrow is held or pressed
more than once, the player will continue moving
backward or forward through the CD.
SCAN:Press and release this button to scan the
current CD. The CD will go to the next track, play the
�rst 10 seconds, then go on to the next track. Press the
SCAN button again to stop scanning.
To scan all of the CDs loaded, press and hold the
SCAN button for more than two seconds. The CD will
go to the next CD, play the �rst 10 seconds of each
track, then go on to the next CD. Press the SCAN button
again to stop scanning.
DISP (Display):Press the DISP button to switch
between time and the elapsed time of the track. To
change the default on the display (CD#/Track#/Time,
CD#/Track#, or Track#/Elapsed Time), press the button
until you see the display you want, then hold the
button for two seconds. The radio will produce one beep
and the selected display will now be the default.EQ (Equalizer):Press this button to select the desired
equalization setting while playing a CD. The equalization
will be automatically set whenever a CD is played.
For more information on equalization, see “EQ” listed
previously in this section.
AM/FM:Press this button to play the radio when a CD
is playing. The inactive CD(s) will remain safely
inside the radio for future listening.
XM/AUX:Press this button to listen to XM™
(if equipped) when a CD is playing. The inactive CD will
remain safely inside the radio for future listening.
9CD:Press this button to play a CD when listening
to the radio.
3-78
Page 200 of 382
XM™ Satellite Radio Antenna
System
The XM™ Satellite Radio antenna is located on the roof
of your vehicle. Keep this antenna clear of snow and
ice build up for clear radio reception.
If your vehicle has a sunroof, the performance of the
XM™ system may be affected if the sunroof is open.
If the rear roof rack rail is too close to the XM™ antenna
or if objects stored on the roof rack cover or block the
XM™ antenna, the performance of the XM™ system
may be affected.
Chime Level Adjustment
Chime level adjustment is only available on RDS radios.
The radio is used to adjust the vehicle’s chime level.
To change the volume level of the chime, press and hold
pushbutton 6 with the ignition on and the radio power
off. The volume level will change from the normal
level to loud, and LOUD will appear on the radio display.
To change back to the default or normal setting,
press and hold pushbutton 6 again. The volume level
will change from the loud level to normal, and NORMAL
will appear on the radio display. Each time the chime
volume is changed, three chimes will sound as an
example of the new volume selected. Removing the
radio and not replacing it with a factory radio or chime
module will disable vehicle chimes.
3-84