2006 CHEVROLET EPICA ignition
[x] Cancel search: ignitionPage 53 of 368
There is no top tether anchor in the right front
passenger’s position. Do not secure a child seat in
this position if a national or local law requires that the
top tether be anchored, or if the instructions that
come with the child restraint say that the top tether
must be anchored. SeeLower Anchors and Tethers
for Children (LATCH) on page 1-39if your child restraint
has a top tether.
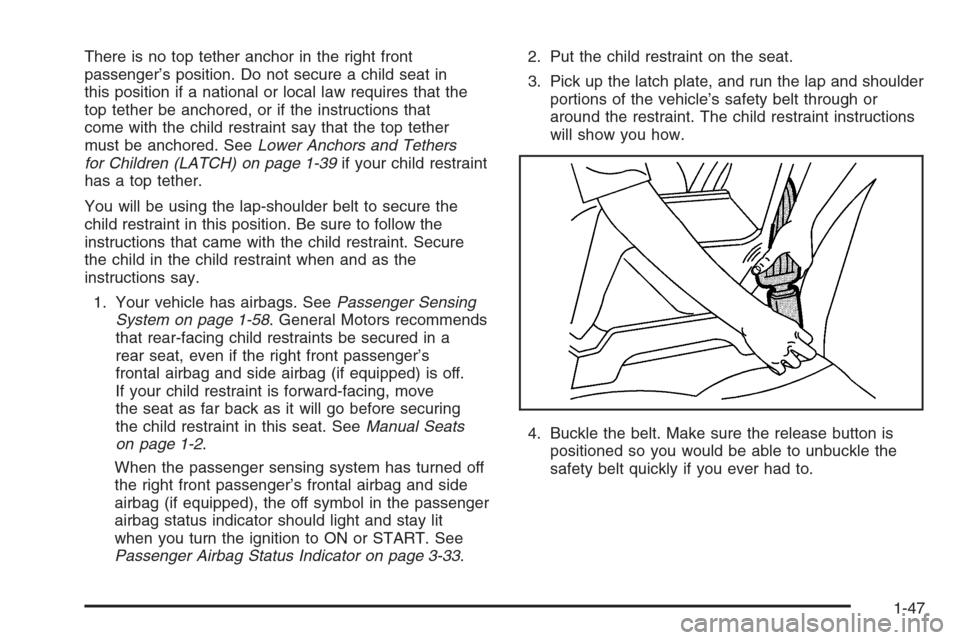
You will be using the lap-shoulder belt to secure the
child restraint in this position. Be sure to follow the
instructions that came with the child restraint. Secure
the child in the child restraint when and as the
instructions say.
1. Your vehicle has airbags. SeePassenger Sensing
System on page 1-58. General Motors recommends
that rear-facing child restraints be secured in a
rear seat, even if the right front passenger’s
frontal airbag and side airbag (if equipped) is off.
If your child restraint is forward-facing, move
the seat as far back as it will go before securing
the child restraint in this seat. SeeManual Seats
on page 1-2.
When the passenger sensing system has turned off
the right front passenger’s frontal airbag and side
airbag (if equipped), the off symbol in the passenger
airbag status indicator should light and stay lit
when you turn the ignition to ON or START. See
Passenger Airbag Status Indicator on page 3-33.2. Put the child restraint on the seat.
3. Pick up the latch plate, and run the lap and shoulder
portions of the vehicle’s safety belt through or
around the restraint. The child restraint instructions
will show you how.
4. Buckle the belt. Make sure the release button is
positioned so you would be able to unbuckle the
safety belt quickly if you ever had to.
1-47
Page 64 of 368
Passenger Sensing System
Your vehicle has a passenger sensing system for the
right front passenger position. The passenger airbag
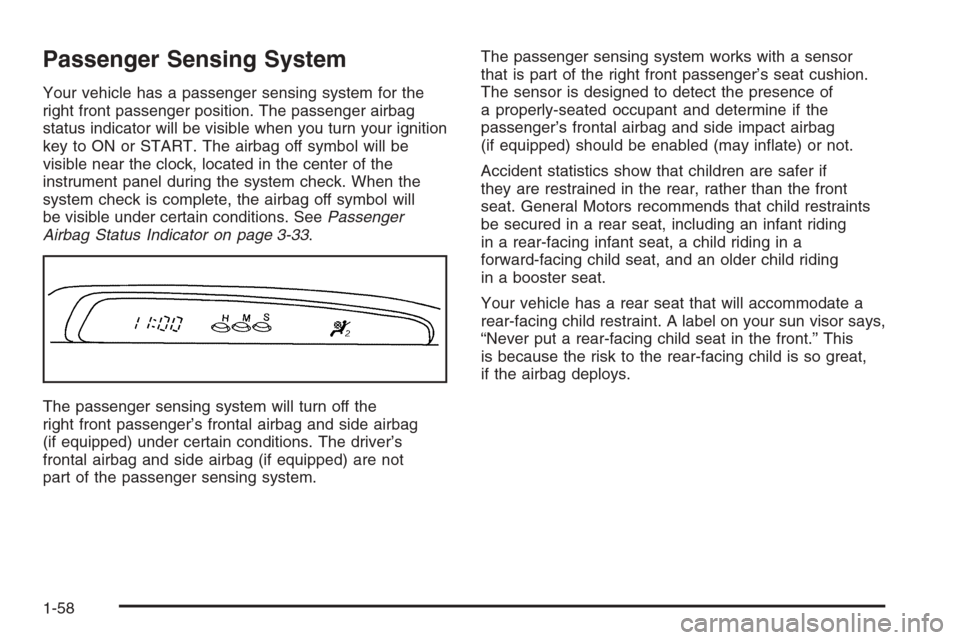
status indicator will be visible when you turn your ignition
key to ON or START. The airbag off symbol will be
visible near the clock, located in the center of the
instrument panel during the system check. When the
system check is complete, the airbag off symbol will
be visible under certain conditions. SeePassenger
Airbag Status Indicator on page 3-33.
The passenger sensing system will turn off the
right front passenger’s frontal airbag and side airbag
(if equipped) under certain conditions. The driver’s
frontal airbag and side airbag (if equipped) are not
part of the passenger sensing system.The passenger sensing system works with a sensor
that is part of the right front passenger’s seat cushion.
The sensor is designed to detect the presence of
a properly-seated occupant and determine if the
passenger’s frontal airbag and side impact airbag
(if equipped) should be enabled (may inflate) or not.
Accident statistics show that children are safer if
they are restrained in the rear, rather than the front
seat. General Motors recommends that child restraints
be secured in a rear seat, including an infant riding
in a rear-facing infant seat, a child riding in a
forward-facing child seat, and an older child riding
in a booster seat.
Your vehicle has a rear seat that will accommodate a
rear-facing child restraint. A label on your sun visor says,
“Never put a rear-facing child seat in the front.” This
is because the risk to the rear-facing child is so great,
if the airbag deploys.
1-58
Page 68 of 368
Servicing Your Airbag-Equipped
Vehicle
Airbags affect how your vehicle should be serviced.
There are parts of the airbag system in several places
around your vehicle. You do not want the system to
inflate while someone is working on your vehicle.
Your dealer and the service manual have information
about servicing your vehicle and the airbag system.
To purchase a service manual, seeService Publications
Ordering Information on page 7-14.
{CAUTION:
For up to 10 seconds after the ignition key is
turned off and the battery is disconnected,
an airbag can still in�ate during improper
service. You can be injured if you are close
to an airbag when it in�ates. Avoid yellow
connectors. They are probably part of the
airbag system. Be sure to follow proper
service procedures, and make sure the person
performing work for you is quali�ed to do so.
The airbag system does not need regular maintenance.
Adding Equipment to Your
Airbag-Equipped Vehicle
Q:Is there anything I might add to the front or
sides of the vehicle that could keep the
airbags from working properly?
A:Yes. If you add things that change your vehicle’s
frame, bumper system, front end or side sheet
metal or height, they may keep the airbag system
from working properly. Also, the airbag system may
not work properly if you relocate any of the airbag
sensors. If you have any questions about this,
you should contact Customer Assistance before
you modify your vehicle. The phone numbers
and addresses for Customer Assistance are in
Step Two of the Customer Satisfaction Procedure
in this manual. SeeCustomer Satisfaction
Procedure on page 7-2.
1-62
Page 71 of 368
Keys...............................................................2-2
Remote Keyless Entry System.........................2-3
Remote Keyless Entry System Operation...........2-4
Doors and Locks.............................................2-7
Door Locks....................................................2-7
Central Door Unlocking System........................2-8
Power Door Locks..........................................2-8
Door Ajar Reminder........................................2-9
Rear Door Security Locks................................2-9
Lockout Protection........................................2-10
Trunk..........................................................2-10
Windows........................................................2-12
Power Windows............................................2-13
Sun Visors...................................................2-13
Theft-Deterrent Systems..................................2-14
Theft-Deterrent System..................................2-14
Immobilizer..................................................2-16
Immobilizer Operation....................................2-16
Starting and Operating Your Vehicle................2-17
New Vehicle Break-In....................................2-17
Ignition Positions..........................................2-18
Starting the Engine.......................................2-19Engine Coolant Heater..................................2-20
Automatic Transaxle Operation.......................2-21
Parking Brake..............................................2-25
Shifting Into Park (P).....................................2-26
Shifting Out of Park (P).................................2-28
Parking Over Things That Burn.......................2-29
Engine Exhaust............................................2-29
Running the Engine While Parked...................2-30
Mirrors...........................................................2-31
Manual Rearview Mirror.................................2-31
Automatic Dimming Rearview Mirror................2-31
Outside Power Mirrors...................................2-32
Outside Convex Mirror...................................2-33
Outside Heated Mirrors..................................2-33
Storage Areas................................................2-34
Glove Box...................................................2-34
Cupholder(s)................................................2-34
Coinholder(s)................................................2-34
Sunglasses Storage Compartment...................2-35
Center Console Storage Area.........................2-35
Rear Seat Armrest........................................2-35
Sunroof.........................................................2-36
Section 2 Features and Controls
2-1
Page 72 of 368
Keys
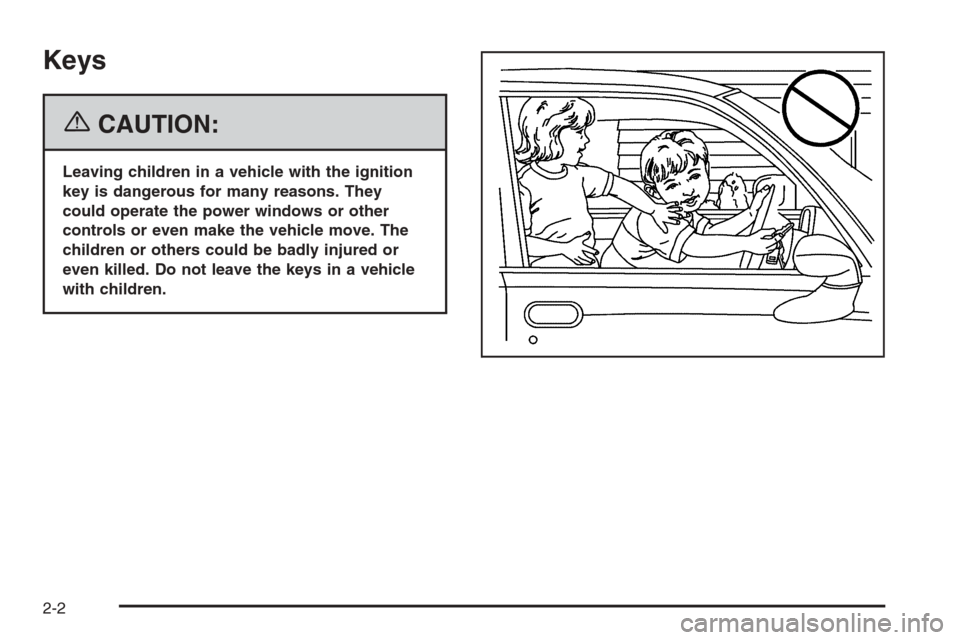
{CAUTION:
Leaving children in a vehicle with the ignition
key is dangerous for many reasons. They
could operate the power windows or other
controls or even make the vehicle move. The
children or others could be badly injured or
even killed. Do not leave the keys in a vehicle
with children.
2-2
Page 73 of 368
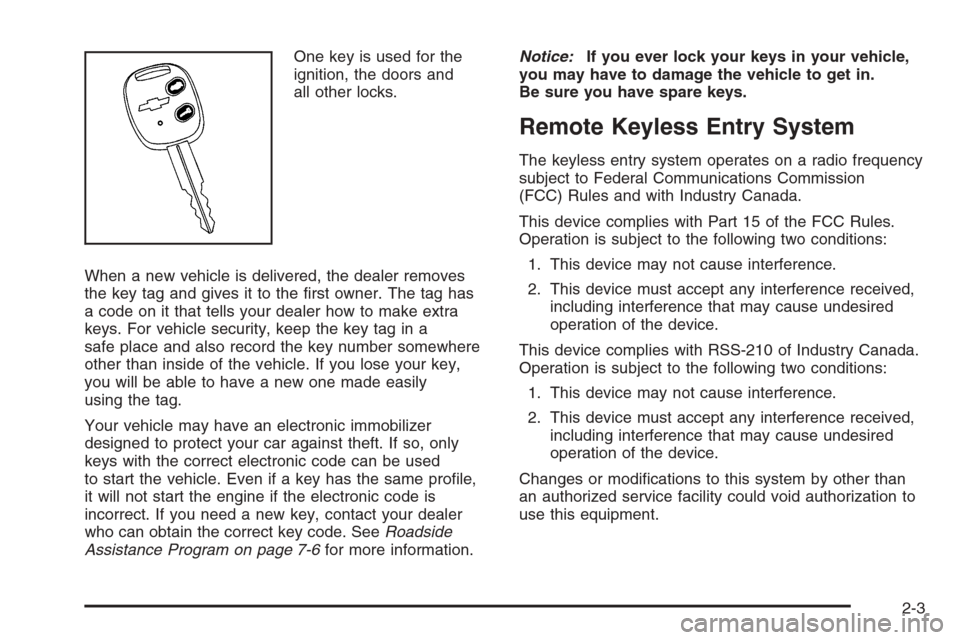
One key is used for the
ignition, the doors and
all other locks.
When a new vehicle is delivered, the dealer removes
the key tag and gives it to the first owner. The tag has
a code on it that tells your dealer how to make extra
keys. For vehicle security, keep the key tag in a
safe place and also record the key number somewhere
other than inside of the vehicle. If you lose your key,
you will be able to have a new one made easily
using the tag.
Your vehicle may have an electronic immobilizer
designed to protect your car against theft. If so, only
keys with the correct electronic code can be used
to start the vehicle. Even if a key has the same profile,
it will not start the engine if the electronic code is
incorrect. If you need a new key, contact your dealer
who can obtain the correct key code. SeeRoadside
Assistance Program on page 7-6for more information.Notice:If you ever lock your keys in your vehicle,
you may have to damage the vehicle to get in.
Be sure you have spare keys.
Remote Keyless Entry System
The keyless entry system operates on a radio frequency
subject to Federal Communications Commission
(FCC) Rules and with Industry Canada.
This device complies with Part 15 of the FCC Rules.
Operation is subject to the following two conditions:
1. This device may not cause interference.
2. This device must accept any interference received,
including interference that may cause undesired
operation of the device.
This device complies with RSS-210 of Industry Canada.
Operation is subject to the following two conditions:
1. This device may not cause interference.
2. This device must accept any interference received,
including interference that may cause undesired
operation of the device.
Changes or modifications to this system by other than
an authorized service facility could void authorization to
use this equipment.
2-3
Page 75 of 368
Press the button again to unlock all of the doors. The
hazard lamps will flash twice to indicate that unlocking
has occurred and the theft-deterrent system will
deactivate.
If the door is not opened or if the engine is not started
within 30 seconds after unlocking the doors with the
transmitter, all of the doors will automatically lock and
the theft-deterrent system will re-activate.
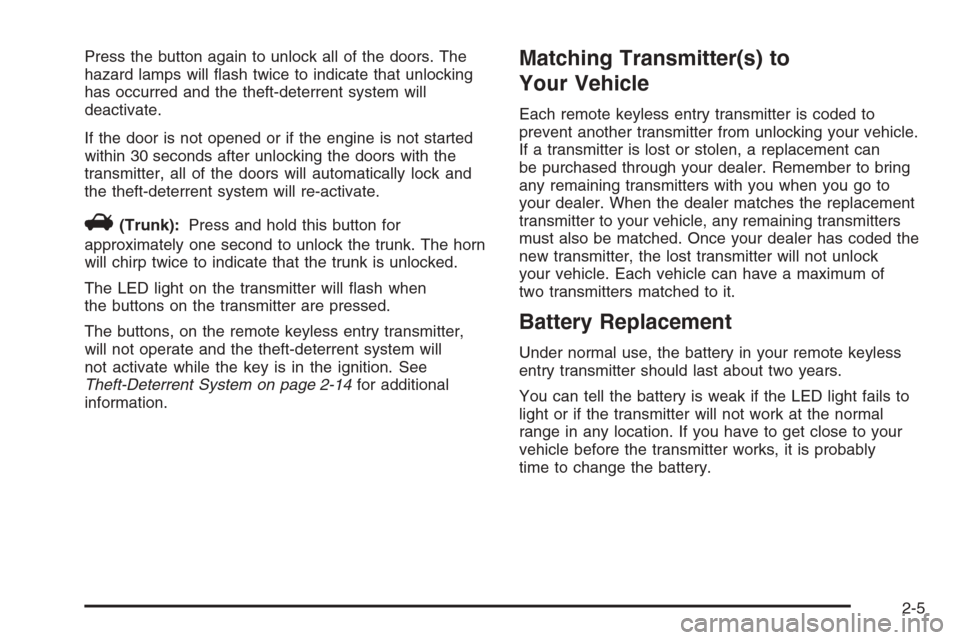
V(Trunk):Press and hold this button for
approximately one second to unlock the trunk. The horn
will chirp twice to indicate that the trunk is unlocked.
The LED light on the transmitter will flash when
the buttons on the transmitter are pressed.
The buttons, on the remote keyless entry transmitter,
will not operate and the theft-deterrent system will
not activate while the key is in the ignition. See
Theft-Deterrent System on page 2-14for additional
information.
Matching Transmitter(s) to
Your Vehicle
Each remote keyless entry transmitter is coded to
prevent another transmitter from unlocking your vehicle.
If a transmitter is lost or stolen, a replacement can
be purchased through your dealer. Remember to bring
any remaining transmitters with you when you go to
your dealer. When the dealer matches the replacement
transmitter to your vehicle, any remaining transmitters
must also be matched. Once your dealer has coded the
new transmitter, the lost transmitter will not unlock
your vehicle. Each vehicle can have a maximum of
two transmitters matched to it.
Battery Replacement
Under normal use, the battery in your remote keyless
entry transmitter should last about two years.
You can tell the battery is weak if the LED light fails to
light or if the transmitter will not work at the normal
range in any location. If you have to get close to your
vehicle before the transmitter works, it is probably
time to change the battery.
2-5
Page 83 of 368
Power Windows
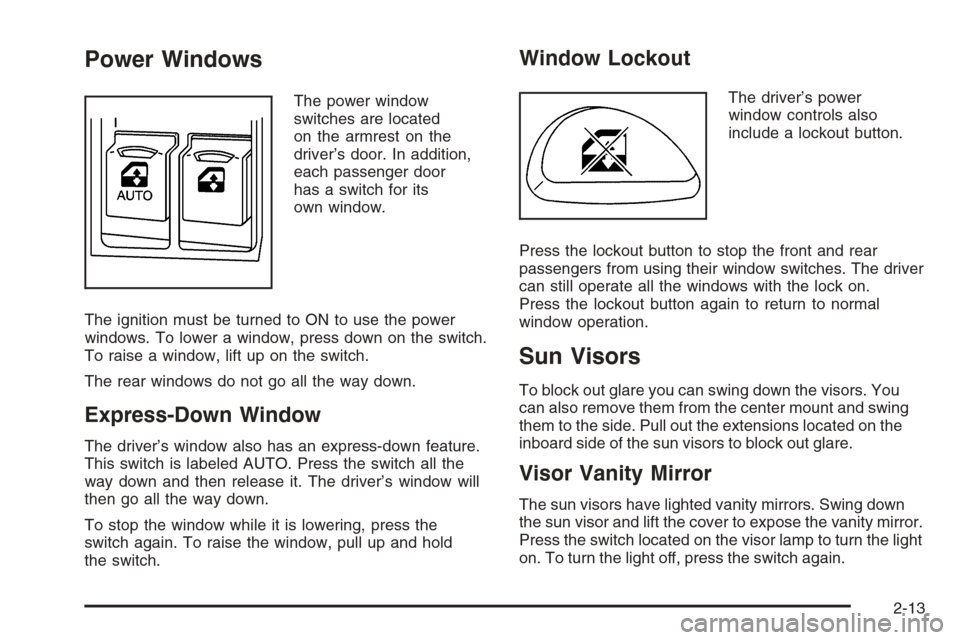
The power window
switches are located
on the armrest on the
driver’s door. In addition,
each passenger door
has a switch for its
own window.
The ignition must be turned to ON to use the power
windows. To lower a window, press down on the switch.
To raise a window, lift up on the switch.
The rear windows do not go all the way down.
Express-Down Window
The driver’s window also has an express-down feature.
This switch is labeled AUTO. Press the switch all the
way down and then release it. The driver’s window will
then go all the way down.
To stop the window while it is lowering, press the
switch again. To raise the window, pull up and hold
the switch.
Window Lockout
The driver’s power
window controls also
include a lockout button.
Press the lockout button to stop the front and rear
passengers from using their window switches. The driver
can still operate all the windows with the lock on.
Press the lockout button again to return to normal
window operation.
Sun Visors
To block out glare you can swing down the visors. You
can also remove them from the center mount and swing
them to the side. Pull out the extensions located on the
inboard side of the sun visors to block out glare.
Visor Vanity Mirror
The sun visors have lighted vanity mirrors. Swing down
the sun visor and lift the cover to expose the vanity mirror.
Press the switch located on the visor lamp to turn the light
on. To turn the light off, press the switch again.
2-13