2006 CHEVROLET EPICA gear
[x] Cancel search: gearPage 92 of 368
REVERSE (R):Use this gear to back up.
When shifting from NEUTRAL (N) to REVERSE (R),
you must press down on the shift lever and push
it toward the passenger side of the vehicle while shifting.
Notice:Shifting to REVERSE (R) while your
vehicle is moving forward could damage the
transaxle. The repairs would not be covered by
your warranty. Shift to REVERSE (R) only after
your vehicle is stopped.
To rock your vehicle back and forth to get out of snow,
ice or sand without damaging your transaxle, see
If Your Vehicle is Stuck in Sand, Mud, Ice or Snow
on page 4-28.
NEUTRAL (N):In this position, your engine does not
connect with the wheels. To restart while you are
already moving, use NEUTRAL (N) only. Also, use
NEUTRAL (N) when your vehicle is being towed.
{CAUTION:
Shifting into a drive gear while your engine is
running at high speed is dangerous. Unless
your foot is �rmly on the brake pedal, your
vehicle could move very rapidly. You could
lose control and hit people or objects. Do not
shift into a drive gear while your engine is
running at high speed.
Notice:Shifting out of PARK (P) or NEUTRAL (N)
while the engine is running at high speed may
damage the transaxle. The repairs would not be
covered by your warranty. Be sure the engine is not
running at high speeds when shifting your vehicle.
AUTOMATIC OVERDRIVE (D):This position is for
normal driving.
THIRD (3):This position gives you more power and
lower fuel economy than AUTOMATIC OVERDRIVE (D).
Here are some times you might choose THIRD (3)
instead of AUTOMATIC OVERDRIVE (D):
•When driving on hilly, winding roads.
•When going down a steep hill.
2-22
Page 93 of 368
SECOND (2):This position gives you more power but
lower fuel economy. You can use SECOND (2) on
hills. It can help control your speed as you go down
steep mountain roads, but then you would also want
to use your brakes off and on.
Notice:Do not drive in SECOND (2) at speeds
over 65 mph (105 km/h), or you can damage
the transaxle. Use THIRD (3) or AUTOMATIC
OVERDRIVE (D) as much as possible. Do not shift
into SECOND (2) unless you are going slower
than 65 mph (105 km/h) or you can damage your
engine.
FIRST (1):This position gives you even more power
but lower fuel economy than SECOND (2). You can use
it on very steep hills, or in deep snow or mud. If the
shift lever is put in FIRST (1), the transaxle will not shift
into first gear until the vehicle is going slowly enough.
Notice:Spinning the tires or holding the vehicle
in one place on a hill using only the accelerator
pedal may damage the transaxle. If you are stuck,
do not spin the tires. When stopping on a hill,
use the brakes, or parking brake to hold the
vehicle in place.Adaptive Shift Logic
Your automatic transaxle will automatically select from
three adaptive shift patterns based upon driver behavior:
•Economy mode provides a softer shift feel and
optimizes fuel economy.
•Normal mode provides a solid shift feel and is used
for normal driving conditions.
•Sport mode provides a firm shift feel and optimizes
performance.
The driver cannot manually select the shift pattern. The
adaptive shift logic tries to operate in economy mode
as much as possible. Normal and sport modes are used
as little as possible in order to maximize fuel economy.
The first few shifts of every drive cycle may be
somewhat rough until the adaptive shift logic has
learned the driver’s behavior. This is normal.
The transaxle also has the ability to adapt to changing
road grade conditions. It will shift between three
different load settings:
•Load 1 is designed for driving on moderate road
grades.
•Load 2 is designed for driving on steep road grades.
•Load 3 is designed for driving downhill and allows
for better engine braking.
2-23
Page 94 of 368
If there is a malfunction with the automatic transaxle,
the Check Engine Light or the HOLD light will turn on
or flash. See Check Engine Light underMalfunction
Indicator Lamp on page 3-40orHold Mode Light
on page 3-39.
Have your vehicle fixed as soon as possible.
Hold Mode
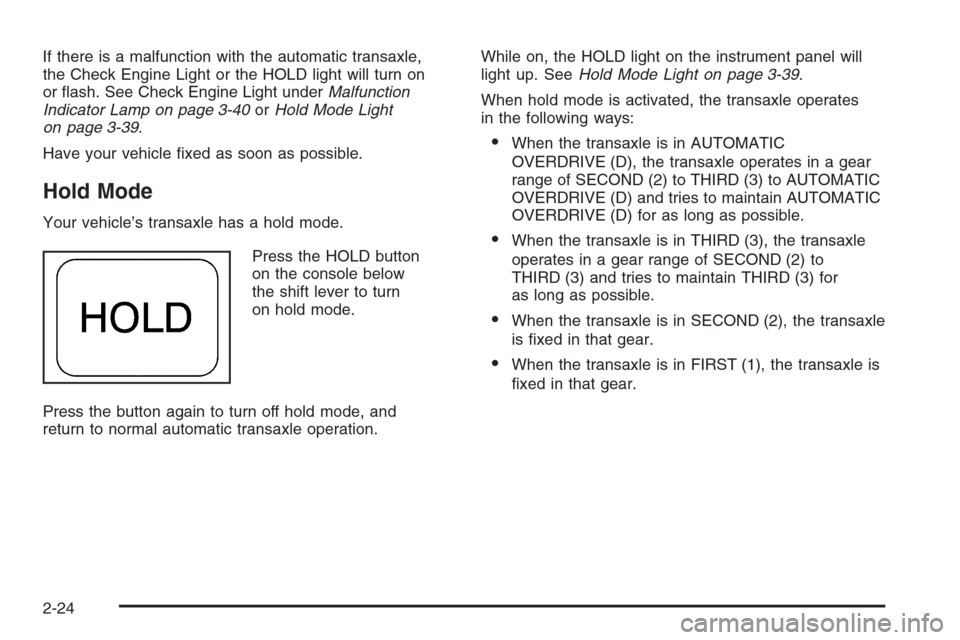
Your vehicle’s transaxle has a hold mode.
Press the HOLD button
on the console below
the shift lever to turn
on hold mode.
Press the button again to turn off hold mode, and
return to normal automatic transaxle operation.While on, the HOLD light on the instrument panel will
light up. SeeHold Mode Light on page 3-39.
When hold mode is activated, the transaxle operates
in the following ways:
•When the transaxle is in AUTOMATIC
OVERDRIVE (D), the transaxle operates in a gear
range of SECOND (2) to THIRD (3) to AUTOMATIC
OVERDRIVE (D) and tries to maintain AUTOMATIC
OVERDRIVE (D) for as long as possible.
•When the transaxle is in THIRD (3), the transaxle
operates in a gear range of SECOND (2) to
THIRD (3) and tries to maintain THIRD (3) for
as long as possible.
•When the transaxle is in SECOND (2), the transaxle
is fixed in that gear.
•When the transaxle is in FIRST (1), the transaxle is
fixed in that gear.
2-24
Page 98 of 368
Shifting Out of Park (P)
Your vehicle has an automatic transaxle shift-lock
control system. You have to fully apply your regular
brakes before you can shift from PARK (P) when
the ignition is turned to ON. SeeAutomatic Transaxle
Operation on page 2-21.
If you cannot shift out of PARK (P) while holding
the brake pedal down, try this:
1. Set the parking brake.
2. Turn the ignition off and remove the key.
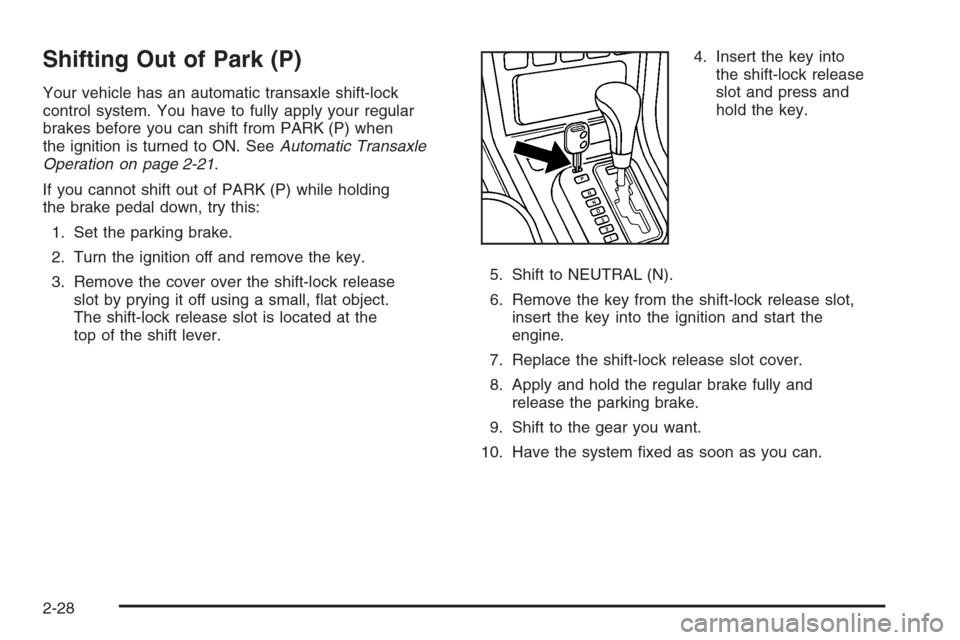
3. Remove the cover over the shift-lock release
slot by prying it off using a small, flat object.
The shift-lock release slot is located at the
top of the shift lever.4. Insert the key into
the shift-lock release
slot and press and
hold the key.
5. Shift to NEUTRAL (N).
6. Remove the key from the shift-lock release slot,
insert the key into the ignition and start the
engine.
7. Replace the shift-lock release slot cover.
8. Apply and hold the regular brake fully and
release the parking brake.
9. Shift to the gear you want.
10. Have the system fixed as soon as you can.
2-28
Page 118 of 368
Passing Another Vehicle While Using
Cruise Control
Use the accelerator pedal to increase your speed.
When you take your foot off the pedal, your vehicle will
slow down to the cruise control speed you set earlier.
Using Cruise Control on Hills
How well your cruise control will work on hills depends
upon your speed, load and the steepness of the
hills. When going up steep hills, you may have to
step on the accelerator pedal to maintain your speed.
When going downhill, you may have to brake or shift
to a lower gear to keep your speed down. Of course,
applying the brake pedal takes you out of cruise control.
Many drivers find this to be too much trouble and do
not use cruise control on steep hills.
Ending Cruise Control
There are two ways to turn off the cruise control:
•Step lightly on the brake pedal.
•Press the ON-OFF button on the cruise
control lever.
Erasing Speed Memory
When you turn off the cruise control or the ignition,
your cruise control set speed memory is erased.
Exterior Lamps
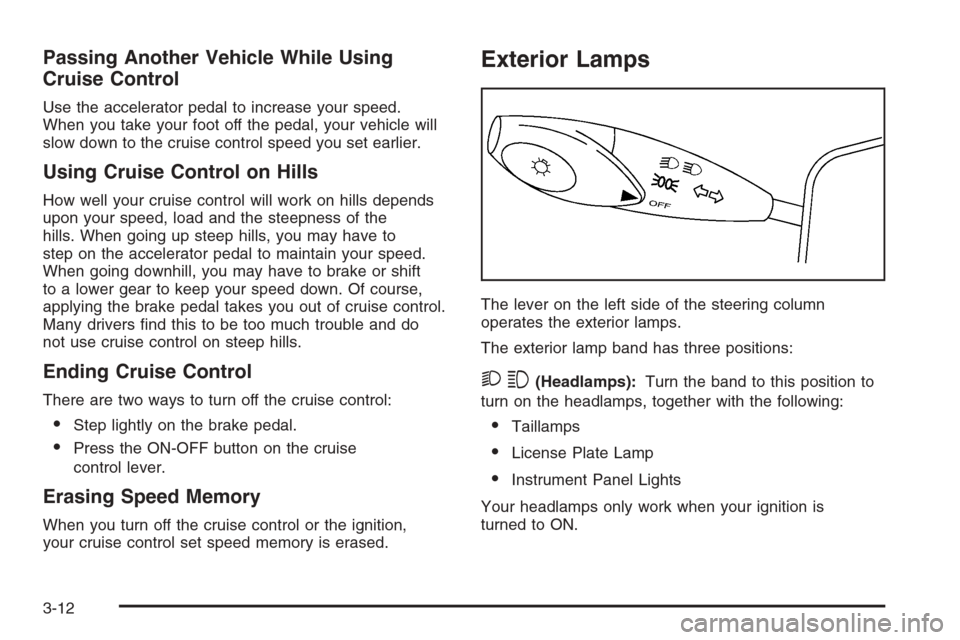
The lever on the left side of the steering column
operates the exterior lamps.
The exterior lamp band has three positions:
23(Headlamps):Turn the band to this position to
turn on the headlamps, together with the following:
•Taillamps
•License Plate Lamp
•Instrument Panel Lights
Your headlamps only work when your ignition is
turned to ON.
3-12
Page 148 of 368
Did you just drive through a deep puddle of water?
If so, your electrical system may be wet. The condition
will usually be corrected when the electrical system
dries out. A few driving trips should turn the light off.
Have you recently changed brands of fuel?
If so, be sure to fuel your vehicle with quality fuel. See
Gasoline Octane on page 5-5. Poor fuel quality will
cause your engine not to run as efficiently as designed.
You may notice this as stalling after start-up, stalling
when you put the vehicle into gear, misfiring, hesitation
on acceleration, or stumbling on acceleration. (These
conditions may go away once the engine is warmed up.)
This will be detected by the system and cause the
light to turn on.
If you experience one or more of these conditions,
change the fuel brand you use. It will require at least
one full tank of the proper fuel to turn the light off.
If none of the above steps have made the light turn off,
your dealer can check the vehicle. Your dealer has
the proper test equipment and diagnostic tools to fix
any mechanical or electrical problems that may
have developed.Emissions Inspection and Maintenance
Programs
Some state/provincial and local governments have or
may begin programs to inspect the emission control
equipment on your vehicle. Failure to pass this
inspection could prevent you from getting a vehicle
registration.
Here are some things you need to know to help your
vehicle pass an inspection:
Your vehicle will not pass this inspection if the Check
Engine light is on or not working properly.
Your vehicle will not pass this inspection if the OBD
(on-board diagnostic) system determines that critical
emission control systems have not been completely
diagnosed by the system. The vehicle would be
considered not ready for inspection. This can happen
if you have recently replaced your battery or if your
battery has run down. The diagnostic system is
designed to evaluate critical emission control systems
during normal driving. This may take several days
of routine driving. If you have done this and your vehicle
still does not pass the inspection for lack of OBD
system readiness, your GM dealer can prepare the
vehicle for inspection.
3-42
Page 197 of 368
Using ABS
Do not pump the brakes. Just hold the brake pedal
down firmly and let anti-lock work for you. You may feel
a slight brake pedal pulsation or notice some noise,
but this is normal.
Braking in Emergencies
With ABS, you can steer and brake at the same time.
In many emergencies, steering can help you more than
even the very best braking.
Traction Control System (TCS)
Your vehicle may have a Traction Control System (TCS)
that limits wheel spin. This is especially useful in
slippery road conditions. The system operates only if
it senses that one or both of the front wheels are
spinning or beginning to lose traction. When this
happens, the system works the front brakes to limit
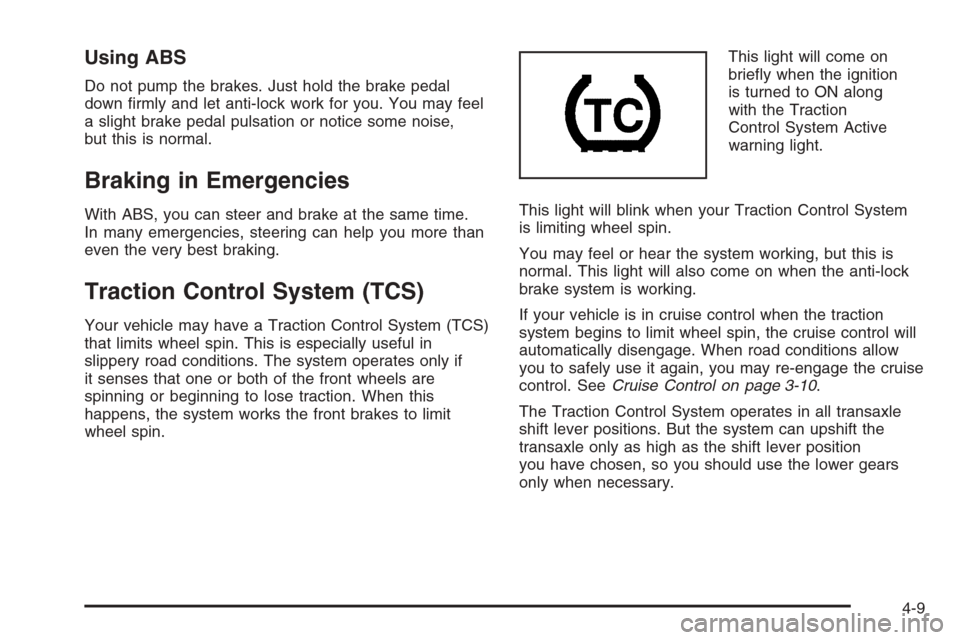
wheel spin.This light will come on
briefly when the ignition
is turned to ON along
with the Traction
Control System Active
warning light.
This light will blink when your Traction Control System
is limiting wheel spin.
You may feel or hear the system working, but this is
normal. This light will also come on when the anti-lock
brake system is working.
If your vehicle is in cruise control when the traction
system begins to limit wheel spin, the cruise control will
automatically disengage. When road conditions allow
you to safely use it again, you may re-engage the cruise
control. SeeCruise Control on page 3-10.
The Traction Control System operates in all transaxle
shift lever positions. But the system can upshift the
transaxle only as high as the shift lever position
you have chosen, so you should use the lower gears
only when necessary.
4-9
Page 203 of 368
Loss of Control
Let us review what driving experts say about what
happens when the three control systems — brakes,
steering, and acceleration — do not have enough friction
where the tires meet the road to do what the driver
has asked.
In any emergency, do not give up. Keep trying to
steer and constantly seek an escape route or area of
less danger.
Skidding
In a skid, a driver can lose control of the vehicle.
Defensive drivers avoid most skids by taking reasonable
care suited to existing conditions, and by not overdriving
those conditions. But skids are always possible.
The three types of skids correspond to your vehicle’s
three control systems. In the braking skid, your wheels
are not rolling. In the steering or cornering skid, too
much speed or steering in a curve causes tires to
slip and lose cornering force. And in the acceleration
skid, too much throttle causes the driving wheels to spin.
A cornering skid is best handled by easing your foot
off the accelerator pedal.Remember: Any traction control system helps avoid only
the acceleration skid. If your traction control system is
off, then an acceleration skid is also best handled
by easing your foot off the accelerator pedal.
If your vehicle starts to slide, ease your foot off the
accelerator pedal and quickly steer the way you want
the vehicle to go. If you start steering quickly enough,
your vehicle may straighten out. Always be ready
for a second skid if it occurs.
Of course, traction is reduced when water, snow, ice,
gravel, or other material is on the road. For safety,
you will want to slow down and adjust your driving to
these conditions. It is important to slow down on slippery
surfaces because stopping distance will be longer and
vehicle control more limited.
While driving on a surface with reduced traction,
try your best to avoid sudden steering, acceleration,
or braking, including engine braking by shifting to
a lower gear. Any sudden changes could cause the
tires to slide. You may not realize the surface is slippery
until your vehicle is skidding. Learn to recognize
warning clues — such as enough water, ice, or packed
snow on the road to make a mirrored surface — and
slow down when you have any doubt.
Remember: Any Anti-Lock Brake System (ABS) helps
avoid only the braking skid.
4-15