2006 CHEVROLET EPICA lights
[x] Cancel search: lightsPage 1 of 368
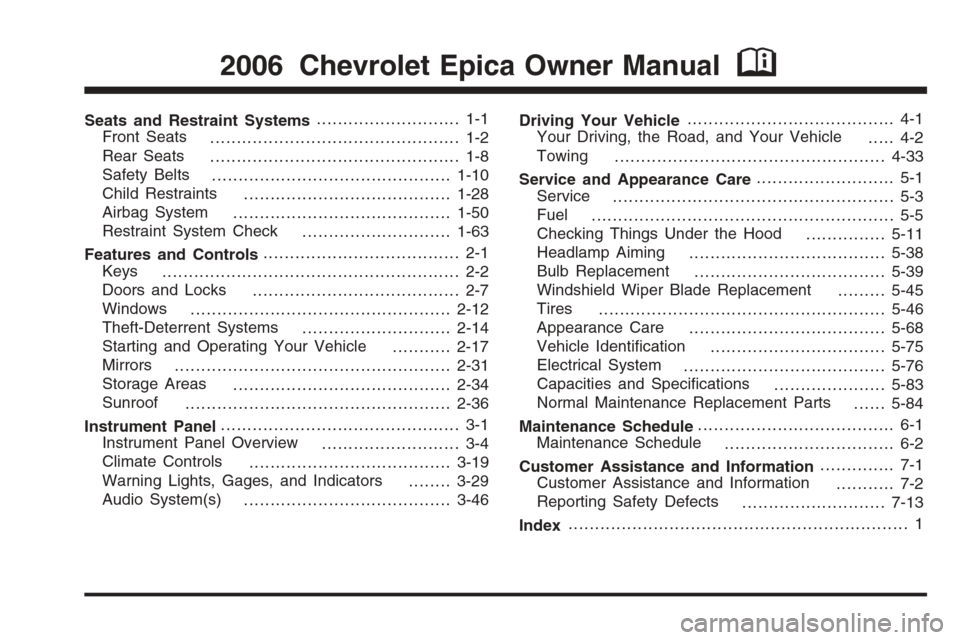
Seats and Restraint Systems........................... 1-1
Front Seats
............................................... 1-2
Rear Seats
............................................... 1-8
Safety Belts
.............................................1-10
Child Restraints
.......................................1-28
Airbag System
.........................................1-50
Restraint System Check
............................1-63
Features and Controls..................................... 2-1
Keys
........................................................ 2-2
Doors and Locks
....................................... 2-7
Windows
.................................................2-12
Theft-Deterrent Systems
............................2-14
Starting and Operating Your Vehicle
...........2-17
Mirrors
....................................................2-31
Storage Areas
.........................................2-34
Sunroof
..................................................2-36
Instrument Panel............................................. 3-1
Instrument Panel Overview
.......................... 3-4
Climate Controls
......................................3-19
Warning Lights, Gages, and Indicators
........3-29
Audio System(s)
.......................................3-46Driving Your Vehicle....................................... 4-1
Your Driving, the Road, and Your Vehicle
..... 4-2
Towing
...................................................4-33
Service and Appearance Care.......................... 5-1
Service
..................................................... 5-3
Fuel
......................................................... 5-5
Checking Things Under the Hood
...............5-11
Headlamp Aiming
.....................................5-38
Bulb Replacement
....................................5-39
Windshield Wiper Blade Replacement
.........5-45
Tires
......................................................5-46
Appearance Care
.....................................5-68
Vehicle Identification
.................................5-75
Electrical System
......................................5-76
Capacities and Specifications
.....................5-83
Normal Maintenance Replacement Parts
......5-84
Maintenance Schedule..................................... 6-1
Maintenance Schedule
................................ 6-2
Customer Assistance and Information.............. 7-1
Customer Assistance and Information
........... 7-2
Reporting Safety Defects
...........................7-13
Index................................................................ 1
2006 Chevrolet Epica Owner ManualM
Page 4 of 368
Vehicle Damage Warnings
Also, in this manual you will find these notices:
Notice:These mean there is something that could
damage your vehicle.
A notice tells about something that can damage the
vehicle. Many times, this damage would not be covered
by your vehicle’s warranty, and it could be costly. But
the notice will tell what to do to help avoid the damage.
When you read other manuals, you might see
CAUTION and NOTICE warnings in different colors or
in different words.
There are also warning labels on the vehicle. They use
the same words, CAUTION or NOTICE.
Vehicle Symbols
The vehicle has components and labels that use
symbols instead of text. Symbols are shown along with
the text describing the operation or information
relating to a specific component, control, message,
gage, or indicator.
If you need help figuring out a specific name of a
component, gage, or indicator, reference the
following topics:
•Seats and Restraint Systems in Section 1
•Features and Controls in Section 2
•Instrument Panel Overview in Section 3
•Climate Controls in Section 3
•Warning Lights, Gages, and Indicators in Section 3
•Audio System(s) in Section 3
•Engine Compartment Overview in Section 5
iv
Page 88 of 368
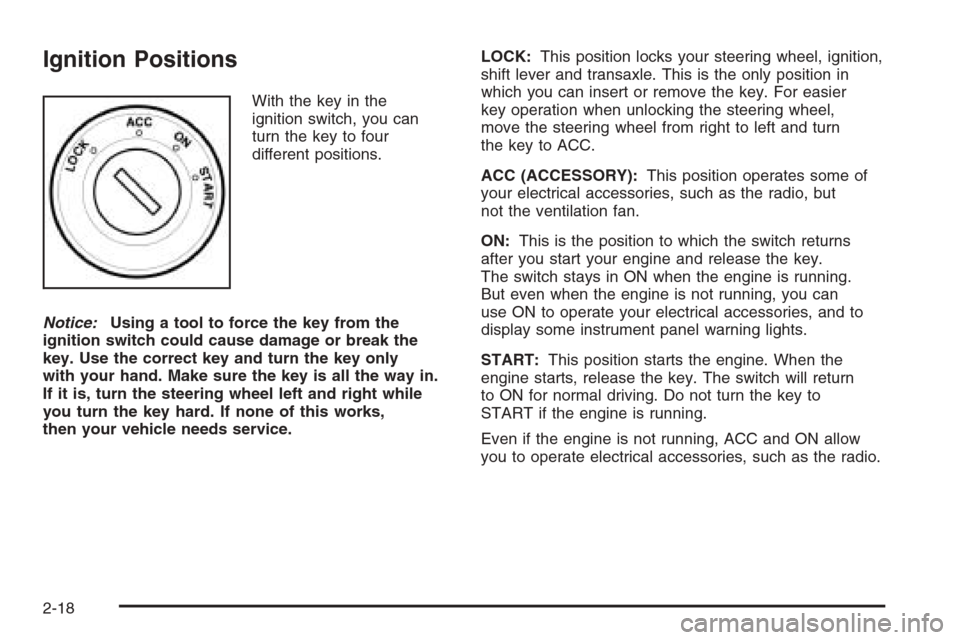
Ignition Positions
With the key in the
ignition switch, you can
turn the key to four
different positions.
Notice:Using a tool to force the key from the
ignition switch could cause damage or break the
key. Use the correct key and turn the key only
with your hand. Make sure the key is all the way in.
If it is, turn the steering wheel left and right while
you turn the key hard. If none of this works,
then your vehicle needs service.LOCK:This position locks your steering wheel, ignition,
shift lever and transaxle. This is the only position in
which you can insert or remove the key. For easier
key operation when unlocking the steering wheel,
move the steering wheel from right to left and turn
the key to ACC.
ACC (ACCESSORY):This position operates some of
your electrical accessories, such as the radio, but
not the ventilation fan.
ON:This is the position to which the switch returns
after you start your engine and release the key.
The switch stays in ON when the engine is running.
But even when the engine is not running, you can
use ON to operate your electrical accessories, and to
display some instrument panel warning lights.
START:This position starts the engine. When the
engine starts, release the key. The switch will return
to ON for normal driving. Do not turn the key to
START if the engine is running.
Even if the engine is not running, ACC and ON allow
you to operate electrical accessories, such as the radio.
2-18
Page 107 of 368
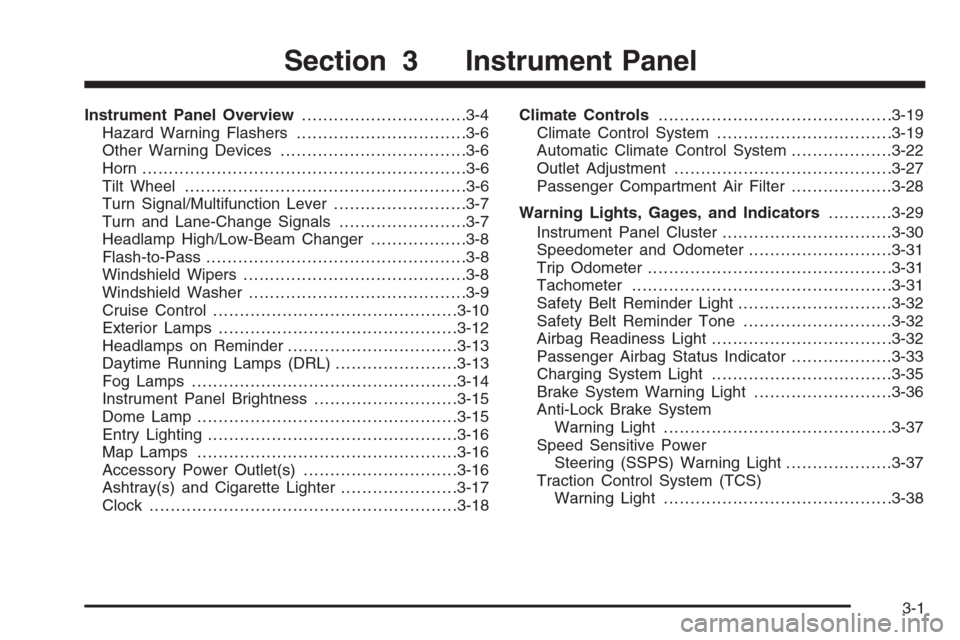
Instrument Panel Overview...............................3-4
Hazard Warning Flashers................................3-6
Other Warning Devices...................................3-6
Horn .............................................................3-6
Tilt Wheel.....................................................3-6
Turn Signal/Multifunction Lever.........................3-7
Turn and Lane-Change Signals........................3-7
Headlamp High/Low-Beam Changer..................3-8
Flash-to-Pass.................................................3-8
Windshield Wipers..........................................3-8
Windshield Washer.........................................3-9
Cruise Control..............................................3-10
Exterior Lamps.............................................3-12
Headlamps on Reminder................................3-13
Daytime Running Lamps (DRL).......................3-13
Fog Lamps ..................................................3-14
Instrument Panel Brightness...........................3-15
Dome Lamp .................................................3-15
Entry Lighting...............................................3-16
Map Lamps .................................................3-16
Accessory Power Outlet(s).............................3-16
Ashtray(s) and Cigarette Lighter......................3-17
Clock..........................................................3-18Climate Controls............................................3-19
Climate Control System.................................3-19
Automatic Climate Control System...................3-22
Outlet Adjustment.........................................3-27
Passenger Compartment Air Filter...................3-28
Warning Lights, Gages, and Indicators............3-29
Instrument Panel Cluster................................3-30
Speedometer and Odometer...........................3-31
Trip Odometer..............................................3-31
Tachometer.................................................3-31
Safety Belt Reminder Light.............................3-32
Safety Belt Reminder Tone............................3-32
Airbag Readiness Light..................................3-32
Passenger Airbag Status Indicator...................3-33
Charging System Light..................................3-35
Brake System Warning Light..........................3-36
Anti-Lock Brake System
Warning Light...........................................3-37
Speed Sensitive Power
Steering (SSPS) Warning Light....................3-37
Traction Control System (TCS)
Warning Light...........................................3-38
Section 3 Instrument Panel
3-1
Page 118 of 368
Passing Another Vehicle While Using
Cruise Control
Use the accelerator pedal to increase your speed.
When you take your foot off the pedal, your vehicle will
slow down to the cruise control speed you set earlier.
Using Cruise Control on Hills
How well your cruise control will work on hills depends
upon your speed, load and the steepness of the
hills. When going up steep hills, you may have to
step on the accelerator pedal to maintain your speed.
When going downhill, you may have to brake or shift
to a lower gear to keep your speed down. Of course,
applying the brake pedal takes you out of cruise control.
Many drivers find this to be too much trouble and do
not use cruise control on steep hills.
Ending Cruise Control
There are two ways to turn off the cruise control:
•Step lightly on the brake pedal.
•Press the ON-OFF button on the cruise
control lever.
Erasing Speed Memory
When you turn off the cruise control or the ignition,
your cruise control set speed memory is erased.
Exterior Lamps
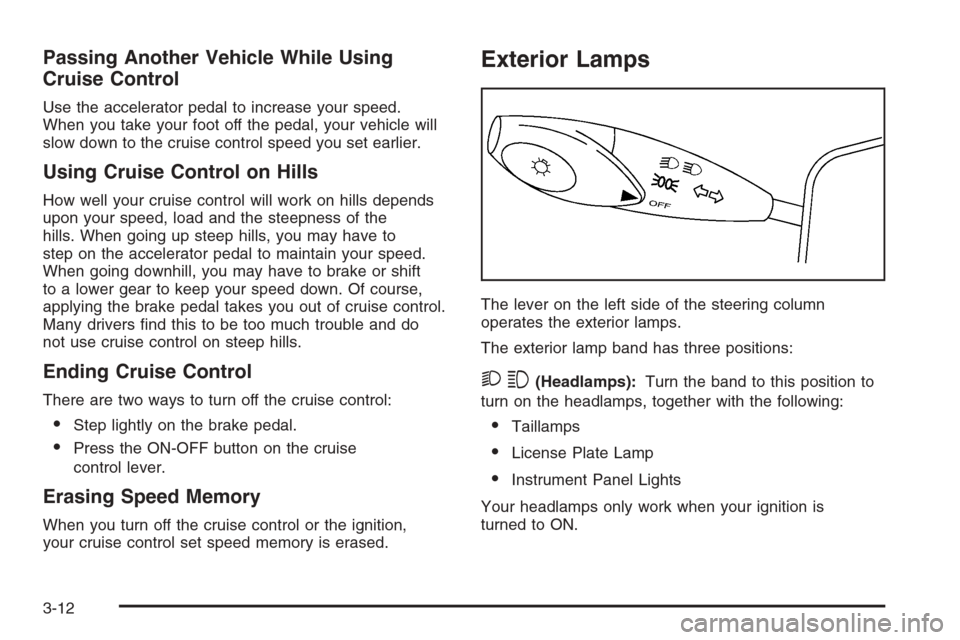
The lever on the left side of the steering column
operates the exterior lamps.
The exterior lamp band has three positions:
23(Headlamps):Turn the band to this position to
turn on the headlamps, together with the following:
•Taillamps
•License Plate Lamp
•Instrument Panel Lights
Your headlamps only work when your ignition is
turned to ON.
3-12
Page 119 of 368
;(Parking Lamps):Turn the band to this position to
turn on the parking lamps, together with the previously
listed lamps and lights.
OFF:Turn the band to this position to turn all lamps off,
except the Daytime Running Lamps (DRL).
Auto-Off Headlamps
Your headlamps will automatically turn off when the
headlamps are on and you turn the ignition to ACC
or LOCK.
Headlamps on Reminder
If you open the driver’s door with the ignition off and
the lamps on, you will hear a warning chime.
Daytime Running Lamps (DRL)
Daytime Running Lamps (DRL) can make it easier for
others to see the front of your vehicle during the
day. DRL can be helpful in many different driving
conditions, but they can be especially helpful in the short
periods after dawn and before sunset. Fully functional
daytime running lamps are required on all vehicles
first sold in Canada.
The DRL system will make your low-beam headlamps
come on at a reduced brightness in daylight when
the following conditions are met:
•The ignition is on.
•The exterior lamp band is in OFF or in the parking
lamp position.
•The parking brake is released.
When the DRL system is on, the taillamps, parking
lamps and instrument panel lights will not be illuminated
unless you have turned the exterior lamps control to
the parking lamp or headlamp position.
3-13
Page 121 of 368
Instrument Panel Brightness
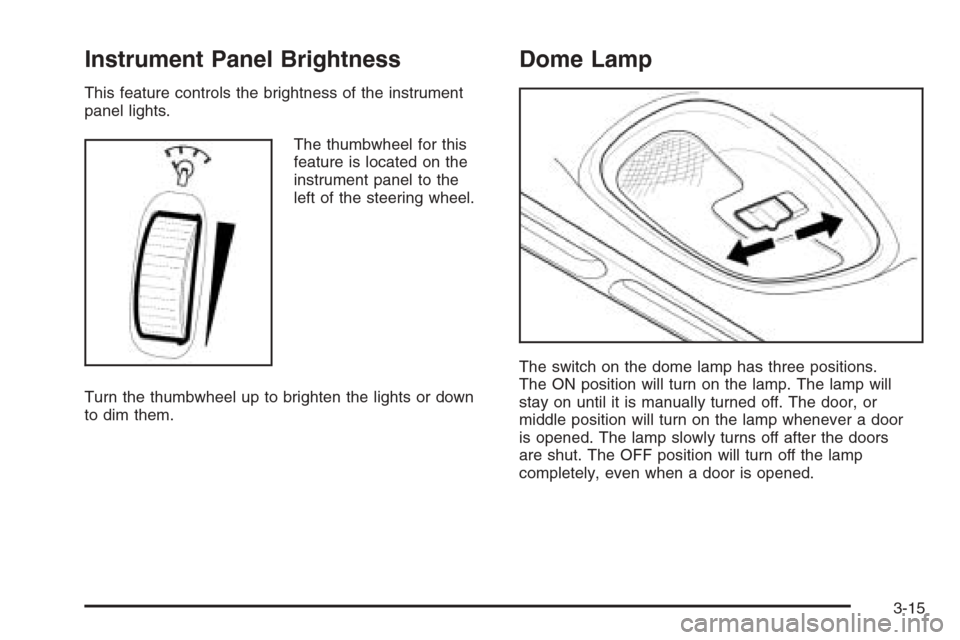
This feature controls the brightness of the instrument
panel lights.
The thumbwheel for this
feature is located on the
instrument panel to the
left of the steering wheel.
Turn the thumbwheel up to brighten the lights or down
to dim them.
Dome Lamp
The switch on the dome lamp has three positions.
The ON position will turn on the lamp. The lamp will
stay on until it is manually turned off. The door, or
middle position will turn on the lamp whenever a door
is opened. The lamp slowly turns off after the doors
are shut. The OFF position will turn off the lamp
completely, even when a door is opened.
3-15
Page 135 of 368
Warning Lights, Gages,
and Indicators
This part describes the warning lights and gages
that may be on your vehicle. The pictures will help
you locate them.
Warning lights and gages can signal that something
is wrong before it becomes serious enough to cause
an expensive repair or replacement. Paying attention
to your warning lights and gages could also save you
or others from injury.
Warning lights come on when there may be or is a
problem with one of your vehicle’s functions. As you
will see in the details on the next few pages, some
warning lights come on briefly when you start the engine
just to let you know they’re working. If you are familiar
with this section, you should not be alarmed when
this happens.Gages can indicate when there may be or is a problem
with one of your vehicle’s functions. Often gages
and warning lights work together to let you know when
there’s a problem with your vehicle.
When one of the warning lights comes on and stays
on as you are driving, or when one of the gages shows
there may be a problem, check the section that tells
you what to do about it. Please follow this manual’s
advice. Waiting to do repairs can be costly — and
even dangerous. So please get to know your warning
lights and gages. They’re a big help.
3-29