2006 CHEVROLET CORVETTE wheel
[x] Cancel search: wheelPage 89 of 426

You have to fully apply your regular brakes before you
can shift from PARK (P) when the vehicle is running.
If you cannot shift out of PARK (P), ease pressure
on the shift lever – push the shift lever all the way into
PARK (P) and release the shift lever button as you
maintain brake application. Then press the shift lever
button and move the shift lever into the gear you wish.
SeeShifting Out of Park (P) (Automatic Transmission)
on page 2-35.
REVERSE (R):Use this gear to back up.
Notice:Shifting to REVERSE (R) while your vehicle
is moving forward could damage the transmission.
The repairs would not be covered by your warranty.
Shift to REVERSE (R) only after your vehicle is
stopped.
To rock your vehicle back and forth to get out of snow,
ice, or sand without damaging your transmission,
seeIf Your Vehicle is Stuck in Sand, Mud, Ice, or Snow
on page 4-32.
NEUTRAL (N):In this position, your engine does not
connect with the wheels. To restart when you are
already moving, use NEUTRAL (N) only. If your vehicle
needs towing, seeTowing Your Vehicle on page 4-38.
{CAUTION:
Shifting into a drive gear while your engine is
running at high speed is dangerous. Unless
your foot is �rmly on the brake pedal, your
vehicle could move very rapidly. You could
lose control and hit people or objects. Do not
shift into a drive gear while your engine is
running at high speed.
Notice:Shifting out of PARK (P) or NEUTRAL (N)
with the engine running at high speed may damage
the transmission. The repairs would not be covered
by your warranty. Be sure the engine is not running
at high speed when shifting your vehicle.
AUTOMATIC OVERDRIVE (D):This position is for
normal driving.
SPORT MODE (S):When in SPORT MODE (S), the
transmission will work as an automatic until you use the
Manual Paddle Shift Controls, which activates the driver
manual gear selection. See Manual Paddle Shift later in
this section. While in automatic SPORT MODE (S), the
transmission computer determines when the vehicle is
being driven in a competitive manner and will select and
hold the transmission in lower gears and have more
noticeable upshifts for sportier vehicle performance.
2-27
Page 90 of 426

Manual Paddle Shift
While in SPORT MODE (S), the paddles located on the
steering wheel, can be used to manually up-shift or
down-shift the transmission.
While in SPORT MODE (S) mode, push the paddle
above the steering wheel spokes to up-shift to the next
gear, or pull on the paddle behind the steering wheel
spokes to down-shift to the next gear.To use the system, shift from PARK (P) to SPORT
MODE (S) while stopped and with the engine running,
or from DRIVE (D) with the vehicle moving. When
accelerating your vehicle from a stop in snowy and icy
conditions, you may want to shift to second (2) or
third (3) gear. A higher gear allows you to gain more
traction on slippery surfaces. If the Traction Control
is active, upshifts are delayed to increase your control
of the vehicle. SeeTraction Control System (TCS)
on page 4-9.
While the Manual Paddle Shift gear selection system is
active, the transmission will automatically downshift
through the gears as the vehicle slows. The transmission
will select second gear as the vehicle stops. From a stop,
the vehicle will start from and hold second (2) gear unless
the driver manually paddle shifts into a different gear or
selects DRIVE (D). The driver can select �rst (1) gear for
maximum acceleration from a stop.
2-28
Page 131 of 426

4. Push and hold the
bottom of the power
convertible top button,
located to the left of the
steering wheel, on the
instrument panel.
The windows will automatically lower and the convertible
top will lower into the rear of the vehicle. A chime will
sound when the convertible top has lowered completely.
If the radio is on the sound may be muted for a brief time.
If the convertible top is operated multiple times, the
engine should be running to prevent drain on the
vehicle’s battery. Under certain conditions, the Driver
Information Center (DIC) may display a message
regarding the power convertible top. SeeDIC Warnings
and Messages on page 3-53for more information.Raising the Power Convertible Top
Notice:If you raise or lower the convertible top
while the vehicle is in motion, you could damage the
top or the top mechanism. The repairs would not
be covered by your warranty. Always put an
automatic transmission in PARK (P) or a manual
transmission in NEUTRAL before raising or lowering
the convertible top.
1. Park on a level surface. The vehicle must be
running or in ACC. Shift an automatic transmission
into PARK (P) and set the parking brake. Shift a
manual transmission into NEUTRAL and set
the parking brake.
2. Make sure the trunk lid is closed and the rear trunk
partition in the rear storage area is in the fastened
upright position, and that no objects are forward
of the divider. See “Rear Trunk Partition” under
Rear Storage Area on page 2-52.
3. Push and hold the top of the power convertible top
button. The top will raise and the windows will lower
if they were in the raised position. A chime will
sound when the top is raised completely.
2-69
Page 137 of 426

Instrument Panel Overview...............................3-4
Hazard Warning Flashers................................3-6
Other Warning Devices...................................3-6
Horn .............................................................3-6
Tilt Wheel.....................................................3-6
Turn Signal/Multifunction Lever.........................3-8
Turn and Lane-Change Signals (Auto Signal).....3-8
Headlamp High/Low-Beam Changer..................3-9
Flash-to-Pass.................................................3-9
Windshield Wipers..........................................3-9
Windshield Washer.......................................3-10
Cruise Control..............................................3-11
Exterior Lamps.............................................3-15
Wiper Activated Headlamps............................3-16
Headlamps on Reminder................................3-16
Daytime Running Lamps (DRL).......................3-16
Fog Lamps ..................................................3-17
Twilight Sentinel
®..........................................3-18
Exterior Lighting Battery Saver........................3-19
Instrument Panel Brightness...........................3-19
Courtesy Lamps...........................................3-19
Entry/Exit Lighting.........................................3-19
Reading Lamps............................................3-20
Battery Run-Down Protection..........................3-20
Head-Up Display (HUD).................................3-20
Accessory Power Outlet(s).............................3-24
Ashtray(s) and Cigarette Lighter......................3-25Climate Controls............................................3-25
Dual Automatic Climate Control System...........3-25
Outlet Adjustment.........................................3-30
Passenger Compartment Air Filter...................3-31
Warning Lights, Gages, and Indicators............3-32
Instrument Panel Cluster................................3-33
Speedometer and Odometer...........................3-34
Tachometer.................................................3-34
Safety Belt Reminder Light.............................3-34
Airbag Readiness Light..................................3-34
Passenger Airbag Status Indicator...................3-35
Voltmeter Gage............................................3-37
One-to-Four Shift Light
(Manual Transmission)...............................3-38
Brake System Warning Light..........................3-38
Anti-Lock Brake System Warning Light.............3-39
Traction Control System (TCS) Warning Light . . .3-40
Active Handling System Light.........................3-40
Engine Coolant Temperature Gage..................3-41
Tire Pressure Light.......................................3-42
Malfunction Indicator Lamp.............................3-42
Engine Oil Pressure Gage.............................3-45
Security Light...............................................3-46
Fog Lamp Light............................................3-46
Lights On Reminder......................................3-46
Highbeam On Light.......................................3-46
Fuel Gage...................................................3-47
Section 3 Instrument Panel
3-1
Page 141 of 426

The main components of your instrument panel are the following:
A. Air Outlet. SeeOutlet Adjustment on page 3-30.
B. Head-Up Display Controls (If Equipped). SeeHead-Up
Display (HUD) on page 3-20.
C. Turn Signal/Multifunction Lever. SeeTurn
Signal/Multifunction Lever on page 3-8. Cruise Control.
SeeCruise Control on page 3-11. Fog Lamps. See
Fog Lamps on page 3-17. Headlamp Controls.
SeeExterior Lamps on page 3-15.
D. Manual Shift Paddles (If Equipped). SeeAutomatic
Transmission Operation on page 2-26.
E. Driver Information Center (DIC). SeeDriver
Information Center (DIC) on page 3-48.
F. Instrument Panel Cluster. SeeInstrument Panel
Cluster on page 3-33.
G. Windshield Wiper/Washer Lever. SeeWindshield
Wipers on page 3-9andWindshield Washer on
page 3-10.
H. Driver Information Center (DIC) Controls. SeeDIC
Controls and Displays on page 3-48.
I. Center Air Outlets. SeeOutlet Adjustment on page 3-30.
J. Hazard Warning Flasher Button. SeeHazard Warning
Flashers on page 3-6.
K. Audio System. SeeAudio System(s) on page 3-77.
L. Climate Controls. SeeDual Automatic Climate Control
System on page 3-25.
M. Fuel Door Release Button. SeeFilling the Tank on
page 5-7. Hatch/Trunk Release Button. See “Hatch/
Trunk Lid Release” underHatch/Trunk on page 2-14.N. Instrument Panel Brightness Control. SeeInstrument
Panel Brightness on page 3-19.
O. Power Folding Top Switch (If Equipped). See
Convertible Top (Manual) on page 2-60orConvertible
Top (Power) on page 2-67.
P. Tilt Wheel Lever. SeeTilt Wheel on page 3-6.
Q. Telescopic Wheel Button (If Equipped). SeeTilt Wheel
on page 3-6.
R. Ignition Switch. SeeIgnition Positions on page 2-22.
S. Heated Seat Controls (If Equipped). SeeHeated Seats
on page 1-4.
T. Shift Lever (Automatic Shown). SeeAutomatic
Transmission Operation on page 2-26orManual
Transmission Operation on page 2-30.
U. Active Handling Button. SeeActive Handling System on
page 4-10.
V. Accessory Power Outlet. SeeAccessory Power
Outlet(s) on page 3-24.
W. Center Console Cupholder. SeeCupholder(s) on
page 2-51.
X. Ashtray and Cigarette Lighter. SeeAshtray(s) and
Cigarette Lighter on page 3-25.
Y. Parking Brake. SeeParking Brake on page 2-33.
Z. Glove Box. SeeGlove Box on page 2-51.
AA. Instrument Panel Fuse Block. SeeInstrument Panel
Fuse Block on page 5-94.
3-5
Page 142 of 426

Hazard Warning Flashers
Your hazard warning �ashers let you warn others. They
also let police know you have a problem. Your front
and rear turn signal lamps will �ash on and off.
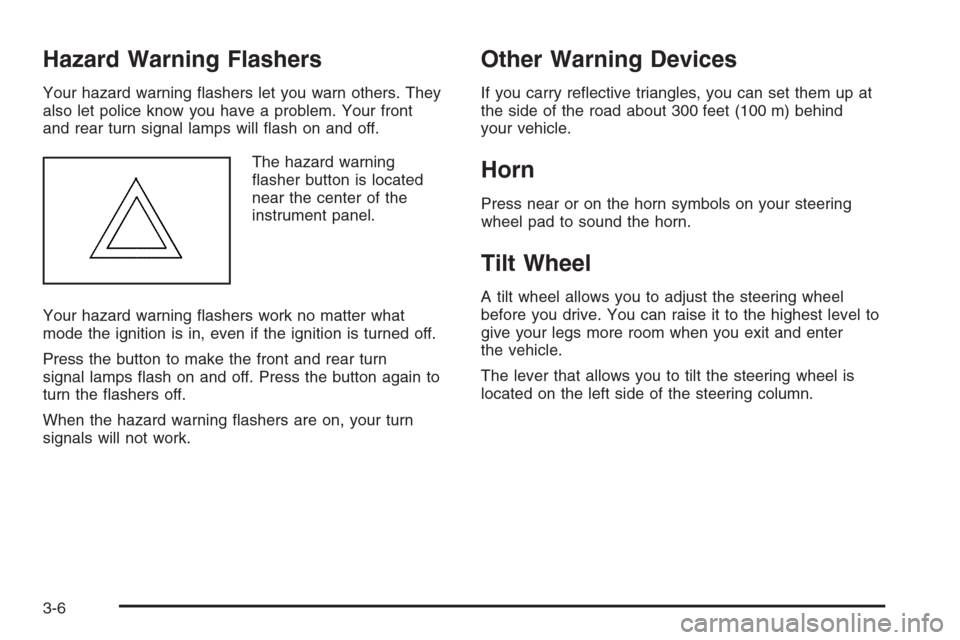
The hazard warning
�asher button is located
near the center of the
instrument panel.
Your hazard warning �ashers work no matter what
mode the ignition is in, even if the ignition is turned off.
Press the button to make the front and rear turn
signal lamps �ash on and off. Press the button again to
turn the �ashers off.
When the hazard warning �ashers are on, your turn
signals will not work.
Other Warning Devices
If you carry re�ective triangles, you can set them up at
the side of the road about 300 feet (100 m) behind
your vehicle.
Horn
Press near or on the horn symbols on your steering
wheel pad to sound the horn.
Tilt Wheel
A tilt wheel allows you to adjust the steering wheel
before you drive. You can raise it to the highest level to
give your legs more room when you exit and enter
the vehicle.
The lever that allows you to tilt the steering wheel is
located on the left side of the steering column.
3-6
Page 143 of 426

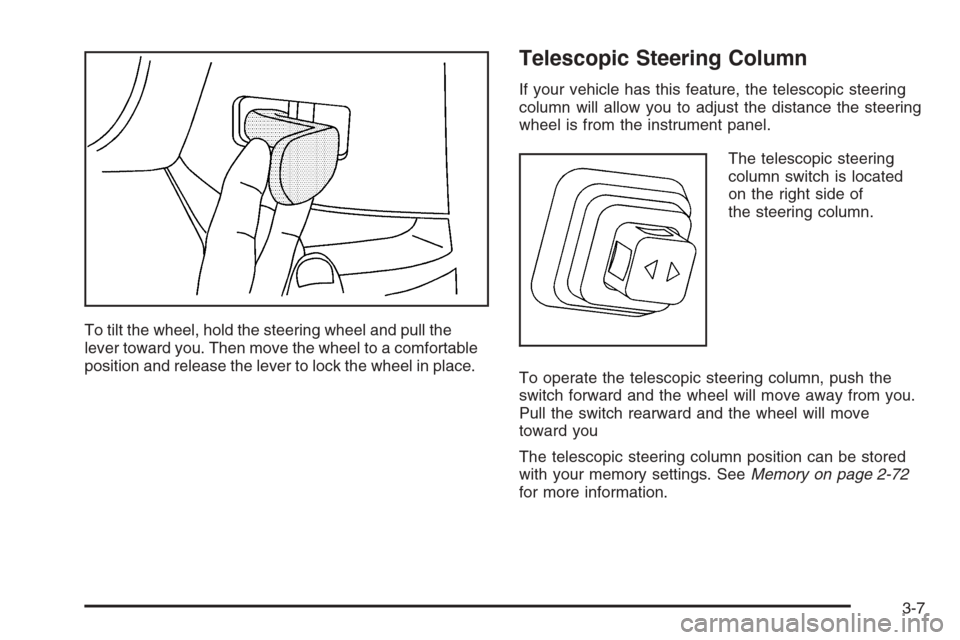
To tilt the wheel, hold the steering wheel and pull the
lever toward you. Then move the wheel to a comfortable
position and release the lever to lock the wheel in place.
Telescopic Steering Column
If your vehicle has this feature, the telescopic steering
column will allow you to adjust the distance the steering
wheel is from the instrument panel.
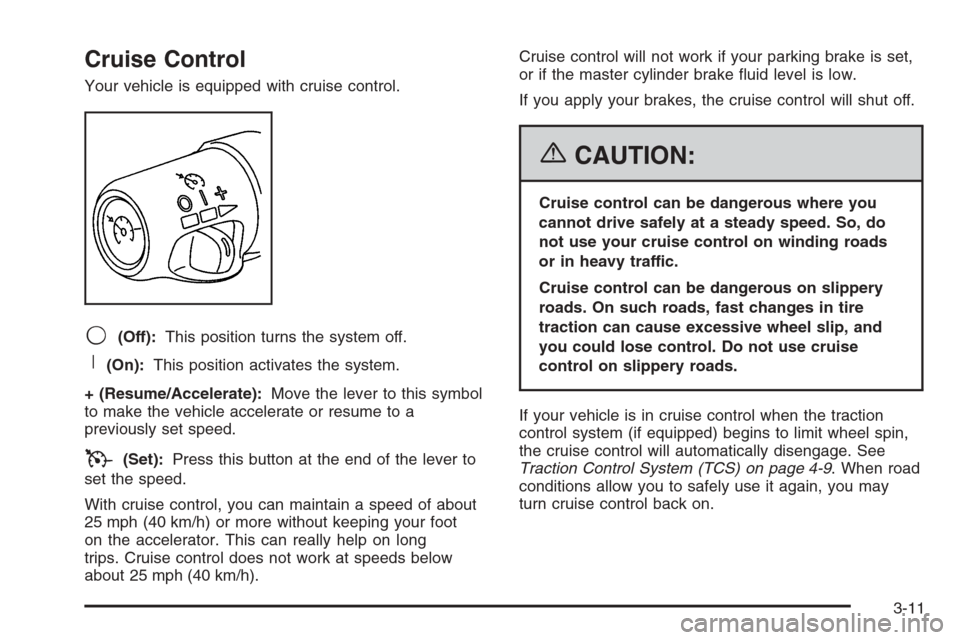
The telescopic steering
column switch is located
on the right side of
the steering column.
To operate the telescopic steering column, push the
switch forward and the wheel will move away from you.
Pull the switch rearward and the wheel will move
toward you
The telescopic steering column position can be stored
with your memory settings. SeeMemory on page 2-72
for more information.
3-7
Page 147 of 426

Cruise Control
Your vehicle is equipped with cruise control.
9(Off):This position turns the system off.
R(On):This position activates the system.
+ (Resume/Accelerate):Move the lever to this symbol
to make the vehicle accelerate or resume to a
previously set speed.
T(Set):Press this button at the end of the lever to
set the speed.
With cruise control, you can maintain a speed of about
25 mph (40 km/h) or more without keeping your foot
on the accelerator. This can really help on long
trips. Cruise control does not work at speeds below
about 25 mph (40 km/h).Cruise control will not work if your parking brake is set,
or if the master cylinder brake �uid level is low.
If you apply your brakes, the cruise control will shut off.
{CAUTION:
Cruise control can be dangerous where you
cannot drive safely at a steady speed. So, do
not use your cruise control on winding roads
or in heavy traffic.
Cruise control can be dangerous on slippery
roads. On such roads, fast changes in tire
traction can cause excessive wheel slip, and
you could lose control. Do not use cruise
control on slippery roads.
If your vehicle is in cruise control when the traction
control system (if equipped) begins to limit wheel spin,
the cruise control will automatically disengage. See
Traction Control System (TCS) on page 4-9. When road
conditions allow you to safely use it again, you may
turn cruise control back on.
3-11