2006 CHEVROLET COLORADO lock
[x] Cancel search: lockPage 144 of 434
N(Delay):You can set the wiper speed for a long or
short delay between wipes. This can be very useful
in light rain or snow. Turn the band to choose the delay
time. The closer to the top of the lever, the shorter
the delay.
6(Low Speed):For steady wiping at low speed,
turn the band away from you to the �rst solid position
past the delay settings.
1(High Speed):For high-speed wiping, turn the
band to the second solid position past the delay settings.
9(Off):To stop the wipers, move the band to off.
Be sure to clear ice and snow from the wiper blades
before using them. If they’re frozen to the windshield,
carefully loosen or thaw them. If your blades do become
worn or damaged, get new blades or blade inserts.
Windshield Washer
{CAUTION:
In freezing weather, do not use your washer
until the windshield is warmed. Otherwise the
washer �uid can form ice on the windshield,
blocking your vision.
QL(Washer Fluid):There is a paddle marked
with the windshield washer symbol at the top of
the multifunction lever. To spray washer �uid on the
windshield, push the paddle. The wipers will clear
the window and then either stop or return to your
preset speed.
3-10
Page 149 of 434

Headlamps on Reminder
If a door is open, a reminder chime will sound when
your headlamps or parking lamps are manually turned
on and your key is out of the ignition. To turn off
the chime, turn the headlamp switch to off and then
back on. In the automatic mode, the headlamps turn off
once the ignition is in LOCK.
If your vehicle was �rst sold in Canada and the parking
lamps are turned on manually, the DRL will stay on.
Daytime Running Lamps (DRL)
Daytime Running Lamps (DRL) can make it easier for
others to see the front of your vehicle during the day. DRL
can be helpful in many different driving conditions, but
they can be especially helpful in the short periods after
dawn and before sunset. Fully functional daytime running
lamps are required on all vehicles �rst sold in Canada.
The DRL system will come on when the following
conditions are met:
The ignition is on.
The exterior lamps control is in AUTO.
The transmission is not in PARK (P) if you have
an automatic transmission.
The light sensor determines it is daytime.Your vehicle will have either the parking lamps or
reduced intensity low beams used as the DRL.
When the DRL are on, only those lamps will be on.
The taillamps, sidemarkers, and other lamps will not
be on. The instrument panel will not be lit up either.
When it begins to get dark, the headlamps will
automatically switch from DRL to the regular headlamps.
As with any vehicle, you should turn on the regular
headlamp system when you need it.
Automatic Headlamp System
When it is dark enough outside, your automatic
headlamp system will turn on your headlamps at the
normal brightness along with other lamps such as
the taillamps, sidemarker, parking lamps, roof marker
lamps and the instrument panel lights. The radio
lights will become more dim when the headlights are
off compared to when the headlights are on.
Your vehicle has a light sensor located on the top of
the instrument panel. Be sure it is not covered, or
the system will be on whenever the ignition is on.
The system may also turn on your headlamps when
driving through a parking garage, heavy overcast
weather or a tunnel. This is normal.
3-15
Page 152 of 434
Exit Lighting
With exit lighting, the interior lamps will come on when
you remove the key from the ignition. The lamps will not
come on if the dome override button is pressed in.
Battery Run-Down Protection
This feature shuts off the dome lamp if it is left on for
more than 20 minutes when the ignition is in LOCK.
This will help prevent your battery from running down.
Accessory Power Outlet(s)
Your vehicle may have accessory power outlets.
With accessory power outlets you can plug in auxiliary
electrical equipment such as a cellular telephone or
CB radio.
Your vehicle may have two accessory power outlets
located on the lower part of the instrument panel
below the climate control system and there may be
one located on the rear of the center console. A small
cap must be pulled down to access an accessory power
outlet. When not using an outlet be sure to cover it
with the protective cap.Notice:Leaving electrical equipment on for
extended periods will drain the battery. Always turn
off electrical equipment when not in use and do
not plug in equipment that exceeds the maximum
amperage rating.
Certain electrical accessories may not be compatible
with the accessory power outlet and could result
in blown vehicle or adapter fuses. If you experience a
problem, see your dealer for additional information
on accessory power outlets.
Notice:Adding any electrical equipment to your
vehicle may damage it or keep other components
from working as they should. The repairs would
not be covered by your warranty. Do not use
equipment exceeding maximum amperage rating
of 20 amperes. Check with your retailer before
adding electrical equipment.
When adding electrical equipment, be sure to follow
the proper installation instructions included with
the equipment.
Notice:Improper use of the power outlet can cause
damage not covered by your warranty. Do not
hang any type of accessory or accessory bracket
from the plug because the power outlets are
designed for accessory power plugs only.
3-18
Page 153 of 434
Ashtray(s) and Cigarette Lighter
Your vehicle may have an ashtray and cigarette lighter.
Your ashtray is located in your center console area.
The ashtray can be removed for cleaning. When
the ashtray is removed, this area can also be used as a
cupholder.
Notice:If you put papers, pins, or other �ammable
items in the ashtray, hot cigarettes or other
smoking materials could ignite them and possibly
damage your vehicle. Never put �ammable items in
the ashtray.
To use the lighter, press it in all the way, and let go.
When it’s ready, it will pop back out by itself.
Notice:Holding a cigarette lighter in while it is
heating will not allow the lighter to back away from
the heating element when it is hot. Damage from
overheating may occur to the lighter or heating
element, or a fuse could be blown. Do not hold a
cigarette lighter in while it is heating.
Climate Controls
Climate Control System
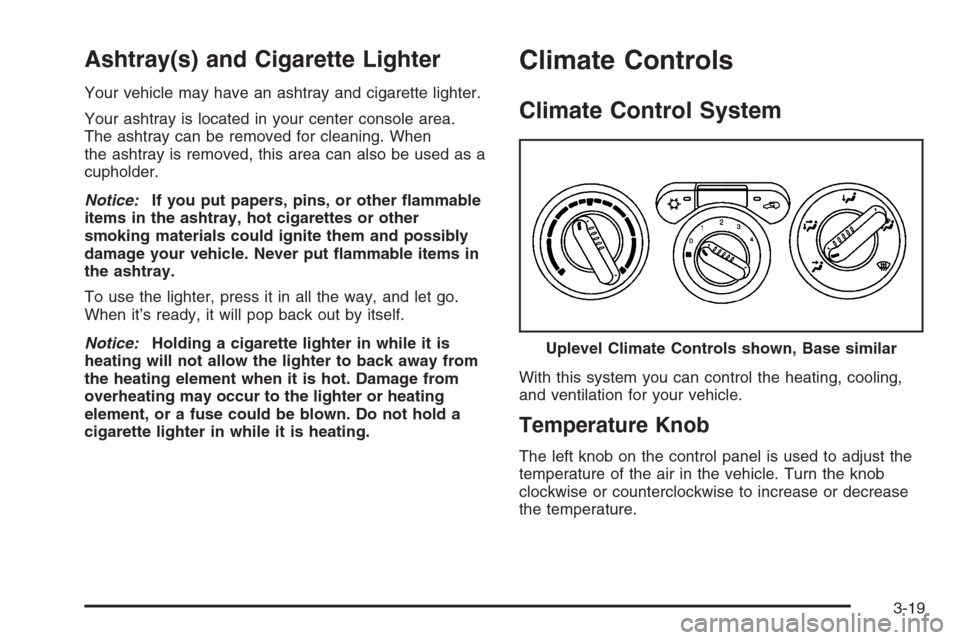
With this system you can control the heating, cooling,
and ventilation for your vehicle.
Temperature Knob
The left knob on the control panel is used to adjust the
temperature of the air in the vehicle. Turn the knob
clockwise or counterclockwise to increase or decrease
the temperature.Uplevel Climate Controls shown, Base similar
3-19
Page 154 of 434
Fan Knob
9
(Fan):The center knob on the control panel is used
to control the fan speed. Turn the knob clockwise or
counterclockwise to increase or decrease the fan speed.
If the knob is set on “0” (zero), some outside air will
still enter the vehicle and will be directed according to
the position of the mode knob.
Mode Knob
The right knob on the control panel is used to direct
the air�ow inside your vehicle. Turn the knob to select
one of the following modes:
H(Vent):Select this mode to direct air to the
instrument panel outlets.
\(Bi-Level):Select this mode to direct approximately
half of the air to the instrument panel outlets, and the
remaining air to the �oor outlets and the defroster
and side window outlets. Cooler air is directed to the
upper outlets and warmer air to the �oor outlets.
[(Floor):Select this mode to direct air to the �oor
outlets. Recirculation is disabled in this mode because
interior window could fog under some conditions. If
this occurs, see “Defogging and Defrosting” following.
Mode Buttons
@
(Recirculation):If your vehicle has air
conditioning, you will have the recirculation feature.
This mode recirculates air inside the cabin, and prevents
outside air from coming in the vehicle. It can be used
to prevent outside odors from entering your vehicle
and cool the air inside your vehicle more quickly.
Press this button to turn the recirculation mode on or
off. An indicator light on the button will come on to
let you know the recirculation mode is activated.
Recirculation is only available in the bi-level and vent
modes. It should only be used while in bi-level and vent
modes. Recirculation is not available, and the light
will not come on or �ash while in heat, �oor, �oor/defog,
or defrost modes.
#(Air Conditioning):Your vehicle may have air
conditioning. Press this button to turn the air-conditioning
system on or off. An indicator light on the button will come
on to let you know the air conditioning is activated. When
the system is on, this setting cools and dehumidi�es the
air entering your vehicle.
The air conditioning will not function if the fan is
turned off.
3-20
Page 155 of 434

You may notice a slight change in engine performance
when the air conditioning compressor shuts off and
turns on again. This is normal. The system is designed
to make adjustments to help with fuel economy while
still maintaining the selected temperature.
The air conditioning system removes moisture from
the air, so you may sometimes notice a small amount
of water dripping underneath your vehicle while idling
or after turning off the engine. This is normal.
Defogging and Defrosting
Fog on the inside of windows is a result of high humidity
(moisture) condensing on the cool window glass. This
can be minimized if the climate control system is used
properly. There are two modes to clear fog or frost from
your windshield and side windows. Use the defog mode
to clear the windows of fog or moisture and warm the
passengers. Use the defrost mode to remove fog or frost
from the windshield more quickly. For best results, clear
all snow and ice from the windshield before defrosting.
Turn the mode knob on the climate control panel
clockwise to select the defog or defrost modes.
/(Floor/Defog):This mode directs the air to the
windshield, the side window outlets, and to the
�oor outlets. When you select this mode, the system
runs the air conditioning compressor unless the outside
temperature is near freezing or below. Recirculation
is not available in this mode.
0(Defrost):This mode directs most of the air to
the windshield, and the side window outlets. When you
select this mode, the system runs the air conditioning
compressor unless the outside temperature is near,
or below freezing. Recirculation is not available in
this mode.
Do not drive the vehicle until all the windows are clear.
Outlet Adjustment
Use the thumbwheel on the outlets to change the
direction of the air �ow.
Lift up or push down on the thumbwheel located in
the center of the outlet to direct the air up or down,
or slide the thumbwheel to the left or right to direct the
air�ow from side-to-side.
Operation Tips
Clear away any ice, snow or leaves from the air
inlets at the base of the windshield that may
block the �ow of air into your vehicle.
Use of non-GM approved hood de�ectors may
adversely affect the performance of the system.
Keep the path under the front seats clear of objects
to help circulate the air inside of your vehicle more
effectively.
3-21
Page 165 of 434
When the ignition is on, the brake system warning light
will also come on when you set your parking brake.
SeeParking Brake on page 2-30for more information.
The light will stay on if your parking brake does not
release fully. If it stays on after your parking brake is
fully released, it means you have a brake problem.
If the light comes on while you are driving, pull off the
road and stop carefully. You may notice that the pedal
is harder to push, or the pedal may go closer to the
�oor. It may take longer to stop. If the light is still
on, have the vehicle towed for service. SeeTowing
Your Vehicle on page 4-50.
{CAUTION:
Your brake system may not be working properly
if the brake system warning light is on. Driving
with the brake system warning light on can lead
to an accident. If the light is still on after you
have pulled off the road and stopped carefully,
have the vehicle towed for service.
Anti-Lock Brake System
Warning Light
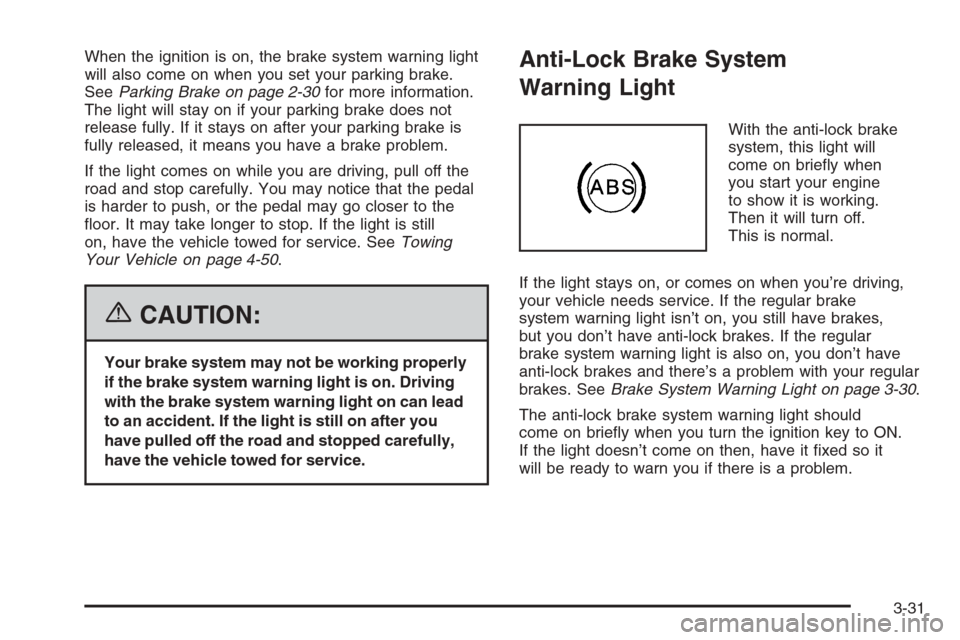
With the anti-lock brake
system, this light will
come on brie�y when
you start your engine
to show it is working.
Then it will turn off.
This is normal.
If the light stays on, or comes on when you’re driving,
your vehicle needs service. If the regular brake
system warning light isn’t on, you still have brakes,
but you don’t have anti-lock brakes. If the regular
brake system warning light is also on, you don’t have
anti-lock brakes and there’s a problem with your regular
brakes. SeeBrake System Warning Light on page 3-30.
The anti-lock brake system warning light should
come on brie�y when you turn the ignition key to ON.
If the light doesn’t come on then, have it �xed so it
will be ready to warn you if there is a problem.
3-31
Page 170 of 434
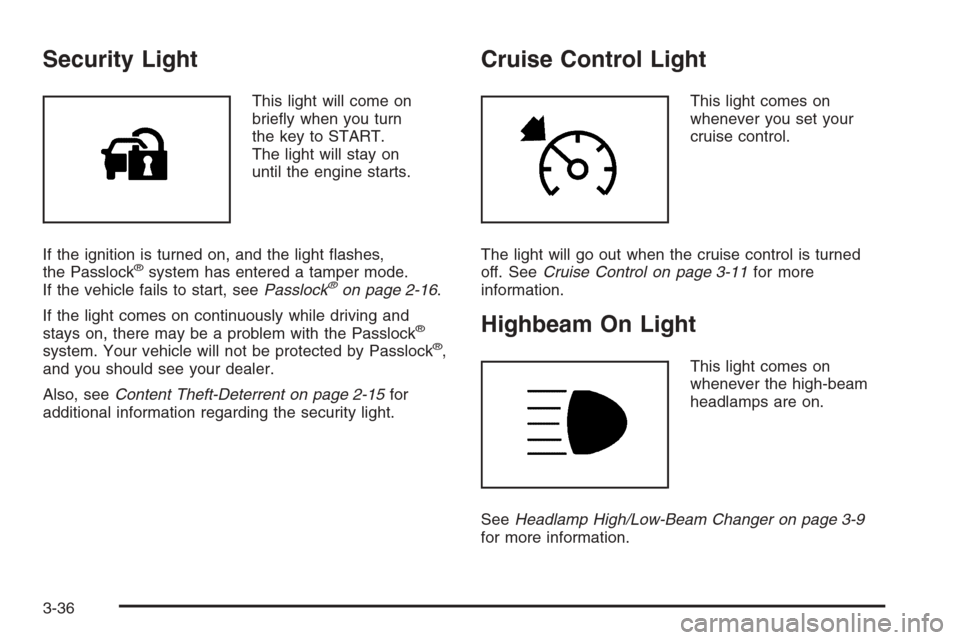
Security Light
This light will come on
brie�y when you turn
the key to START.
The light will stay on
until the engine starts.
If the ignition is turned on, and the light �ashes,
the Passlock
®system has entered a tamper mode.
If the vehicle fails to start, seePasslock®on page 2-16.
If the light comes on continuously while driving and
stays on, there may be a problem with the Passlock
®
system. Your vehicle will not be protected by Passlock®,
and you should see your dealer.
Also, seeContent Theft-Deterrent on page 2-15for
additional information regarding the security light.
Cruise Control Light
This light comes on
whenever you set your
cruise control.
The light will go out when the cruise control is turned
off. SeeCruise Control on page 3-11for more
information.
Highbeam On Light
This light comes on
whenever the high-beam
headlamps are on.
SeeHeadlamp High/Low-Beam Changer on page 3-9
for more information.
3-36