2006 CHEVROLET COLORADO ignition
[x] Cancel search: ignitionPage 204 of 434
RDS Messages
INFO (Information):If the current station has a
message, INFO will appear on the display. Press this
button to see the message. The message may display
the artist, song title, call in phone numbers, etc.
If the entire message is not displayed, parts of the
message will appear every three seconds. To scroll
through the message, press and release the INFO button.
A new group of words will appear on the display after
every press of this button. Once the complete message
has been displayed, INFO will disappear from the display
until another new message is received. The last message
can be displayed by pressing the INFO button. You can
view the last message until a new message is received
or a different station is tuned to.
Radio Messages
CAL ERR (Calibration Error):The audio system
has been calibrated for your vehicle from the factory.
If CAL ERR appears on the display, it means that the
radio has not been con�gured properly for the vehicle
and must be returned to your GM dealer for service.
LOCKED:This message is displayed when the
THEFTLOCK
®system has locked up. Take the
vehicle to your GM dealer for service.
If any error occurs repeatedly, or if an error cannot
be corrected, contact your GM dealer.
Playing a CD
If the ignition or radio is turned off, with a CD in the
player, it will stay in the player. When the ignition
or radio is turned on, the CD will start playing where
it stopped, if it was the last selected audio source.
When a CD is inserted, the CD symbol will appear
on the display. As each new track starts to play, the
track number will appear on the display.
The CD player can play the smaller 3 inch (8 cm)
single CDs with an adapter ring. Full-size CDs and
the smaller CDs are loaded in the same manner.
If playing a CD-R, the sound quality may be reduced
due to CD-R quality, the method of recording, the quality
of the music that has been recorded, and the way the
CD-R has been handled. There may be an increase
in skipping, difficulty in �nding tracks, and/or difficulty in
loading and ejecting. If these problems occur, check
the bottom surface of the CD. If the surface of the CD
is damaged, such as cracked, broken, or scratched,
the CD will not play properly. If the surface of the CD
is soiled, seeCare of Your CDs on page 3-77for more
information.
If there is no apparent damage, try a known good CD.
3-70
Page 205 of 434
Do not add any label to a CD, it could get caught in the
CD player. If a CD is recorded on a personal computer
and a description label is needed, try labeling the top
of the recorded CD with a marking pen instead.
Notice:If you add any label to a CD, insert more
than one CD into the slot at a time, or attempt
to play scratched or damaged CDs, you could
damage the CD player. When using the CD player,
use only CDs in good condition without any
label, load one CD at a time, and keep the CD player
and the loading slot free of foreign materials,
liquids, and debris.
If an error appears on the display, see “CD Messages”
later in this section.
LOAD:Press this button to load CDs into the CD
player. This CD player will hold up to six CDs.
To insert one CD, do the following:
1. Turn the ignition on.
2. Press and release the LOAD button.
3. Wait for the indicator light, located to the right
of the slot, to turn green.
4. Load a CD. Insert the CD partway into the slot,
label side up. The player will pull the CD in.To insert multiple CDs, do the following:
1. Turn the ignition on.
2. Press and hold the LOAD button for two seconds.
You will hear a beep and the indicator light, located
to the right of the slot, will begin to �ash and
MULTI LOAD # will appear on the display.
3. Once the light stops �ashing and turns green,
INSERT CD # will appear on the display, load
a CD. Insert the CD partway into the slot, label
side up. The player will pull the CD in.
Once the CD is loaded, the indicator light will begin
�ashing again. Once the light stops �ashing and
turns green, you can load another CD. The
CD player takes up to six CDs. Do not try to load
more than six.
To load more than one CD but less than six, complete
Steps 1 through 3. When �nished loading CDs,
press the LOAD button to cancel the loading function.
The radio will begin to play the last CD loaded.
If more than one CD has been loaded, a number for
each CD will appear on the display.
3-71
Page 212 of 434
XM™ Satellite Radio Antenna
System
The XM™ Satellite Radio antenna is located on the roof
of your vehicle. Keep this antenna clear of snow and
ice build up for clear radio reception.
If your vehicle has a sunroof, the performance of the
XM™ system may be affected if the sunroof is open.
Loading items onto the roof of your vehicle can interfere
with the performance of the XM™ system. Make sure
the XM™ Satellite Radio antenna is not obstructed.
Chime Level Adjustment
The radio is used to adjust the vehicle’s chime level.
To change the volume level of the chime, press and hold
pushbutton 6 with the ignition on and the radio power
off. The volume level will change from the normal
level to loud, and LOUD will appear on the radio display.
To change back to the default or normal setting,
press and hold pushbutton 6 again. The volume level
will change from the loud level to normal, and NORMAL
will appear on the radio display. Each time the chime
volume is changed, three chimes will sound as an
example of the new volume selected. Removing the
radio and not replacing it with a factory radio or chime
module will disable vehicle chimes.
3-78
Page 239 of 434
Hard packed snow and ice offer the worst tire traction.
On these surfaces, it is very easy to lose control.
On wet ice, for example, the traction is so poor that
you will have difficulty accelerating. And if you do get
moving, poor steering and difficult braking can cause
you to slide out of control.
{CAUTION:
Driving on frozen lakes, ponds, or rivers can
be dangerous. Underwater springs, currents
under the ice, or sudden thaws can weaken
the ice. Your vehicle could fall through the ice
and you and your passengers could drown.
Drive your vehicle on safe surfaces only.
Driving in Water
Heavy rain can mean �ash �ooding, and �ood waters
demand extreme caution.
Find out how deep the water is before you drive through
it. If it is deep enough to cover the wheel hubs, axles,
or exhaust pipe, do not try it — you probably will not
get through. Also, water that deep can damage the axle
and other vehicle parts.If the water is not too deep, drive slowly through it. At
faster speeds, water splashes on the ignition system and
your vehicle can stall. Stalling can also occur if you
get the tailpipe under water. And, as long as the tailpipe
is under water, you will never be able to start the
engine. When you go through water, remember that
when the brakes get wet, it may take you longer to stop.
{CAUTION:
Driving through rushing water can be
dangerous. Deep water can sweep your vehicle
downstream and you and your passengers
could drown. If it is only shallow water, it can
still wash away the ground from under your
tires, and you could lose traction and roll the
vehicle over. Do not drive through rushing
water.
SeeDriving in Rain and on Wet Roads on page 4-30
for more information on driving through water.
4-27
Page 249 of 434
{CAUTION:
Coasting downhill in NEUTRAL (N) or with the
ignition off is dangerous. Your brakes will have
to do all the work of slowing down. They could
get so hot that they would not work well. You
would then have poor braking or even none
going down a hill. You could crash. Always
have your engine running and your vehicle
in gear when you go downhill.
Know how to go down hills. The most important
thing to know is this: let your engine do some of
the slowing down. Shift to a lower gear when you
go down a steep or long hill.
Know how to go uphill. You may want to shift down to
a lower gear. The lower gears help cool your engine
and transmission, and you can climb the hill better.
Stay in your own lane when driving on two-lane
roads in hills or mountains. Do not swing wide or cut
across the center of the road. Drive at speeds that let
you stay in your own lane.
As you go over the top of a hill, be alert. There could
be something in your lane, like a stalled car or an
accident.
You may see highway signs on mountains that
warn of special problems. Examples are long grades,
passing or no-passing zones, a falling rocks area, or
winding roads. Be alert to these and take appropriate
action.
4-37
Page 263 of 434
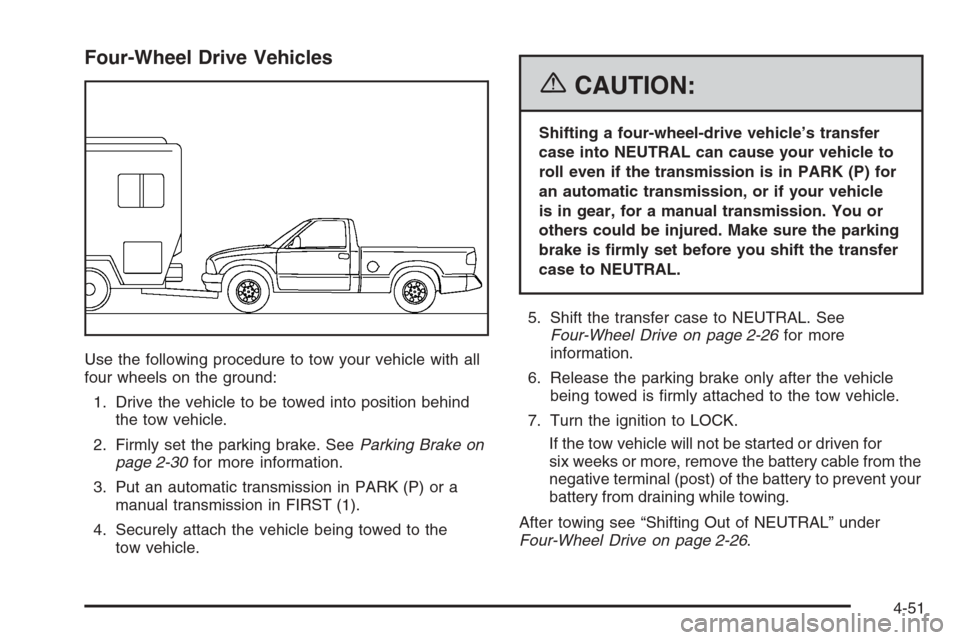
Four-Wheel Drive Vehicles
Use the following procedure to tow your vehicle with all
four wheels on the ground:
1. Drive the vehicle to be towed into position behind
the tow vehicle.
2. Firmly set the parking brake. SeeParking Brake on
page 2-30for more information.
3. Put an automatic transmission in PARK (P) or a
manual transmission in FIRST (1).
4. Securely attach the vehicle being towed to the
tow vehicle.
{CAUTION:
Shifting a four-wheel-drive vehicle’s transfer
case into NEUTRAL can cause your vehicle to
roll even if the transmission is in PARK (P) for
an automatic transmission, or if your vehicle
is in gear, for a manual transmission. You or
others could be injured. Make sure the parking
brake is �rmly set before you shift the transfer
case to NEUTRAL.
5. Shift the transfer case to NEUTRAL. See
Four-Wheel Drive on page 2-26for more
information.
6. Release the parking brake only after the vehicle
being towed is �rmly attached to the tow vehicle.
7. Turn the ignition to LOCK.
If the tow vehicle will not be started or driven for
six weeks or more, remove the battery cable from the
negative terminal (post) of the battery to prevent your
battery from draining while towing.
After towing see “Shifting Out of NEUTRAL” under
Four-Wheel Drive on page 2-26.
4-51
Page 265 of 434
3. Put an automatic transmission in PARK (P) or a
manual transmission in FIRST (1).
4. Follow the dolly manufacturer’s instructions to
attach and secure the vehicle being towed to
the dolly and then the loaded dolly to the tow
vehicle.
{CAUTION:
Shifting a four-wheel-drive vehicle’s transfer
case into NEUTRAL can cause your vehicle to
roll even if the transmission is in PARK (P) for
an automatic transmission, or if your vehicle
is in gear, for a manual transmission. You or
others could be injured. Make sure the parking
brake is �rmly set before you shift the transfer
case to NEUTRAL.5. Shift the transfer case to NEUTRAL. See
Four-Wheel Drive on page 2-26for more
information.
6. Release the parking brake only after the vehicle
being towed is �rmly attached to the tow vehicle.
7. Turn the ignition to LOCK.
If the tow vehicle will not be started or driven for
six weeks or more, remove the battery cable from
the negative terminal (post) of the battery to prevent
your battery from draining while towing.
After towing see “Shifting Out of NEUTRAL” under
Four-Wheel Drive on page 2-26.
4-53
Page 266 of 434
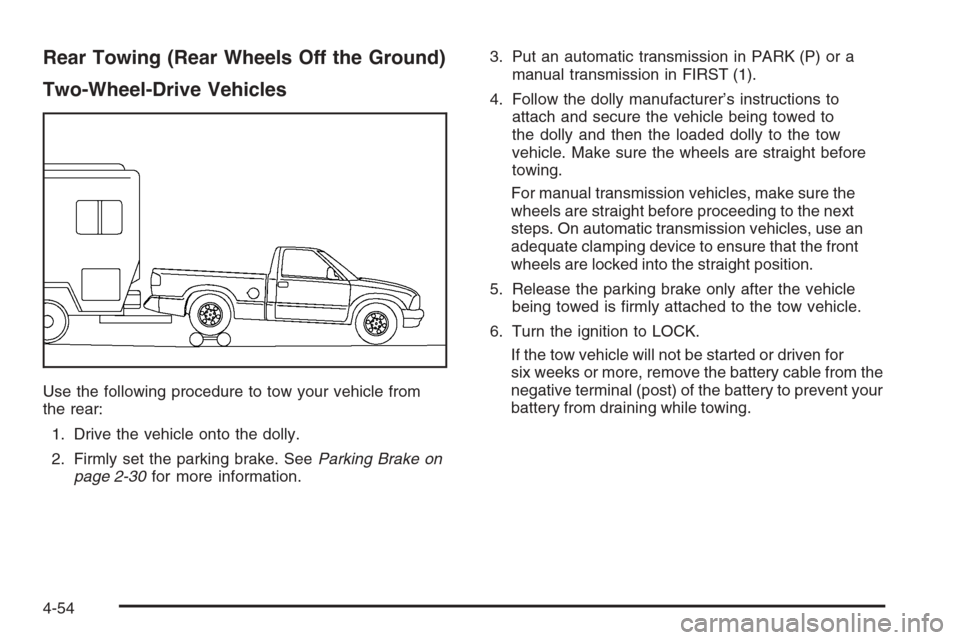
Rear Towing (Rear Wheels Off the Ground)
Two-Wheel-Drive Vehicles
Use the following procedure to tow your vehicle from
the rear:
1. Drive the vehicle onto the dolly.
2. Firmly set the parking brake. SeeParking Brake on
page 2-30for more information.3. Put an automatic transmission in PARK (P) or a
manual transmission in FIRST (1).
4. Follow the dolly manufacturer’s instructions to
attach and secure the vehicle being towed to
the dolly and then the loaded dolly to the tow
vehicle. Make sure the wheels are straight before
towing.
For manual transmission vehicles, make sure the
wheels are straight before proceeding to the next
steps. On automatic transmission vehicles, use an
adequate clamping device to ensure that the front
wheels are locked into the straight position.
5. Release the parking brake only after the vehicle
being towed is �rmly attached to the tow vehicle.
6. Turn the ignition to LOCK.
If the tow vehicle will not be started or driven for
six weeks or more, remove the battery cable from the
negative terminal (post) of the battery to prevent your
battery from draining while towing.
4-54