Page 291 of 434

{CAUTION:
If you spill fuel and then something ignites it,
you could be badly burned. Fuel can spray out
on you if you open the fuel cap too quickly.
This spray can happen if your tank is nearly
full, and is more likely in hot weather. Open
the fuel cap slowly and wait for any hiss noise
to stop. Then unscrew the cap all the way.
Be careful not to spill fuel. Do not top off or over�ll the
tank and wait a few seconds after you have �nished
pumping before removing the nozzle. Clean fuel from
painted surfaces as soon as possible. SeeWashing
Your Vehicle on page 5-92.
When replacing the fuel cap, turn it clockwise
until it clicks. Make sure the cap is fully installed.
The diagnostic system can determine if the fuel
cap has been left off or improperly installed.This would allow fuel to evaporate into the atmosphere.
If the fuel cap is not properly installed, the FUEL CAP
message will appear on the Driver Information Center
(DIC) and the check engine light will be lit on the
instrument panel cluster. SeeDIC Warnings and
Messages on page 3-41andMalfunction Indicator
Lamp on page 3-32for more information.
{CAUTION:
If a �re starts while you are refueling, do not
remove the nozzle. Shut off the �ow of fuel
by shutting off the pump or by notifying the
station attendant. Leave the area immediately.
Notice:If you need a new fuel cap, be sure to get the
right type. Your dealer can get one for you. If you get
the wrong type, it may not �t properly. This may
cause your malfunction indicator lamp to light and
may damage your fuel tank and emissions system.
SeeMalfunction Indicator Lamp on page 3-32.
5-9
Page 313 of 434

If the overheat warning continues, there is one more
thing you can try. You can add the proper mixture
directly to the radiator, but be sure the cooling system is
cool before you do it.
{CAUTION:
Steam and scalding liquids from a hot cooling
system can blow out and burn you badly. They
are under pressure, and if you turn the radiator
pressure cap — even a little — they can come
out at high speed. Never turn the cap when the
cooling system, including the radiator pressure
cap, is hot. Wait for the cooling system and
radiator pressure cap to cool if you ever have
to turn the pressure cap.
How to Add Coolant to the Radiator
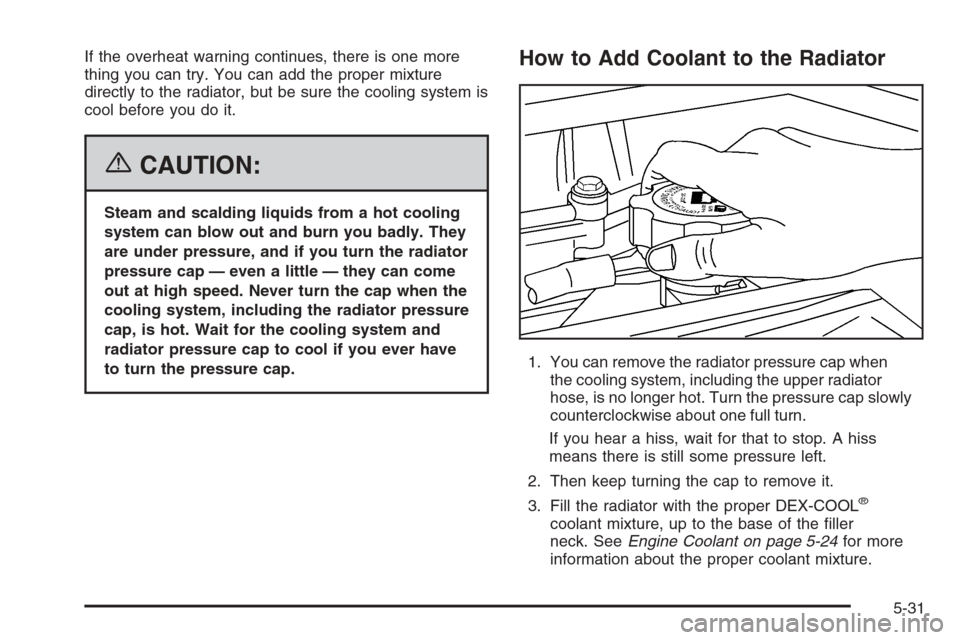
1. You can remove the radiator pressure cap when
the cooling system, including the upper radiator
hose, is no longer hot. Turn the pressure cap slowly
counterclockwise about one full turn.
If you hear a hiss, wait for that to stop. A hiss
means there is still some pressure left.
2. Then keep turning the cap to remove it.
3. Fill the radiator with the proper DEX-COOL
®
coolant mixture, up to the base of the �ller
neck. SeeEngine Coolant on page 5-24for more
information about the proper coolant mixture.
5-31
Page 329 of 434
Headlamps
A. Low-Beam Headlamp/DRL
B. High-Beam Headlamp
To replace one of these bulbs, do the following:
1. Open the hood. SeeHood Release on page 5-11
for more information.
2. Reach in and access the bulb sockets from inside
the engine compartment.3. Turn the bulb socket counterclockwise and pull it
straight out of the headlamp assembly.
4. Unplug the electrical connector from the old bulb by
releasing the clips on the bulb socket.
5. Plug in the electrical connector to the new bulb.
6. Place the connector with the new bulb into the
headlamp assembly and turn it clockwise until
it is tight.
5-47
Page 330 of 434
Front Turn Signal, Parking and
Daytime Running Lamps (DRL)
To replace one of these bulbs, do the following:
1. Open the hood. SeeHood Release on page 5-11
for more information.
2. Reach in to access either one of the bulb sockets.
3. Turn the bulb socket counterclockwise and
remove it from the lamp assembly.
4. Remove the old bulb from the bulb socket.5. Insert the new bulb into the bulb socket.
6. Insert the bulb socket into the lamp assembly and
turn it clockwise until it is tight.
Center High-Mounted Stoplamp
(CHMSL)
To replace the CHMSL bulb, do the following:
1. Remove the two screws and lift off the lamp
assembly.
2. Turn the bulb socket counterclockwise and remove
it from the housing.
3. Pull the bulb straight out of the socket.
4. Insert the new bulb into the socket and press it in
until tight.
5. Insert the bulb socket into the housing and turn
until tight.
6. Reinstall the lamp assembly and tighten the screws.
5-48
Page 331 of 434
Taillamps, Turn Signal, Stoplamps
and Back-up Lamps
A. Stoplamp/Taillamp
B. Turn Signal/Taillamp
C. Back-up Lamp
To replace one of these bulbs, do the following:
1. Open the tailgate. SeeTailgate on page 2-10for
more information.2. Remove the two rear
lamp assembly screws
near the tailgate latch.
3. Pull out the lamp assembly.
4. Turn the bulb socket counterclockwise to remove it
from the taillamp housing.
5. Pull the old bulb straight out from the socket.
6. Press a new bulb into the socket and turn the socket
clockwise into the taillamp housing until it is tight.
7. Reinstall the rear lamp assembly and tighten the
screws.
5-49
Page 353 of 434

To access the tools, do the following:
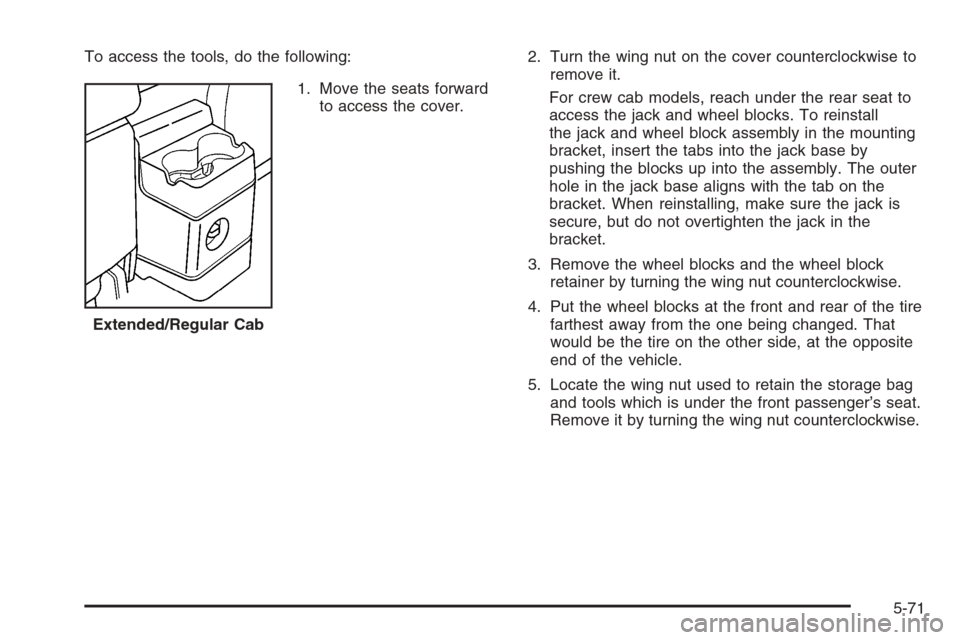
1. Move the seats forward
to access the cover.2. Turn the wing nut on the cover counterclockwise to
remove it.
For crew cab models, reach under the rear seat to
access the jack and wheel blocks. To reinstall
the jack and wheel block assembly in the mounting
bracket, insert the tabs into the jack base by
pushing the blocks up into the assembly. The outer
hole in the jack base aligns with the tab on the
bracket. When reinstalling, make sure the jack is
secure, but do not overtighten the jack in the
bracket.
3. Remove the wheel blocks and the wheel block
retainer by turning the wing nut counterclockwise.
4. Put the wheel blocks at the front and rear of the tire
farthest away from the one being changed. That
would be the tire on the other side, at the opposite
end of the vehicle.
5. Locate the wing nut used to retain the storage bag
and tools which is under the front passenger’s seat.
Remove it by turning the wing nut counterclockwise. Extended/Regular Cab
5-71
Page 354 of 434
You will use the jack handle extensions and the wheel
wrench to remove the underbody-mounted spare tire.
A. Jack Handle
Extensions
B. JackC. Extension Tool
D. Wheel Wrench
E. Wheel Blocks
1. Assemble the wheel wrench (D) and the jack
handle extensions (A) as shown below.2. Insert the hoist end (chiseled end) of the extension
tool (C) through the hole in the rear bumper and
into the funnel-shaped guide. The chiseled end of
the extension is used to lower the spare tire.
3. Turn the wheel wrench (D) counterclockwise to
lower the spare tire to the ground. Continue to
turn the wheel wrench until the spare tire can be
pulled out from under the vehicle.
If the spare tire does not lower to the ground, the
secondary latch is engaged causing the tire
not to lower. SeeSecondary Latch System on
page 5-81.
5-72
Page 356 of 434
1. Remove the center cap by placing the chisel end of
the wheel wrench (E) into one of the slots on the
wheel and gently prying the cap out.
If your vehicle has the Xtreme package, remove
each wheel nut cap with the wheel wrench
and remove the center cap by hand.2. Use the wheel wrench to loosen all the wheel nuts
by turning it counterclockwise. Do not remove the
wheel nuts yet.
5-74