Page 258 of 362

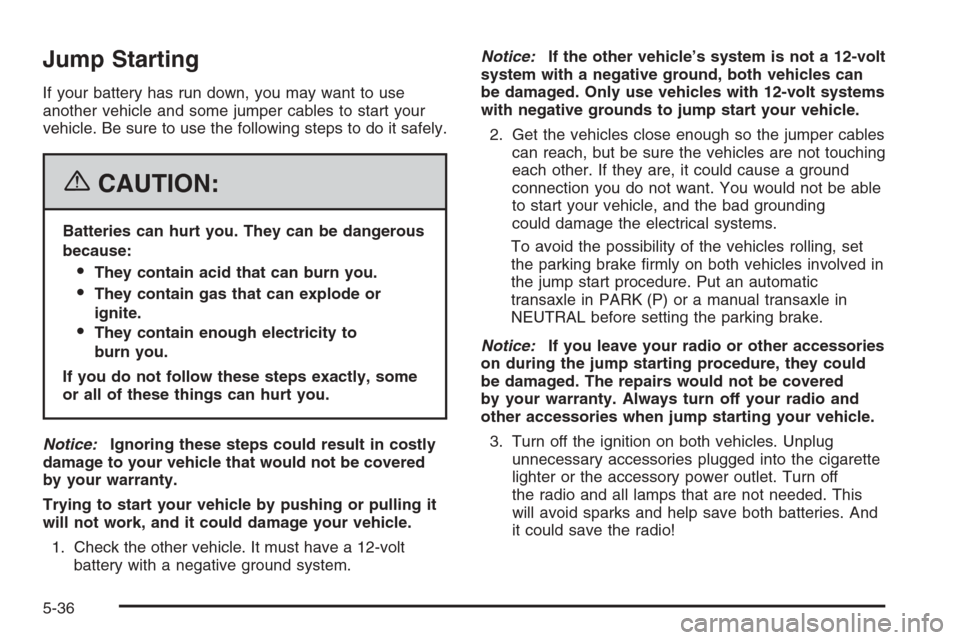
Jump Starting
If your battery has run down, you may want to use
another vehicle and some jumper cables to start your
vehicle. Be sure to use the following steps to do it safely.
{CAUTION:
Batteries can hurt you. They can be dangerous
because:
They contain acid that can burn you.
They contain gas that can explode or
ignite.
They contain enough electricity to
burn you.
If you do not follow these steps exactly, some
or all of these things can hurt you.
Notice:Ignoring these steps could result in costly
damage to your vehicle that would not be covered
by your warranty.
Trying to start your vehicle by pushing or pulling it
will not work, and it could damage your vehicle.
1. Check the other vehicle. It must have a 12-volt
battery with a negative ground system.Notice:If the other vehicle’s system is not a 12-volt
system with a negative ground, both vehicles can
be damaged. Only use vehicles with 12-volt systems
with negative grounds to jump start your vehicle.
2. Get the vehicles close enough so the jumper cables
can reach, but be sure the vehicles are not touching
each other. If they are, it could cause a ground
connection you do not want. You would not be able
to start your vehicle, and the bad grounding
could damage the electrical systems.
To avoid the possibility of the vehicles rolling, set
the parking brake firmly on both vehicles involved in
the jump start procedure. Put an automatic
transaxle in PARK (P) or a manual transaxle in
NEUTRAL before setting the parking brake.
Notice:If you leave your radio or other accessories
on during the jump starting procedure, they could
be damaged. The repairs would not be covered
by your warranty. Always turn off your radio and
other accessories when jump starting your vehicle.
3. Turn off the ignition on both vehicles. Unplug
unnecessary accessories plugged into the cigarette
lighter or the accessory power outlet. Turn off
the radio and all lamps that are not needed. This
will avoid sparks and help save both batteries. And
it could save the radio!
5-36
Page 299 of 362

Fuses Usage
LTR Cigar Lighter
HORN,
REAR/FOGHorn, Rear Fog Lamps
RADIO, CLK Audio, Clock
STOP Stop Lamp
TRN/SIG Turn Signal
CLSTR,
HAZRDInstrument Panel Cluster, Hazard
Flasher
CLSTR, CLK Instrument Panel Cluster, Clock
DR/LCK Door Lock, Remote Keyless Entry
BCK/UP Back-Up Lamp
ECM, TCMEngine Control Module,
Transmission Control Module
ECM, TCMEngine Control Module,
Transmission Control Module
WPR, WSWA Wiper, Washer
DIS,
INJECTORDirect Ignition System, Injector
ENG FUSE Engine Fuse
AIRBAG Airbag
HVAC HVAC Blower
ABS Anti-lock Brake System
BLANK Not Used
BLANK Not Used
DIODE (ABS) Anti-lock Brake System DiodeFuses Usage
BLANK Not Used
BLANK Not Used
CLK, RADIO Clock, Audio
Engine Compartment Fuse Block
The engine compartment fuse block is located on the
driver’s side of the vehicle, near the battery. SeeEngine
Compartment Overview on page 5-12for more
information on location. To access the fuses, pull out
the top and bottom flaps to release the cover. To
reinstall the cover, push the cover until it is secure.
5-77
Page 301 of 362
Fuses Usage
LOW BEAM RT Passenger’s Side Headlamp Low
ILLUM RTParking Lamp Right Side,
Illumination Circuit
LOW BEAM LT Driver’s Side Headlamp Low
ILLUM LTParking Lamp Left Side, License
Plate Lamp
INT LTS Room Lamp
BLANK Not Used
DEFOG Defogger
S/ROOF Sunroof
ILLUM LAMPS Illumination Relay
HORN Horn
HEAD LAMPS Headlamps
FUEL Fuel Pump
A/C Air Conditioning Compressor
FOG LAMPS Front Fog Lamp
HVAC
BLOWERHeating, Ventilation, Air Conditioning
Blower
ABS Anti-lock Brake System
I/P FUSE
BATT.Instrument Panel Fuse Box
COOL FAN Radiator Fan
IGN 2 Ignition 2Fuses Usage
BLANK Blank
IGN 1 Ignition 1
PWR WNDW Power Windows
SPARE Spare
Relays Usage
BLANK Not Used
COOL
FAN LOWCooling Fan Low
HEAD
LAMPS HIHeadlamp High
HEAD
LAMPS LOWHeadlamp Low
PWR WNDW Power Window
FRT FOG Fog Lamp
COOL FN
CNTRLCooling Fan Control
FUEL PUMP Fuel Pump
A/C COMPRSR Air Conditioning Compressor
COOL FAN HI Cooling Fan High
ILLUM LAMPS Illumination Lamps
BLANK Not Used
5-79
Page 325 of 362

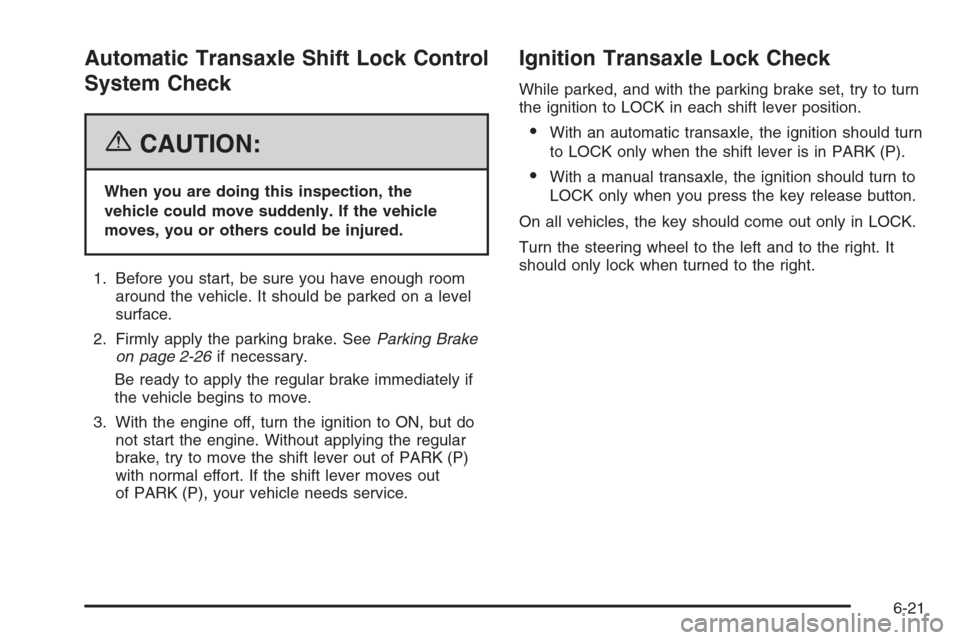
Automatic Transaxle Shift Lock Control
System Check
{CAUTION:
When you are doing this inspection, the
vehicle could move suddenly. If the vehicle
moves, you or others could be injured.
1. Before you start, be sure you have enough room
around the vehicle. It should be parked on a level
surface.
2. Firmly apply the parking brake. SeeParking Brake
on page 2-26if necessary.
Be ready to apply the regular brake immediately if
the vehicle begins to move.
3. With the engine off, turn the ignition to ON, but do
not start the engine. Without applying the regular
brake, try to move the shift lever out of PARK (P)
with normal effort. If the shift lever moves out
of PARK (P), your vehicle needs service.
Ignition Transaxle Lock Check
While parked, and with the parking brake set, try to turn
the ignition to LOCK in each shift lever position.
•With an automatic transaxle, the ignition should turn
to LOCK only when the shift lever is in PARK (P).
•With a manual transaxle, the ignition should turn to
LOCK only when you press the key release button.
On all vehicles, the key should come out only in LOCK.
Turn the steering wheel to the left and to the right. It
should only lock when turned to the right.
6-21
Page 356 of 362

I
Ignition Positions.............................................2-18
Immobilizer....................................................2-16
Immobilizer Operation......................................2-16
Infants and Young Children, Restraints...............1-32
Inflation - Tire Pressure...................................5-51
Inspection
Brake System.............................................6-24
Engine Cooling System................................6-24
Exhaust System..........................................6-23
Fuel System...............................................6-23
Part C - Periodic Maintenance.......................6-23
Steering, Suspension and Front Drive Axle
Boot and Seal.........................................6-23
Instrument Panel
Overview..................................................... 3-4
Instrument Panel (I/P)
Brightness..................................................3-15
Cluster.......................................................3-24
J
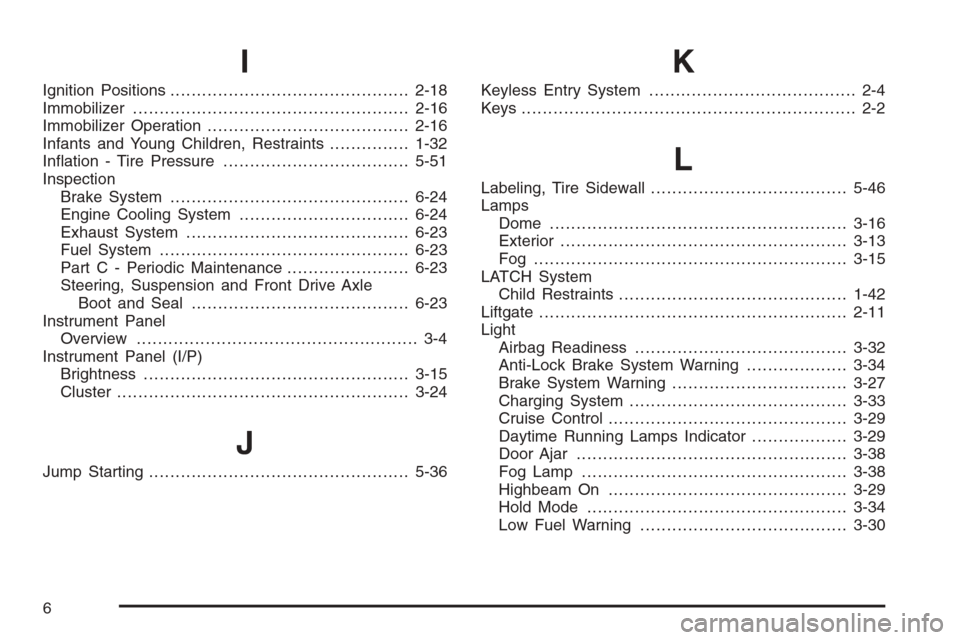
Jump Starting.................................................5-36
K
Keyless Entry System....................................... 2-4
Keys............................................................... 2-2
L
Labeling, Tire Sidewall.....................................5-46
Lamps
Dome ........................................................3-16
Exterior......................................................3-13
Fog ...........................................................3-15
LATCH System
Child Restraints...........................................1-42
Liftgate..........................................................2-11
Light
Airbag Readiness........................................3-32
Anti-Lock Brake System Warning...................3-34
Brake System Warning.................................3-27
Charging System.........................................3-33
Cruise Control.............................................3-29
Daytime Running Lamps Indicator..................3-29
Door Ajar...................................................3-38
Fog Lamp ..................................................3-38
Highbeam On.............................................3-29
Hold Mode .................................................3-34
Low Fuel Warning.......................................3-30
6