2006 CHEVROLET AVALANCHE parking brake
[x] Cancel search: parking brakePage 77 of 532

Keys...............................................................2-3
Remote Keyless Entry System.........................2-4
Remote Keyless Entry System Operation...........2-5
Doors and Locks.............................................2-8
Door Locks....................................................2-8
Power Door Locks..........................................2-9
Delayed Locking.............................................2-9
Programmable Automatic Door Locks..............2-10
Rear Door Security Locks..............................2-10
Lockout Protection........................................2-11
Midgate
®.....................................................2-11
Tailgate.......................................................2-20
Windows........................................................2-22
Power Windows............................................2-23
Sun Visors...................................................2-24
Theft-Deterrent Systems..................................2-24
Content Theft-Deterrent.................................2-24
Passlock
®....................................................2-26
Starting and Operating Your Vehicle................2-27
New Vehicle Break-In....................................2-27
Ignition Positions..........................................2-28
Retained Accessory Power (RAP)...................2-29
Starting the Engine.......................................2-29
Adjustable Throttle and Brake Pedal................2-30Engine Coolant Heater..................................2-31
Automatic Transmission Operation...................2-32
Tow/Haul Mode............................................2-35
Four-Wheel Drive..........................................2-35
Parking Brake..............................................2-40
Shifting Into Park (P).....................................2-41
Shifting Out of Park (P).................................2-43
Parking Over Things That Burn.......................2-43
Engine Exhaust............................................2-44
Running the Engine While Parked...................2-44
Mirrors...........................................................2-45
Automatic Dimming Rearview Mirror with
OnStar
®and Compass...............................2-45
Automatic Dimming Rearview Mirror with
OnStar
®, Compass and Temperature
Display....................................................2-47
Automatic Dimming Rearview Mirror with
Compass.................................................2-50
Automatic Dimming Rearview Mirror with
Compass and Temperature Display...............2-52
Outside Camper-Type Mirrors.........................2-54
Outside Power Mirrors...................................2-55
Outside Convex Mirror...................................2-56
Outside Heated Mirrors..................................2-56
Outside Automatic Dimming Mirror with
Curb View Assist.......................................2-57
Section 2 Features and Controls
2-1
Page 108 of 532
Automatic Transmission Operation
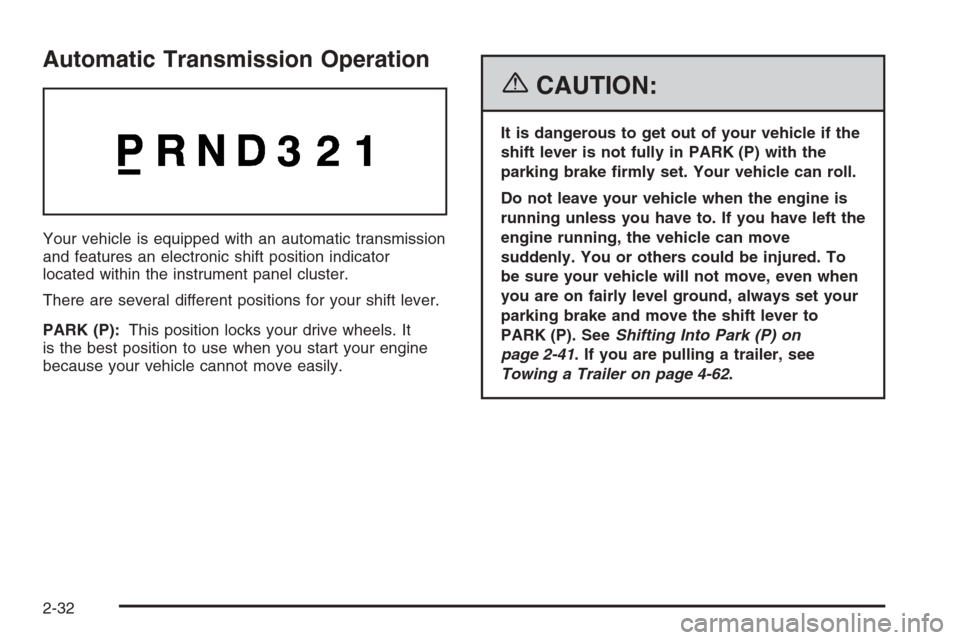
Your vehicle is equipped with an automatic transmission
and features an electronic shift position indicator
located within the instrument panel cluster.
There are several different positions for your shift lever.
PARK (P):This position locks your drive wheels. It
is the best position to use when you start your engine
because your vehicle cannot move easily.
{CAUTION:
It is dangerous to get out of your vehicle if the
shift lever is not fully in PARK (P) with the
parking brake �rmly set. Your vehicle can roll.
Do not leave your vehicle when the engine is
running unless you have to. If you have left the
engine running, the vehicle can move
suddenly. You or others could be injured. To
be sure your vehicle will not move, even when
you are on fairly level ground, always set your
parking brake and move the shift lever to
PARK (P). SeeShifting Into Park (P) on
page 2-41. If you are pulling a trailer, see
Towing a Trailer on page 4-62.
2-32
Page 112 of 532
The front axle locks and unlocks automatically when
you shift the transfer case. Some delay for the axle to
lock or unlock is normal.
For information on StabiliTrak
®, seeStabiliTrak®
System on page 4-9.
Use these buttons to shift into and out of
four-wheel drive.
You can choose among four driving settings:
AUTO 4WD (Automatic Four-Wheel Drive):This
setting is ideal for use when road surface traction
conditions are variable. When driving your vehicle in
AUTO 4WD, the front axle is engaged, but the vehicle’s
power is sent only to the rear wheels. When the
vehicle senses a loss of traction, the system will
automatically engage four-wheel drive. Driving in this
mode results in slightly lower fuel economy than
Two-Wheel High.
2
m(Two-Wheel High):This setting is used for
driving in most street and highway situations. Your front
axle is not engaged in two-wheel drive. This setting
also provides the best fuel economy.
4
m(Four-Wheel High):Use the four-wheel high
position when you need extra traction, such as on snowy
or icy roads or in most off-road situations. This setting
also engages your front axle to help drive your vehicle.
This is the best setting to use when plowing snow.4
n(Four-Wheel Low):This setting also engages
your front axle and delivers extra torque. You may never
need this setting. It sends maximum power to all four
wheels. You might choose Four Wheel-Low if you
are driving off-road in deep sand, deep mud, deep snow,
and while climbing or descending steep hills.
StabiliTrak
®will not engage in this mode. See
StabiliTrak®System on page 4-9for more information.
{CAUTION:
Shifting the transfer case to NEUTRAL can
cause your vehicle to roll even if the
transmission is in PARK (P). You or someone
else could be seriously injured. Be sure to set
the parking brake before placing the transfer
case in NEUTRAL. SeeParking Brake on
page 2-40.
NEUTRAL (N):Shift the vehicle’s transfer case to
NEUTRAL only when towing your vehicle. See
Recreational Vehicle Towing on page 4-57orTowing
Your Vehicle on page 4-56for more information.
2-36
Page 114 of 532

Shifting Out of Four-Wheel Low
To shift from Four-Wheel Low to Four-Wheel High,
AUTO 4WD or Two-Wheel High, your vehicle must be
stopped or moving less than 3 mph (5 km/h) with
the transmission in NEUTRAL (N) and the ignition in
RUN. The preferred method for shifting out of
Four-Wheel Low is to have your vehicle moving
1 to 2 mph (1.6 to 3.2 km/h). Press and release the
Four-Wheel High, AUTO 4WD or Two-Wheel High
button. You must wait for the Four-Wheel High, AUTO
4WD or Two-Wheel High indicator light to stop
�ashing and remain on before shifting your transmission
into gear.
Notice:Shifting the transmission into gear before
the Four-Wheel Low indicator light has stopped
�ashing could damage the transfer case. To
help avoid damaging your vehicle, always wait for
the Four-Wheel Low indicator light to stop �ashing
before shifting the transmission into gear.
It is typical for your vehicle to exhibit signi�cant
engagement noise and bump when shifting between
Four-Wheel Low and Four-Wheel High ranges or from
NEUTRAL with the engine running.If the Four-Wheel High, AUTO 4WD or Two-Wheel High
switch is pressed when your vehicle is in gear and/or
moving, the Four-Wheel High, AUTO 4WD or
Two-Wheel High indicator light will �ash for 30 seconds
but will not complete the shift unless your vehicle is
moving less than 3 mph (5 km/h) and the transmission
is in NEUTRAL (N).
Shifting into NEUTRAL
To shift the transfer case to NEUTRAL do the following:
1. Make sure the vehicle is parked so that it will not roll.
2. Set the parking brake. SeeParking Brake on
page 2-40for more information.
3. Start the vehicle or turn the ignition to RUN.
4. Put the transmission in NEUTRAL (N).
5. Shift the transfer case to Two-Wheel High.
6. Simultaneously press and hold the Two-Wheel High
and Four-Wheel Low buttons for 10 seconds. The
NEUTRAL light will come on when the transfer case
shift to NEUTRAL is complete.
2-38
Page 115 of 532

7. If the engine is running, verify that the transmission
is in NEUTRAL (N) by shifting the transmission to
REVERSE (R) for one second, then shift the
transmission to DRIVE (D) for one second.
8. Turn the ignition to ACCESSORY, which will turn
the engine off.
9. Place the transmission shift lever in PARK (P).
10. Turn the ignition to LOCK.
Shifting Out of NEUTRAL
To shift out of NEUTRAL do the following:
1. Set the parking brake and apply the regular brake
pedal.
2. Shift the transmission to NEUTRAL (N) and turn the
ignition to RUN with the engine off.
3. Press the button for the desired transfer case shift
position (Two-Wheel High, Four-Wheel High, AUTO
4WD, or Four-Wheel Low).
After the transfer case has shifted out of NEUTRAL
the NEUTRAL light will go out.
4. Release the parking brake.Notice:Shifting the transmission into gear before
the Four-Wheel Low indicator light has stopped
�ashing could damage the transfer case. To
help avoid damaging your vehicle, always wait for
the Four-Wheel Low indicator light to stop �ashing
before shifting the transmission into gear.
5. Start the engine and shift the transmission to the
desired position.
Excessively shifting the transfer case into or out of the
different modes may cause the transfer case to
enter the shift protection mode. This will protect the
transfer case from possible damage and will only allow
the transfer case to respond to one shift per
10 seconds. The transfer case may stay in this mode for
up to three minutes.
2-39
Page 116 of 532
Parking Brake
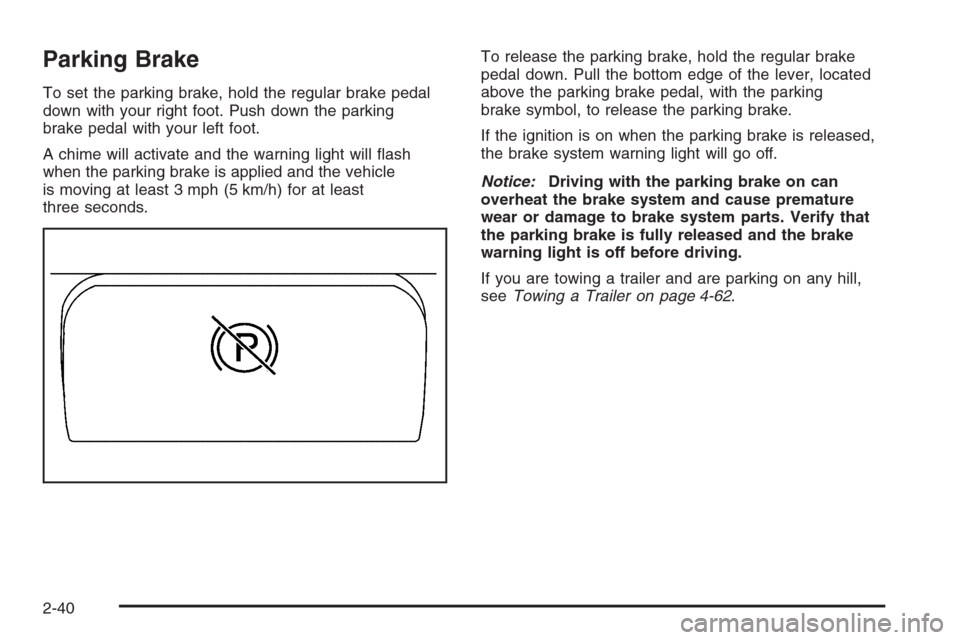
To set the parking brake, hold the regular brake pedal
down with your right foot. Push down the parking
brake pedal with your left foot.
A chime will activate and the warning light will �ash
when the parking brake is applied and the vehicle
is moving at least 3 mph (5 km/h) for at least
three seconds.To release the parking brake, hold the regular brake
pedal down. Pull the bottom edge of the lever, located
above the parking brake pedal, with the parking
brake symbol, to release the parking brake.
If the ignition is on when the parking brake is released,
the brake system warning light will go off.
Notice:Driving with the parking brake on can
overheat the brake system and cause premature
wear or damage to brake system parts. Verify that
the parking brake is fully released and the brake
warning light is off before driving.
If you are towing a trailer and are parking on any hill,
seeTowing a Trailer on page 4-62.
2-40
Page 117 of 532
Shifting Into Park (P)
{CAUTION:
It can be dangerous to get out of your vehicle
if the shift lever is not fully in PARK (P) with
the parking brake �rmly set. Your vehicle can
roll. If you have left the engine running, the
vehicle can move suddenly. You or others
could be injured. To be sure your vehicle will
not move, even when you are on fairly level
ground, use the steps that follow. With
four-wheel drive, if your transfer case is in
NEUTRAL, your vehicle will be free to roll,
even if your shift lever is in PARK (P). So, be
sure the transfer case is in a drive gear — not
in NEUTRAL. If you are pulling a trailer, see
Towing a Trailer on page 4-62.
1. Hold the brake pedal down with your right foot and
set the parking brake.
2. Move the shift lever into the PARK (P) position by
pulling the shift lever toward you and moving it up
as far as it will go.3. Be sure the transfer case is in a drive gear — not
in NEUTRAL (N).
4. Turn the ignition key to LOCK.
5. Remove the key and take it with you. If you can
leave your vehicle with the ignition key in your
hand, your vehicle is in PARK (P).
2-41
Page 118 of 532
Leaving Your Vehicle With the Engine
Running
{CAUTION:
It can be dangerous to leave your vehicle with
the engine running. Your vehicle could move
suddenly if the shift lever is not fully in PARK
(P) with the parking brake �rmly set.
If you have four-wheel drive and your transfer
case is in NEUTRAL, your vehicle will be free
to roll, even if your shift lever is in PARK (P).
So be sure the transfer case is in a drive
gear — not in NEUTRAL.
And, if you leave the vehicle with the engine
running, it could overheat and even catch �re.
You or others could be injured. Do not leave
your vehicle with the engine running unless
you have to.If you have to leave your vehicle with the engine
running, be sure your vehicle is in PARK (P) and the
parking brake is �rmly set before you leave it. After you
move the shift lever into PARK (P), hold the regular
brake pedal down. Then, see if you can move the shift
lever away from PARK (P) without �rst pulling it
toward you. If you can, it means that the shift lever was
not fully locked into PARK (P).
Torque Lock
If you are parking on a hill and you do not shift your
transmission into PARK (P) properly, the weight of the
vehicle may put too much force on the parking pawl
in the transmission. You may �nd it difficult to pull the
shift lever out of PARK (P). This is called torque lock. To
prevent torque lock, set the parking brake and then
shift into PARK (P) properly before you leave the driver’s
seat. To �nd out how, seeShifting Into Park (P) on
page 2-41.
When you are ready to drive, move the shift lever out of
PARK (P) before you release the parking brake.
If torque lock does occur, you may need to have another
vehicle push yours a little uphill to take some of the
pressure from the parking pawl in the transmission, then
you will be able to pull the shift lever out of PARK (P).
2-42