2006 BMW Z4 ROADSTER steering
[x] Cancel search: steeringPage 46 of 128
Driving
44
Cleaning windshield
The system sprays washer fluid against the
windshield and activates the wipers for a brief
period.
The windshield washer nozzles are automati-
cally heated
* when the engine is running or the
ignition is on.
Cleaning headlamps*
When the vehicle lighting system is switched
on, the headlamps are cleaned at regular and
appropriate intervals.
Washer fluid
Washer fluid antifreeze is flammable. For
this reason, keep it away from sources of
flame and store it only in its original container.
Store it so that it is inaccessible to children.
Comply with the instructions on the con-
tainer.<
Washer fluid reservoir
Fill with water and, if required, with antifreeze
according to its manufacturer's recommenda-
tions.
Mix the water and antifreeze before filling
the washer fluid reservoir to make sure
the correct concentration is maintained.<
Capacity
Approx. 5.3 US quarts/5 liters.
Cruise control*
The concept
Cruise control is available at speeds of at least
approx. 20 mph/30 km/h. The car stores and
maintains the speed that you specify with the
lever on the steering column.
Do not use cruise control if conditions are
unfavorable for driving at a constant
speed, e.g. due to winding roads, dense traffic,
or poor road conditions such as snow, rain, ice,
loose surface, etc. Otherwise, you could lose
control of the vehicle and cause an accident.<
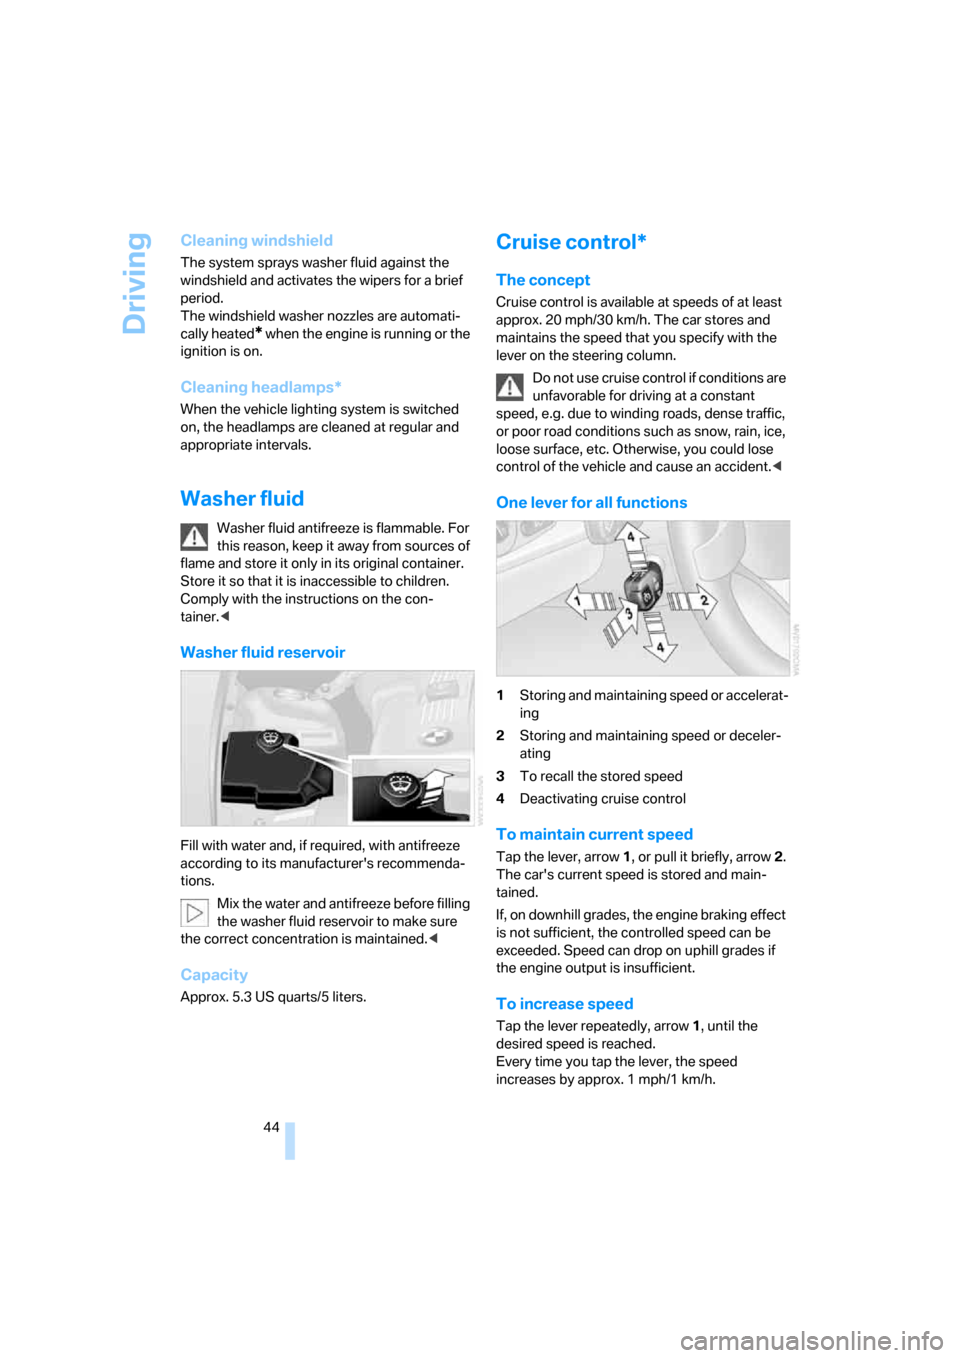
One lever for all functions
1Storing and maintaining speed or accelerat-
ing
2Storing and maintaining speed or deceler-
ating
3To recall the stored speed
4Deactivating cruise control
To maintain current speed
Tap the lever, arrow 1, or pull it briefly, arrow 2.
The car's current speed is stored and main-
tained.
If, on downhill grades, the engine braking effect
is not sufficient, the controlled speed can be
exceeded. Speed can drop on uphill grades if
the engine output is insufficient.
To increase speed
Tap the lever repeatedly, arrow 1, until the
desired speed is reached.
Every time you tap the lever, the speed
increases by approx. 1 mph/1 km/h.
Page 51 of 128
Reference
At a glance
Controls
Driving tips
Mobility
49
Technology for driving comfort and safety
Driving stability control
systems
Your BMW is equipped with a series of systems
that help maintain driving stability even in
adverse driving situations.
Antilock Brake System ABS
ABS keeps the wheels from locking during
braking. Steering stability is maintained even
during full brake applications. In this way, active
safety is enhanced.
ABS is operational each time the engine is
started. Braking safely, refer to page71.
Electronic brake-force distribution
The system controls brake-force application at
the rear wheels in order to obtain increased sta-
bility in the vehicle's braking response.
Dynamic Brake Control DBC
When you apply the brakes rapidly, this system
automatically produces the maximum braking
force boost and thus helps to achieve the short-
est possible braking distance during full brak-
ing. At the same time, the benefits of the ABS
are also exploited.
As long as you want full braking to continue, do
not reduce pressure on the brake.
Dynamic Stability Control DSC
DSC prevents slip at the drive wheels while
starting off and accelerating the vehicle. DSC
also recognizes unstable vehicle conditions,
such as fishtailing or nose-diving. In these
cases, and subject to physical limits, DSC helps
to keep the vehicle on a steady course by
reducing engine speed and by applying brakes
at individual wheels.
The laws of physics cannot be repealed
even with DSC. It will always be the
driver's responsibility to drive in a manner that
matches road conditions. Therefore, do not limit the additional safety margin by practicing
risky driving.<
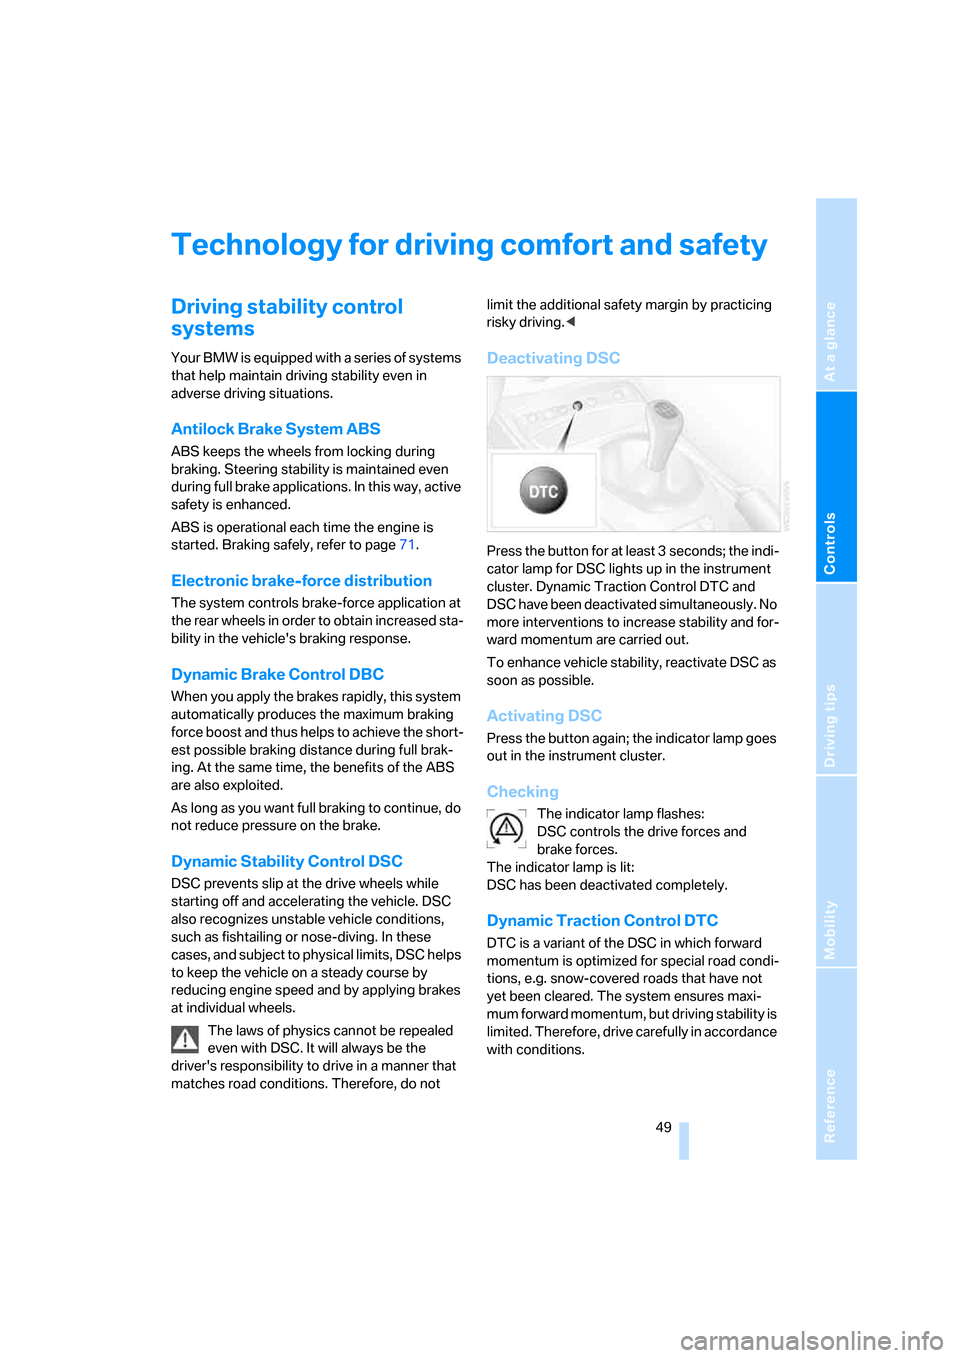
Deactivating DSC
Press the button for at least 3 seconds; the indi-
cator lamp for DSC lights up in the instrument
cluster. Dynamic Traction Control DTC and
DSC have been deactivated simultaneously. No
more interventions to increase stability and for-
ward momentum are carried out.
To enhance vehicle stability, reactivate DSC as
soon as possible.
Activating DSC
Press the button again; the indicator lamp goes
out in the instrument cluster.
Checking
The indicator lamp flashes:
DSC controls the drive forces and
brake forces.
The indicator lamp is lit:
DSC has been deactivated completely.
Dynamic Traction Control DTC
DTC is a variant of the DSC in which forward
momentum is optimized for special road condi-
tions, e.g. snow-covered roads that have not
yet been cleared. The system ensures maxi-
mum forward momentum, but driving stability is
limited. Therefore, drive carefully in accordance
with conditions.
Page 53 of 128
Reference
At a glance
Controls
Driving tips
Mobility
51
Malfunction
The warning lamp for the brake system
lights up in yellow. The drive-off assis-
tant has failed. The car will not be held
in place after the brake is released. Have the
system checked as soon as possible.
Flat Tire Monitor FTM
The concept
The Flat Tire Monitor monitors tire pressures
while the car is being driven. The system
reports any significant loss of pressure in one
tire in relation to another.
In the event of tire pressure loss, the rolling
radius of the tire changes, thereby affecting the
rotational speed of the wheels. This change is
detected, and a flat tire warning is issued to the
driver.
System requirements
To ensure a reliable flat tire warning, the system
must be initialized with the correct tire inflation
pressures.
The system must be reinitialized each
time a tire inflation pressure has been cor-
rected or a wheel or tire has been changed.<
System limitations
The Flat Tire Monitor is unable to warn
the driver of sudden, severe tire damage
caused by external factors, nor can it identify
the gradual loss of pressure that will inevitably
occur in all four tires over a lengthy period of
time.<
The system could issue a false warning or func-
tion in a delayed manner in the following situa-
tions:
>System was not initialized
>Driving on a snow-covered or slippery road
surface
>Performance-oriented driving: slip at the
drive wheels, high levels of lateral accelera-
tion
>Driving with snow chains attached
Initializing the system
The initialization is completed while you
are driving, and can be interrupted at any
time. Initialization is continued automatically
when you continue driving.
When driving with snow chains, do not initialize
the system.<
1.Start the engine immediately before pulling
away, but do not drive off yet.
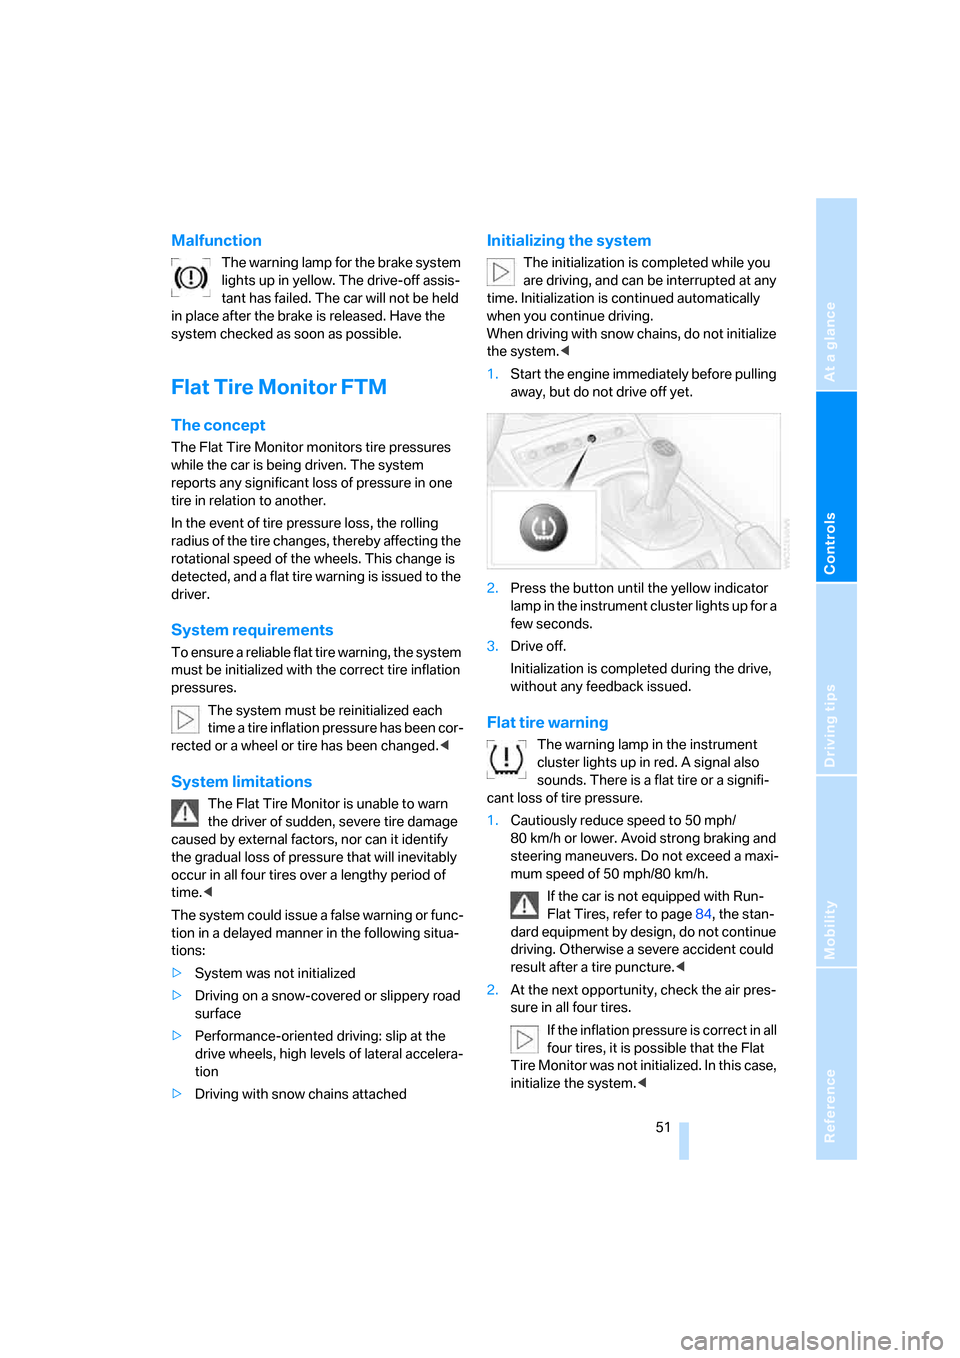
2.Press the button until the yellow indicator
lamp in the instrument cluster lights up for a
few seconds.
3.Drive off.
Initialization is completed during the drive,
without any feedback issued.
Flat tire warning
The warning lamp in the instrument
cluster lights up in red. A signal also
sounds. There is a flat tire or a signifi-
cant loss of tire pressure.
1.Cautiously reduce speed to 50 mph/
80 km/h or lower. Avoid strong braking and
steering maneuvers. Do not exceed a maxi-
mum speed of 50 mph/80 km/h.
If the car is not equipped with Run-
Flat Tires, refer to page84, the stan-
dard equipment by design, do not continue
driving. Otherwise a severe accident could
result after a tire puncture.<
2.At the next opportunity, check the air pres-
sure in all four tires.
If the inflation pressure is correct in all
four tires, it is possible that the Flat
Tire Monitor was not initialized. In this case,
initialize the system.<
Page 54 of 128
Technology for driving comfort and safety
52 3.In the event of complete tire pressure loss,
0 psi/0 kilopascal, you can estimate the
possible distance for continued driving on
the basis of the following guidelines:
>With a light load:
1 person without luggage:
approx. 155 miles/250 km
>With a medium load:
1 person, cargo bay full,
or
2 persons without luggage:
approx. 90 miles/150 km
>With a full load:
2 persons, cargo bay full:
approx.30miles/50km.
Drive cautiously. Do not exceed a speed
of 50 mph/80 km/h. Driving characteris-
tics change if there is a loss of tire pressure.
This includes reduced tracking stability in brak-
ing, extended braking distance and altered nat-
ural steering characteristics.
If unusual vibration or loud noises occur during
the journey, this may be an indication that the
damaged tire has finally failed. Reduce your
speed and pull over to the side of the road at the
earliest opportunity. Otherwise, parts of the tire
could come loose and cause an accident. Do
not continue driving. Contact a BMW Center.<
Electric Power Steering EPS
The concept
The electric power steering is a direct, sporting
steering system. A special combination of elec-
tric motor and transmission helps you steer
more easily. As your speed increases, steering
power assistance is reduced.
Malfunction
The indicator lamp stays lit:
The system is malfunctioning or defec-
tive.
Steering remains operational.
Have the system checked as soon as possible.
Brake Force Display
The brake lamps light up in two stages,
depending on how sharply you apply the
brakes.
>Normal braking:
The brake lamps and the center brake lamp
light up.
>Sharp braking:
A larger portion of the brake lamps lights up.
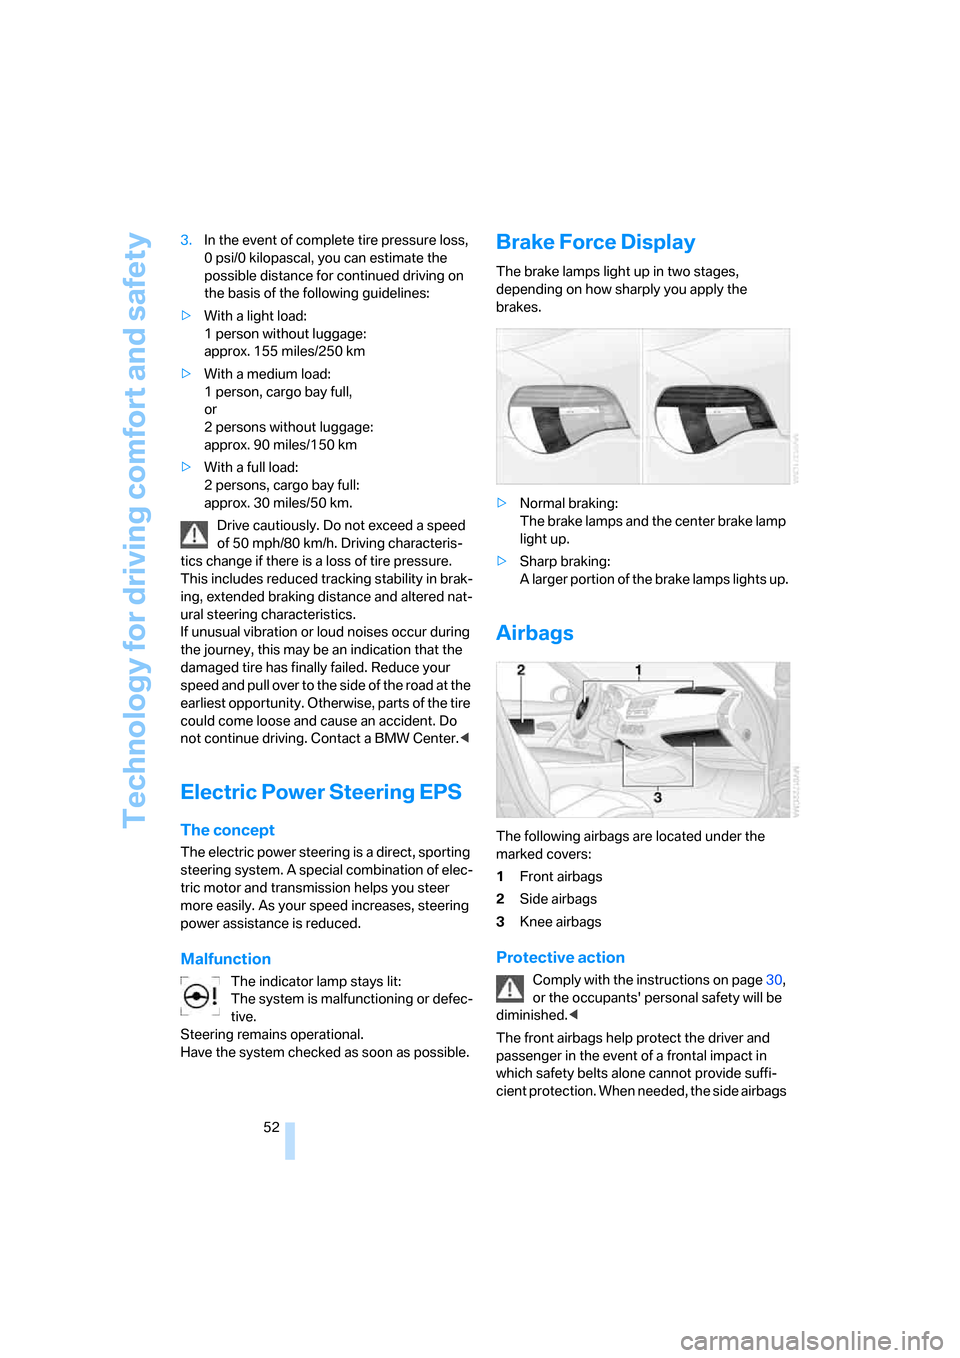
Airbags
The following airbags are located under the
marked covers:
1Front airbags
2Side airbags
3Knee airbags
Protective action
Comply with the instructions on page30,
or the occupants' personal safety will be
diminished.<
The front airbags help protect the driver and
passenger in the event of a frontal impact in
which safety belts alone cannot provide suffi-
cient protection. When needed, the side airbags
Page 55 of 128
Reference
At a glance
Controls
Driving tips
Mobility
53
help provide protection in the event of side
impact. The relevant side airbag supports the
side upper body area. The respective knee air-
bag protects the legs from hitting the cockpit.
The airbags will purposely not be activated by
every collision, e.g. not by more minor acci-
dents, or rear-end collisions.
Do not apply adhesive materials to the
cover panels of the airbags, cover them or
modify them in any other way. Do not attempt to
dismantle the airbag retention system. Do not
modify the individual components of the sys-
tem or its wiring in any way. This includes the
padding in the steering wheel, the dashboard
and the doors.
Do not attempt to remove or dismantle the
steering wheel. Do not touch the individual
components immediately after the system has
been triggered, because there is a danger of
burns.
In the event of malfunctions, deactivation, or
triggering of the airbag restraint system, have
the testing, repair, removal, and disposal of air-
bag generators executed only by a BMW Cen-
ter or a workshop that works according to BMW
repair procedures with correspondingly trained
personnel and has the required explosives
licenses. Unprofessional attempts to service
the system could lead to failure in an emer-
gency or undesired airbag activation, either of
which could result in personal injury.<
Warning notices and information about the air-
bags can also be found on the sun visors.
Automatic deactivation of the
passenger airbags
An analysis of the impression in the passenger
seat cushion determines whether and how the
seat is occupied. The front and side airbags for
the passenger are activated or deactivated by
the system accordingly.
The indicator lamp in the center console
shows the current status of the passen-
ger airbags, deactivated or activated, refer to
Status of passenger airbags below.<
Before transporting a child on the pas-
senger seat, observe the safety and han-dling instructions under Transporting children
safely, refer to page35.
Adolescents and adults sitting in certain posi-
tions could inadvertently deactivate the front
and side airbags on the passenger side; the
indicator lamp for the passenger airbags comes
on. In such cases, the passenger should change
his or her sitting position so that the passenger
airbags are activated and the indicator lamp
goes out. If the passenger airbags cannot be
restored to the desired status despite the pas-
senger changing his or her seat position, use
the key switch to activate or deactivate the pas-
senger airbags, refer to page35. Do not attach
seat covers, seat cushion padding, ball mats or
other items to the passenger seat unless they
are specifically recommended by BMW. Do not
place any items under the seat which could
press against the seat from below. Otherwise a
correct analysis of the seat cushion is not
ensured.<
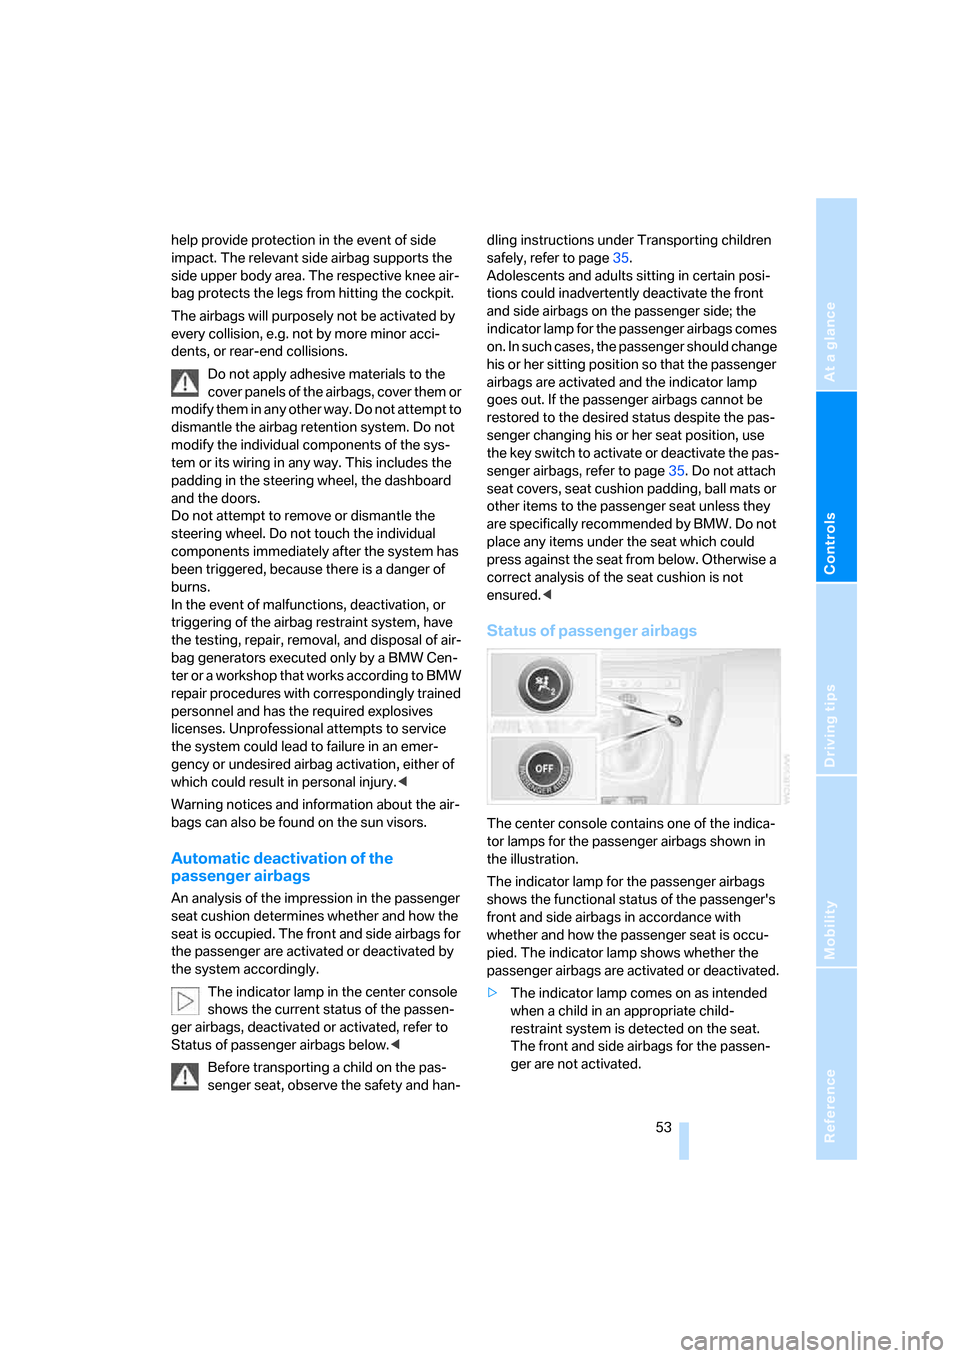
Status of passenger airbags
The center console contains one of the indica-
tor lamps for the passenger airbags shown in
the illustration.
The indicator lamp for the passenger airbags
shows the functional status of the passenger's
front and side airbags in accordance with
whether and how the passenger seat is occu-
pied. The indicator lamp shows whether the
passenger airbags are activated or deactivated.
>The indicator lamp comes on as intended
when a child in an appropriate child-
restraint system is detected on the seat.
The front and side airbags for the passen-
ger are not activated.
Page 69 of 128
Reference
At a glance
Controls
Driving tips
Mobility
67
Make sure that the wind deflector cannot
be damaged by objects in the cargo
bay.<
Connecting electrical
appliances
In your BMW, you can use electrical devices
such as a flashlight, car vacuum cleaner or a
similar appliance up to approx. 200 watts at
12 volts.
Do not damage the socket by inserting plugs of
a different shape or size.
Cigarette lighter socket
Pull the cigarette lighter out of the socket.
Mobile phone preparation
package*
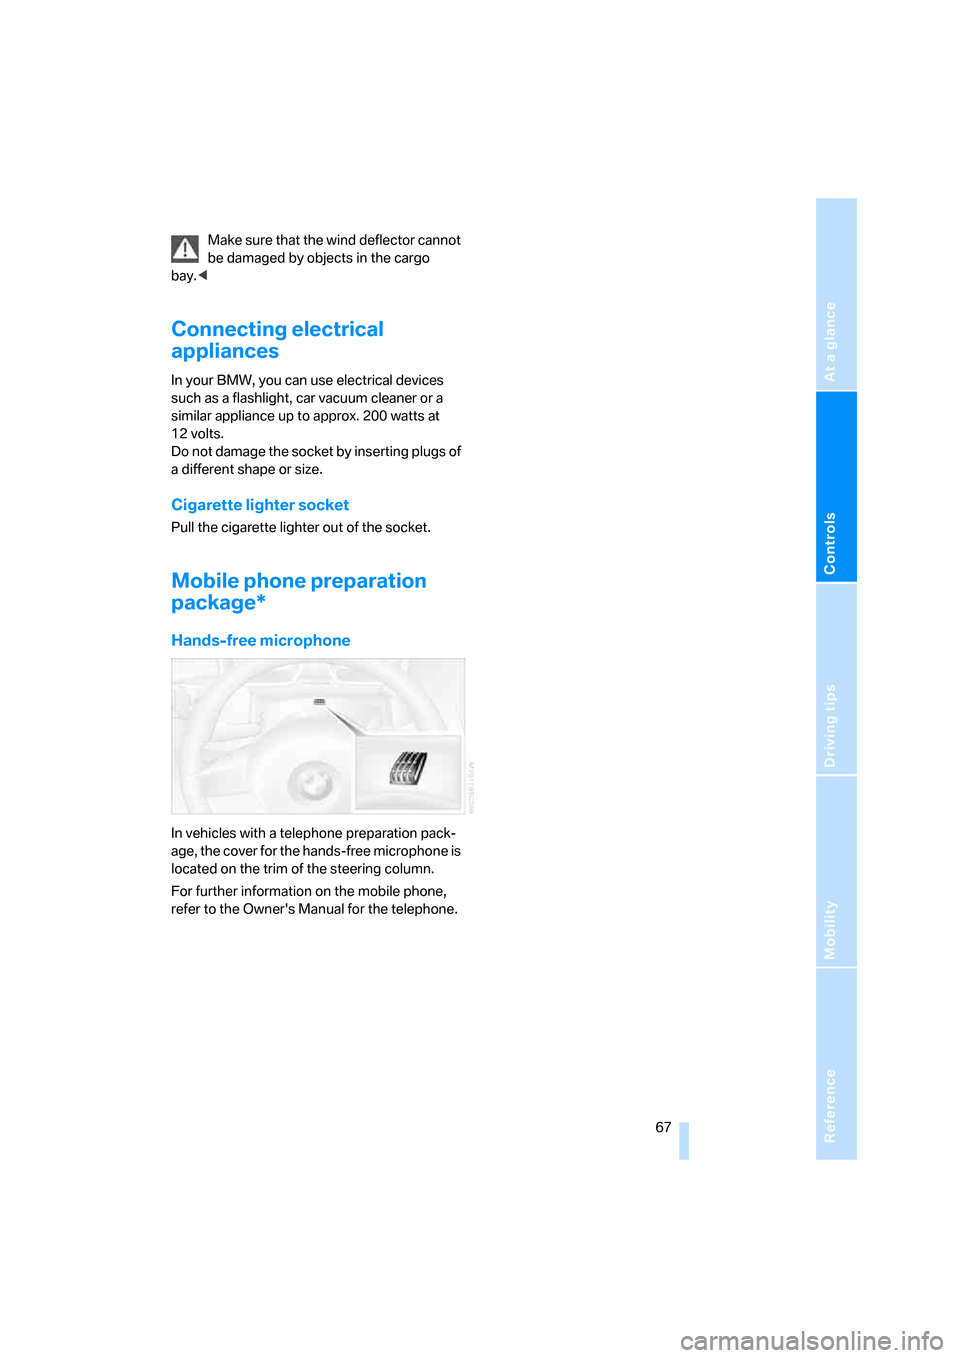
Hands-free microphone
In vehicles with a telephone preparation pack-
age, the cover for the hands-free microphone is
located on the trim of the steering column.
For further information on the mobile phone,
refer to the Owner's Manual for the telephone.
Page 73 of 128
Reference
At a glance
Controls
Driving tips
Mobility
71
cannot be ruled out that vehicle electronics and
the mobile communications device interfere
with one another. In addition, it is not ensured
that the radio waves emitted during transmis-
sion are directed outside of the vehicle inte-
rior.<
Interior and exterior mirrors with
automatic dimming feature*
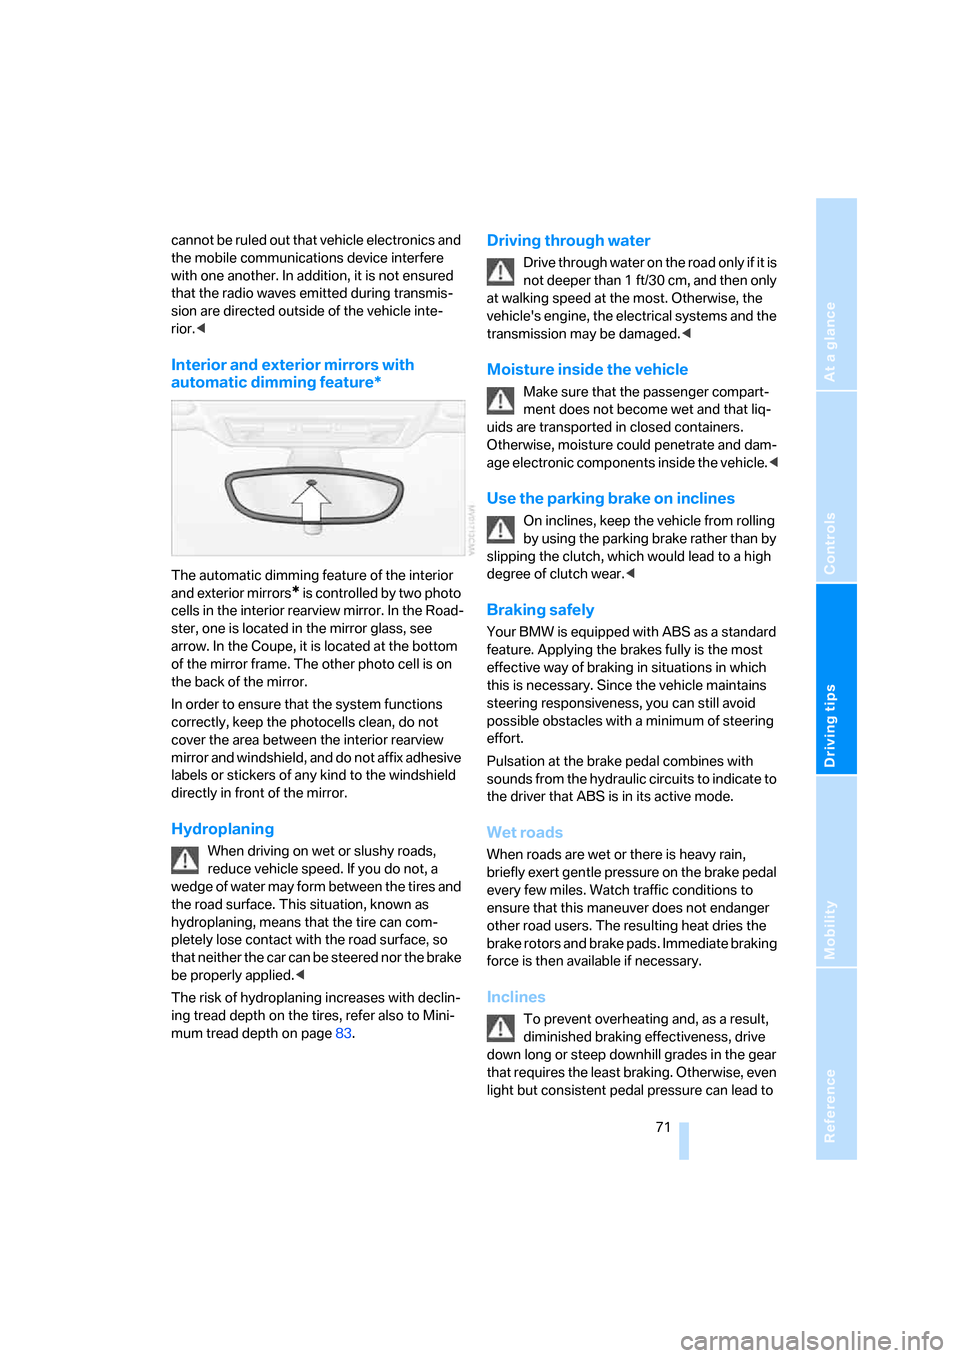
The automatic dimming feature of the interior
and exterior mirrors
* is controlled by two photo
cells in the interior rearview mirror. In the Road-
ster, one is located in the mirror glass, see
arrow. In the Coupe, it is located at the bottom
of the mirror frame. The other photo cell is on
the back of the mirror.
In order to ensure that the system functions
correctly, keep the photocells clean, do not
cover the area between the interior rearview
mirror and windshield, and do not affix adhesive
labels or stickers of any kind to the windshield
directly in front of the mirror.
Hydroplaning
When driving on wet or slushy roads,
reduce vehicle speed. If you do not, a
wedge of water may form between the tires and
the road surface. This situation, known as
hydroplaning, means that the tire can com-
pletely lose contact with the road surface, so
that neither the car can be steered nor the brake
be properly applied.<
The risk of hydroplaning increases with declin-
ing tread depth on the tires, refer also to Mini-
mum tread depth on page83.
Driving through water
Drive through water on the road only if it is
not deeper than 1 ft/30 cm, and then only
at walking speed at the most. Otherwise, the
vehicle's engine, the electrical systems and the
transmission may be damaged.<
Moisture inside the vehicle
Make sure that the passenger compart-
ment does not become wet and that liq-
uids are transported in closed containers.
Otherwise, moisture could penetrate and dam-
age electronic components inside the vehicle.<
Use the parking brake on inclines
On inclines, keep the vehicle from rolling
by using the parking brake rather than by
slipping the clutch, which would lead to a high
degree of clutch wear.<
Braking safely
Your BMW is equipped with ABS as a standard
feature. Applying the brakes fully is the most
effective way of braking in situations in which
this is necessary. Since the vehicle maintains
steering responsiveness, you can still avoid
possible obstacles with a minimum of steering
effort.
Pulsation at the brake pedal combines with
sounds from the hydraulic circuits to indicate to
the driver that ABS is in its active mode.
Wet roads
When roads are wet or there is heavy rain,
briefly exert gentle pressure on the brake pedal
every few miles. Watch traffic conditions to
ensure that this maneuver does not endanger
other road users. The resulting heat dries the
brake rotors and brake pads. Immediate braking
force is then available if necessary.
Inclines
To prevent overheating and, as a result,
diminished braking effectiveness, drive
down long or steep downhill grades in the gear
that requires the least braking. Otherwise, even
light but consistent pedal pressure can lead to
Page 74 of 128
Special operating instructions
72 high temperatures, brake wear and possibly
even brake failure.<
You can increase the engine's braking effect by
shifting down, all the way to first gear if neces-
sary. This strategy helps you avoid placing
excessive loads on the brake system. Down-
shifting in manual mode of the automatic trans-
mission, refer to page41.
Never drive with the clutch held down,
with the transmission in idle or with the
engine switched off; otherwise, engine braking
action will not be present or there will be no
power assistance to the brakes or steering.
Never allow floor mats, carpets or any other
objects to protrude into the area around the
pedals, otherwise pedal function could be
impaired.<
Corrosion on the brake rotors
Limited vehicle use, extended periods with the
vehicle parked or in storage, and operating con-
ditions in which braking is restricted to gentle,
low-pressure applications will all increase the
tendency for corrosion to form on the rotors and
contamination to accumulate on the brake
pads. This occurs because the minimal pres-
sure which must be exerted by the pads to
clean the rotors by brake applications is not
reached.
If the brake rotors are corroded, they will tend to
respond to braking with a pulsating effect which
even extended application will fail to cure.
When the vehicle is parked
Condensation forms while the air conditioning
or automatic climate control is in operation, and
then exits under the vehicle. Traces of con-
densed water on the ground underneath the
vehicle are thus normal.
Before driving into a car wash
For general information about taking care of
your BMW, refer to the Caring for your vehicle
brochure.
Cargo loading
Avoid overloading the vehicle so that the
permissible carrying capacity of the tires
is not exceeded. Otherwise, overheating and
inner damage to the tires may result. The ulti-
mate result can assume the form of a sudden air
loss.<
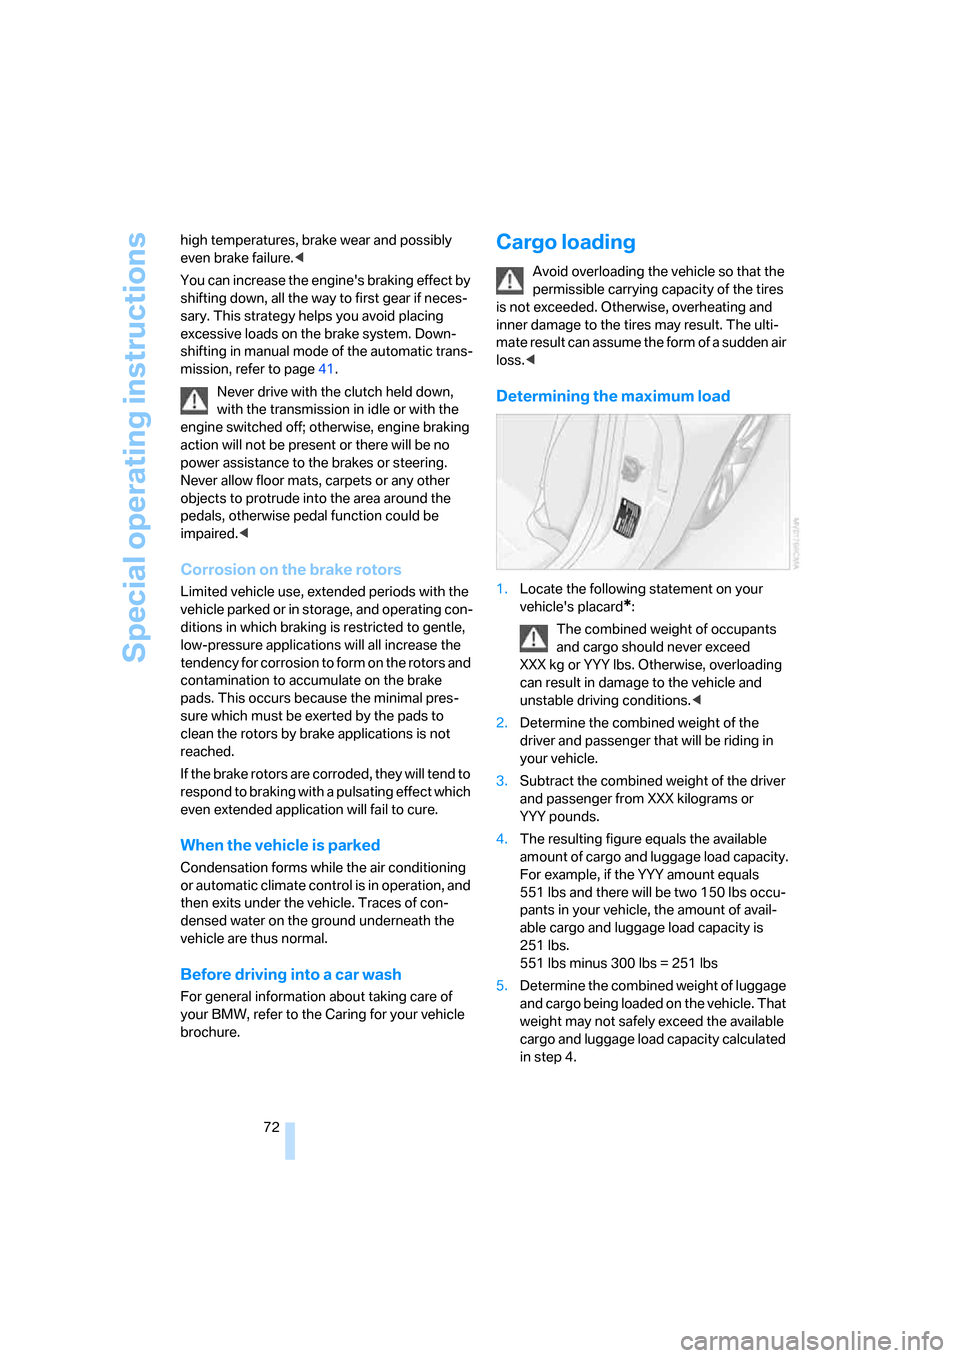
Determining the maximum load
1.Locate the following statement on your
vehicle's placard
*:
The combined weight of occupants
and cargo should never exceed
XXX kg or YYY lbs. Otherwise, overloading
can result in damage to the vehicle and
unstable driving conditions.<
2.Determine the combined weight of the
driver and passenger that will be riding in
your vehicle.
3.Subtract the combined weight of the driver
and passenger from XXX kilograms or
YYY pounds.
4.The resulting figure equals the available
amount of cargo and luggage load capacity.
For example, if the YYY amount equals
551 lbs and there will be two 150 lbs occu-
pants in your vehicle, the amount of avail-
able cargo and luggage load capacity is
251 lbs.
551 lbs minus 300 lbs = 251 lbs
5.Determine the combined weight of luggage
and cargo being loaded on the vehicle. That
weight may not safely exceed the available
cargo and luggage load capacity calculated
in step 4.