2006 BMW Z4 3.0SI ROADSTER interior lights
[x] Cancel search: interior lightsPage 27 of 128
Reference
At a glance
Controls
Driving tips
Mobility
25
Switching off tilt alarm sensor and
interior motion sensor
>Press the button on the remote
control twice in a row.
The indicator lamp lights up briefly and then
flashes continuously. The tilt alarm sensor and
the interior motion sensor are deactivated until
the vehicle is again unlocked and locked.
Windows
To prevent injuries, exercise care when
closing the windows and keep them in
your field of vision until they are shut.
Take the key with you when you leave the car,
otherwise children could operate the windows
and possibly injure themselves.<
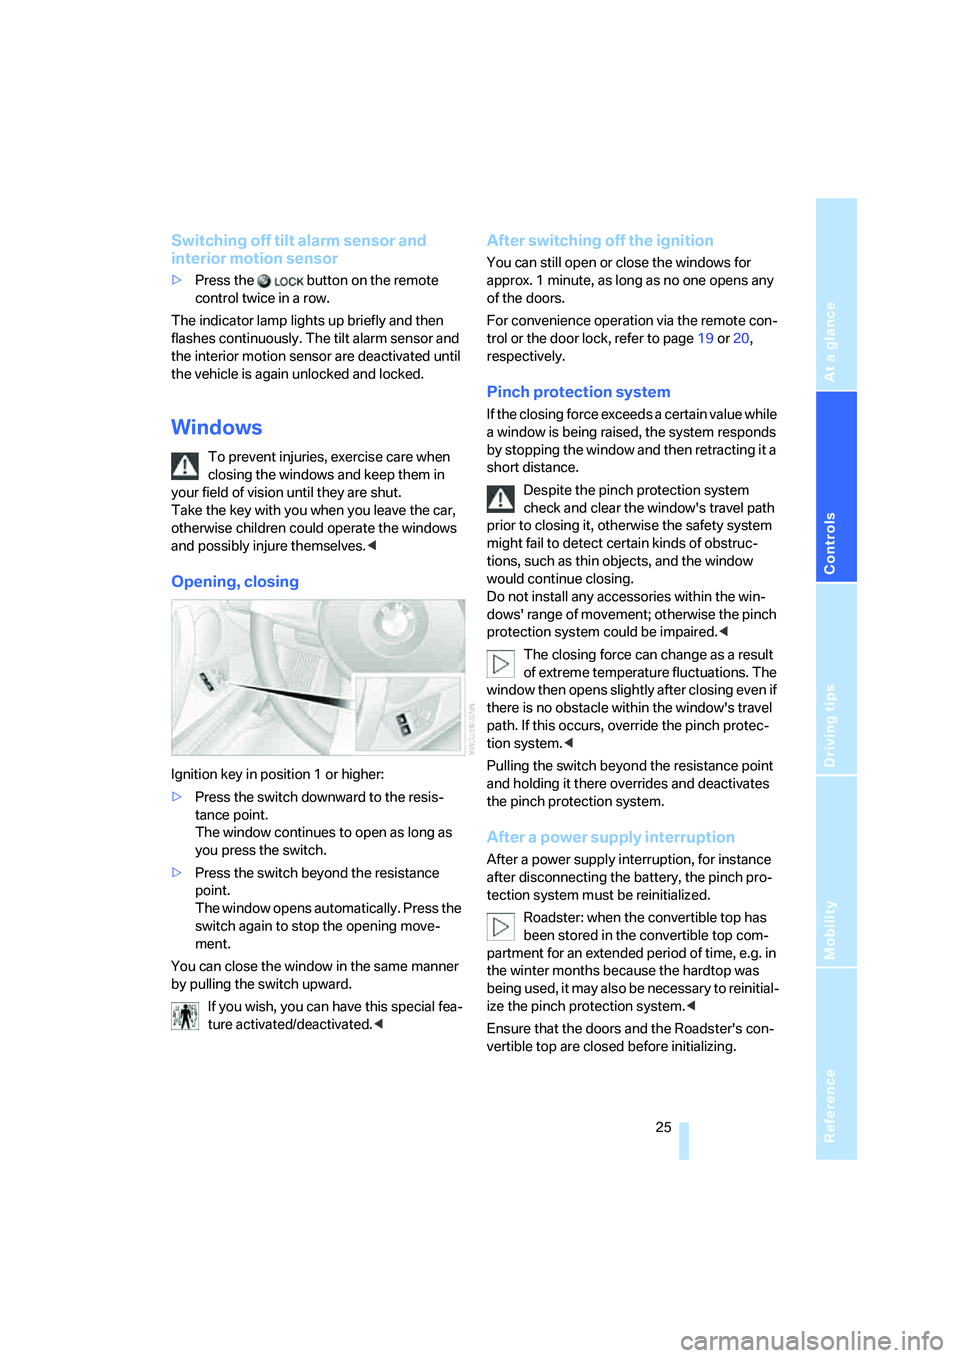
Opening, closing
Ignition key in position 1 or higher:
>Press the switch downward to the resis-
tance point.
The window continues to open as long as
you press the switch.
>Press the switch beyond the resistance
point.
The window opens automatically. Press the
switch again to stop the opening move-
ment.
You can close the window in the same manner
by pulling the switch upward.
If you wish, you can have this special fea-
ture activated/deactivated.<
After switching off the ignition
You can still open or close the windows for
approx. 1 minute, as long as no one opens any
of the doors.
For convenience operation via the remote con-
trol or the door lock, refer to page19 or20,
respectively.
Pinch protection system
If the closing force exceeds a certain value while
a window is being raised, the system responds
by stopping the window and then retracting it a
short distance.
Despite the pinch protection system
check and clear the window's travel path
prior to closing it, otherwise the safety system
might fail to detect certain kinds of obstruc-
tions, such as thin objects, and the window
would continue closing.
Do not install any accessories within the win-
dows' range of movement; otherwise the pinch
protection system could be impaired.<
The closing force can change as a result
of extreme temperature fluctuations. The
window then opens slightly after closing even if
there is no obstacle within the window's travel
path. If this occurs, override the pinch protec-
tion system.<
Pulling the switch beyond the resistance point
and holding it there overrides and deactivates
the pinch protection system.
After a power supply interruption
After a power supply interruption, for instance
after disconnecting the battery, the pinch pro-
tection system must be reinitialized.
Roadster: when the convertible top has
been stored in the convertible top com-
partment for an extended period of time, e.g. in
the winter months because the hardtop was
being used, it may also be necessary to reinitial-
ize the pinch protection system.<
Ensure that the doors and the Roadster's con-
vertible top are closed before initializing.
Page 58 of 128
Lamps
56 You can have daytime running light acti-
vated/deactivated on your vehicle.<
Pathway lighting
If you activate the headlamp flasher after park-
ing the car, with the lights switched off, the low
beams come on and remain on for a certain
time.
You can have this function activated/
deactivated as well as the duration of the
pathway lighting set.<
LIGHTS ON warning
Whenever you open the driver's door after hav-
ing turned the key to position 0, you will hear an
acoustic signal for a few seconds to remind you
that the lamps have not been switched off.
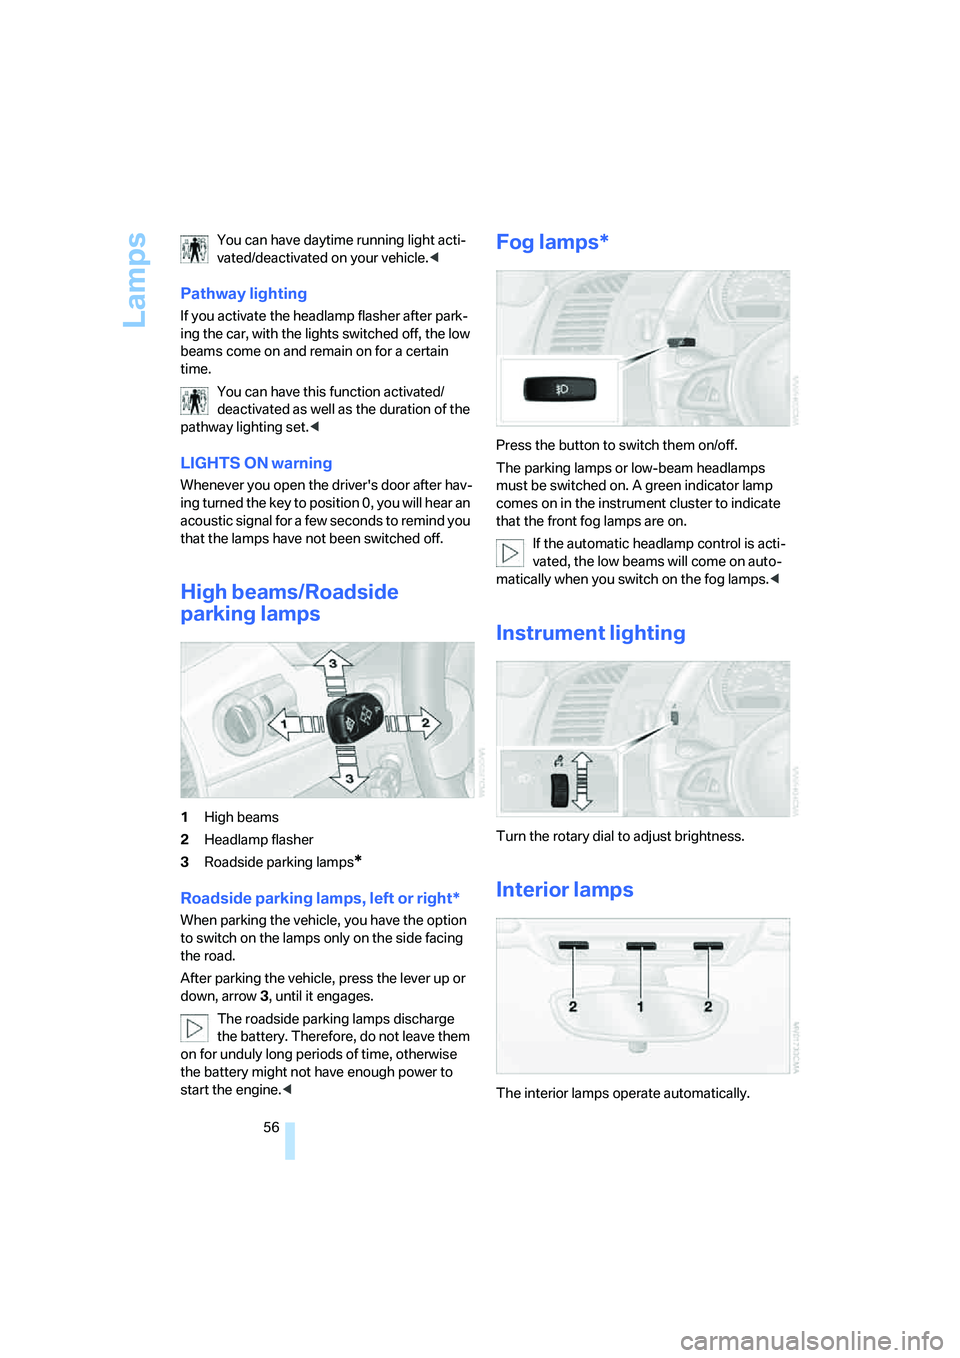
High beams/Roadside
parking lamps
1High beams
2Headlamp flasher
3Roadside parking lamps
*
Roadside parking lamps, left or right*
When parking the vehicle, you have the option
to switch on the lamps only on the side facing
the road.
After parking the vehicle, press the lever up or
down, arrow 3, until it engages.
The roadside parking lamps discharge
the battery. Therefore, do not leave them
on for unduly long periods of time, otherwise
the battery might not have enough power to
start the engine.<
Fog lamps*
Press the button to switch them on/off.
The parking lamps or low-beam headlamps
must be switched on. A green indicator lamp
comes on in the instrument cluster to indicate
that the front fog lamps are on.
If the automatic headlamp control is acti-
vated, the low beams will come on auto-
matically when you switch on the fog lamps.<
Instrument lighting
Turn the rotary dial to adjust brightness.
Interior lamps
The interior lamps operate automatically.
Page 64 of 128
Climate
62
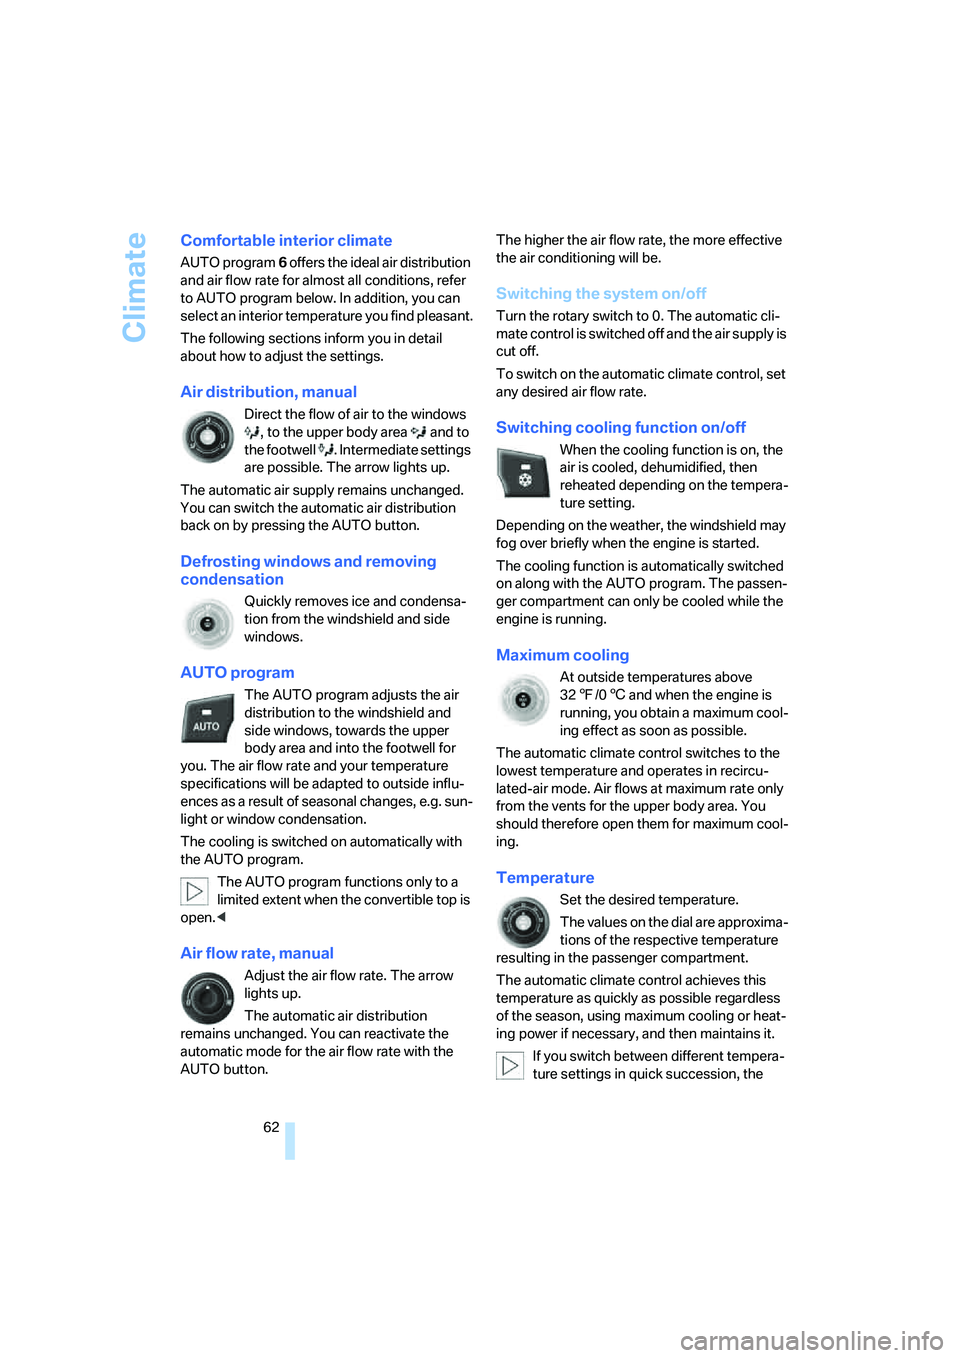
Comfortable interior climate
AUTO program 6 offers the ideal air distribution
and air flow rate for almost all conditions, refer
to AUTO program below. In addition, you can
select an interior temperature you find pleasant.
The following sections inform you in detail
about how to adjust the settings.
Air distribution, manual
Direct the flow of air to the windows
, to the upper body area and to
the footwell . Intermediate settings
are possible. The arrow lights up.
The automatic air supply remains unchanged.
You can switch the automatic air distribution
back on by pressing the AUTO button.
Defrosting windows and removing
condensation
Quickly removes ice and condensa-
tion from the windshield and side
windows.
AUTO program
The AUTO program adjusts the air
distribution to the windshield and
side windows, towards the upper
body area and into the footwell for
you. The air flow rate and your temperature
specifications will be adapted to outside influ-
ences as a result of seasonal changes, e.g. sun-
light or window condensation.
The cooling is switched on automatically with
the AUTO program.
The AUTO program functions only to a
limited extent when the convertible top is
open.<
Air flow rate, manual
Adjust the air flow rate. The arrow
lights up.
The automatic air distribution
remains unchanged. You can reactivate the
automatic mode for the air flow rate with the
AUTO button.The higher the air flow rate, the more effective
the air conditioning will be.
Switching the system on/off
Turn the rotary switch to 0. The automatic cli-
mate control is switched off and the air supply is
cut off.
To switch on the automatic climate control, set
any desired air flow rate.
Switching cooling function on/off
When the cooling function is on, the
air is cooled, dehumidified, then
reheated depending on the tempera-
ture setting.
Depending on the weather, the windshield may
fog over briefly when the engine is started.
The cooling function is automatically switched
on along with the AUTO program. The passen-
ger compartment can only be cooled while the
engine is running.
Maximum cooling
At outside temperatures above
327/06 and when the engine is
running, you obtain a maximum cool-
ing effect as soon as possible.
The automatic climate control switches to the
lowest temperature and operates in recircu-
lated-air mode. Air flows at maximum rate only
from the vents for the upper body area. You
should therefore open them for maximum cool-
ing.
Temperature
Set the desired temperature.
The values on the dial are approxima-
tions of the respective temperature
resulting in the passenger compartment.
The automatic climate control achieves this
temperature as quickly as possible regardless
of the season, using maximum cooling or heat-
ing power if necessary, and then maintains it.
If you switch between different tempera-
ture settings in quick succession, the
Page 80 of 128
Refueling
78
Refueling
Always switch off the engine before refu-
eling. Otherwise the tank cannot be
refilled. The Service Engine Soon warning lamp
will come on.<
Take all precautionary measures and
observe all applicable regulations when
handling fuel. Do not carry any spare fuel con-
tainers in your vehicle. They can develop a leak
and cause an explosion or cause a fire in the
event of an accident.<
Gas cap
Opening
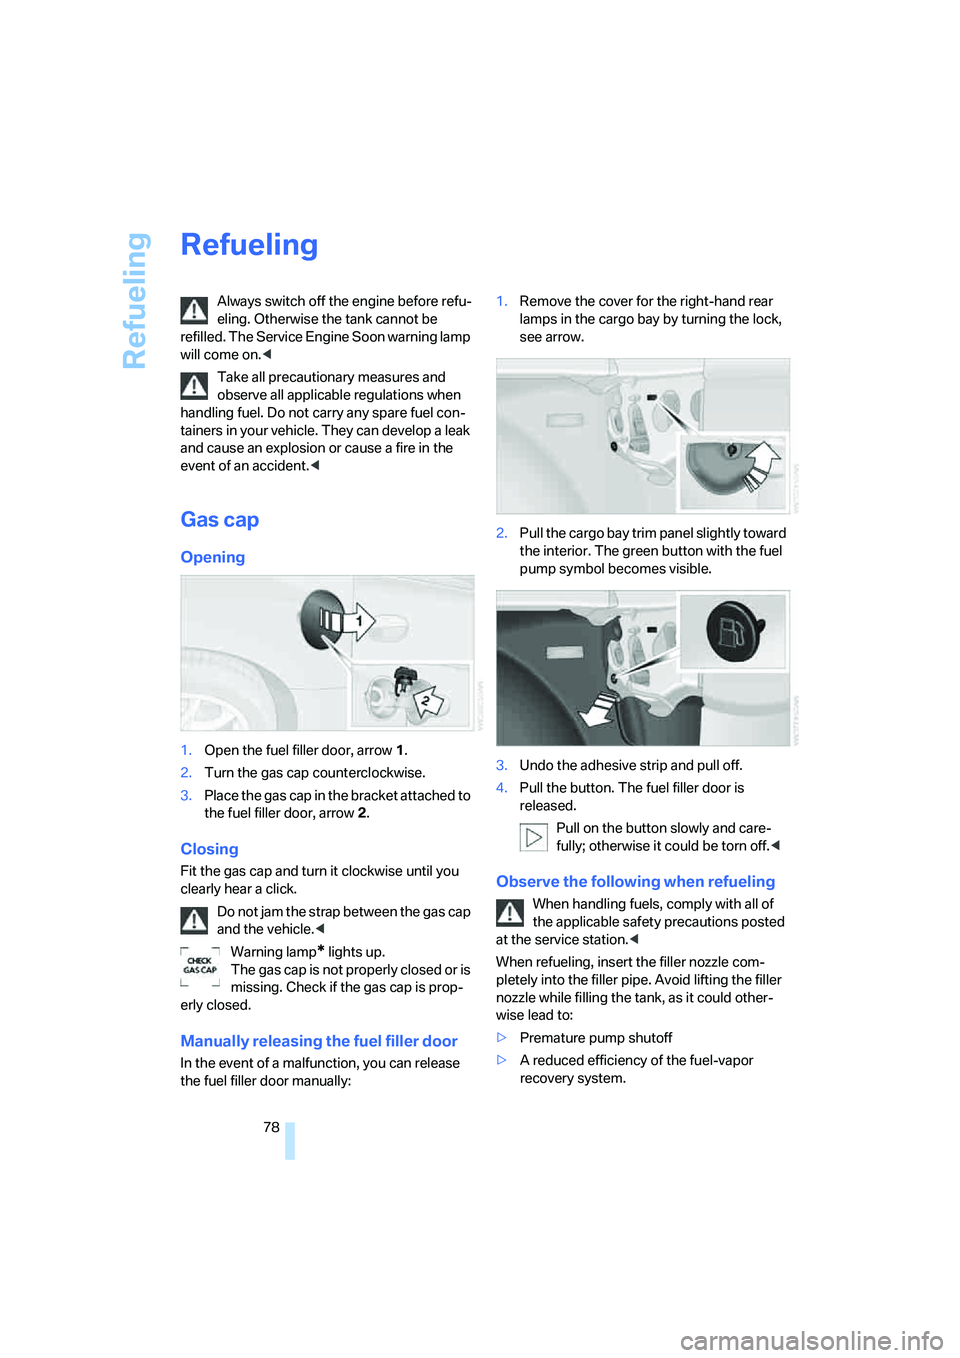
1.Open the fuel filler door, arrow 1.
2.Turn the gas cap counterclockwise.
3.Place the gas cap in the bracket attached to
the fuel filler door, arrow 2.
Closing
Fit the gas cap and turn it clockwise until you
clearly hear a click.
Do not jam the strap between the gas cap
and the vehicle.<
Warning lamp
* lights up.
The gas cap is not properly closed or is
missing. Check if the gas cap is prop-
erly closed.
Manually releasing the fuel filler door
In the event of a malfunction, you can release
the fuel filler door manually:1.Remove the cover for the right-hand rear
lamps in the cargo bay by turning the lock,
see arrow.
2.Pull the cargo bay trim panel slightly toward
the interior. The green button with the fuel
pump symbol becomes visible.
3.Undo the adhesive strip and pull off.
4.Pull the button. The fuel filler door is
released.
Pull on the button slowly and care-
fully; otherwise it could be torn off.<
Observe the following when refueling
When handling fuels, comply with all of
the applicable safety precautions posted
at the service station.<
When refueling, insert the filler nozzle com-
pletely into the filler pipe. Avoid lifting the filler
nozzle while filling the tank, as it could other-
wise lead to:
>Premature pump shutoff
>A reduced efficiency of the fuel-vapor
recovery system.
Page 120 of 128
Everything from A to Z
118 Lighting of the instruments,
refer to Instrument
lighting56
LIGHTS ON warning56
Light switch55
Loads, refer to Cargo
loading72
Loads, securing73
Locking the doors
– from inside21
– from outside19,20
Locking the vehicle
– from inside21
– from outside19
Longlife oils
– approved engine oils89
Low beams55
– automatic55
– bulb replacement94
– indicator lamp, defective
lamp13
Luggage compartment
– capacity109
– floor panel93
– increasing capacity23
– opening and closing21,22
– opening from inside the
vehicle21,22
– opening from the
outside21,22
Luggage compartment lid22
– emergency release23
– indicator lamp13
– opening from inside the
vehicle22
– opening from the outside22
– remote control19
M
M+S tires, refer to Winter
tires85
Maintenance91
– refer to Service Booklet
– refer to Service interval
display47,91
Making telephone calls, refer
to Owner's Manual for
TelephoneMalfunction
– automatic transmission with
Steptronic41
– convertible top28
– door lock20
– fuel filler door78
– luggage compartment lid22
– storage compartments64
– tailgate22
Malfunction of electrical
accessory97
Manual
– air distribution62
– air flow rate62
Manual convertible top26
Manual mode, refer to
Automatic transmission with
Steptronic41
Manual operation
– door lock20
– driver's door20
– fuel filler door78
– luggage compartment lid22
– power convertible top28
– storage compartments64
– tailgate22
– transmission lock, automatic
transmission40
Manual transmission40
Manufacturer5
Master keys with remote
control18
Maximum cooling62
Maximum speed
– with winter tires85
MD operation, refer to
Owner's Manual for Radio/
Onboard Computer
Measurements, refer to
Dimensions107,108
Mechanical seat31
Memory
– Seat memory32
– Vehicle Memory, Key
Memory18
Microfilter
– air conditioning60
– automatic climate control63Microphone, refer to Mobile
phone preparation
package67
Minidisc operation, refer to
Owner's Manual for Radio/
Onboard Computer
Mirrors34
– exterior mirrors
34
– heating34
– interior rearview mirror34
Mobile communications in the
vehicle, refer to the separate
Owner's Manual
Mobile phone, refer to the
separate Owner's Manual
Mobile phone preparation
package67
Mobile phones, use inside the
car, refer to Mobile
communications in the
vehicle70
Modifications, technical, refer
to For your own safety5
M Sports seat31
Multifunctional steering
wheel, refer to Buttons on
the steering wheel11
Multifunction switch
– refer to Turn signal
indicators/headlamp
flasher42
– refer to Washer/wiper
system43
N
Navigation system, refer to the
separate Owner's Manual
Neck support, refer to Head
restraints32
Nets64
New
– keys18
– tires84
Nylon rope, refer to Tow
rope101